manuals.online logo
Brands
  1. Home
  2. •
  3. Brands
  4. •
  5. Humanscale
  6. •
  7. Indoor Furnishing
  8. •
  9. Humanscale Float Installation instructions

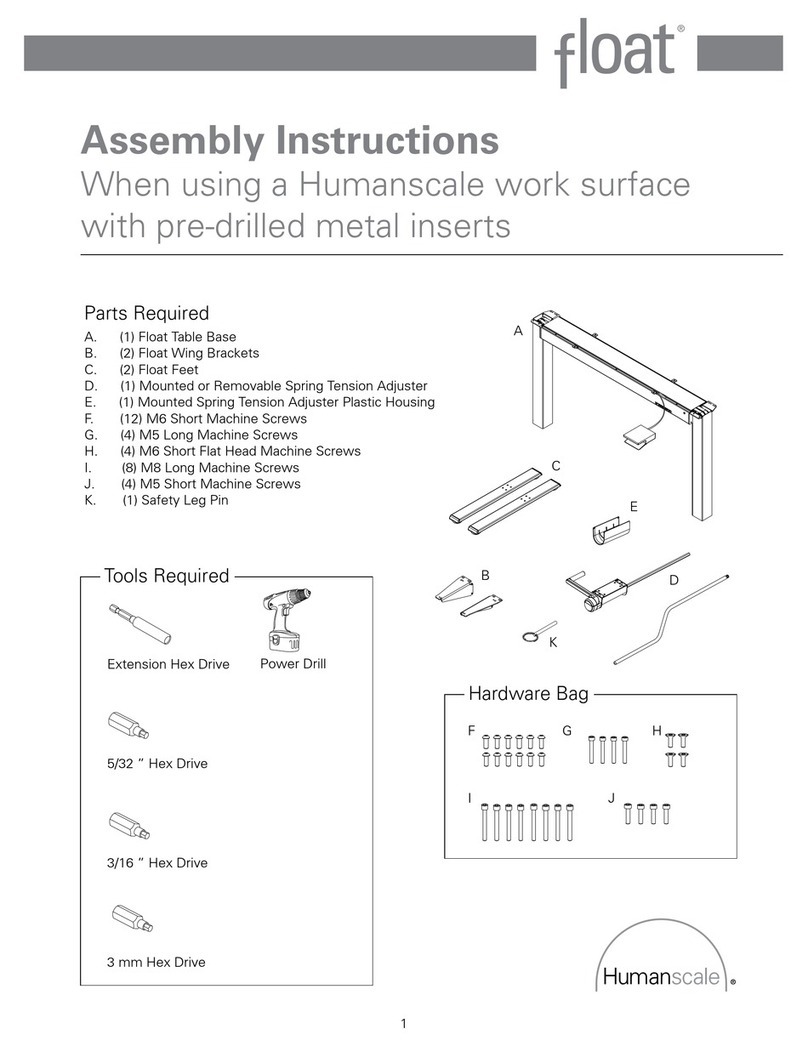
Humanscale Float Installation instructions

Other manuals for Float

3

Other Humanscale Indoor Furnishing manuals
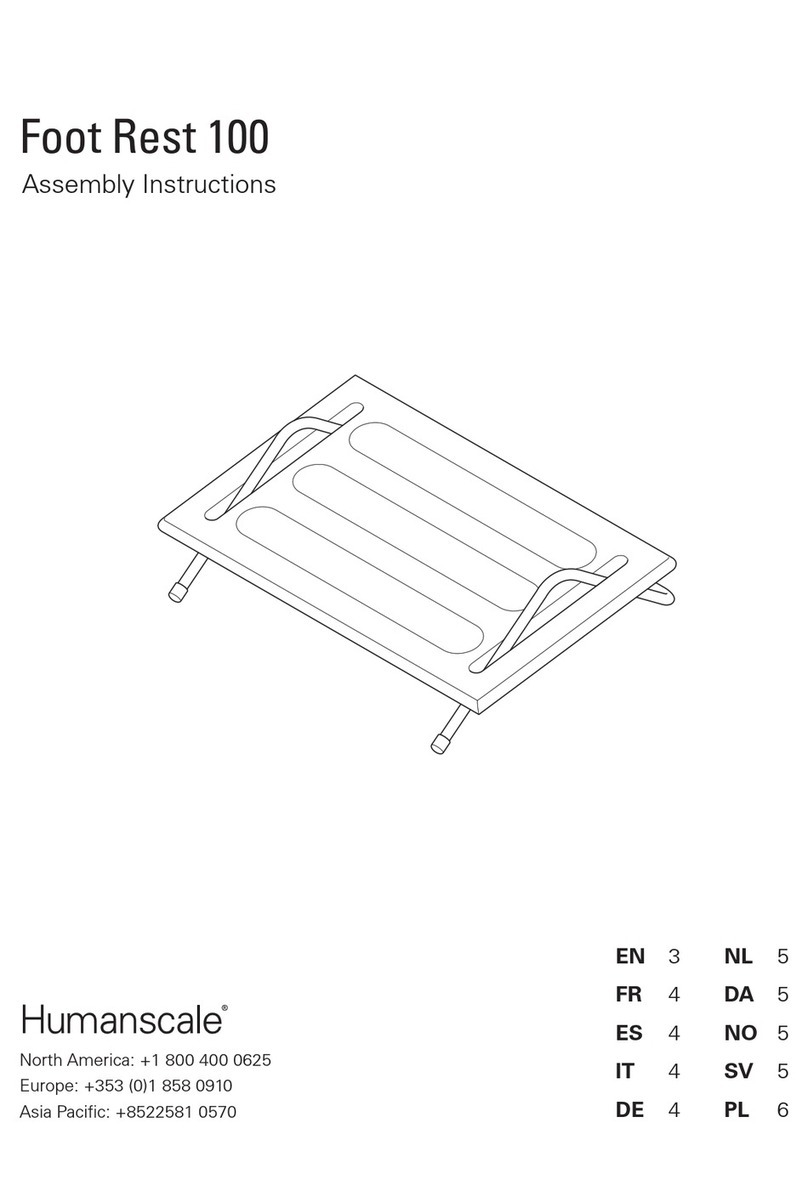
Humanscale Path User manual

Humanscale

Humanscale Path User manual

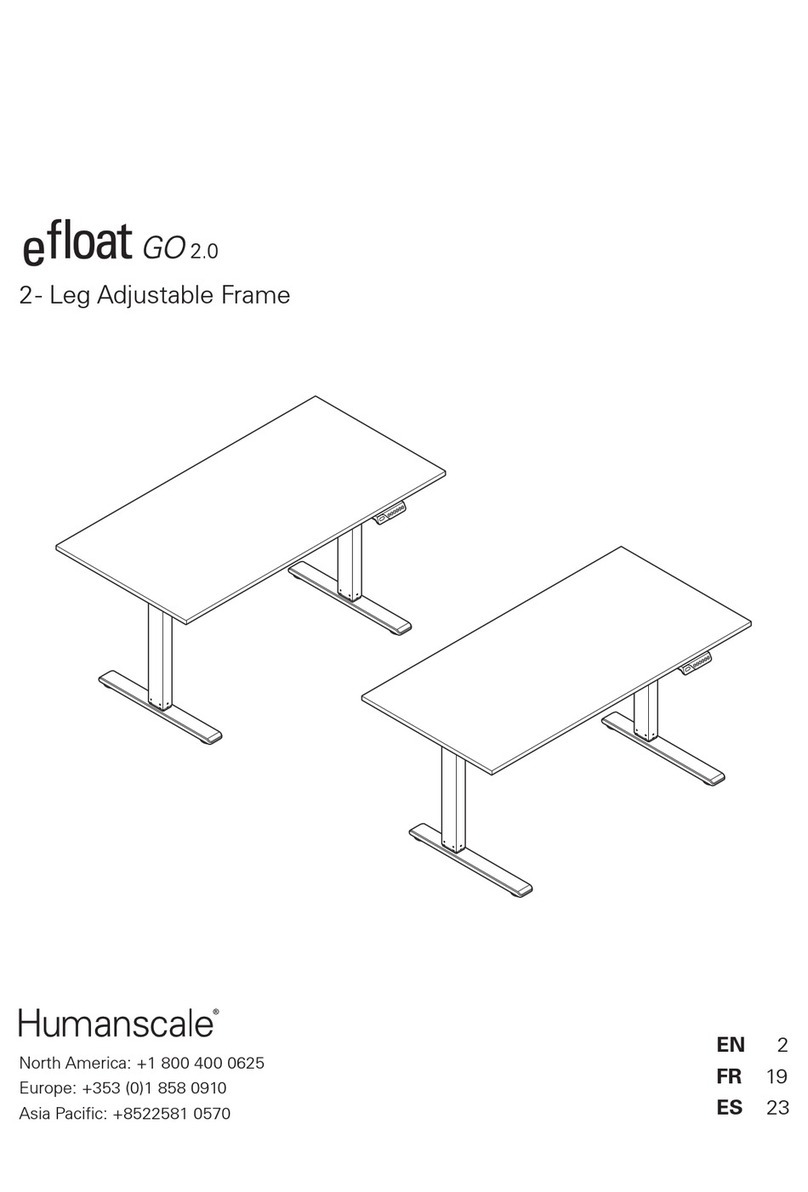
Humanscale efloat GO User manual

Humanscale

Humanscale efloat GO User manual

Humanscale Liberty Task Use and care manual

Humanscale

Humanscale Liberty Task Use and care manual

Humanscale freedom User manual

Humanscale

Humanscale freedom User manual

Humanscale Float User manual

Humanscale

Humanscale Float User manual

Humanscale NeatTech User manual

Humanscale

Humanscale NeatTech User manual

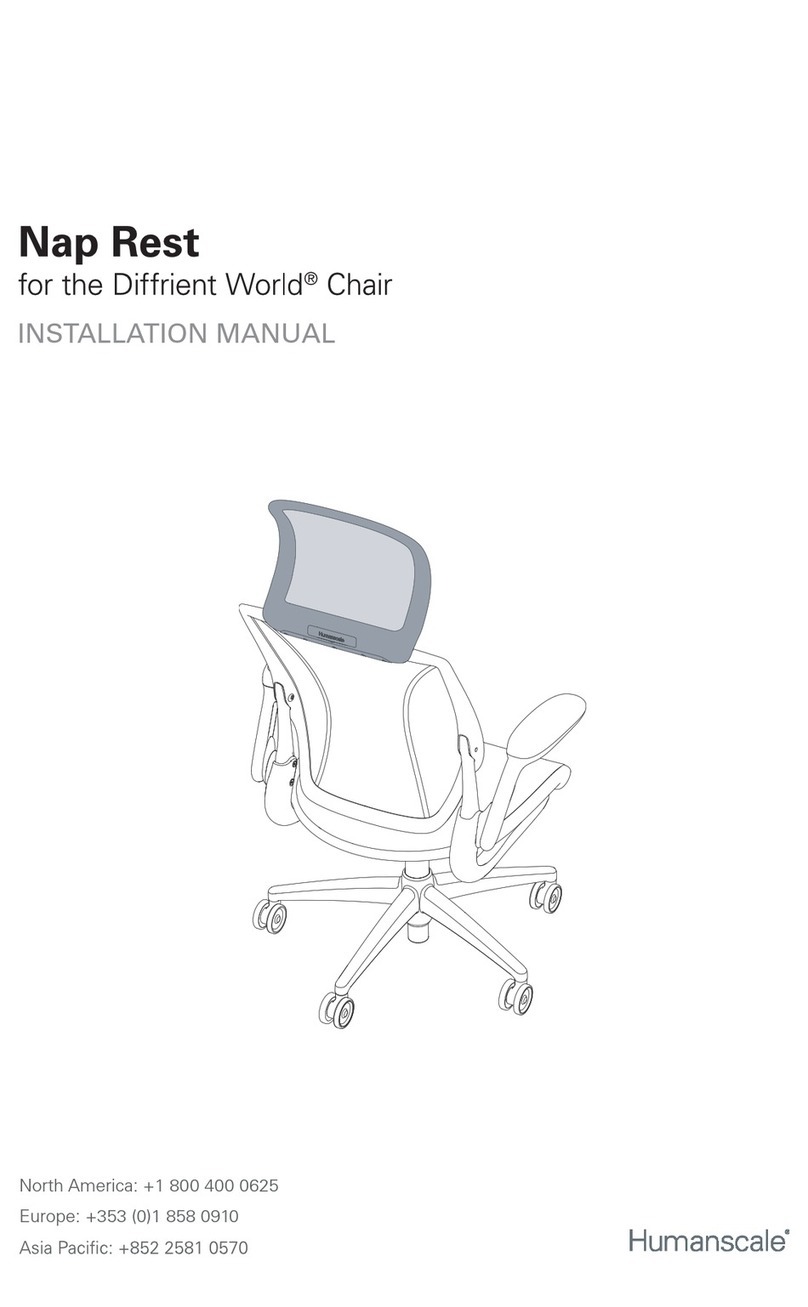
Humanscale Nap Rest User manual

Humanscale

Humanscale Nap Rest User manual

Humanscale Diffrient Smart User manual

Humanscale

Humanscale Diffrient Smart User manual

Humanscale Float User manual

Humanscale

Humanscale Float User manual

Humanscale eFloat Go 2.0 User manual

Humanscale

Humanscale eFloat Go 2.0 User manual

Humanscale eFloat User manual

Humanscale

Humanscale eFloat User manual

Humanscale efloat go User manual

Humanscale

Humanscale efloat go User manual

Humanscale Path Chair Installation instructions

Humanscale

Humanscale Path Chair Installation instructions

Humanscale eFloat User manual

Humanscale

Humanscale eFloat User manual

Humanscale float mini User manual

Humanscale

Humanscale float mini User manual

Humanscale Float User manual

Humanscale

Humanscale Float User manual

Humanscale 300 User manual

Humanscale

Humanscale 300 User manual

Humanscale World One User manual

Humanscale

Humanscale World One User manual

Humanscale eFloat Go 2.0 User manual

Humanscale

Humanscale eFloat Go 2.0 User manual

Humanscale 100 User manual

Humanscale

Humanscale 100 User manual
Popular Indoor Furnishing manuals by other brands

Regency LWMS3015 Assembly instructions

Regency

Regency LWMS3015 Assembly instructions

Furniture of America CM7751C Assembly instructions

Furniture of America

Furniture of America CM7751C Assembly instructions

Safavieh Furniture Estella CNS5731 manual

Safavieh Furniture

Safavieh Furniture Estella CNS5731 manual

PLACES OF STYLE Ovalfuss Assembly instruction

PLACES OF STYLE

PLACES OF STYLE Ovalfuss Assembly instruction

Trasman 1138 Bo1 Assembly manual

Trasman

Trasman 1138 Bo1 Assembly manual

Costway JV10856 manual

Costway

Costway JV10856 manual

moss DESIGN Caisson Credenza Assembly instructions

moss DESIGN

moss DESIGN Caisson Credenza Assembly instructions

Aquaglide FULL DECK 15.0 owner's manual

Aquaglide

Aquaglide FULL DECK 15.0 owner's manual

AREBOS AR-HE-SW30 user manual

AREBOS

AREBOS AR-HE-SW30 user manual

Till-Hilft Fulda 87005.330 Assembly instructions

Till-Hilft

Till-Hilft Fulda 87005.330 Assembly instructions

Twoey Outside 2010 quick start guide

Twoey Outside

Twoey Outside 2010 quick start guide

Hettich Easys 200 operating instructions

Hettich

Hettich Easys 200 operating instructions

The bedboss RELAX 404 Series owner's manual

The bedboss

The bedboss RELAX 404 Series owner's manual

Oeseder Möbelindustrie Bern 991 720 Assembly instructions

Oeseder Möbelindustrie

Oeseder Möbelindustrie Bern 991 720 Assembly instructions

Costway HW68469 user manual

Costway

Costway HW68469 user manual

Next ALIX A27743 Assembly instructions

Next

Next ALIX A27743 Assembly instructions

BROSA Hans Assembly guide

BROSA

BROSA Hans Assembly guide

Prodigg MINIKA PBA015T-FUR installation manual

Prodigg

Prodigg MINIKA PBA015T-FUR installation manual

manuals.online logo
manuals.online logoBrands
  • About & Mission
  • Contact us
  • Privacy Policy
  • Terms and Conditions

Copyright 2025 Manuals.Online. All Rights Reserved.

Tools RequiredComponents for Breakdown
Safety Glasses
Pliers
Feet
Removing Top
Inner Mechanisms
Counterbalance
Mechanism
Torx Driver
Phillips Screwdriver
Tin Snips
Mallet
Pin Punch
Power Drill with 11/64” bit
Steel
Steel
Steel
Disassembly InstructionsFloat Table
REV-00
Some components may not be recyclable in your area.
Step 1
Bring table to highest height possible
Step 2
Adjust counterbalance counter clockwise
until all pre-tension is released, and handle
can no longer turns easily. Load Indicator
should be at “min”
Tools Required
Safety Glasses
2
1
Page 1
Tension Scale
Release Handle
Disassembly InstructionsFloat Table
REV-00
Some components may not be recyclable in your area.
Step 3
Remove screws from under table top to unfasten
from legs. Remove screws from release paddle and
crank. Remove table top.
Tools Required
Safety Glasses Torx Driver Flat Screwdriver
Page 2
Disassembly InstructionsFloat Table
REV-00
Some components may not be recyclable in your area.
Step 4
Remove release and crank from table assembly
Tools Required
Safety Glasses
Page 3
Disassembly InstructionsFloat Table
REV-00
Some components may not be recyclable in your area.
Step 5 - Release Assembly
Remove pin and disassemble release assembly
Tools Required
Safety Glasses Pliers
ABS
>ABS< Steel
Page 4
POM
>POM<
Mallet Pin Punch
Disassembly InstructionsFloat Table
REV-00
Some components may not be recyclable in your area.
Step 6 - Crank Assembly
Remove all pins and completely disas-
semble crank assembly
Tools Required
ABS
>ABS<
ABS
>ABS<
ABS
>ABS<
Aluminum
Aluminum
Steel
Steel
Steel
Steel
Page 5
POM
>POM<
Safety Glasses Pliers
Mallet Pin Punch
Disassembly InstructionsFloat Table
REV-00
Some components may not be recyclable in your area.
Step 7
Drill out rivets on back left side
Recommended drill bit size is 11/64”.
If rivet starts to spin, drill at an angle
Tap it with a mallet to detach
the mechanism
Tools Required
Safety Glasses
Rivets
Page 6
DO NOT begin step 7 until all previous steps are completed.
Not following these steps can result in serious injury.
Power Drill with 11/64” bit
Disassembly InstructionsFloat Table
REV-00
Some components may not be recyclable in your area.
Tools Required
Safety Glasses
Step 8
Remove torque screws on top to release cover
Step 9
Tip table onto it’s side to continue. Further
disassembly will cause legs to fail.
Page 7
Steel
Torx Driver
Disassembly InstructionsFloat Table
REV-00
Some components may not be recyclable in your area.
Tools Required
Safety Glasses
Step 10
Use tin snips to cut the metal bands in 3 locations
(a,b,c) , as indicated. Metal bands should be cut on
both sides of brake.
Step 11
Remove all screws and completely disassemble
Page 8
a
b
c
Tin Snips
Torx Driver Flat Screwdriver
Disassembly InstructionsFloat Table
REV-00
Some components may not be recyclable in your area.
Tools Required
Safety Glasses
Step 12
A - Unscrew brake assembly
B - Knock the brake assembly and cable reel loose
C - Remove the cables by the cable reel and the brake
Page 9
Cable Reel
Brake
B
A
C
Steel
Torx Driver Flat Screwdriver
Mallet
Disassembly InstructionsFloat Table
REV-00
Some components may not be recyclable in your area.