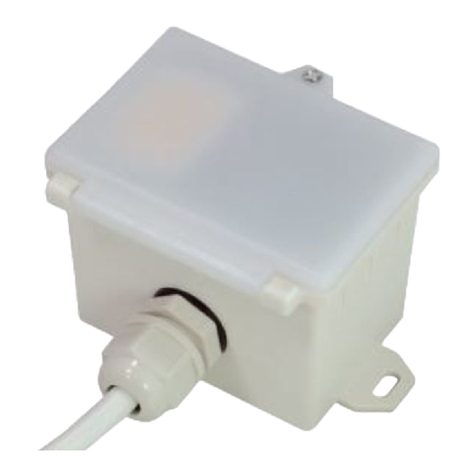
HIM30-20220802-A0
12
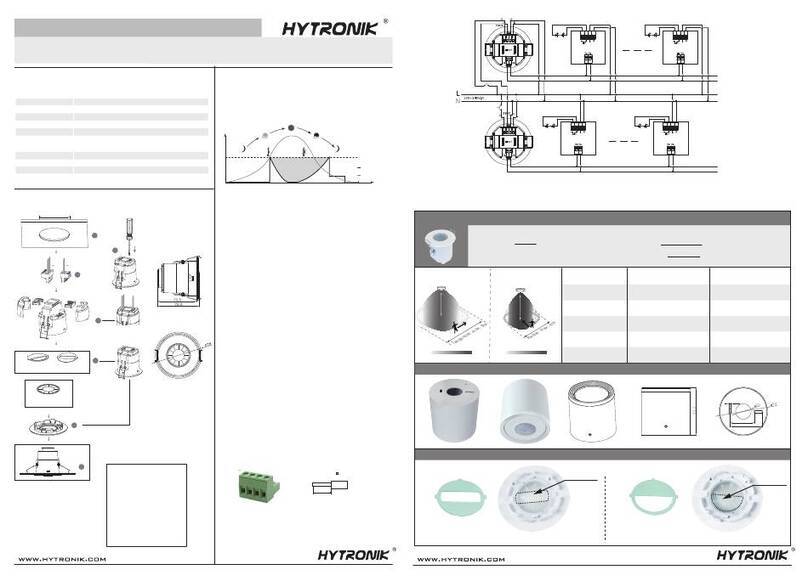
6. Three Options for PIR Lens and Detection Patterns
(End user can choose the suitable lens in real application for various requirements)
* For single person walking across, the detection range is reduced by 1/3.
3
7. Descriptions of the
Button Functions
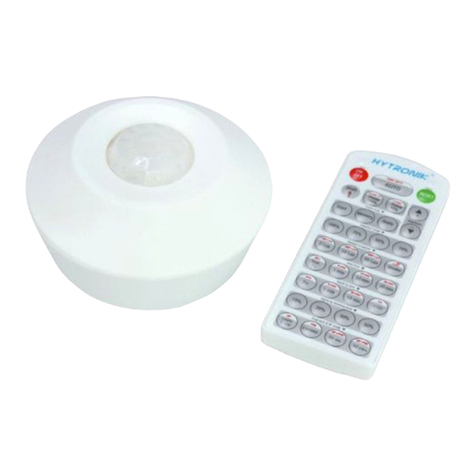
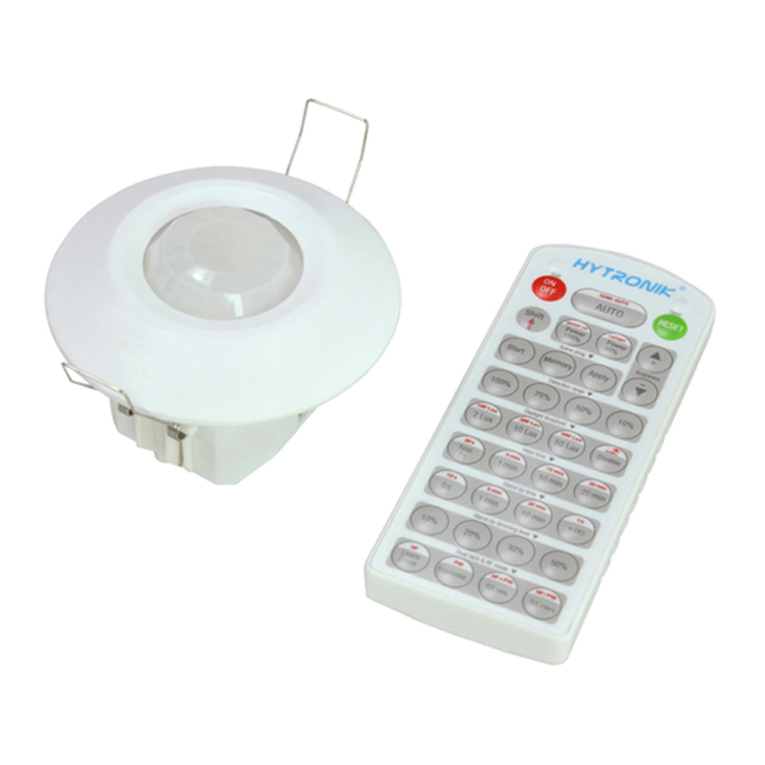
(remote control HRC-11)
Permanent ON/OFF [ ]
Press button to select permanent ON or permanent OFF mode.
* Press button / to resume automatic operation.
The mode will change to AUTO Mode after power failure.
button
1
1
2 4
Hold time [ zone ]
Press buttons in zone to set the hold time at 2s / 30s / 1min /
5min / 10min / 15min / 20min / 30min.
Note: 1.To set hold-time at 30s / 5min / 15min / 30min, press button
Shift at first.
2. 2s is for testing purpose only, stand-by period and daylight
sensor settings are disabled in this mode.
*To exit from Test mode, press button or any button in zone .
3
2
11
11
11
Ambient daylight threshold [ button ]
1. Press button Shift, the red LED is on for indication.
2. Press button , the ambient lux level is sampled and set as the
new daylight threshold.
3
10
10
RESET [ button ]
Press button , all settings go back to the rotary switch settings.
2
2
Shift [ button ]
Press button , the LED on the top left corner is on for indication.
All values / settings in RED are valid for 20 seconds.
3
3
Auto Mode [ button ]
Press button to initiate automatic mode. The sensor starts working
and all settings remain as before the light was switched ON/OFF.
Note: the function of Semi-auto is disabled.
4
4
Scene prog. [ zone ] (One-key-commissioning)
1. Press button “Start” to program.
2. Select the buttons in “Detection range”, / “Daylight threshold”,
“Hold time”, “Stand-by time”, “Stand-by dimming level” to
set all parameters.
3. Press button “Memory” to save all the settings programmed in the
remote control.
7
8 9
10
11 12 13
Brightness +/- [ button ]
These two buttons are disabled.
6
Power output [ button ]
These two buttons are disabled.
5
Detection range [ zone ]
Press buttons in zone to set detection range at 100% / 75% / 50% / 10%.
8
8
Daylight threshold [ zone ]
Press buttons in zone to set the daylight sensor at 2Lux / 10Lux /
50Lux / 100Lux / 300Lux / 500Lux or Disable.
Note: To set daylight sensor at 100Lux / 300 Lux / 500Lux, press
button Shift at first.
9
9
3
6
8
11
12
13
2
4
1
3
7
9
5
HRC-11
&
A
4 hh
4h
10
15
14
4. Press button “Apply” to set the settings to each sensor unit(s).
For example, to pre-set detection range 100%, daylight threshold
Disable, hold time 5min, the steps should be as follows:
Press button Start, button 100%, Disable, Shift, 5min,
Memory. By pointing to the sensor unit(s) and pressing Apply,
all settings are passed on the sensor(s).
7
77
38
10 11
7. Additional Information / Documents
1. Regarding precautions for microwave sensor installation and operation, please kindly refer to www.hytronik.com/download ->knowledge ->Microwave Sensors - Precautions for Product Installation and Operation
2. Regarding precautions for PIR sensor installation and operation, please kindly refer to www.hytronik.com/download ->knowledge ->PIR Sensors - Precautions for Product Installation and Operation
3. Regarding Hytronik standard guarantee policy, please refer to www.hytronik.com/download ->knowledge ->Hytronik Standard Guarantee Policy
15m(forklift)
HF: max. 26m
PIR : max. 24m
PIR
HF
PIR: max. 24m
HF: max. 26m
PIR
HF
15m(forklift)
Detection pattern for forklift→PIR detection: Ø = 24m (max.) HF detection: Ø = 26m (max.)
PIR
HF
PIR: max. 20m
HF: max. 16m
12m(human)
PIR
HF
PIR: max. 20m
HF: max. 16m
12m(human)
PIR
HF
PIR: max. 20m
HF: max. 16m
12m(human)
Detection pattern for human→PIR detection: Ø = 20m (max.) HF detection: Ø = 16m (max.)
PIR
HF
15m(forklift)
HF: max. 26m
PIR: max. 24m
