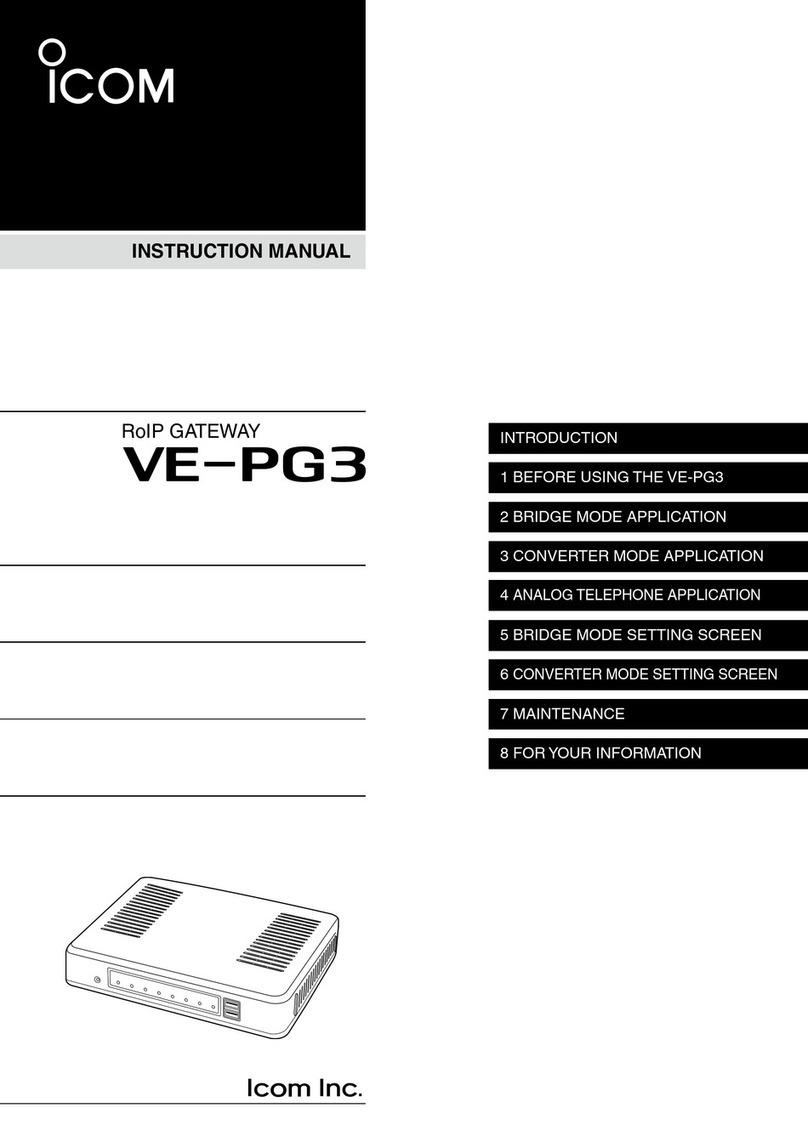
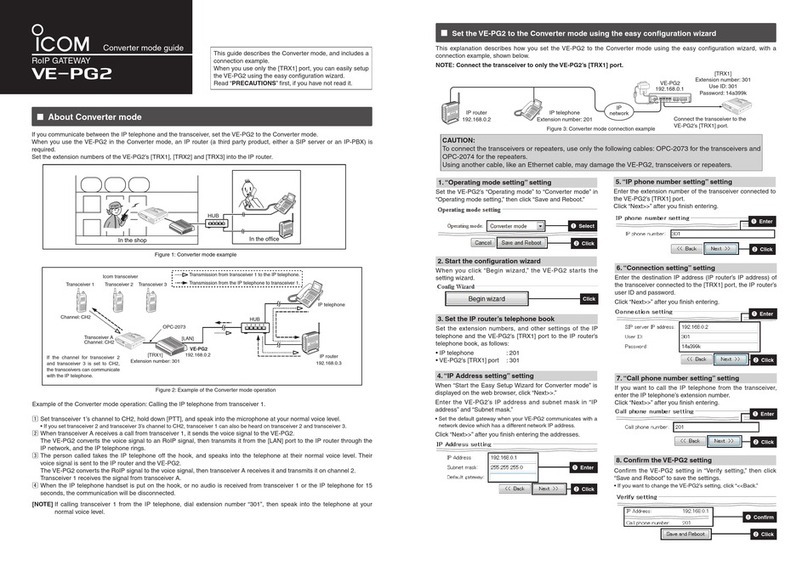
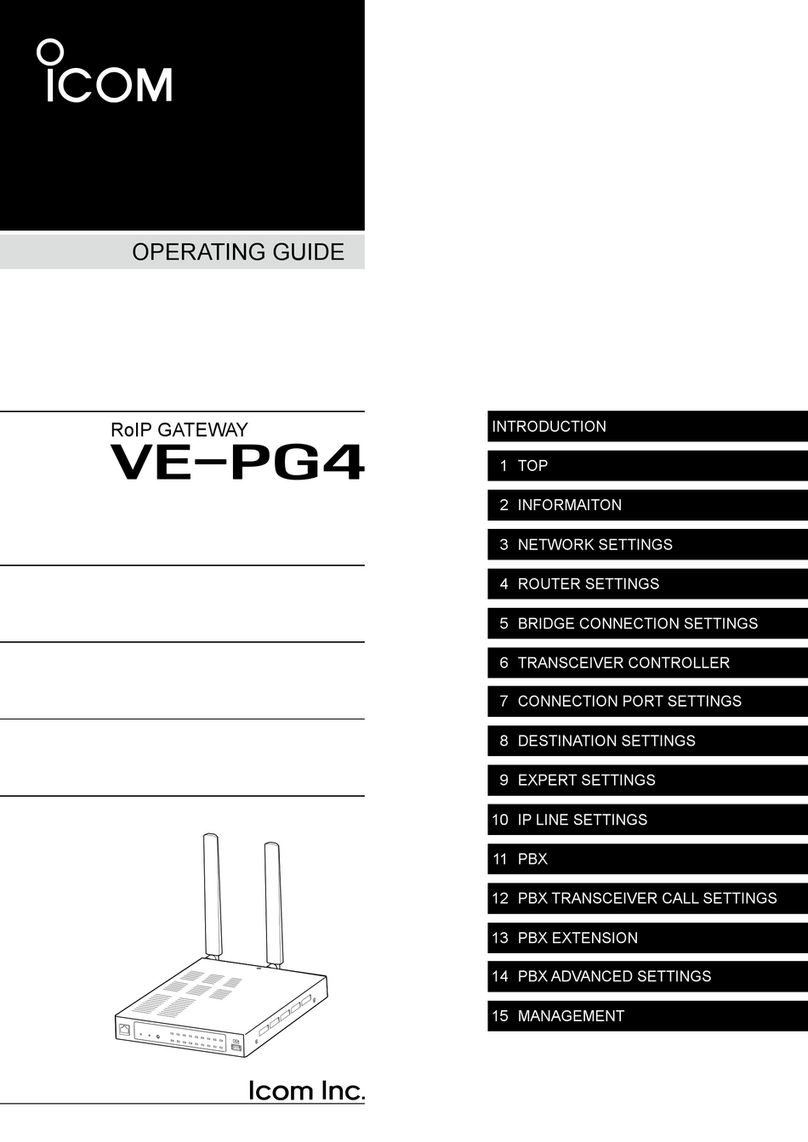
Icom VE-PG4 User manual

PC
•
Microsoft®Windows®10 (32/64 bit)
•
Microsoft®Windows®8.1 (32/64 bit)*
*Except for the “RT” version.
•
Microsoft®Windows®7 (32/64 bit)
• A USB 1.1, 2.0, or 3.0 port
Cable
• A USB cable (User supplied)
Type A
Mini-B
NOTE:
• Depending on the length of a third-party USB
cable, the network device may not work correctly
even if the PC recognizes it. Use a cable as short
as possible.
• Depending on the network device, the
[CONSOLE] port shape may differ. Purchase a
proper USB cable.
USB DRIVER
INSTALLATION GUIDE
You can set up an Icom network device using a PC, by connecting it to the [CONSOLE] port of the network
device through a USB (Mini-B) cable.
Read this installation guide and install the USB driver to your PC, before connecting the USB cable.
This guide describes based on the following conditions:
• You have already downloaded the latest USB driver from the Icom Download Service website.
http://www.icom.co.jp/world/support/
• The Icom network device that you want to set up has a [CONSOLE] port.
• The operating system of the PC is Windows 10.
LThe installation steps or displayed dialog may differ, depending on the operating system.
TABLE OF CONTENTS
Icom, Icom Inc. and the Icom logo are registered trademarks of Icom Incorporated (Japan) in Japan, the United States, the United Kingdom,
Germany, France, Spain, Russia, Australia, New Zealand, and/or other countries.
Microsoft and Windows are registered trademarks of Microsoft Corporation in the United States and/or other countries.
All other products or brands are registered trademarks or trademarks of their respective holders.
1
1. OVERVIEW............................................................ 1
System requirements......................................... 1
2. PRECAUTIONS..................................................... 2
Before the installation ........................................ 2
Before connecting to a PC................................. 2
After the installation ........................................... 2
3. INSTALLING THE DRIVER .................................. 3
4. FOR YOUR REFERENCE..................................... 5
4-1 Terminal software setting ............................. 5
4-2 COM Port setting ......................................... 6
4-3 Uninstalling the driver .................................. 7
1. OVERVIEW
System requirements
The following hardware and software are required:
For the Icom
network devices

2
Before the installation
• When installing the software, conrm Windows
has completed its startup, and then log in as the
administrator.
• Conrm no other application is running.
• If an earlier version “Windows Driver Package
- Silicon Laboratories Inc. (silabser) Ports” is
installed, manually uninstall it before installing the
latest driver.
See “Uninstalling the driver” on page 7 for
details.
Before connecting to a PC
• The USB driver does not support the automatic
recognition system. NEVER connect the USB
cable between the network device and the PC until
AFTER the USB driver has been installed.
See “Installing the driver” on page 3 for details.
Once the driver has been installed, a PC software
can be used by just connecting the USB cable.
• Directly connect the network device and the PC.
Icom is not responsible for improper operation
when connecting them through a USB hub.
After the installation
• Uninstalling the USB driver
You cannot uninstall the USB driver for individual
device. After uninstalling the USB driver, none
of the devices that require this driver can be
recognized by the PC.
• When another network device is connected
A COM port number is automatically added after
turning ON the device.
2. PRECAUTIONS

3
3. INSTALLING THE DRIVER
NOTE:
• NEVER connect the USB cable between the network device and the PC until the USB driver has been
installed. Disconnect the cable, if connected, before starting the USB driver installation.
• This USB driver does not support the automatic recognition system.
LThe displayed dialog, indications, or operations
may differ slightly from the following instructions,
depending on your system version and settings.
1. Log on the PC as the administrator.
Confirm that the network device and PC are not
connected, and no other application is running.
2. Extract the downloaded USB driver, and then
open the folder that contains the installer.
3. Double-click the following file:
• For the 32 bit version OS:
CP210xVCPInstaller_x86.exe
• For the 64 bit version OS:
CP210xVCPInstaller_x64.exe
Double-click
4. When the “User Account Control” dialog is
displayed, click <Yes>.
5. When the install screen is displayed, click
<Next>.
Click
• If the “License Agreement” dialog is displayed,
read the agreement, and then select “I accept this
agreement,” and then click <Next>>.
6. Windows starts installing the driver.
7. After the installation has completed, click
<Finish>.
Click
(☞Continued on the next page)

4
3.INSTALLING THE DRIVER
8. Confirm the network device is turned OFF,
connect the USB cable between the device and
the PC, as shown below. Then, turn ON the
device.
LConrm the USB cable connector shape.
To the [CONSOLE] port
Network device
To a USB port
USB cable
PC
IMPORTANT: Directly connect the network
device and the PC. Icom is not responsible
for improper operation when connecting them
through a USB hub.
9. The installation icon is displayed on the taskbar
as shown below, and then Windows starts
installing the driver.
• After the driver installation has completed, the
installation icon disappears.
• Depending on your system version or setting, you
may be prompted to restart the PC. In this case,
follow the instructions on the screen.
After the driver installation has completed, conrm
the port connection and port number.
10. Click the folder icon on the taskbar.
Click
11. Right-click “This PC,” and then click “Properties.”
qRight-click
wClick
12. Click [Device Manager].
• The “Device Manager” screen is displayed.
Click
13. Double-click “Ports (COM & LPT)” on the “Device
Manager” screen.
Double-click
• When the driver is completely installed, “Silicon
Labs CP210x USB to UART Bridge (COM)” is
displayed. For example, the above screen shows the
USB serial COM port number “3.”
• The COM port number may differ, depending
on the PC environment.
• If “!” or “×” is displayed on the “Device
Manager” screen, the driver may not correctly
be installed. In such a case, uninstall the USB
driver rst, and then reinstall it.

5
4. FOR YOUR REFERENCE
1. Confirm the network device is turned OFF,
connect the USB cable between the device and
the PC, as shown below. Then, turn ON the
device.
LConrm the USB cable connector shape.
To the [CONSOLE] port
Network device
To a USB port
USB cable
PC
2. Open a terminal software on your PC.
3. After installing the USB driver, set the serial port
settings in the terminal software as follows:
• Port: Check the COM port number setting
on your PC
• Baud rate: 115200 bps
• Data: 8 bit
• Parity: None
• Stop: 1 bit
• Flow control: None
4. When the COM port setting is finished, press the
[Enter] key.
• The login prompt with the device name is
displayed. (For example: “VE-PG4> login:”)
LAfter you have successfully logged in to the device,
you can display the available command list by
pressing the [Tab] key.
4-1 Terminal software setting
Do the following steps to access the network device with a terminal software, when the IP address of the device
is unknown.

6
4.FOR YOUR REFERENCE
4-2 COM Port setting
To change the COM Port number setting after you have installed the USB driver, connect the network device to
the PC rst, and then turn ON the device.
1. Click the folder icon on the taskbar.
Click
2. Right-click “This PC,” and then click “Properties.”
qRight-click
wClick
3. Click [Device Manager].
Click
• The “Device Manager” screen is displayed.
4. Right-click “Silicon Labs CP210x USB to UART
Bridge (COM)” and then click “Properties.”
The COM port number is displayed instead of
“.”
qRight-click
wClick
5. Click the [Port Settings] tab, then click
<Advanced...>.
wClick
qClick
6. Select the COM port number, then click <OK>.
wClick
qSelect
7. Click <OK> to close the screen.
Click

7
4.FOR YOUR REFERENCE
1. Click the Windows icon on the taskbar, then click
the [Setting] icon.
qClick
wClick
2. Click [Apps].
Click
3. Click “Windows Driver Package - Silicon
Laboratories Inc. (silabser) Ports.”
Click
4. Click <Uninstall>.
• When the “User Account Control” dialog is displayed,
click <Continue>.
Click
5. Follow the instructions on the screen to uninstall.
4-3 Uninstalling the driver
The displayed dialogs or indications may differ slightly from the following instructions, depending on your system
version and settings.
A7522-1EX © 2019 Icom Inc.Apr. 2019
Other manuals for VE-PG4
2
Table of contents
Other Icom Gateway manuals
Popular Gateway manuals by other brands

D-Link
D-Link DIV-140 Quick installation guide

TCS
TCS Ubiquity QD2040b product manual

Trend Micro
Trend Micro Cloud Edge 50 G2 Quick start card

Sole Digital
Sole Digital HNG100 Installation and user manual

STIEBEL ELTRON
STIEBEL ELTRON ISG WEB Operation and installation

Net2Phone
Net2Phone MAX 420 quick start guide