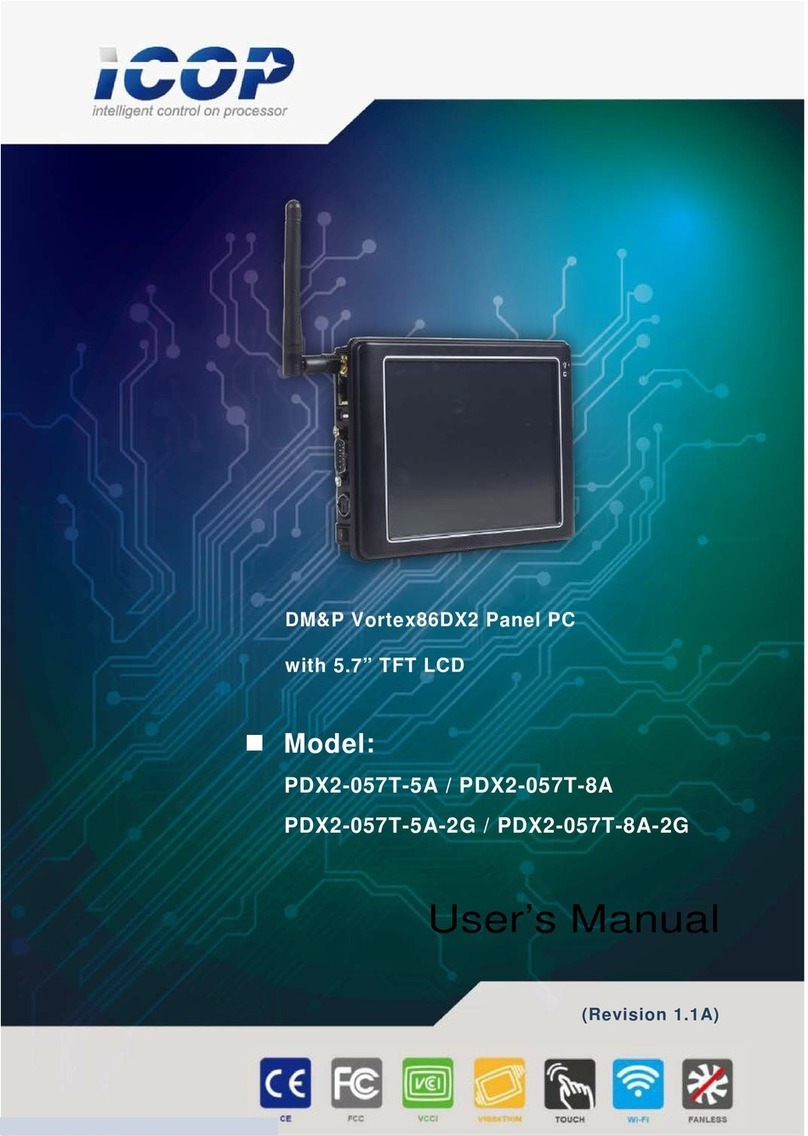
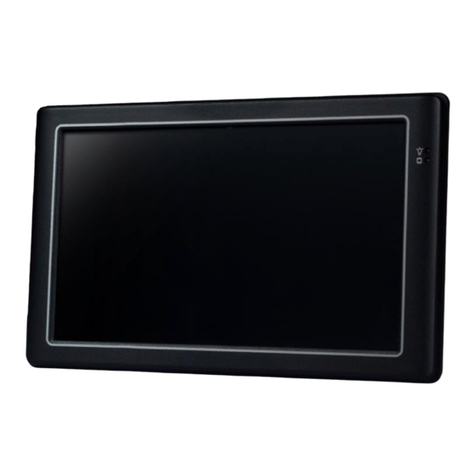
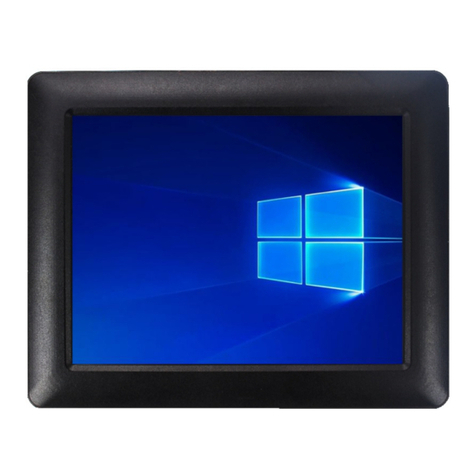
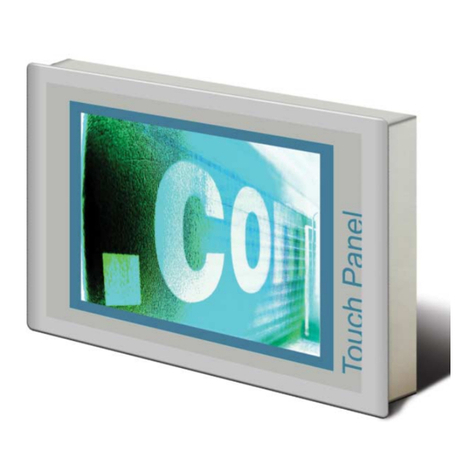
Icop PPC-090T-APL Series User manual

PPC-090T-APL User’s Manual
IUMPPC090TAPL-01 Ver.1.0A Aug, 2019
i
User’s Manual
PPC-090T-APL
Intel® Apollo Lake Processor
Compact Panel PC with 9” Resistive Touch Screen
PPC-090T-APL-N4-4G
PPC-090T-APL-N4-8G
PPC-090T-APL-N3-4G (Build to order)
PPC-090T-APL-N3-8G (Build to order)
(Revision 1.0A)

PPC-090T-APL User’s Manual
IUMPPC090TAPL-01 Ver.1.0A Aug, 2019
i
REVISION
DATE VERSION DESCRIPTION
2019/8/29 Version 1.0A New Release

PPC-090T-APL User’s Manual
IUMPPC090TAPL-01 Ver.1.0A Aug, 2019
ii
COPYRIGHT
The information in this manual is subject to change without notice for continuous
improvement in the product. All rights are reserved. The manufacturer assumes no
responsibility for any inaccuracies that may be contained in this document, and
makes no commitment to update or to keep current the information contained in this
manual.
No part of this manual may be reproduced, copied, translated or transmitted, in whole
or in part, in any form or by any means without the prior written permission of the
ICOP Technology Inc.
Copyright 2019 ICOP Technology Inc.
Manual # IUMPPC090TAPL-01 Ver.1.0A Aug, 2019
TRADEMARKS ACKNOWLEDGMENT
Intel® Apollo Lake is the registered trademark of Intel Corporation. Other brand
names or product names appearing in this document are the properties and
registered trademarks of their respective owners. All names mentioned herewith are
served for identification purpose only.
For more detailed information or if you are interested in other ICOP products, please
visit our official websites at:
Global: www.icop.com.tw
USA: www.icoptech.com
Japan: www.icop.co.jp
Europe: www.icoptech.eu
China: www.icop.com.cn
For technical support or drivers download, please visit our websites at:
https://www.icop.com.tw/download_resource/PPC-090T-N4200?tags=18,81,34,35,38,39,64,65&
selected=35
This Manual is for the PPC-090T-APL series.

PPC-090T-APL User’s Manual
IUMPPC090TAPL-01 Ver.1.0A Aug, 2019
iii
SAFETY INFORMATION
Read these Safety instructions carefully.
Please carry the unit with both hands, handle carefully.
Make sure the voltage of the power source is correct before connecting the
equipment to the power outlet.
Do not expose your Panel PC to rain or moisture in order to prevent shock and
fire hazard.
Input voltage +12VDC
Operating temperature between 0~+60°C (+32~+140°F).
Keep PPC-090T-APL away from humidity.
When a M.2 2242 or 2.5” Hard Disk/SSD storage is the main operating system
storage, please turn off power before inserting or removing. Do not open the
cabinet to avoid electrical shock. Refer to your nearest dealer for qualified
personnel servicing.
Never touch un-insulated terminals or wire unless your power adaptor is
disconnected.
Locate your Panel PC as close as possible to the socket outline for easy access
and to avoid force caused by entangling of your arms with surrounding cables
from the Panel PC.
USB connectors are not supplied with Limited Power Sources.
If the equipment is not used for a long time, disconnect it from the power source
to avoid damage by transient overvoltage.
WARNING!
DO NOT ATTEMPT TO OPEN OR TO DISASSEMBLE THE CHASSIS (ENCASING)
OF THIS PRODUCT. PLEASE CONTACT YOUR DEALER FOR SERVICING FROM
QUALIFIED TECHNICIAN.

PPC-090T-APL User’s Manual
IUMPPC090TAPL-01 Ver.1.0A Aug, 2019
iv
Content
Content ........................................................................................................................... iv
Ch. 1 General Information ................................................................................................1
1.1 Product Description ................................................................................................2
1.2 Product Specifications ............................................................................................3
1.3 Inspection standard for TFT-LCD Panel..................................................................5
1.4 Product Dimensions................................................................................................9
1.5 Mounting Instruction .............................................................................................10
1.6 Ordering Information.............................................................................................12
Ch. 2 System Installation................................................................................................14
2.1 CPU Board Outline ...............................................................................................15
2.2 Connector Summary.............................................................................................16
2.3 Connector Pin Assignments..................................................................................17
2.4 External I/O Overview...........................................................................................19
2.5 External I/O Pin Assignment .................................................................................21
Ch. 3 Hardware Installation ............................................................................................23
3.1 Installing the M.2 2242 SATA................................................................................24
3.2 Installing the 2.5” SATA HDD/SDD........................................................................27
3.3 Installing the Mini-PCIe Module ............................................................................30
3.4 Installing the Micro SIM Card (Must include 3G/4G Mini-PCIe Module in advance)
....................................................................................................................................32
Ch. 4 Drivers and BIOS Instruction ................................................................................33
4.1 Operating System Support and Drivers ................................................................34
4.2 BIOS Hot Key .......................................................................................................35
4.3 BIOS COM1 Setting (RS232/422/485)..................................................................36
4.4 BIOS COM2 Setting (Change Settings)................................................................38
4.5 BIOS AT Mode Setting (Support Auto-Power On Function)..................................40
4.6 BIOS Serial Port Console Redirection...................................................................42
4.7 BIOS Load Default Setting ....................................................................................44
Warranty.........................................................................................................................45
PPC-090T-APL User’s Manual
IUMPPC090TAPL-01 Ver.1.0A Aug, 2019
1
Ch. 1
General Information
1.1 Product Description
1.2 Product Specifications
1.3 Inspection standard for TFT-LCD Panel
1.4 Product Dimensions
1.5 Mounting Instruction
1.6 Ordering Information

PPC-090T-APL User’s Manual
IUMPPC090TAPL-01 Ver.1.0A Aug, 2019
2
1.1 Product Description
ICOP Technology Inc. is proudly going to release a brand new Panel PC, which
offers fanless design, low power consumption, and IP65 front panel. The PPC-090T-APL
is powered by Intel® Apollo Lake N4200/N3350 processor, and 4GB / 8GB SO-DIMM
DDR3L module that handles processing more efficiently and provides faster performance.
The project capacity touch panel with LED backlight TFT LCD increases operation
convenience and visibility in outdoor environments. The ultra-compact and thin exterior
design is perfect for the present demanding embedded and productive applications.
The new PPC-090T-APL inherited PPC series’ smooth appearance and ultra-texture
aluminum exterior design to make your industrial applications look more stylish. The
versatile I/O ports, IP65 front panel, GIGA high-speed Ethernet etc. can fulfill fundamental
functions. Our consistent advantages feature stable performance, extended working
temperature support, low power consumption and fanless design. The expandable
customize I/O ports can be accommodated connectivity requirements to industrial machine
platforms and industrial automation equipment’s needs.
The PPC-090T-APL supports Windows 10, Windows 10 IoT and Linux to meet
ready-to-market demand and provide competitive advantages for customers.

PPC-090T-APL User’s Manual
IUMPPC090TAPL-01 Ver.1.0A Aug, 2019
3
1.2 Product Specifications
CPU BOARD SPECIFICATIONS
CPU Intel® Apollo Lake N4200 (Quad core)
Intel® Apollo Lake N3350 (Dual core; Optional)
Cache L2: 2MB Cache
BIOS AMI BIOS
Memory 4GB / 8GB DDR3L
Display Intel® HD Graphics, HDMI 1.4 (As Dual Display)
LAN Integrated 10/100/1000Mbps Ethernet x 1
Audio HD Audio-Realtek ALC662VD CODEC
Internal Drives 2.5” SATA HDD/SSD Support (SATA III 6.0Gb/s)
M.2 Slot Support (M-Key, SATA Interface, 2242)
I/O
HDMI x 1
RS232/422/485 (COM1) x 1
RS232 (COM2) x 1
USB3.0 x 2
USB2.0 x 1
RJ45 x 1
Audio-Out
Mic-In
MECHANICAL & ENVIRONMENT
Power Requirement +12 VDC
Power Adapter +12VDC@ 3.33A (40W)
Operating Temperature 0~+60°C (+32~+140°F)
Storage Temperature -20~+70°C (-4~ +158°F)
Operating Humidity 0% ~ 90% Relative Humidity, Non-Condensing

PPC-090T-APL User’s Manual
IUMPPC090TAPL-01 Ver.1.0A Aug, 2019
4
Dimensions 242.02x156.52x50.55mm (9.53"x6.12"x1.99")
Weight 1.50 Kg
Protection IP65 Front Panel
Certification CE / FCC / VCCI / Vibration/ Shock
LCD SPECIFICATIONS
Display Type 9” WSVGA TFT LCD
Backlight Unit LED
Display Resolution 1024(W) x 600(H)
Brightness (cd/m
2
) 300 nits
Contrast Ratio 500 : 1
Display Color 262,144
Pixel Pitch (mm) 190.5 (H) x 189 (V)
Viewing Angle Vertical 120
o
, Horizontal 140
o
Backlight Lifetime 18,000 hrs
TOUCHSCREEN
Type Analog Resistive
Resolution Continuous
Transmittance 80%
Controller USB interface
Software Driver Linux, Win10, Win10 IoT
Durability 1 million

PPC-090T-APL User’s Manual
IUMPPC090TAPL-01 Ver.1.0A Aug, 2019
5
1.3 Inspection standard for TFT-LCD Panel
DEFECT TYPE LIMIT Note
VISUAL
DEFECT
INTERNAL
SPOT
φ<0.15mm Ignore
Note1
0.15mm≦φ≦0.5mm N≦4
0.5mm<φN=0
FIBER
0.03mm<W≦0.1mm, L≦5mm N≦3
Note1
1.0mm<W, 1.5mm<L N=0
POLARIZER
BUBBLE
φ<0.15mm Ignore
Note1
0.15mm≦φ≦0.5mm N≦2
0.5mm<φN=0
Mura It’ OK if mura is slight visible through 6%ND filter
ELECTRICA
L DEFECT
BRIGHT DOT
A Grade B Grade
C Area O Area Total C Area O Area Total
Note3
N≦0 N≦2 N≦2 N≦2 N≦3 N≦5
Note2
DARK DOT
N≦2 N≦3 N≦3 N≦3 N≦5 N≦8
TOTAL DOT
N≦4 N≦5 N≦6 N≦8
Note2
TWO ADJACENT DOT
N≦0 N≦1 pair
N≦1 pair
N≦1 pair
N≦1 pair
N≦1 pair
Note4
THREE OR MORE
ADJACENT DOT
NOT ALLOWED
LINE DEFECT NOT ALLOWED
(1) One pixel consists of 3 sub-pixels, including R, G, and B dot. (Sub-pixel = Dot)
(2) Little bright Dot acceptitable under 6% ND-Filter.
(3) If require G0 grand (Total dot N≦0), please contact region sales.

PPC-090T-APL User’s Manual
IUMPPC090TAPL-01 Ver.1.0A Aug, 2019
6
[ Note 1 ]
W: Width[mm]; L: Length[mm]; N: Number; φ: Average Diameter.
(a) White / Black Spot (b) Polarizer Bubble
[ Note 2 ]
Bright dot is defined through 6% transmission ND Filter as following.
[ Note 3 ]
Display area
C Area: Center of display area O Area: Outer of display area

PPC-090T-APL User’s Manual
IUMPPC090TAPL-01 Ver.1.0A Aug, 2019
7
[ Note 4 ]
Judge the defect dot and the adjacent dot as following. Allow below (as A, B, C and
D status) adjacent defect dots, including bright and dark adjacent dot. And they will be counted
2 defect dots in total quantity.
The defects that are not defined above and considered to be problem shall be reviewed
and discussed by both parties.
Defects on the Black Matrix, out of Display area, are not considered as a defect or counted.
[Note 5]
According to the technical information from LCD manufacturer, the image retention may
happen on LCD display if the static image is kept for a period of time without any change. ICOP
will suggest customers not to have static image on LCD for over 4 hours without any image
movement and also enable screensaver to avoid image sticking issue if LCD displays need to be
kept on for a long time.
Some Image retention issue will disappear when LCD display is turned off for a period of time,
but some image retention may be not reversible when LCD encounters screen burn.
The following is LCD manufacturer’s test result for customers’ reference.
TEST ITEMS CONDITIONS NOTE
High Temperature Operation 70℃;240hrs
High Temperature Storage 80℃; 240hrs
High Temperature High
Humidity Operation 60℃; 90%RH ;240hrs No condensation
Low Temperature Operation -20℃; 240hrs Backlight unit always
turn on
Low Temperature Storage -30℃; 240hrs
Thermal Shock –30℃(0.5hr) ~
80℃(0.5hr) ; 200 Cycles
Image Sticking 25℃; 4hrs Note 5-1
MTBF 20,000Hrs

PPC-090T-APL User’s Manual
IUMPPC090TAPL-01 Ver.1.0A Aug, 2019
8
Note 5-1
1. Condition of Image Sticking test:25 ± 2 .℃ ℃
2. Operation with test pattern sustained for 4 hrs, then change to gray pattern immediately.
3. After 5 mins, the mura must be disappeared completely.

PPC-090T-APL User’s Manual
IUMPPC090TAPL-01 Ver.1.0A Aug, 2019
9
1.4 Product Dimensions

PPC-090T-APL User’s Manual
IUMPPC090TAPL-01 Ver.1.0A Aug, 2019
10
1.5 Mounting Instruction
1.5.1 VESA Mounting
PPC-090T-APL series support VESA Mount that is an optional for ordering. Please
contact your region sales for ordering.
Ordering part number: VESA-MT-PPC-APL-SET
1. Place VESA bracket and VESA-MT-PPC-APL-SET together.
2. Lock 4 screws and nuts on both of VESA bracket and VESA-MT-PPC-APL-SET.
3. Hang PPC-090T-APL upon on both of VESA bracket and VESA-MT-PPC-APL-SET.

PPC-090T-APL User’s Manual
IUMPPC090TAPL-01 Ver.1.0A Aug, 2019
11
1.5.2 Panel Mounting
PPC-090T-APL series support clamp mount kit, which includes 4pcs of clamp and
screw in a bag of the package box. User can follow the instruction to do the panel
mount as below.
1. Please refer the Section 1.4 to make a cutout hole on your mechanical or frame.
Please note that there is thickness limitation of the mounting wall for
clamp mount installation. The suggestion of mounting wall thickness
limitation is 20 mm.
2. It has 4pcs of clamp and screw, and each clamp and screw is paired. Screws
4pcs of clamp and screw together respectively.
3. Place PPC in a cutout mechanical or frame, which mounts the panel to align the
bottom of the panel housing with the bottom edge of the cutout. This way can
help hold the panel steadily.
4. At the back side of the mounting wall, insert the clamp into the slide hole at the
side bracket on the panel. Fit the screw on the clamp and screw on both of
clamp and mounting wall. Please be careful and make sure that 6 clamps and
screws have been lock tightly.

PPC-090T-APL User’s Manual
IUMPPC090TAPL-01 Ver.1.0A Aug, 2019
12
1.6 Ordering Information
Product Code LCD Size CPU Type RAM
PPC 090T
104T
150T
150P
(PCAP)
N4
N3
4G
8G
1. Product Code:Code 1~3.
PPC:Panel PC Series.
2. LCD Size:Code 4~7。
090T:9” LCD with Resistive touch screen.
104T:10.4” LCD with Resistive touch screen.
150T:15” LCD with Resistive touch screen.
150P:15” LCD with PCAP touch screen.
3. CPU Type:Code 8~9。
N4: Intel Apollo Lake N4200.(Standard; Quad Core 6W)
N3: Intel Apollo Lake N3350.(Optional; Dual Core 6W)
4. RAM:Code 10~11。
4G:4GB. 8:8GB.
PS: Power adapter and cord must be showed separate because different county
has different power cord. The unit price includes power adapter and cord as below.
POWER-12V3.33A-FSP
POWERCABLE-FSP-US / POWERCABLE-FSP-EU

PPC-090T-APL User’s Manual
IUMPPC090TAPL-01 Ver.1.0A Aug, 2019
13
PART NUMBER
DESCRIPTION
PPC-090T-APL-N4-4G 9" Panel PC w/Intel Apollo Lake N4200/4GB DRAM
/3U/Giga LAN/2S/Touch/DC12V Power Input
PPC-090T-APL-N4-8G 9" Panel PC w/Intel Apollo Lake N4200/8GB DRAM
/3U/Giga LAN/2S/Touch/DC12V Power Input
PPC-090T-APL-N3-4G (BTO) 9" Panel PC w/Intel Apollo Lake N3350/4GB DRAM
/3U/Giga LAN/2S/Touch/DC12V Power Input
PPC-090T-APL-N3-8G (BTO) 9" Panel PC w/Intel Apollo Lake N3350/8GB DRAM
/3U/Giga LAN/2S/Touch/DC12V Power Input
POWER-12V3.33A-FSP AC – DC power adapter / DC12V @ 3.33A (AC 90 ~
240V Input)
POWERCABLE-FSP-US
/ POWERCABLE-FSP-EU
US/Euro power cord for POWER-12V3.33A-FSP
VESA-MT-PPC-APL-SET VESA mount bracket set

PPC-090T-APL User’s Manual
IUMPPC090TAPL-01 Ver.1.0A Aug, 2019
14
Ch. 2
System Installation
2.1 CPU Board Outline
2.2 Connector Summary
2.3 Connector Pin Assignments
2.4 External I/O Overview
2.5 External I/O Pin Assignment

PPC-090T-APL User’s Manual
IUMPPC090TAPL-01 Ver.1.0A Aug, 2019
15
2.1 CPU Board Outline
PPC APL CPU Board
This manual suits for next models
4
Table of contents
Other Icop Touch Panel manuals

Icop
Icop PEX-057T-5A User manual

Icop
Icop PPC-150T-D2N4N User manual

Icop
Icop PPC-104T-APL User manual

Icop
Icop PMX-090T-5A User manual

Icop
Icop PN8M-090T-P5A-N5GM User manual

Icop
Icop PDX2-057T-5A User manual

Icop
Icop PEX-090T-8A User manual

Icop
Icop PMX-057T-5A User manual

Icop
Icop HMI-043T-EM41N-O User manual

Icop
Icop PPC-150T User manual

Icop
Icop PDX-057T-D5A User manual

Icop
Icop PDX-057T-D5A-512 User manual

Icop
Icop PDX2-090T-5A User manual

Icop
Icop PDX2-090T-5A User manual

Icop
Icop PN8M Series User manual

Icop
Icop PDX3-090T-5A User manual

Icop
Icop HMI-043T-EM41N-B User manual

Icop
Icop PPC-150-D2 Series User manual

Icop
Icop PMX-090T User manual