manuals.online logo
Brands
  1. Home
  2. •
  3. Brands
  4. •
  5. IDTECK
  6. •
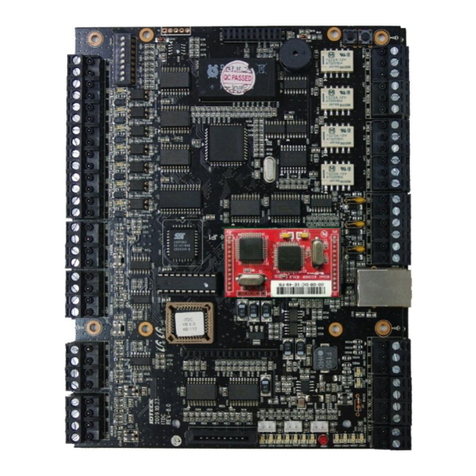
  7. IP Access Controllers
  8. •
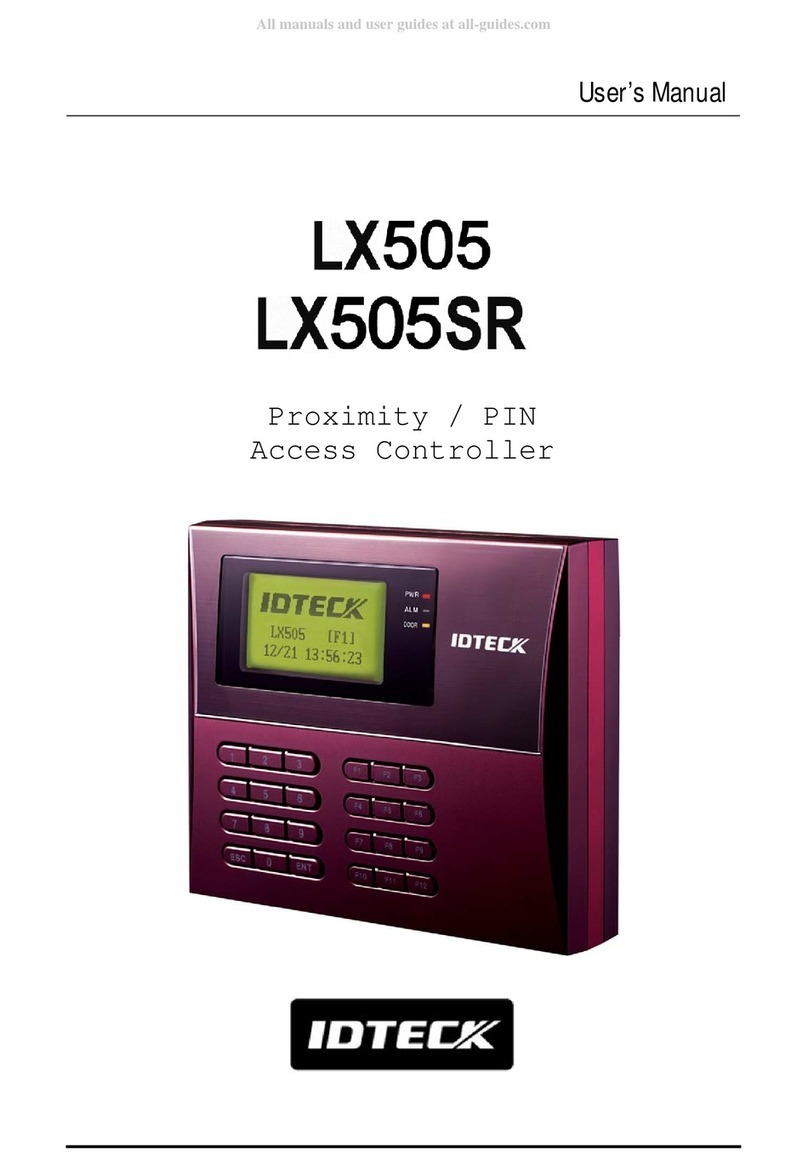
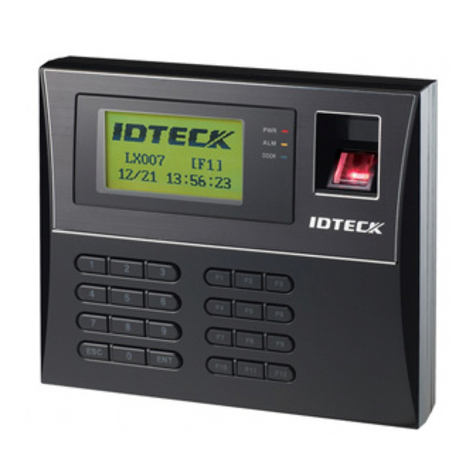
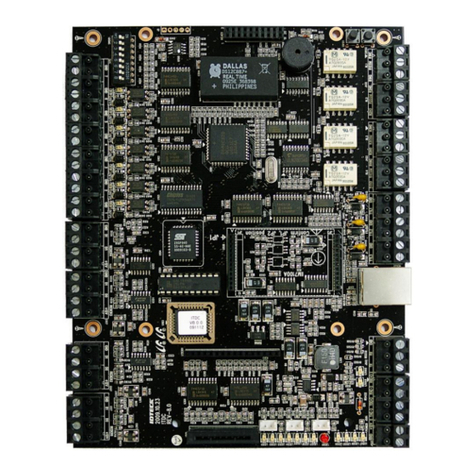
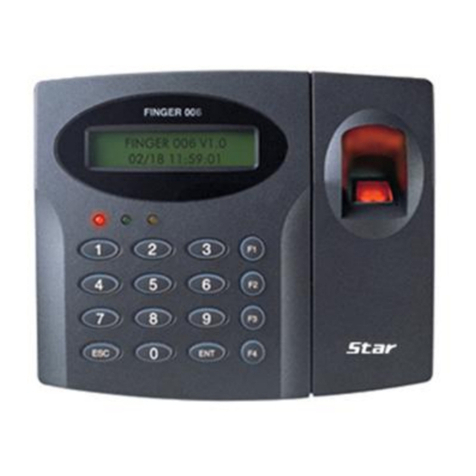
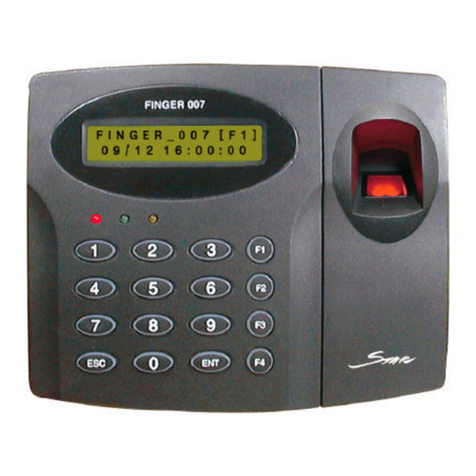
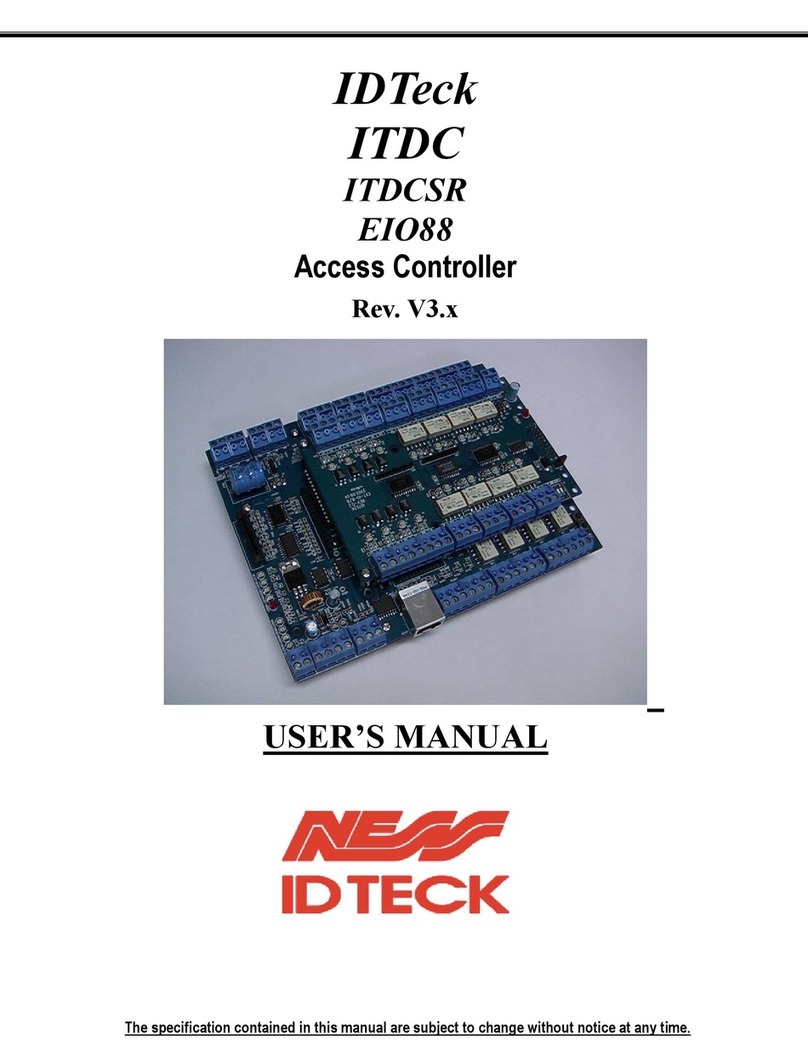
  9. IDTECK FINGER007 Series User manual

IDTECK FINGER007 Series User manual

HELP1
Switch on the backup battery, and initialize the device.
There is a switch for a backup battery inside the device. In order to prevent the backup battery
from being discharged, the switch for the backup battery is open (
i.e.
turned off) at the time of
shipment. To use the device, however, the switch must be turned on, so that the data recorded
in RAM memory can be kept over time. Follow the instructions below, according to the model
that you are using.
1. iTDC Series, iCON Series
1) Backup Battery Switch Setting
a. The Battery Jumper is originally left disconnected as shown in <Figure 1> to prevent battery discharge.
b. During installation, you have to connect the Battery Jumper as shown in <Figure 2>, so that the
Controller can retain data in the event of power failure.
<Figure 1> Battery Jumper location <Figure 2>
2) Initialization
▶If an LCD module is connected to the iTDC,
a. Apply DC power to the Controller and press the two INT Switches simultaneously. <Figure 3>
b. The LCD will display “Initialized OK Turn OFF Power…”. <Figure 4>
c. Power OFF and ON again. The Controller is now ready to work.
INT Switch Location <Figure 3> INT Switches <Figure 4> LCD Message
▶If an LCD module is NOT connected to the iTDC,
a. Apply DC power to the Controller and press the two INT Switches simultaneously. <Figure 3>
b. Power OFF the controller and wait for about 2 seconds. Then, power ON the controller again.
PRESS
Initialized OK
Turn OFF Power…
▶If an LCD module is connected to the iCON100,
a. Apply DC power to the Controller and set the DIP SW #8 to the OFF position. <Figure 5>
b. The LCD displays “Turn on DIP 8 Turn OFF Power…”. <Figure 6>
c. Power off the Controller and return the DIP SW #8 to the ON position. Then, power on the Controller
again. <Figure 7>
<Figure 5> <Figure 6> <Figure 7>
▶If an LCD module is NOT connected to the iCON100,
a. A Apply DC power to the Controller and set the DIP SW #8 to the OFF position. <Figure 5>
b. Wait for about 2 seconds. Then, power off the Controller and return the DIP SW #8 to the ON
position. Then, power on the Controller again. <Figure7>
2. FINGER006/007 Series, 505 Series, FACE006/007 Series
1) Battery Switch Setting
Turn on the backup battery switch as shown below.
2) Initialization
▶ Hard Initialization:
1. Power off the product, and connect the yellow and cyan wires
of the product to the GND. Turn on the power.
(See the diagram above.)
2. The LCD displays the ‘SYS INITIALIZE’ screen. To begin
initialization, press the button.
3. After the “Master Password” screen appears, enter the
password. (The default password is “3141”)
Turn on DIP 8
Turn OFF Power…
SYS INITIALIZE
1 – Yes, 0 - No
Master Password
[____]
1
12V
POWER
Red (+)
Cyan
Pink
Black (-)
4. The LCD displays the ‘System Initializing..’ message.
5. The LCD displays the ‘FP Module Initializing..’ message.
6. If the LCD displays the ‘System is Clear / Remove Wires!!’
message, it means a successful completion of initialization.
Then, turn off the power and separate the wires that were
connected together in Step1 and turn on the power again.
CAUTION: Initialization will delete all internal data of the
device such as IDs and settings.
▶ Initialization at the SETUP menu.
1. From the initial screen, enter the 8-digit (sometimes 10-digit)
Master ID and press . (Default =“00000000”)
2. After the “Master Password” screen appears, enter the
password. (The default password=“3141”)
3. The ‘Mode Selection (or READER 1 MODE)’ screen appears.
4. Press or until the LCD displays “SYS INITIALIZE”.
When it does, press .
5. Press , and the ‘System Initializing..’ message will appear.
The system is being initialized.
NOTE: All stored data will be lost after initialization.
6. After the initialization is completed, the LCD displays the ‘SYS
INITIALIZE’ message.
7. Use to quit the SETUP menu.
CAUTION: Initialization will delete all internal data of the device
such as IDs and settings.
FINGER_007 [F1]
MM/DD hh:mm:ss ENT
4 6
Master Password
[____]
Mode Selection
RF + FINGER(P/W)
SYS INITIALIZE
1 – Yes, 0 - No
System
Initializing..
ENT
1
System
Initializing..
FP Module
Initializing..
System is Clear
Remove Wires!!
ESC
FINGER_007 [F1]
MM/DD hh:mm:ss
SYS INITIALIZE
HELP2
If the noise problem is serious, protect the controller by using
termination resistors or shield wires.
1) Termination Resistor
Termination resistors are used to match impedance of the network to the impedance of the transmission line
being used. When impedance is mismatched, the transmitted signal is not completely absorbed by the
receiver and a portion of signal is reflected back into the transmission line.
The decision whether or not to use termination resistors should be based on the cable length and data rate
used by the communication system.
For example, if you use 9,600 baud rate and 1,200m length of cable, the propagation velocity of cable is
0.66 x speed of light (This value is specified by the cable manufacturer), if we assume the reflections will
damp out in three round trip up and down the cable length, the transmitted signal will stabilize 18.6us after
the leading edge of a bit. Since the data bit is captured in the middle of the bit which is approximately 52us
after the leading edge of a bit. The reflection stabilizing time 18.6us is much before the center of the bit
therefore the termination resistors are not required.
However, if you install the cable to maximum length, the impedance of cable and network is mismatched and
the transmitted signal is overlapped by the reflected signal. In this case, it is recommended to add
termination resistors to the end of the receiver lines. A 120Ω resistor can be used for termination resistor in
parallel between the receiver lines “A” and “B” for 2 wires RS485 system or “RX+” and “RX-” for 4 wires
RS422 system. A termination resistor of less than 90Ω should not be used and no more than 2 terminations
should be used in one networking system. Refer to the following picture for information about how to install
termination resistors.
▶ Installation of termination resistors.
<< RS485 Communication
RS422 Communication >>
2) Grounding System Using Shield Wires
We recommend using proper grounding system on the communication cable. The best method
for grounding system is to put the shield wire of the communication cable to the 1st class earth
grounding; however it is not so easy to bring the earth ground to the communication cable and
also the installation cost is raised. There will be three grounding point where you can find during
installation;
1. Earth Ground 2. Chassis Ground 3. Power Ground
The most important point for grounding system is not to connect both ends of shield wires to the
grounding system; in this case there will be a current flow through the shield wire when the
voltage level of both ends of shield wire is not equal and this current flow will create noise and
interfere to communications.
For the good grounding, we recommend to connecting ONLY one end of shield wire of
communication cable to grounding system; If you find earth ground nearby, then connect one
end of shield wire to earth ground; If you do not have earth ground nearby, then find chassis
ground and connect one end of shield wire to chassis ground; If you do not find both earth
ground and chassis ground, then connect one end of shield wire to power ground. (GND of the
product)
Note that if the chassis ground is not properly connected to the earth and floated from the ground
level, then grounding to the chassis ground will give the worst communication; in this case we
recommend to using power ground instead of chassis ground.
Figure: Grounding System
HELP3 (Procedure Based on FINGER007)
Re-register the card to the device and try again.
The following describes the procedure of fingerprint registration. (Pay special attention to STEP8 and STEP9.)
1. From the stand-by screen, enter the 8-digit Master ID and
press the button using the keypad. (The default
Master ID is “00000000”)
2. After the “Master Password” screen is displayed, enter the
Master Password. (The default password is “3141”)
3. The “Mode Selection” screen appears. Then, press
to move to the F3 SETUP MENU.
4. The “ID REGISTRATION” screen appears.
5. press , then you’ll be asked whether to register the
user by a card or using the keypad. If you’d like a card
registration, press , or, if you’d like to manually enter
the ID using the keypad, press .
6. If the “Key Input ID” message appears, enter the User ID
using the keypad. If the “Put ID Card” message appears,
present a card to the reader.
7. You’re required to enter the Password (PW), Time Schedule (TS),
Reader to be assigned (RD), and Use of Fingerprint (FP). Enter
appropriate values. For fingerprint registration, enter 1 in the FP field.
8. After the “To Register FP Put your FP on” message appears
and the fingerprint sensor is lit, place the finger you’d like to
register on the fingerprint sensor.
9. If the “Lift and Put FP” message appears, lift your finger up
and wait until the fingerprint sensor is lit again. After the
fingerprint sensor is lit, place your finger down again.
NOTE: If the Dual Finger Mode is applied, place a finger
different from the one used in STEP 8.)
10. If the “ID Registered” message is displayed, the ID
registration has completed successfully. Return to the Stand-
by mode by pressing . If a different message is
displayed, repeat the registration from STEP4.
MODE SELECTION
RF ONLY
FINGER_007 [F1]
MM/DD hh:mm:ss
Master Password
[ _ _ _ _ ]
ENT
F3
K
ey
I
npu
t
ID
->________
XXXXXXXX
PW____TS__RD_FP_
To Register FP
Put your FP on..
ID REGISTRATION
ENT
Lift and Put FP
WAITING…
ID Registered
[
Q#1:4
]
[
Q#2:3
]
P
u
t
ID
C
ar
d
Scanning…
1
2
ESC
CARD & Key Use
1-Card, 2-Key
HOWTO1 How to check if the internal data of the device is damaged.
(Procedure Based on FINGER007)
Internal data refers to the data stored in the device, including the Card Holder data (IDs,
passwords, fingerprint data), Time Schedule (T/S), Input/Output settings (IN/OUT Define), etc.
These settings and data are retained in the memory of the device, but if the backup battery gets
discharged or if the backup battery is switched off or if the device is affected by noise, the
internal data can get damaged and changed to other values. The following will explain how to
enter the SETUP MENU (also called Master Mode) on a device that has an LCD screen and check
internal settings and data.
1. From the stand-by mode, enter the 8-digit Master ID number
and press to enter the SETUP MODE. (The default
Master ID is “00000000”. For some models, it is
“0000000000”.)
2. After the “Master Password” screen appears, enter the Master
Password. (The default password is “3141”.)
3. The “Mode Selection (Reader Mode1)” screen appears.
You’ve now entered the SETUP MODE and you can check the
internal data and setting values.
4. After you’re done with the confirmation, press to quit
the SETUP MENU.
MODE SELECTION
RF ONLY
FINGER_007 [F1]
MM/DD hh:mm:ss
Master Password
[ _ _ _ _ ]
FINGER_007 [F1]
MM/DD hh:mm:ss
ENT
ESC
Function keys, from
F1
to
F4
, are for entering F1 SETUP MENU to F4 SETUP MENU, and
the navigation keys,
4
and
6
, are for moving to different submenus or for selecting
different items.
ENT
is used to change specific settings or to apply changed settings, and
ESC
is used to cancel settings or to return to the previous menu.
Confirm if the internal data such as stored Card Holder information (IDs, passwords, fingerprint
data), Time Schedule (T/S), Input/Output Settings (IN/OUT DEFINE) are the way they were
configured last time.
HOWTO2 How to check if the Card Holder (ID) is properly registered.
(Procedure Based on FINGER007)
If the ‘Unregistered ID’ error occurs, it is sometimes because the ID is not registered properly in
the device. You can confirm the list of registered IDs in the following way. If the problematic ID
proves to be unregistered, you’ll have to re-register it to the device. To find out about how to
register an ID, refer to HELP3.
1. From the stand-by screen, enter the 8-digit master and press
the button using the keypad. (The default password is
“00000000”)
2. After the “Master Password” screen is displayed, enter the
Master Password. (The default password is “3141”)
3. The “Mode Selection” screen appears. Then, press
to move to the F3 SETUP MENU.
4. The “ID REGISTRATION” screen appears.
5. Press twice, then the ‘ID LIST’ screen will appear.
6. Press , then you can check the list of the IDs
registered in the device. If there’s no ID registered, the
‘MEMORY EMPTY’ appears.
7. If there is more than one ID registered, information such as
the ID number, password, assigned Time Schedule, assigned
reader number, use of fingerprint will be displayed. Press
_ or to see if the ID you’re looking for is registered.
8. The “ID list TOP” and “ID list BOTTOM” messages mean that
the ID you’re looking at is at the top or at the bottom of the
list.
9. After you’re done with the ID confirmation, press to
quit the SETUP MENU.
ID LIST
MEMORY EMPTY
ID list BOTTOM
FINGER_007 [F1]
MM/DD hh:mm:ss
XXXXXXXX
XXXX XX XX
X
4 6
6
ENT
ESC
MODE SELECTION
RF ONLY
FINGER_007 [F1]
MM/DD hh:mm:ss
Master Password
[ _ _ _ _ ]
ENT
F3
ID REGISTRATION

This manual suits for next models

13

Other IDTECK IP Access Controllers manuals

IDTECK Star iCON100 User manual

IDTECK

IDTECK Star iCON100 User manual

IDTECK iTDC EIO8 User manual

IDTECK

IDTECK iTDC EIO8 User manual

IDTECK Star LX505 User manual

IDTECK

IDTECK Star LX505 User manual

IDTECK GE313 User manual

IDTECK

IDTECK GE313 User manual

IDTECK Star iCON100 User manual

IDTECK

IDTECK Star iCON100 User manual

IDTECK Star FINGER006 User manual

IDTECK

IDTECK Star FINGER006 User manual

IDTECK Star 505R User manual

IDTECK

IDTECK Star 505R User manual

IDTECK Star LX505 User manual

IDTECK

IDTECK Star LX505 User manual

IDTECK Star FINGER006 User manual

IDTECK

IDTECK Star FINGER006 User manual

IDTECK LX007 User manual

IDTECK

IDTECK LX007 User manual

IDTECK Star 505R User manual

IDTECK

IDTECK Star 505R User manual

IDTECK Star iCON100 User manual

IDTECK

IDTECK Star iCON100 User manual

IDTECK Star Finger007 User manual

IDTECK

IDTECK Star Finger007 User manual

IDTECK Star 100R User manual

IDTECK

IDTECK Star 100R User manual

IDTECK Star LX505 User manual

IDTECK

IDTECK Star LX505 User manual

IDTECK Star Finger007 User manual

IDTECK

IDTECK Star Finger007 User manual

IDTECK Star 100R User manual

IDTECK

IDTECK Star 100R User manual

IDTECK Star 505R User manual

IDTECK

IDTECK Star 505R User manual

IDTECK iPass IP-RFL200 User manual

IDTECK

IDTECK iPass IP-RFL200 User manual

IDTECK iTDC Operating instructions

IDTECK

IDTECK iTDC Operating instructions

IDTECK ITDC ITDCSR EIO88 User manual

IDTECK

IDTECK ITDC ITDCSR EIO88 User manual

IDTECK Star iCON100SR User manual

IDTECK

IDTECK Star iCON100SR User manual

IDTECK iPass IP-RFL200 User manual

IDTECK

IDTECK iPass IP-RFL200 User manual

Popular IP Access Controllers manuals by other brands

Keyscan CA8WL-AL installation guide

Keyscan

Keyscan CA8WL-AL installation guide

Anviz T5S user manual

Anviz

Anviz T5S user manual

SecuGen Hamster Air user guide

SecuGen

SecuGen Hamster Air user guide

AAS Advantage DKE 26-100sg Installation and programming instructions

AAS

AAS Advantage DKE 26-100sg Installation and programming instructions

UNIVIEW OET-213H-BTS1 quick guide

UNIVIEW

UNIVIEW OET-213H-BTS1 quick guide

GEM ST-630E Operation manual

GEM

GEM ST-630E Operation manual

Zennio Securel ZIO-SEC user manual

Zennio

Zennio Securel ZIO-SEC user manual

Essex Electronics iSmartSE user guide

Essex Electronics

Essex Electronics iSmartSE user guide

Kantech Ethernet Four-Door Controller KT-400 installation manual

Kantech

Kantech Ethernet Four-Door Controller KT-400 installation manual

ZKTeco BioPro SA30 installation guide

ZKTeco

ZKTeco BioPro SA30 installation guide

Matrix COSEC EBS200 How to reset

Matrix

Matrix COSEC EBS200 How to reset

Moniteq Crypto-Lock CC-8521B instruction manual

Moniteq

Moniteq Crypto-Lock CC-8521B instruction manual

Roger MC16-PAC-16 installation manual

Roger

Roger MC16-PAC-16 installation manual

Visonic Networks TAG-IN-A-BAG Installation and programming guide

Visonic Networks

Visonic Networks TAG-IN-A-BAG Installation and programming guide

Code ME24 user manual

Code

Code ME24 user manual

Ruijie RG-SC6705-SP Hardware  installation and reference guide

Ruijie

Ruijie RG-SC6705-SP Hardware installation and reference guide

Ness IDTECK iCON100 user manual

Ness

Ness IDTECK iCON100 user manual

Visionis VS-AXESS-4D-ETL-PCB installation manual

Visionis

Visionis VS-AXESS-4D-ETL-PCB installation manual

manuals.online logo
manuals.online logoBrands
  • About & Mission
  • Contact us
  • Privacy Policy
  • Terms and Conditions

Copyright 2025 Manuals.Online. All Rights Reserved.