manuals.online logo
Brands
  1. Home
  2. •
  3. Brands
  4. •
  5. Ingenico
  6. •
  7. Payment Terminal
  8. •
  9. Ingenico DESK/5000 User manual

Ingenico DESK/5000 User manual

Other manuals for DESK/5000

7

Other Ingenico Payment Terminal manuals

Ingenico ML30 Contactless User manual

Ingenico

Ingenico ML30 Contactless User manual

Ingenico PAYZONE iCT250 User manual

Ingenico

Ingenico PAYZONE iCT250 User manual

Ingenico iWL221 User manual

Ingenico

Ingenico iWL221 User manual

Ingenico iCMP User manual

Ingenico

Ingenico iCMP User manual

Ingenico PAYZONE iCT250 User manual

Ingenico

Ingenico PAYZONE iCT250 User manual

Ingenico EFT930G/B User manual

Ingenico

Ingenico EFT930G/B User manual

Ingenico IMP3 Series User manual

Ingenico

Ingenico IMP3 Series User manual

Ingenico PAYZONE iCT250 User manual

Ingenico

Ingenico PAYZONE iCT250 User manual

Ingenico PAYZONE iCT250 User manual

Ingenico

Ingenico PAYZONE iCT250 User manual

Ingenico Tetra Move/5000 User manual

Ingenico

Ingenico Tetra Move/5000 User manual

Ingenico Isc480 User manual

Ingenico

Ingenico Isc480 User manual

Ingenico Move3500 User manual

Ingenico

Ingenico Move3500 User manual

Ingenico PAYZONE iCT250 User manual

Ingenico

Ingenico PAYZONE iCT250 User manual

Ingenico PAYZONE iCT250 User manual

Ingenico

Ingenico PAYZONE iCT250 User manual

Ingenico iUP 250 Use and care manual

Ingenico

Ingenico iUP 250 Use and care manual

Ingenico IngePay Specification sheet

Ingenico

Ingenico IngePay Specification sheet

Ingenico IWL2G User manual

Ingenico

Ingenico IWL2G User manual

Ingenico iCT2 Series User manual

Ingenico

Ingenico iCT2 Series User manual

Ingenico Payzone iWL251 User manual

Ingenico

Ingenico Payzone iWL251 User manual

Ingenico iWL200 Series User manual

Ingenico

Ingenico iWL200 Series User manual

Ingenico AXIUM DX4000 Portable User manual

Ingenico

Ingenico AXIUM DX4000 Portable User manual

Ingenico iCT2 Series User manual

Ingenico

Ingenico iCT2 Series User manual

Ingenico AXIUM EX8000 User manual

Ingenico

Ingenico AXIUM EX8000 User manual

Ingenico i7910+ User manual

Ingenico

Ingenico i7910+ User manual

Popular Payment Terminal manuals by other brands

LinkPoint 9100 Installation guides

LinkPoint

LinkPoint 9100 Installation guides

PAX D180SRF manual

PAX

PAX D180SRF manual

LinkPoint AIO Reference manual

LinkPoint

LinkPoint AIO Reference manual

Moneris hispeed 6200 operating manual

Moneris

Moneris hispeed 6200 operating manual

Optimum M4230 installation guide

Optimum

Optimum M4230 installation guide

Triton RL5000 Service manual

Triton

Triton RL5000 Service manual

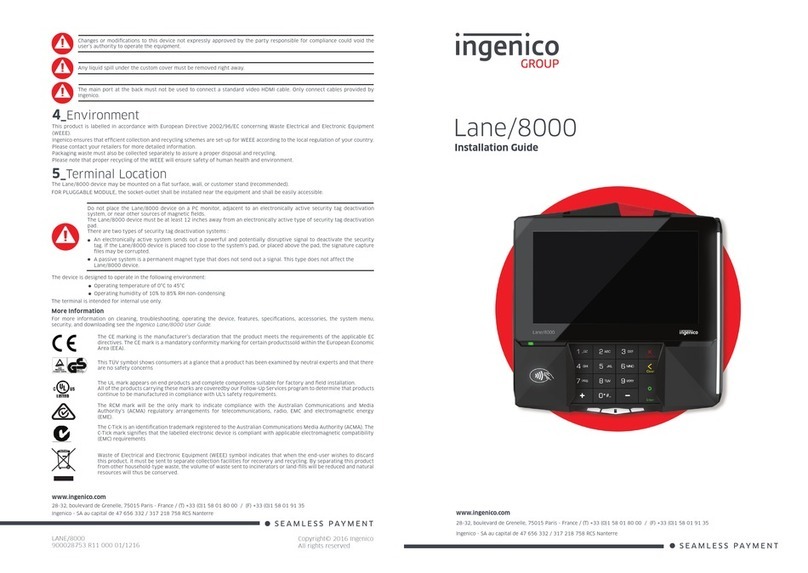
Ingenico group Lane/8000 installation guide

Ingenico group

Ingenico group Lane/8000 installation guide

Infinite Peripherals Infinea Tab Lite user manual

Infinite Peripherals

Infinite Peripherals Infinea Tab Lite user manual

VeriFone VX 520 Series user manual

VeriFone

VeriFone VX 520 Series user manual

Optomany axept S900 user guide

Optomany

Optomany axept S900 user guide

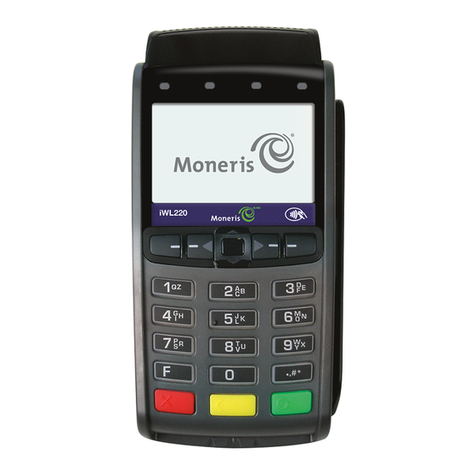
Moneris iWL220 reference guide

Moneris

Moneris iWL220 reference guide

PAX S920 Quick reference guide

PAX

PAX S920 Quick reference guide

Moneris iWL220 reference guide

Moneris

Moneris iWL220 reference guide

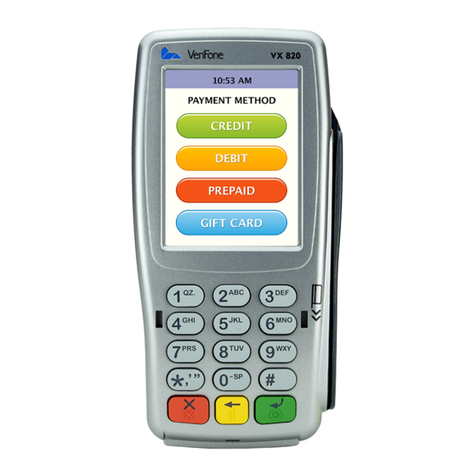
VeriFone HICAPS VX820 user guide

VeriFone

VeriFone HICAPS VX820 user guide

Skyzer iWL252 BLUETOOTH quick guide

Skyzer

Skyzer iWL252 BLUETOOTH quick guide

Magtek DYNAPRO Quick installation guide

Magtek

Magtek DYNAPRO Quick installation guide

VeriFone UX401 installation guide

VeriFone

VeriFone UX401 installation guide

Casio QT-2000 user manual

Casio

Casio QT-2000 user manual

manuals.online logo
manuals.online logoBrands
  • About & Mission
  • Contact us
  • Privacy Policy
  • Terms and Conditions

Copyright 2025 Manuals.Online. All Rights Reserved.

Ingenico
• User friendly and intuitive interface.
• Touchscreen selection, including
on-screen signature capture.
• Hardware that meets the latest
Payment Card Industry (PCI)
compliance standards
• Quick Chip technology for quicker
card handling at the Point of Sale.
• EMV Contactless acceptance for
faster payment experience.
Quick
Reference
Guide
Review this Quick Reference Guide to
learn how to run a sale, settle your daily
card transactions, and troubleshoot
terminal responses.
1
2
3
4
5
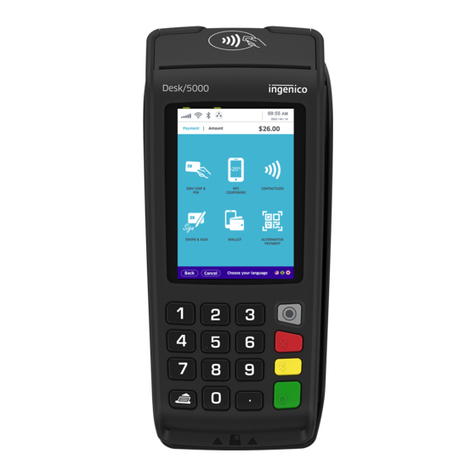
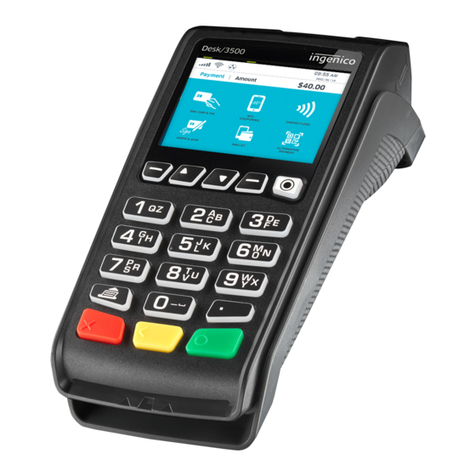
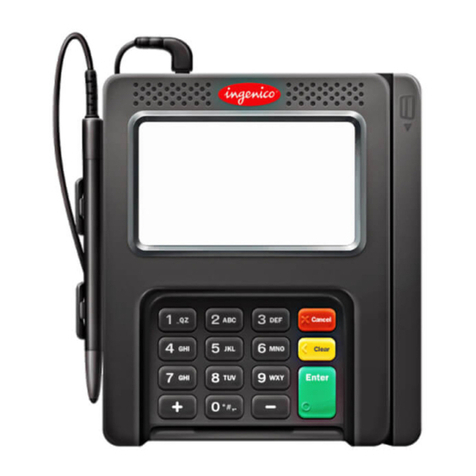
DESK/5000
Keyboard Functionality
The function key accesses the
dierent application menus.
The red key cancels the transaction
or function in progress.
The yellow key deletes the last
character.
The green key accepts or conrms
the action. It is also used to switch
on the terminal.
Advance paper feed.
1
2
3
4
5
Basic Functions
Below are some common transactions to help you start processing right away.
To access the touchscreen Transaction Menu, Press the green key [ ].
Process a Sale Process a Refund Void a Transaction
Press Sale icon Press Return icon Press Void icon
Enter the sale amount
and press the green
key [ ]
Select 1 — CREDIT
Optional prompts may
appear depending on
terminal conguration.
Swipe, insert, tap or key
the card and press the
green key [ ]
Additional optional prompts
may appear depending on
terminal conguration.
Remove card.
Terminal will display VOID
response and print a VOID
receipt.
If ALL is selected, use the
arrow keys to scroll through
the transactions and press
the Green/ENTER key to
select a transaction to be
voided.
Select 1 — CREDIT
Enter the password
and press the green
key [ ] Use search menu to locate
transaction:
1 = All
2 = Reference #
3 = Clerk #
4 = Invoice # / PO#
5 = Account #
6 = Customer #
7 = RRN
8 = Approval Code
Swipe, insert, tap or key
the card and press the
green key [ ]
Enter the return
amount and press
the green key [ ]
Instruct customer to
remove card.
Enter the expiration
date and press the
green key [ ] Conrm void $X.XX?
Select Yes or No.
Restaurant Features
Below are some additional transaction that
are common with Restaurant congurations.
Tip Adjust Open/Close Tab
Press [ 6 ]
This is a HOT KEY that can
be selected from the main
Idle Screen.
Press [ 2 ]
This is a HOT KEY that can
be selected from the main
Idle Screen.
If ALL is selected, use the
arrow keys to scroll through
the transactions and press
the Green/ENTER key to
select a transaction to add tip.
Accept or Change?
Select Accept to continue.
Enter server ID and press
the green key [ ]
Swipe, insert, tap or key
the card and press the
green key [ ]
Select 2 to close a tab.
Close tab amount $X.XX,
choose accept or change.
Enter the tip amount
and press the green
key [ ]
Remove card.
Use search menu to select
transaction to adjust.
Select 1 to open a tab.
Enter tip amount
and press the
green key [ ]
Adjust another?
Select Yes to adjust
additional tips.
Enter tab amount and
press the green key [ ]
Enter the expiration
date and press the
green key [ ]
Use search menu to
select tab to close.
Tip required?
Select Yes or No.
Conrm total.
Select accept or change.
Server Menu
Press [ # ]
This is a HOT KEY that can
be selected from the main
Idle Screen.
Select from the list:
1 = Add ID
2 = Delete ID
3 = Print ID List
4 = Clerk Auto Add
5 = Server Prompt
6 = Clerk Wording
7 = Display Parameters
Enter Server ID and press
the green key [ ]
Add another?
Select Yes or No.
Select 1 — Server Menu
Select 1 to add a Server ID.
Server ID Added.
More Information and Support
Below is some helpful information about transaction
functions and accessing support.
Set a Password
Upon receiving your terminal, you will be required to create an Admin
username and passcode. Once that is created, please access the Admin
Menu (grey button) to setup your Manager and Supervisor passcode.
If you need help setting up a password or password settings, you can
call our 24/7 client support team at 1-800-774-1523.
Settling Your Daily Card Transactions
Settlement is the process of managing your daily card transactions as they
clear through the payment brands and are then funded to your banking
account.
There are two ways to set-up your account for settlement as follows:
1. Host capture is a set-up option primarily used for retail and professional
services accounts that don’t accept tips. Transactions are automatically
settled at a specied time.
2. Terminal Capture is primarily used for restaurant business types and any
service business accepting tips. With this set-up, your terminal stores the daily
transaction for settlement. You can choose either Manual Settlement (default)
or Auto Settlement. Please contact client support for further information.
Manual Settlement
If your terminal is set to Manual Close, press the green key [ ] to access
the Main Menu, use the scroll keys to navigate to Settlement and press the
green key [ ] to select. Then follow the prompts displayed on the terminal
display.
Timed Auto Settlement
If your terminal is set to Timed Auto Settle, it will automatically settle
transactions in the current batch at a specic, predetermined time, within
a 24-hour period. If the terminal is unplugged or turned o before the set
time, the auto settlement will occur when the terminal is turned on again.
To adjust the Auto Settlement time, please contact our 24/7 client support.