Future-proof your payments
Correct as of 19/08/2021
©ClearAccept Ltd
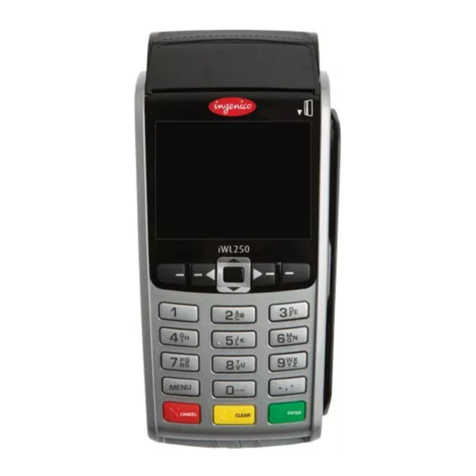
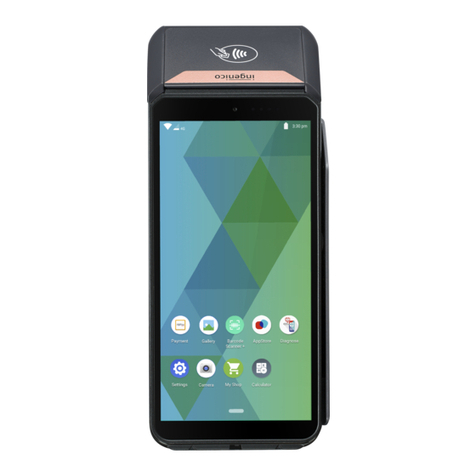
WIFI
From the “Not Ready” Screen
1. Tap F3
2. Tap Control panel
3. Tap Terminal Settings
4. Tap Communication Means
5. Tap Wi-Fi
6. Tap Scan Networks
7. The Terminal will now scan for all available Networks
8. Tap on the Network you wish to connect to
9. Enter your Wi-Fi Password
10. Press the Green button to confirm
11. The Wi-Fi icon located in the top left-hand corner of the screen will turn green once
connected
12. Press the Red CANCEL to return to the ‘Not Ready’ screen
Ethernet - Bluetooth
To complete this process the supplied Purple IP/CAT5 cable should be plugged into the
corresponding port on the base (see Your Base) as well as a live data port/router and the terminal
must be placed on the charging cradle and the cradle must be attached to mains power.
From the “Not Ready” Screen
1. Tap Control panel
2. Tap Terminal Settings
3. Tap Communication Means
4. Tap Bluetooth
5. Tap Base
6. Tap Association
7. Tap New Base
8. The terminal will now display ‘Association in progress.’
9. The screen will display ‘Association Successful’
10. The terminal will return to the screen from Step 8/H expand
11. The Bluetooth icon located in the top left-hand corner of the screen will turn green once
connected
12. Press Red CANCEL to return to the ‘Not Ready’ Screen
Changing the supervisor password
When setting up your terminal it is recommended that you change the Supervisor Password once
you have completed the installation process and prior to taking your first transaction. To complete
this process please follow the below steps, from the READY screen.
1. Press Menu x2
2. Using the down button scroll to Supervisor
3. Enter the default password (01483) and press OK
4. Select Password and press OK
5. Select Change PWD and press OK
6. Enter your new password and press OK
7. Re-enter your new password and press OK
8. The screen will then briefly show ‘Parameter Saved’
