manuals.online logo
Brands
  1. Home
  2. •
  3. Brands
  4. •
  5. Ingenico
  6. •
  7. Payment Terminal
  8. •
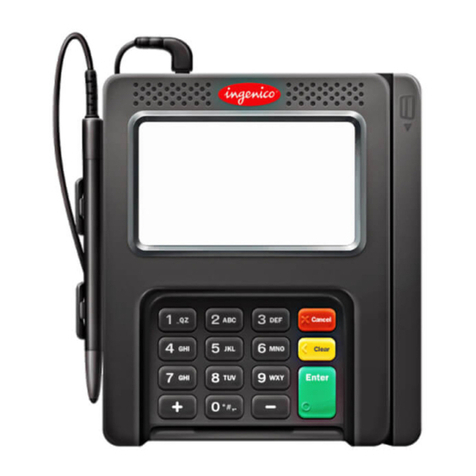
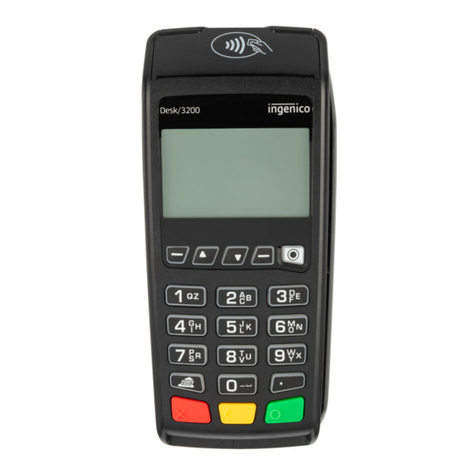
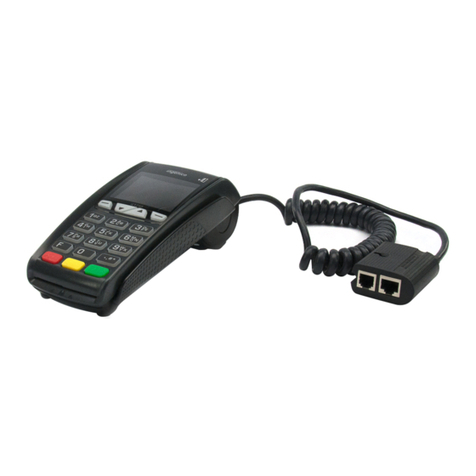
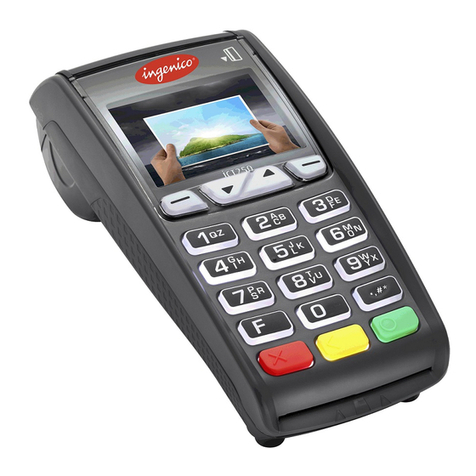
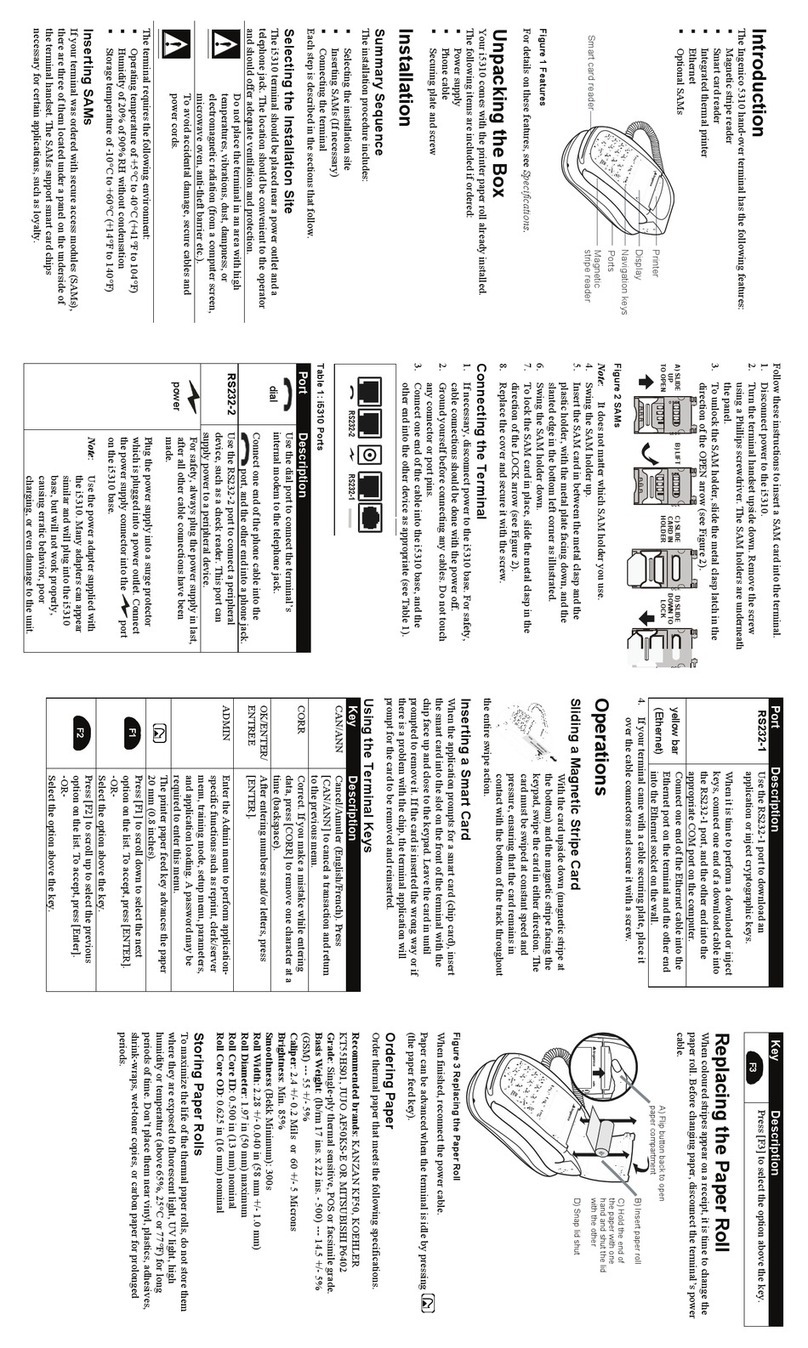
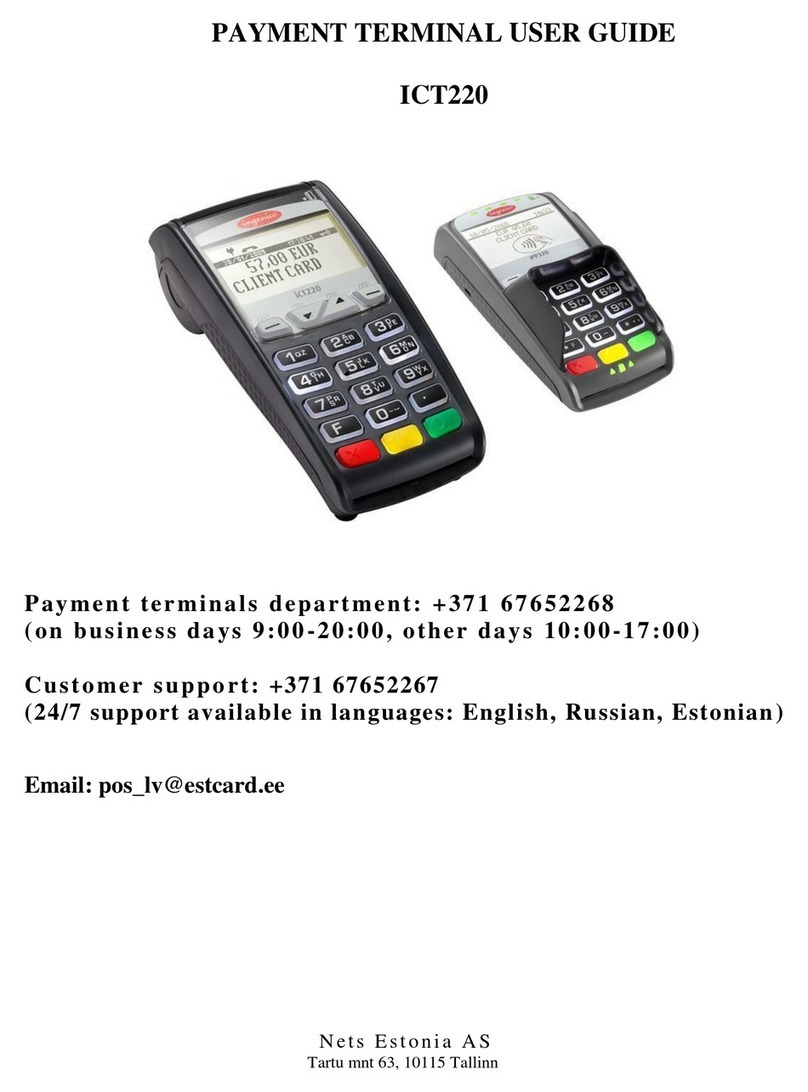
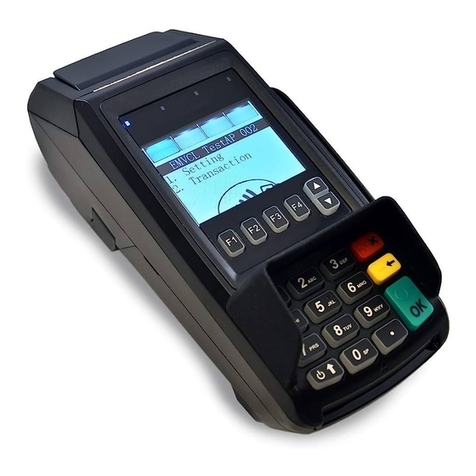
  9. Ingenico VeriFone Series User manual

Ingenico VeriFone Series User manual

©2017 Elavon Canada Company. Elavon is a registered trademark in the United States and/or other countries. Services within Canada provided by Elavon Canada Company.
All rights reserved. This document is prepared by Elavon as a service for its customers. The information presented is general in nature and may not apply to your specific
situation.
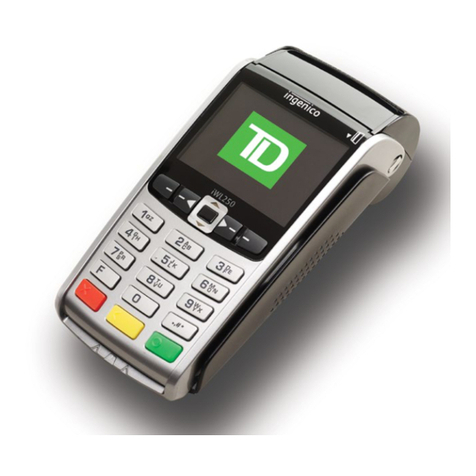
This guide provides at-a-glance tips and information for processing transactions
using an Ingenico terminal. To learn more about your product, we encourage you to
visit www.paymentsinsider.com. There, you will find information to help manage your
business, access to user guides and video demonstrations, and access to reporting
and self-service tools.
ACCEPTING PAYMENTS
Credit Cards – associated with a line of credit, these cards include Visa, Mastercard,
American Express, Discover Network, Diners Club International, China Union Pay
and JCB.
Debit Cards – associated with a bank account, these cards can be PIN-based,
signature- based or both. Signature-based cards should be processed just like a credit
card. PIN-based cards require the Cardholder to enter their PIN via the PIN pad inte-
grated or attached to your point-of-sale solution.
If you would like to accept additional payments at your business or add a PIN pad,
contact your sales representative.
TRANSACTION TYPES
There are five types of transactions: Card Present, Card Not Present, Credit/Refunds,
Delayed Delivery and Forced Transactions. Card Present, Card Not Present, and Credit/
Refunds are the three most common transaction types described here. For information
about Delayed Delivery and Forced Transactions, please visit www.paymentsinsider.com.
1. Card Present Sales occur when the cardholder is with you at the point of sale and
can sign the receipt. These must be processed in one of two ways:
• Card-Swiped/Card-Inserted Transaction – this is the method of choice always. It is
safer for your business and costs less money.
• Key-Entered or Manual Transaction – if your point-of-sale device cannot read the
card, you will have to manually enter the card number and other prompted
information.
2. Card Not Present Sales occur when the cardholder is not present at your point-of-
sale to sign the receipt. Businesses that accept cards via Mail Order, Telephone Order
or e-Commerce are examples of card not present environments. Before you process
a card not present transaction, you must obtain important information from your
customers:
• Cardholder’s account number
• Card expiration date
• Cardholder’s billing and shipping addresses (if different)
• Cardholder’s telephone number and email address
• CVVS/CVC2/CID number (security code for the card)
The security code and address verification requirements are important steps you may
take to minimize your business’ risk to chargebacks – when a customer changes his
mind about a service that you have already provided. To learn more about security and
fraud prevention, visit www.paymentsinsider.com.
www.paymentsinsider.com
for user guides and other DIY
tips
24/7 Customer Service for
when you need to speak with
someone (have your Merchant
ID number handy)
24/7 Voice Authorization
Center for when you need to
obtain an authorization code
for a transaction but don’t
have a working POS device
OR if the Card Issuer requests
additional information during
electronic authorization
Quick Reference Guide
Transaction Quick Tips
VeriFone®Series
LET’S TALK:
3. Credit/Refund Transactions are performed when you
make a mistake or need to facilitate a refund and the
transaction has already been settled. Credits may only be
processed to the card used for the original transaction.
Do not issue a credit by giving the cardholder cash (or a
check) if the original purchase was made with a card.
Also, do not credit a card for purchases originally made
by cash or check. If you have a special policy regarding
returns or refunds, make sure you clearly post it at the
point of sale and print it on the transaction receipt close to
the cardholder’s signature.
TRANSACTION RESPONSES
When you process a card, the four most common
responses received are Approved, Decline, Pick Up Card, and
Referral or Call Authorization. Descriptions of these responses
are below:
1. Approved – Good news! Complete the transaction.
2. Decline – You will need to ask for an alternative form of
payment.
3. Pick Up Card – This one is tricky. The Card Issuer is
asking you to decline the transaction and not to return
the card to the cardholder. We have tips to help you
manage this and encourage you to read them by visiting
www.paymentsinsider.com. You can learn about manag-
ing Code 10 Security Alerts and what to do with an
unauthorized card.
4. Referral or Call Authorization – This means the Card
Issuer wants you to call the Voice Authorization Center to
provide additional information or obtain an approval code.
Once you make the call, you will receive an approval or
decline.
TIPS & HINTS
Can I Void a Transaction? Yes! A void can be performed if
you ran the transaction incorrectly or a customer changes
his mind after the transaction is complete but not yet settled.
Voiding a transaction makes it appear to the cardholder as if
the transaction never happened. To learn how to void a
transaction on your point-of-sale solution, please reference
the flip side of this guide or visit www.paymentsinsider.com.
How Do I Settle Daily Transactions? Great question! You
need to settle transactions every day! Settling transactions is
required in order for us to fund your account. Higher rates
may apply if transactions are not settled daily. To learn
how to settle transactions on your point-of-sale solution,
please reference the next page of this guide or visit
www.paymentsinsider.com.
What is EMV? EMV, or chip cards, may be new to the US
but are in wide use globally. There are over 2 billion chip
cards in circulation world-wide, which have become popular
due to the increased security protection they offer com-
pared to the traditional magnetic stripe card. Elavon offers
EMV-capable equipment, so you can process both card
types quickly and easily.
TIPS FOR PROCESSING
• To scroll through the menu, press MORE
• Press 3 multiple times until the paper advances to
desired length
CREDIT/DEBIT SALE
• Select SALE
•Input amount and press ENTER
•If prompted, select YES to confirm amount or NO to
cancel transaction
•If NO is selected, press CANCEL to end transaction
•Swipe, insert, or tap card, or manually enter the account
# and press ENTER
•If prompted, select CREDIT or DEBIT
• If prompted “Enter PIN or press Enter”, cardholder
enters PIN or presses ENTER to bypass
Restaurant Prompts
• If prompted, select Tip % or select OTHER AMOUNT to
key amount
• If OTHER AMOUNT is selected, enter the Tip Amount
and press ENTER
Manually-Keyed Security Prompts
• Input expiration date and press ENTER
• Select YES or NO to indicate card presence
• If YES is selected, imprint card and press ENTER
• Input V-Code and press ENTER
• If prompted, input Street Address and press ENTER
• If prompted, input Zip Code and press ENTER
(The transaction processes and a Merchant Copy of the
receipt prints)
• Select YES to print Customer Copy
• If prompted “Amt Exceeds Bal – Amt Authorized $00.00,
Balance Due $00.00, Continue?” select YES and collect
remaining amount due with another form of payment or
NO to reverse the authorization and cancel the
transaction
REPRINT
• Press REPRINT
• Select LAST RECEIPT, or select ANY RECEIPT and
follow prompts
• Requested Merchant Copy of the receipt prints
• Select YES to print Customer Copy
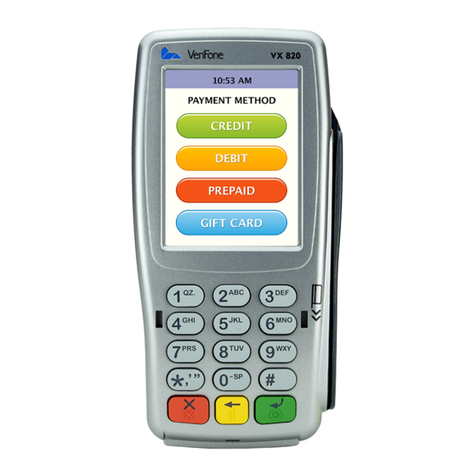
= Cancel/No
= Backspace
= Enter/Yes
CREDIT/DEBIT REFUND
• Select REFUND
• If prompted, enter password and press ENTER
• Input amount and press ENTER
•If prompted, select YES to conrm amount or NO to
cancel transaction
•If NO is selected, press CANCEL to end transaction
• Swipe, insert, or tap card, or manually enter the account
# and press ENTER
• If prompted, select CREDIT or DEBIT
• If prompted “Enter PIN or press Enter”, cardholder
enters PIN or presses ENTER to bypass
• If prompted, enter Orig Tran Date and press ENTER
• If manually keyed, enter expiration date and press
ENTER
• If manually keyed, imprint card and press ENTER
(The transaction processes and a Merchant Copy of the
receipt prints)
• Select YES to print Customer Copy
CREDIT/DEBIT VOID
• Select VOID
• Select YES to void last transaction or NO to void a
different transaction
• If YES is selected, proceed to next step
• Select YES if desired transaction is displayed, select
NEXT to review other transactions, or select NO to exit
Void menu
• If NO is selected, proceed to next step
• Select INV# or ACCT# to search transactions
• Input Invoice # or last 4 digits of account # and press
ENTER
• Select YES if desired transaction is displayed, select
NEXT to review other transactions, or select NO to exit
Void menu
(The transaction processes and a Merchant Copy of the
receipt prints)
• Select YES to print Customer Copy
REPORTS
• Press REPORTS
• Select from displayed reports or press key below until
option appears
• Select the desired report
• If displayed, respond to additional prompts
• Selected report will print
CREDIT FORCE
• Select FORCE
• Input amount and press ENTER
• If prompted, select YES to confirm amount or NO to
cancel transaction
• If NO is selected, press CANCEL to end transaction
• Swipe, insert, or tap card, or manually enter the account
# and press ENTER
• Select CREDIT
• If manually keyed, enter expiration date and press
ENTER
• If prompted, select SALE or PHONE
• If SALE is selected, imprint card and press ENTER
• Input approval code and press ENTER
(The transaction processes and a Merchant Copy of the
receipt prints)
• Select YES to print Customer Copy
TIP ADJUSTMENT
Note: Tip Adjustment is not allowed on some transactions
• Press TIP
• Retrieve by SRVR, AMT, ACCT, or INV# to search
transactions
• Input Server ID, Amount, Last 4 digits of account # or
Invoice # and press ENTER
• Select ADJ to adjust the displayed transaction
• Select PREV or NEXT to scroll
• Select CANCEL to exit tip adjust
• If ADJ is selected:
• The current tip amount will display if entered
• Input new tip amount and press ENTER
• Tip adjust will display “Approved”
• Select CANCEL to return to Tip menu
SETTLEMENT
• Select SETTLEMENT
• If prompted, enter password and press ENTER
• Confirm totals on display and press ENTER
• The Settlement processes and the Settlement Report
prints

Other Ingenico Payment Terminal manuals

Ingenico iPP350 User manual

Ingenico

Ingenico iPP350 User manual

Ingenico PAYZONE iCT250 User manual

Ingenico

Ingenico PAYZONE iCT250 User manual

Ingenico iCT220, iCT250 User manual

Ingenico

Ingenico iCT220, iCT250 User manual

Ingenico PAYZONE iCT250 User manual

Ingenico

Ingenico PAYZONE iCT250 User manual

Ingenico IWL220 GPRS User manual

Ingenico

Ingenico IWL220 GPRS User manual

Ingenico iUC280 User manual

Ingenico

Ingenico iUC280 User manual

Ingenico iwl255 User manual

Ingenico

Ingenico iwl255 User manual

Ingenico AXIUM DX8000 User manual

Ingenico

Ingenico AXIUM DX8000 User manual

Ingenico IWL220 GPRS User manual

Ingenico

Ingenico IWL220 GPRS User manual

Ingenico Self 7000 User manual

Ingenico

Ingenico Self 7000 User manual

Ingenico iPP350 User manual

Ingenico

Ingenico iPP350 User manual

Ingenico FIT111 User manual

Ingenico

Ingenico FIT111 User manual

Ingenico PAYZONE iCT250 User manual

Ingenico

Ingenico PAYZONE iCT250 User manual

Ingenico iCT220, iCT250 User manual

Ingenico

Ingenico iCT220, iCT250 User manual

Ingenico iCT220, iCT250 User manual

Ingenico

Ingenico iCT220, iCT250 User manual

Ingenico PAYZONE iCT250 User manual

Ingenico

Ingenico PAYZONE iCT250 User manual

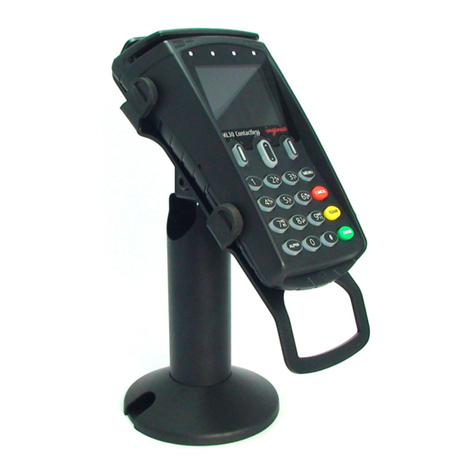
Ingenico ML30 Contactless User manual

Ingenico

Ingenico ML30 Contactless User manual

Ingenico ELITE 790 User manual

Ingenico

Ingenico ELITE 790 User manual

Ingenico PAYZONE iCT250 User manual

Ingenico

Ingenico PAYZONE iCT250 User manual

Ingenico i6780 User manual

Ingenico

Ingenico i6780 User manual

Ingenico DESK/5000 User instructions

Ingenico

Ingenico DESK/5000 User instructions

Ingenico FLEX IPP320 User manual

Ingenico

Ingenico FLEX IPP320 User manual

Ingenico iWL2 Series User manual

Ingenico

Ingenico iWL2 Series User manual

Ingenico iCT 200 Series User manual

Ingenico

Ingenico iCT 200 Series User manual

Popular Payment Terminal manuals by other brands

ANZ HealthPay operating guide

ANZ

ANZ HealthPay operating guide

VeriFone VX 675 Series manual

VeriFone

VeriFone VX 675 Series manual

Windcave iPP350 manual

Windcave

Windcave iPP350 manual

EVOLV evolvPay 100 manual

EVOLV

EVOLV evolvPay 100 manual

VeriFone P400 installation guide

VeriFone

VeriFone P400 installation guide

Banksys Xentissimo product manual

Banksys

Banksys Xentissimo product manual

Invenco NCR OPTIC 5 installation instructions

Invenco

Invenco NCR OPTIC 5 installation instructions

PayFacto PAX A920 Configuration and setup

PayFacto

PayFacto PAX A920 Configuration and setup

dejavoo Z Series Quick reference guide

dejavoo

dejavoo Z Series Quick reference guide

XAC RP-10 Installation guides

XAC

XAC RP-10 Installation guides

Moneris Go Plus Setting up

Moneris

Moneris Go Plus Setting up

ANZ Medicare Easyclaim operating guide

ANZ

ANZ Medicare Easyclaim operating guide

Worldline VALINA product manual

Worldline

Worldline VALINA product manual

dejavoo Z9 Quick reference guide

dejavoo

dejavoo Z9 Quick reference guide

SmartPay PAX S300 Getting started guide

SmartPay

SmartPay PAX S300 Getting started guide

Payment Express SCR200VN Hardware guide

Payment Express

Payment Express SCR200VN Hardware guide

FEITIAN ePayPOS600 introduction

FEITIAN

FEITIAN ePayPOS600 introduction

myPOS Combo user manual

myPOS

myPOS Combo user manual

manuals.online logo
manuals.online logoBrands
  • About & Mission
  • Contact us
  • Privacy Policy
  • Terms and Conditions

Copyright 2025 Manuals.Online. All Rights Reserved.