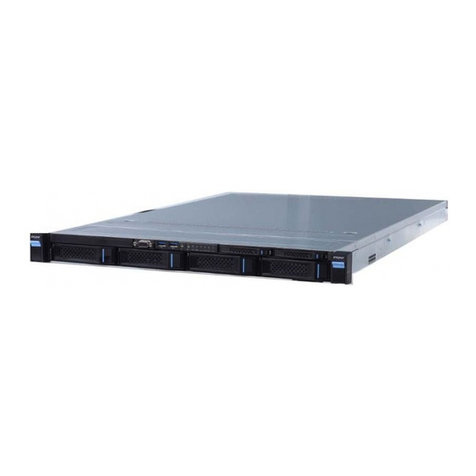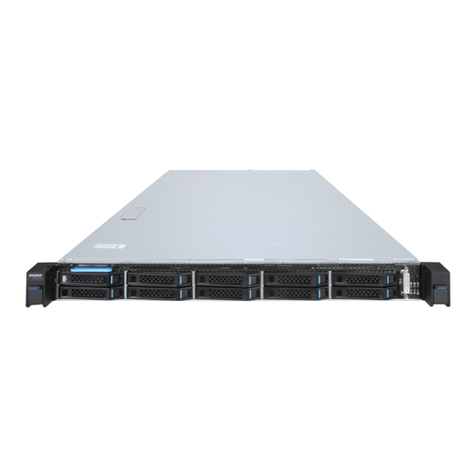
Rail-Kit Contents
Rack-Mounted Server Installation Guide V1.0
Installing the Rails to the Server
1.Fully extend the inner rail until
it clicks into a locked position,
and then pull the white tab
forward to slide and remove the
inner rail from the middle rail.
NOTE: When removing the inner rail, the
middle rail extends with the inner rail. Pull up
the release tab (a) to slide the middle rail back.
2.Align and attach the keyholes of the inner rail to the standos on the side of the
server, and then slide the inner rail toward the rear of the server to the locked
position. Repeat the same steps to install the other inner rail.
NOTE: Make sure the left and right inner rails (with “L” and “R” letters) are
correctly installed to the server. The sides with the letter L and R face outward.
1.Open both handles on the front
of the server, and then loosen the
two thumb screws securing the
server in place. Carefully slide the
server out until it is in a locked
position.
2.Pull the two white tabs forward
simultaneously. Slide and remove
the inner rails along with the
server from the rack
3.Pull up the release tab (a) to slide
the middle rail back.
Inner Rail
Middle Rail
Outer Rail
Front Bracket
Rear Bracket
Removing the Server from the Rack
Follow the preceding steps to remove the rails from the rack.
Removing the Rails from the Server
Slightly pull the plate outward and
slide the inner rail toward the front of
the server to remove the inner rail from
the server. Repeat the same step for
the other inner rail.
NOTE: Avoid applying excessive
force to the plates.
Removing the Rails from the Rack
1.Align the pins on the rear bracket to the desired position of the back of the
rack.
2.Press the locking latch to insert the pins and then press it again in the
opposite direction to engage the pins with the rack.
3.Align the pins on the front bracket to the corresponding position of the front
of the rack.
4.Press the locking latch to insert the pins and then press it again in the
opposite direction to engage the pins with the rack.
5.Repeat step 1-4 to install the other rail to the rack. Make sure the left and
right rails (with “L” and “R” letters) are correctly installed to the rack. The
side with the release tab face outward.
NOTE: The front bracket and rear bracket secured to the rack, and two
rail-kits MUST be installed at the same height.
Installing the Rails to the Rack
1.Fully extend the middle rail to its locked position. Gently lift up the server
and slide the inner rails to the middle rails until the server is in a locked
position.
NOTE: Make sure the ball retainer fully appears.
2.Pull the blue tabs forward or backward, and then carefully push the server
all the way into the rack.
3.Open both handles on the front of the server, and then tighten the two
thumb screws to secure the server in place.
Installing the Server to the Rack
Rotate
Rotate
Front bracket
Rear Bracket
Locking
Latch
Pull
White Tab
Keyhole
Blue Tab
Ball
Retainer
Click
White Tab
Note: Avoid pinching fingers
and hands when installing.
Rail2
