Install the other rail and stopper in the same
way.
Installing the bracket (Optional)
When the chassis is equipped with
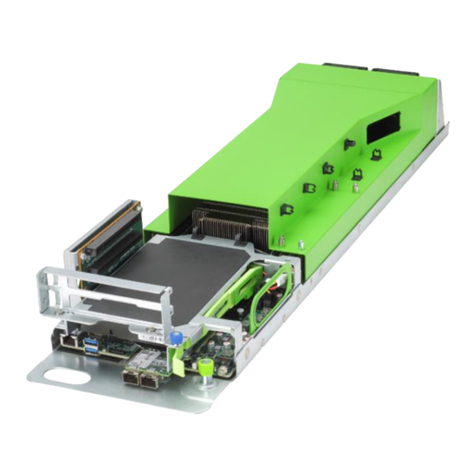
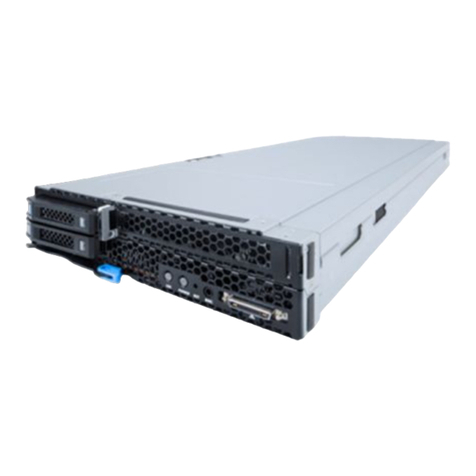
NS5484M5/NS5482M5/NS5482M5JD nodes, it needs to
install the bracket.
First install the NUTs below the rail on the cabinet, and
then use six screws to fix the bracket on the cabinet.
The bracket should be next to the rail.
Installing the server into the cabinet
Step1: Align the server chassis with the
rails and horizontally push it into the
cabinet.
Remove the two rear handles:
Pull out the screw as indicated by arrow
① and rotate the screw to fix the screw.
Move the handle as indicated by arrow
② to remove the handle.
Continue to push the chassis into the
cabinet.
This rail is suitable for 9.2*9.2mm, 9.5*9.5mm square-hole cabinets and Ø7.1mm round-hole
cabinets.
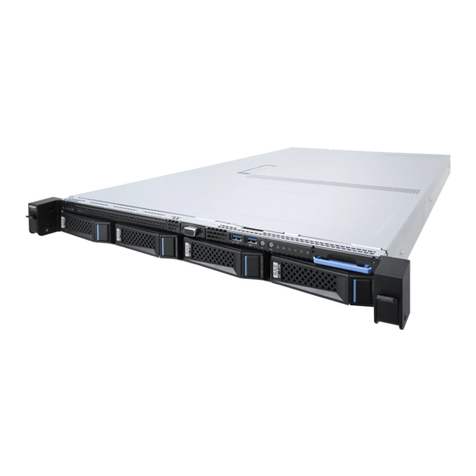
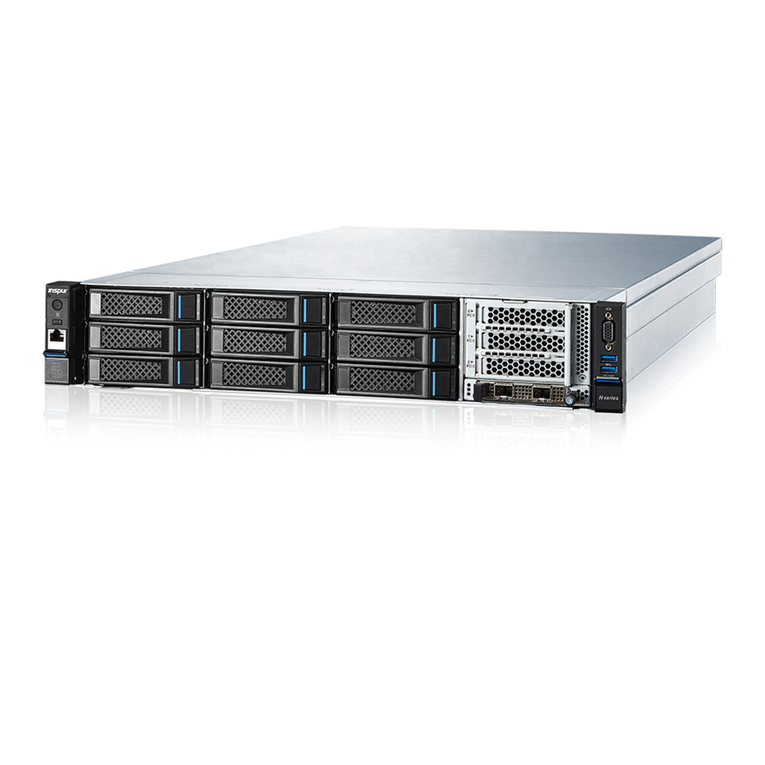
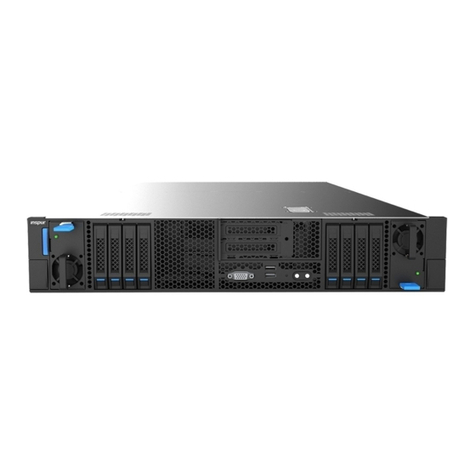
Required parts for server installation
The rail is assembled by a rail and two stoppers. The bracket and CMB (Cable
Management Bracket) are optional.
Screw: M5x8 Philips head screw (x4)
Installing the rear side of the rail into the cabinet
Position the rear bracket on the cabinet. ①Open the latch. ②Align the guide pins with the
rack holes, and push the rail into the cabinet. Release the latch to lock it with the cabinet.
Installing the front side of the rail into the cabinet
Position the front bracket on the cabinet. Keep the front and rear brackets in the same 2U
space.
①Open the latch. ②Align the guide pins with the rack holes, and push the rail into the
cabinet. Release the latch to lock it with the cabinet.
Installing the stopper
Install a stopper above the rear end of the rail on the cabinet, and ensure 4U space
between the upper end of the stopper and the L-shaped bracket of the rail.
Install the two screws as shown in the figure.
Step2: Remove the two front handles in the
same way.
Horizontally push the chassis to the end.
Step3: Tighten the four floating screws
indicated in the figure to secure the server.
Step4: Install the nodes orderly, and close
the node handles.
Installing the CMB (Optional)
Step1: Install the two step screws on the
rear side of the CMB.
Step2: Align and install the step screws into the
gourd-shaped holes on the chassis to install the
CMB, and press the CMB to make sure it is
fixed.
Install two screws to fix the CMB on the chassis.
Step3: Close the CMB, and the CMB
installation is finished.
1
2
1
2
4U Server Installation Guide V1.0
Stopper
Option 1
Stopper
Option 2
1
2
Stopper (Option1) installation method
Install the stopper on a square-hole
cabinet. Use the square NUT.
Install the stopper on a round-hole
cabinet. Use the U-type NUT.
Stopper (Option2) installation method
Note: It is not allowed to install the chassis with nodes into
the cabinet.
Install the stopper on a square-hole
cabinet.
Install the stopper on a round-hole
cabinet.
Note: It needs to install two washers
for the square-hole cabinet.
