InWin IW-PE689 User manual
Other InWin Chassis manuals

InWin
InWin IW-RS104-07 User manual

InWin
InWin IW-RS316-03 User manual

InWin
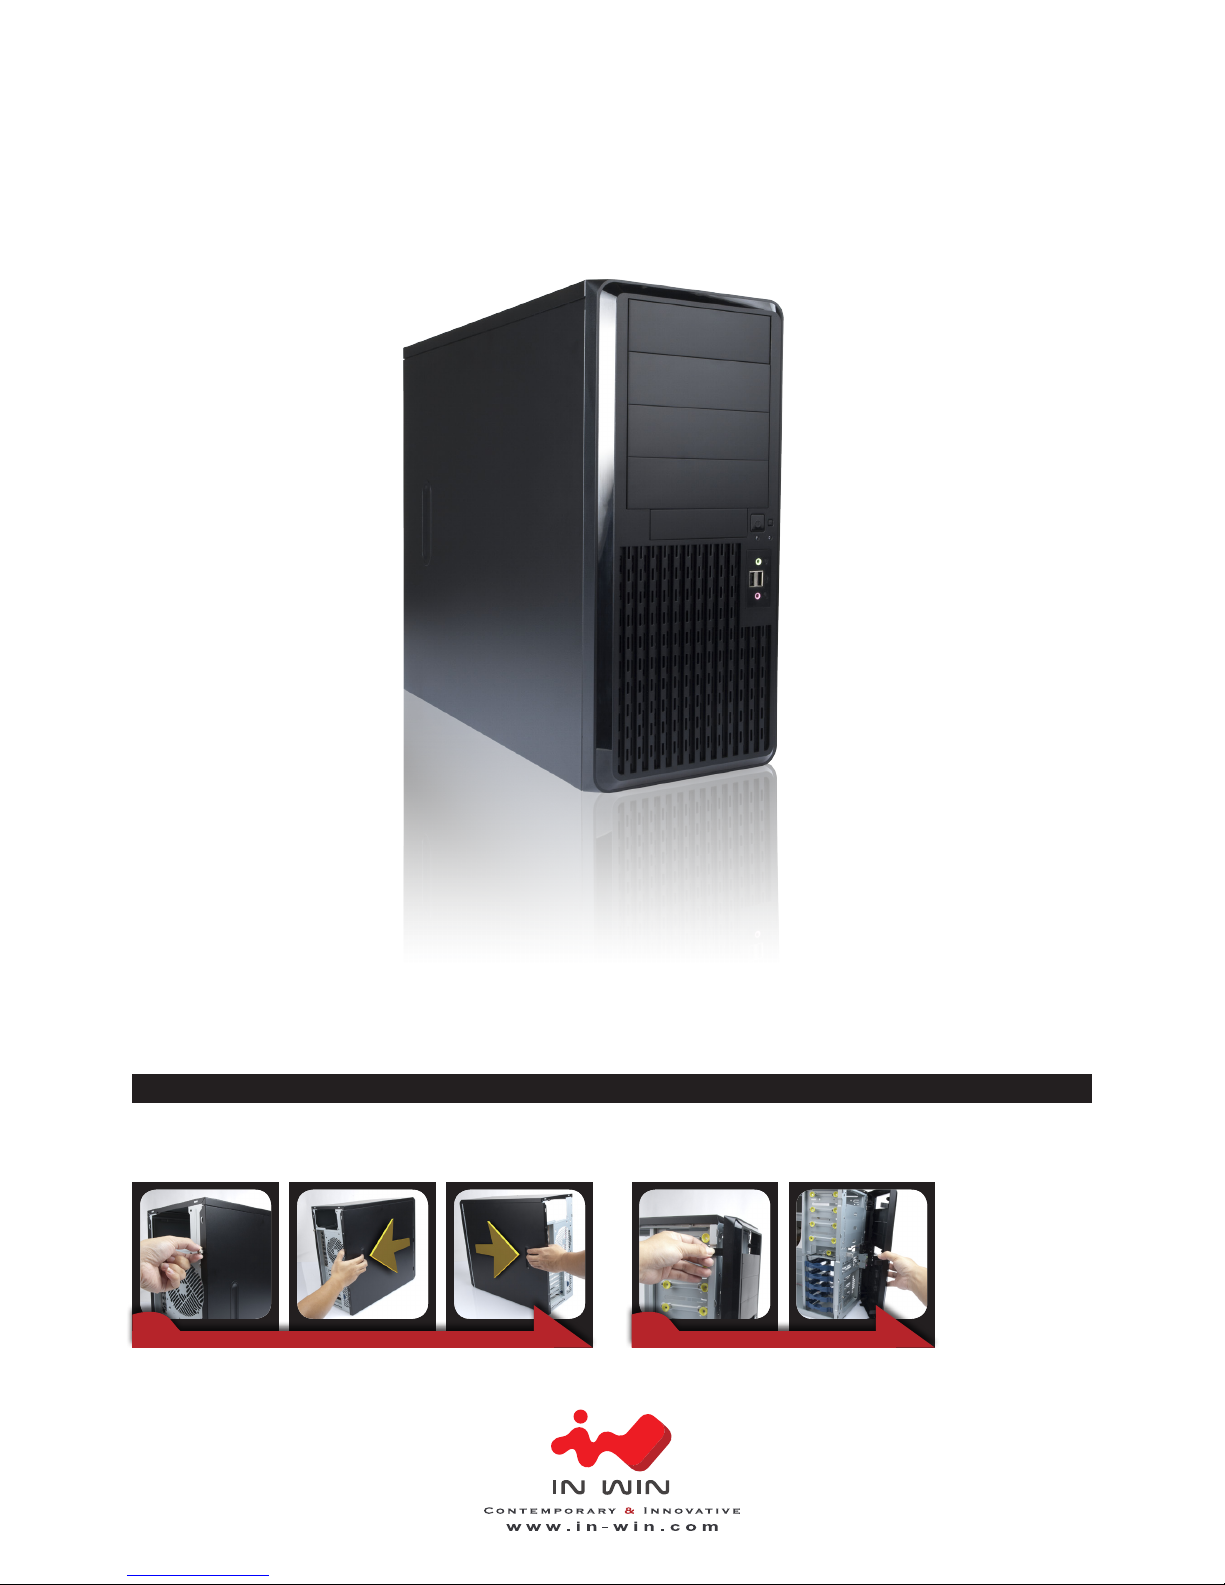
InWin 509 User manual

InWin
InWin IW-RJ460-08 User manual

InWin
InWin SIII-1065W User manual

InWin
InWin 805 User manual

InWin
InWin IW-PLM User manual

InWin
InWin Cobra IW-RS212-07 User manual

InWin
InWin IW-RS316-02M User manual

InWin
InWin 303 User manual

InWin
InWin Explorer User manual

InWin
InWin IW-RJ448-05 User manual

InWin
InWin IW-RF100S User manual

InWin
InWin C200 User manual

InWin
InWin IW-RS110-07 User manual

InWin
InWin AIRFORCE User manual

InWin
InWin 305 User manual

InWin
InWin Cobra IW-RS212-07 User manual

InWin
InWin Chopin Pro User manual

InWin
InWin 101 TUF GAMING User manual


Popular Chassis manuals by other brands


Overland Storage
Overland Storage SnapSAN S1000 Replacement instructions

Philips
Philips LC4.1E A Service manual

Supermicro
Supermicro SCF418 Series user manual

Supermicro
Supermicro SC823MTQ-R700LPB user manual

HP
HP A7503-S Product End-of-Life Disassembly Instructions

SilverStone
SilverStone RMS08 Series manual