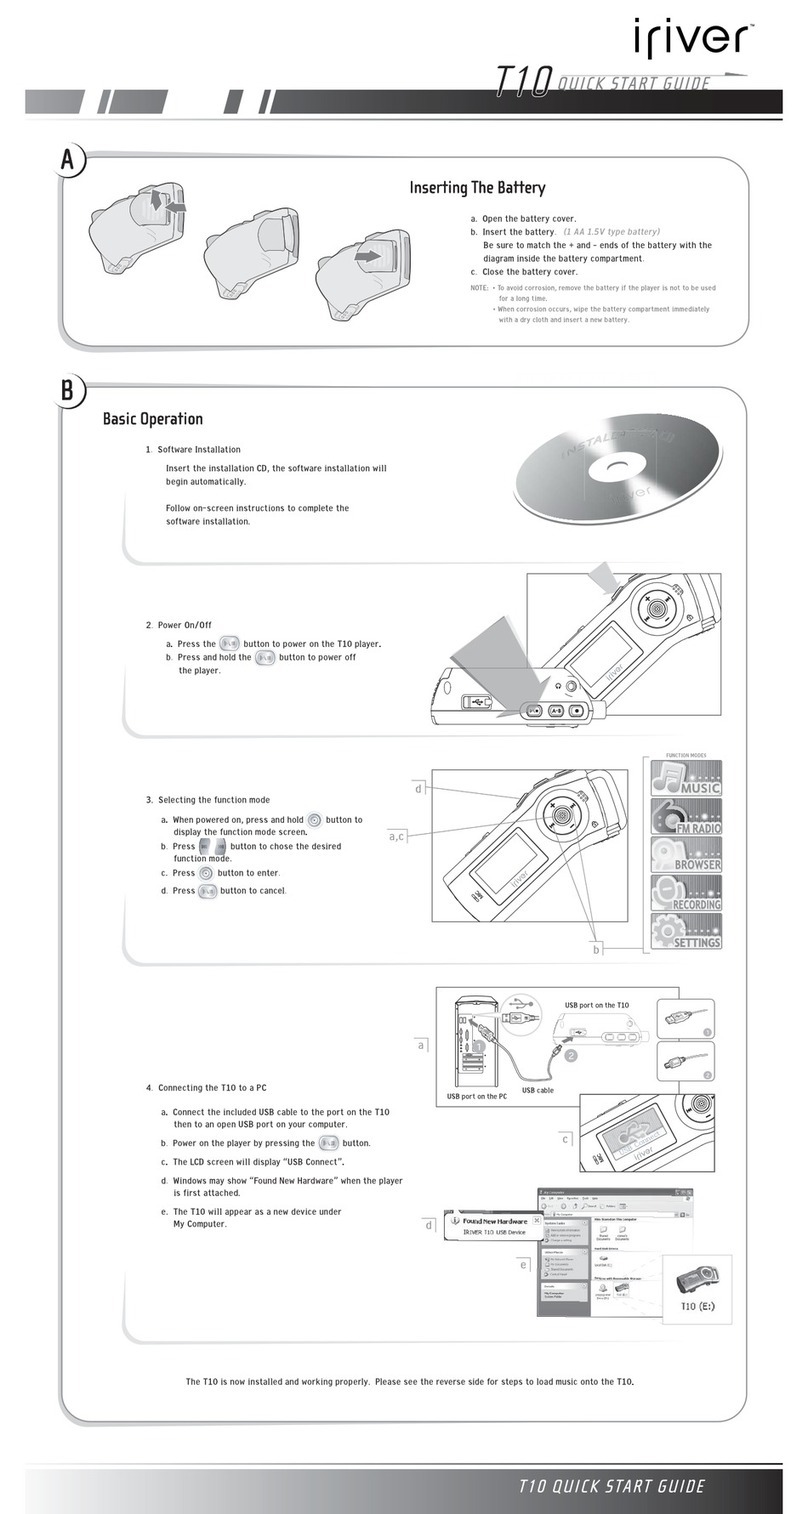
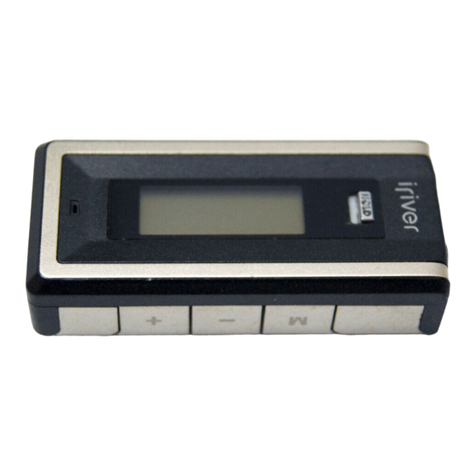
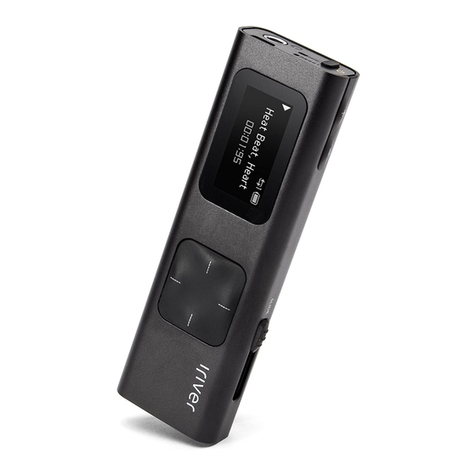
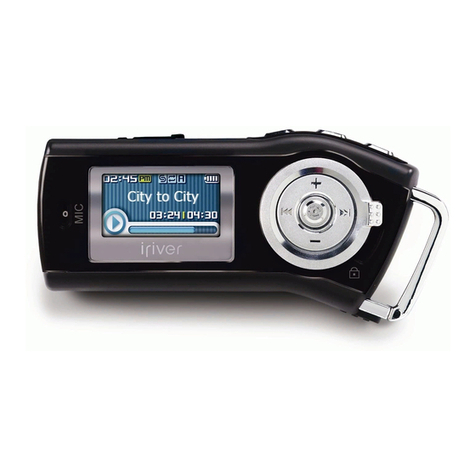
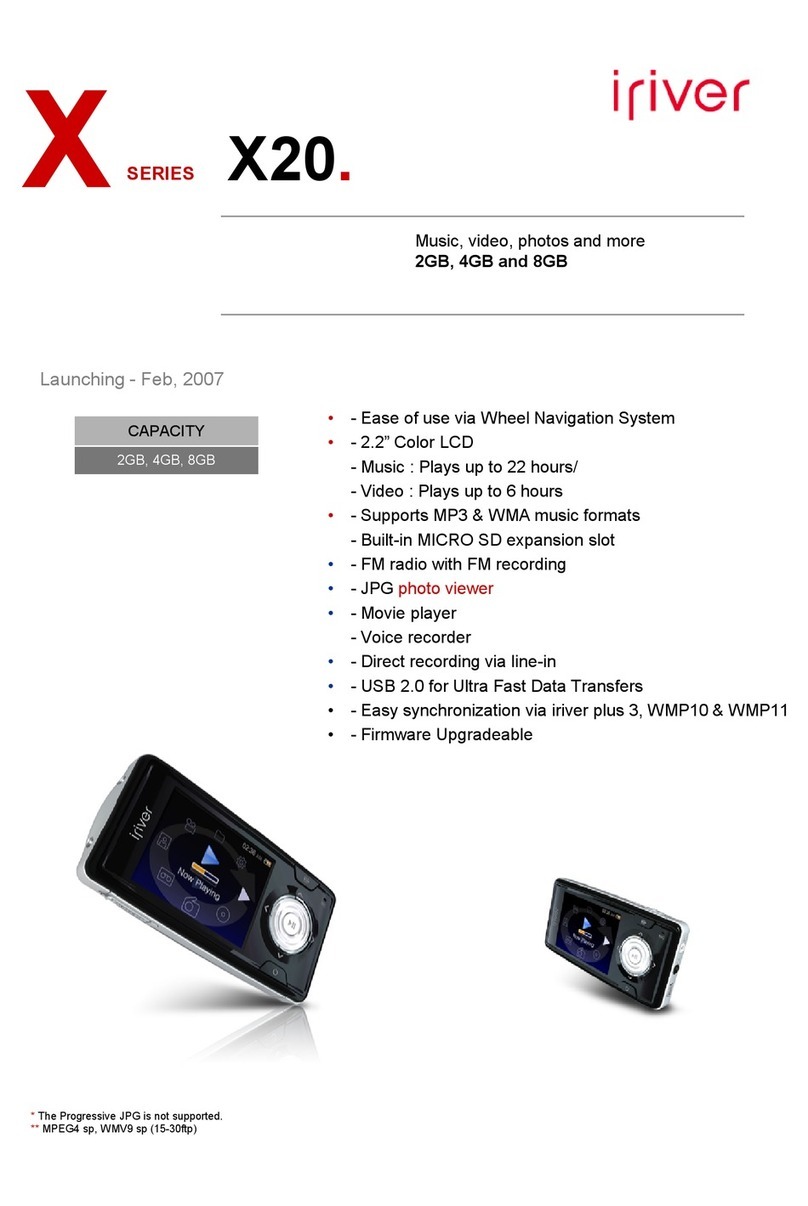
IRiver X20 User manual

iriver
X20
©)
&
[8]
6
ES
fe

Chapter
1
Getting
Started
o
Components
oO
Locating
the
Controls
o
Installing
Software
Chapter
2
Basic
Operations
O
Inserting/Removing
Battery
O
Charging
Battery
O
Inserting/Removing
Micro
SD
Card
O
Turning
on/off
the
Player
O
How
to
Use
O
Using
HOLD
O
Connecting
Products
oa
Chapter
3
Using
the
X20
O
Music
O
Now
Playing
O
FM
Radio
O
Recording
O
Picture
O
Video
O
Browse
Device
Chapter
4
Setting
up
the
X20
O
Date
&
Time
O
FM
radio
O
Recording
O
Sounds
o
Display
O
Timer
O
Advanced
20
21
22
23
24
25
26
28
28
28
28
28
28
29
Chapter
5
Other
Information
O
Using
iriver
plus
3
O
Using
iriver
firmware
updater
O
Using
Windows
Media
Player
11
O
Safety
Instructions
O
Troubleshooting
O
Copyrights/Certification/
O
Trademarks/Limited
Liability


Chapter
1
Getting
Started
Components
Locating
the
Controls
Installing
Software
Installing
iriver
plus
3
Installing
Windows
Media
Player
11

iriver
|
Chapter!
Getting
Started
Com
po
ne
nts
Components
are
subject
to
change
without
notice
and
may
vary
from
images
shown.
O
D
+
=.
=)
©
wn
+
o
=
=
D
en
Q
ie}
3
gej
[e]
a
D
=)
+
n
Quick
Start
Guide
&
Warranty
Card
Installation
CD
USB
Cable

iriver
|
Chapter1
Getting
Started
Locati
ng
the
Controls
Actual
player
may
slightly
differ
from
images
shown.
HOLD
Switch
Main
Menu
Button
Microphone
igati
Line-in
Jack
4
Navigation
Side
Pause/Play
Button
View
Earphone
Jack
4
USB
Jack
<4]
aa
POWER
Button
LCD
Display
Micro
SD
Card
Battery
Battery
Cover
s|O4jUOD
əy}
Bueoo7|pae;s
Bug
Integrated
Speaker

O
D
=
=
=)
Q
ie)
+
o
=s
paje
D
a
5
n
+
a
5
©
wn
[e]
=
=
o
=
D
iriver
|
Chapter1
Getting
Started
:
iriver
plus
3
and
Windows
Media
Player
11
are
integrated
programs
that
efficiently
manage
music
and
picture
files.
Instal
|
[
ng
Software
Using
iriver
plus
3
and
Windows
Media
Player
11,
you
can
save
music
and
picture
files
from
PC
to
the
X20.
[Installing
iriver
plus
3
|
1.
Insert
the
installation
CD
to
your
PC
to
display
the
installation
process
screen.
2.
Select
iriver
plus
3
and
click
the
[Install]
button.
Complete
the
installation
process
following
the
on-screen
instructions.
m
Minimum
requirements
for
using
iriver
plus
3
‘Intel®
Pentium®ll
233MHz
or
higher
processor
speed
‘Windows®
98
SE/ME/2000/XP
-64MB
or
above
memory
"30MB
or
above
hard
disk
space
“Speaker
and
sound
card
which
supports
16
bit
‘Microsoft
Internet
Explorer
version
6.0
or
later
“SVGA
or
high
resolution
monitor
(1024x768
resolution
or
higher)
For
more
information
on
using
iriver
plus
3,
refer
to
page
32
-
34.
|
Installing
Windows
Media
Player
11
|
1.
Insert
the
installation
CD
to
your
PC
to
display
the
installation
process
screen.
2.
Select
Windows
Media
Player
11
and
click
the
[Install]
button.
Complete
the
installation
process
following
the
on-screen
instructions.
m
Minimum
requirements
for
using
Windows
Media
Player
11
‘Intel®
Pentium®Il
233MHz
or
higher
processor
speed
‘Windows®
XP
"64MB
or
above
memory
"30MB
or
above
hard
disk
space
“Speaker
and
sound
card
which
supports
16
bit
‘Microsoft
Internet
Explorer
version
6.0
or
later
“SVGA
or
high
resolution
monitor
(1024x768
resolution
or
higher)
For
more
information
on
using
Windows
Media
Player
11,
refer
to
page
35
-
37.

Chapter
2
Basic
Operations
Inserting/Removing
Battery
Charging
Battery
Inserting/Removing
Micro
SD
Card
Turning
on/off
the
Player
How
to
Use
Using
HOLD
Connecting
Products
Connecting
earphones
to
the
X20
Connecting
the
X20
to
your
PC
Copying
file/folder
(Using
as
a
removable
disk)
Disconnecting
the
X20
from
your
PC

aS
ga]
iriver
|
Chapter2
Basic
Operations
Inserting/Removing
Battery
|Inserting
battery
| |
Removing
battery
|
1.
Press
the
battery
cover
at
the
rear
side
of
X20
and
1.
Press
the
battery
cover
at
the
rear
side
of
X20
and
slide
it
to
the
direction
of
arrow.
slide
it
to
the
direction
of
arrow.
.
Check
the
direction
of
+/-
terminals
and
put
it
in
2.
Remove
the
battery
from
the
product.
the
compartment.
.
Close
the
battery
cover
to
the
direction
of
arrow.
u
»
p,
(e)
O
gej
D
=
»
=
[e]
=)
n
3
n
D
a
=)
Q
—
yy)
@
3
[e]
S.
>
Q
y
o
=
D
<

a
ae
|
iriver
|
Chapter2
Basic
Operations
Charging
Battery
|
Charging
battery
with
PC]
|
Charging
battery
with
AC
adapter
(AC
adapter
is
an
optional
product.)
|--
1.
Turn
on
your
PC
and
connect
the
X20
to
it
using
1.
After
connecting
the
USB
cable
to
the
X20,
connect
the
the
USB
cable.
AC
adapter
to
the
DC
jack
of
USB
cable.
2.
Plug
the
AC
adapter
to
a
power
socket.
While
the
product
is
connected
to
PC
using
the
USB
cable,
the
integrated
battery
is
will
be
charged
automatically.
Do
not
use
any
other
USB
cable
that
is
not
provided
with
the
product.
It
may
case
a
malfunction.
m
Check
if
the
X20
is
connected
to
a
high-power
USB
2.0
port.
Some
low-power
USB
ports
built
in
some
peripheral
devices
such
as
certain
keyboards
and
USB
hub
without
integrated
power
may
not
provide
enough
power
to
charge.
While
the
PC
is
switched
to
standby
mode,
the
product
may
not
be
charged.
m
Charge
the
product
only
in
room
temperature.
The
product
may
not
be
charged
in
extremely
hot
and
cold
place.
The
available
usage
time
of
charged
battery
becomes
gradually
short
after
sometime.
It
will
be
fully
charged
within
3
hours.
(Based
on
fully
discharged
and
stop
mode)
w
D
n
O
O
©
D
pj
0
=
O
=|
a
O
=
D
pej
Q
=|
Co)
wo
©
=
=
D
T
<

iriver
|
Chapter2
Basic
Operations
Inserting/Removing
Micro
SD
Card
|
Inserting
Micro
SD
card
|
1.
After
turning
off
the
product,
insert
and
slightly
press
the
Micro
SD
card
to
the
card
slot
with
labeled
side
up.
|Removing
Micro
SD
card
|
1.
After
turning
off
the
product,
press
the
Micro
SD
card
again
to
remove
it.
W
i)
a.
O
O
D
D
=
A
=
5
o
>
D
Oo
a
>
È
D
3
Ss.
5
a
=
Q
(e)
n
UO
Q
Q
Q

a
SSS
a]
iriver
|
Chapter2
Basic
Operations
Turning
on/off
the
Player
{Turning
on
the
player|
|
Turning
off
the
player
|
1.
Press
and
hold
the
[(!)]
button
on
the
product
to
turn
it
on.
1.
Press
and
hold
the
[Ù
]
button
on
the
product
to
turn
it
off.
m
This
product
has
automatic
power
saving
function
to
save
battery
power.
Based
on
the
setting of
power
saving
mode,
the
product
will
be
automatically
turned
off
after
designated
period
without
operation.
For
more
information
on
setting
this
function,
refer
to
[Settings-Timer-Auto
Power
Off].
(Refer
to
page
28.)
W
w
2
O
O
kej
(9)
pj
w
=n
[e]
=)
n
4
c
=|
=:
3
Q
[e]
J
=
fe)
=
f
amd
7
D
I
ie)
<
(0)
s

u
o
v:
O
O
ge]
D
5
o
=A
[e]
=)
n
I
[e]
=
+
oe)
C
n
D
iriver
|
Chapter2
Basic
Operations
How
to
Use
The
X20
can
be
operated
using
[A]
[V]
[<] [>]
buttons
and
©)
key.
Selecting
the
Main
Menu
|
Selecting
menu
|
1.
Press
the
[E1]
button
to
display
the
Main
menu.
NOT
2.
Use
the
(©)
key
to
select
the
item
in
the
Main
menu
and
press
the
[pu]
button.
AN
EN
LR
Returning
to
the
y
Entering
the
Selected
Menu
Previous
Menu
or
Activating
the
Function
LLD
Turing
on/off
the
Player

iriver
|
Chapter2
Basic
Operations
Using
HOLD
Activating
HOLD
function
|
|Deactivating
HOLD
function|
1.
Slide
the
HOLD
switch
to
left
to
lock
the
product.
1.
Slide
the
HOLD
switch
to
right
to
unlock
the
product.
w
D
2,
5
O
O
D
pj
o,
=
5
D
Cc
Y:
5
co)
I
O
©
1s)

a
E)
iriver
|
Chapter2
Basic
Operations
Connecting
Products
|Connecting
earphones
to
the
X20
|
1.
Connect
the
earphones
to
the
jack
of
the
product.
OK
x
G
W
©
n
O
O
ke]
D
ERI
©
=A
O
5
a
Q
fe]
3
3
D
Q
=
3
(Co)
v
S
fe}
2
Z
G
—
a
m
After
disconnecting
earphones,
sound
will
be
generated
from
the
integrated
speaker.
m
To
listen
to
FM
radio
using
the
integrated
speaker,
connect
the
earphones
to
the
Line-in
jack.
The
cord
of
earphones
functions
as
an
antenna
during
radio
reception.

aa
a
es
iriver
|
Chapter2
Basic
Operations
Connecting
Products
|Connecting
the
X20
to
your
PC
|
1.
Press
and
hold
the
[¢!)]
button
on
the
product
to
turn
it
on.
3.
If
it
is
properly
connected,
the
LCD
will
be
shown
as
below.
2.
Turn
on
your
PC
and
connect
the
X20
to
it
using
the
USB
cable.
USB
Connected
—
OK
to
disconnect
OK
to
disconnect
aoa
U
sjonpold
Buposuuog
|
suoljesedQ
o1seg

a
SSS
SS
SEE
aa
iriver
|
Chapter2
Basic
Operations
Connecting
Products
|Copying
file/folder
(Using
as
a
removable
disk)
|
|
Copying
file/folder
to
the
product|
|
Deleting
file/folder
from
the
product
|
1.
After
selecting
the
file/folder
in
your
PC,
drag
&
drop
1.
After
selecting
the
file/folder,
click
it
with
the
right
it
to
the
drive
which
appears
as
the
product.
mouse
button
and
select
[Delete].
Click
[Yes]
in
the
[Confirm
File
Delete/Confirm
Folder
Delete]
popup
window
to
delete
the
file/folder.
a
U
Dti
Hr"
a
w
©
n
O
O
ke]
D
Sy
©
=A
O
5
a
Q
fe]
3
3
D
Q
=
3
Co)
v
e
fe}
2
Z
G
—
(Z)
m
Always
properly
connect
the
USB
cable.
m
Do
not
insert
or
remove
the
Micro
SD
card
while
transferring
data
to
protect
your
data
from
damage.
m
When
you
transfer
data
using
the
USB
cable,
never
disconnect
it
or
turn
off
the
power
to
protect
your
data
from
damage.

a
a
a
I)
iriver
|
Chapter2
Basic
Operations
Connecting
Products
|Disconnecting
the
X20
from
your
PC
|
1.
Click
the
icon
on
the
taskbar
to
disconnect
the
product
2.
Click
the
[Stop]
button
to
confirm
disconnection.
using
the
"Safely
Remove
Hardware"
menu.
Sahat
Remove
Handwara
|
i)
Safe
To
Remove
Hardware
x
=
—
The
‘River
Internet
Audio
Player
IFP-1000
device
can now
be
Mra
298
FP
safely
removed
from
the
system.
$h
250
PM
m
The
icon
on
the
taskbar
may
be
hidden
in
some
operating
systems.
Click
"Show
hidden
icons"
to
display
the
hidden
icon.
m
The
"Safely
Remove
Hardware"
may
not
be
available
while
using
some
applications
such
as
Windows
Explorer
or
Windows
Media
Player.
Close
all
applications
first
before
performing
the
"Safely
Remove
Hardware".
a
If
the
"Safely
Remove
Hardware"
is
not
performed
properly,
try
it
after
a
few
minutes.
sjonpoid
Buljosuuo0D
|
suoljeuedo
olseg


Chapter
3
Using
the
X20
Music
Selecting
Music
Listening
to
Music
Additional
Features
Now
Playing
Now
Playing
in
Music
and
Video
FM
Radio
Listening
to
FM
Radio
Scanning
FM
Radio
Station
Storing
FM
Radio
Station
Additional
Features
Recording
Recording
Picture
Selecting
Picture
Viewing
Picture
Video
Selecting
Video
Watching
Video
Browse
Device
Browsing
Device
Table of contents
Other IRiver MP3 Player manuals

IRiver
IRiver T20 1GB User manual

IRiver
IRiver Astell & Kern AK120 II User manual

IRiver
IRiver N10 512MB User manual

IRiver
IRiver iFP-120 User manual

IRiver
IRiver T10 User manual

IRiver
IRiver iFP-190T How to use

IRiver
IRiver N11 User manual

IRiver
IRiver Lplayer 4GB User manual

IRiver
IRiver N10 User manual

IRiver
IRiver H320 User manual

IRiver
IRiver T8 User manual

IRiver
IRiver T60 1GB User manual

IRiver
IRiver IFP-800 Series Assembly Instructions

IRiver
IRiver ACTIVO CT10 User manual
IRiver
IRiver MPlayer User manual

IRiver
IRiver T6 2GB User manual

IRiver
IRiver H10 User manual
IRiver
IRiver iFP-300 Series User manual

IRiver
IRiver B30 User manual

IRiver
IRiver CLIX User manual