x1R Smart
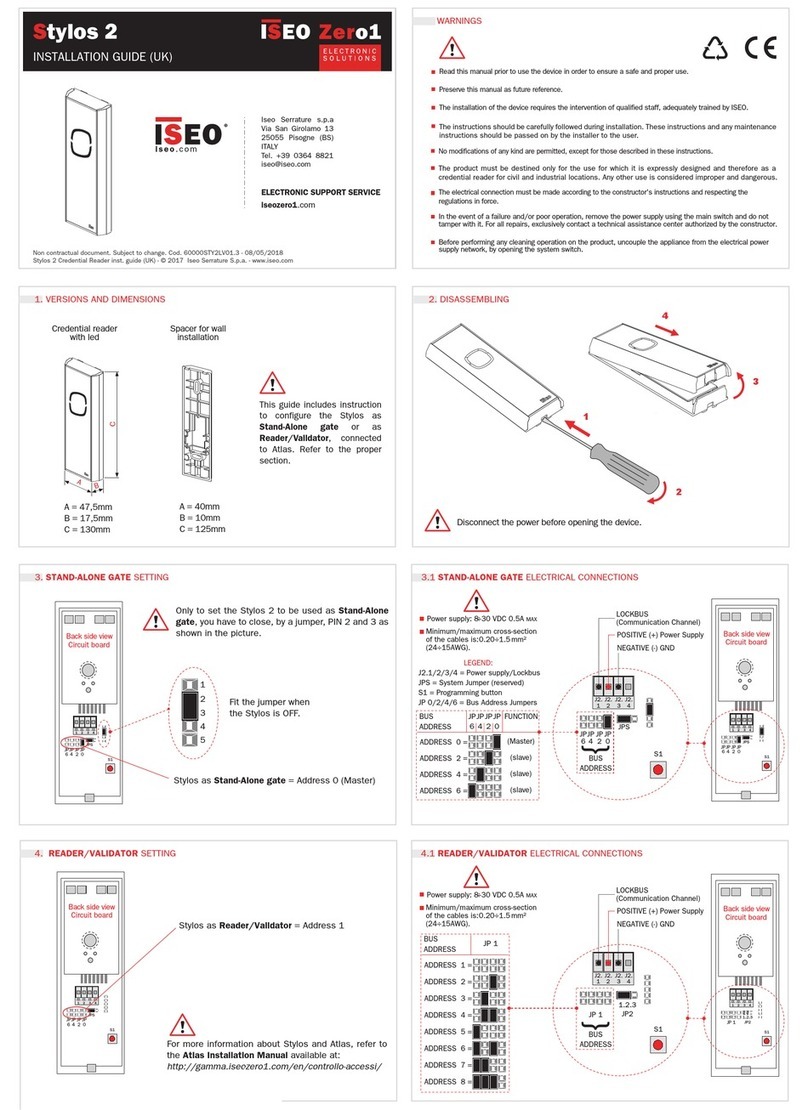
Documento non contrattuale. Soggetto a modifica. Cod. 60000FEMB0000 - 20190502
Guida Installazione Lettore Impronte Digitali da incasso (IT) - © 2019 Iseo Serrature S.p.a. - www.iseo.com
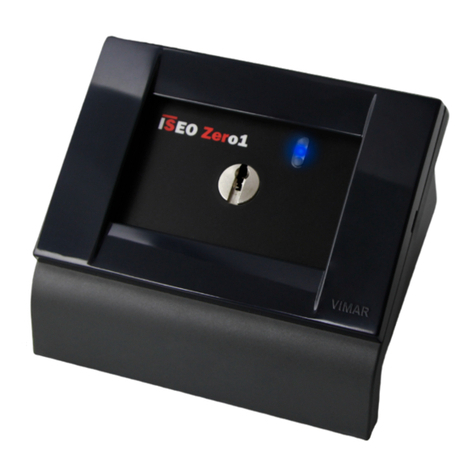
Lettore Impronte Digitali da Incasso
ELECTRONIC SUPPORT SERVICE
iseozero1.com
®
iseo.com
Iseo Serrature s.p.a
Via San Girolamo 13
25055 Pisogne (BS)
ITALY
Tel. +39 0364 8821
Download
Iseo Argo App
AVVERTENZE
Leggere il manuale utente prima dell’utilizzo del prodotto al fine di garantire un uso sicuro e corretto.
Conserva questo manuale come riferimento futuro.
L’installazione e la manutenzione del prodotto devono esssere effettuate da personale tecnico qualificato,
adeguatamente addestrato da ISEO.
Le istruzioni devono essere seguite attentamente durante l’installazione. L’installatore deve fornire all’
utente queste istruzioni ed eventuali istruzioni per la manutenzione.
Nessuna modifica di alcun tipo è consentita, ad eccezione di quelle descritte in queste istruzioni.
Il prodotto dovrà essere destinato solo all’uso per il quale è stato espressamente concepito e cioè come lettore
di impronte digitali per ambiente civile e industriale. Ogni altro uso è da considerarsi improprio e pericoloso.
I collegamenti elettrici devono essere fatti secondo le istruzioni del costruttore e nel rispetto delle normative
vigenti.
Scollegare l’alimentazione prima di eseguire qualsiasi inter vento tecnico che comporti l’aper tura o
l’accesso alle parti interne del prodotto. Per le riparazioni, rivolgersi esclusivamente a un centro di
assistenza tecnica autorizzato dal costruttore.
app.iseo.com
ARGO
Download
User Manual
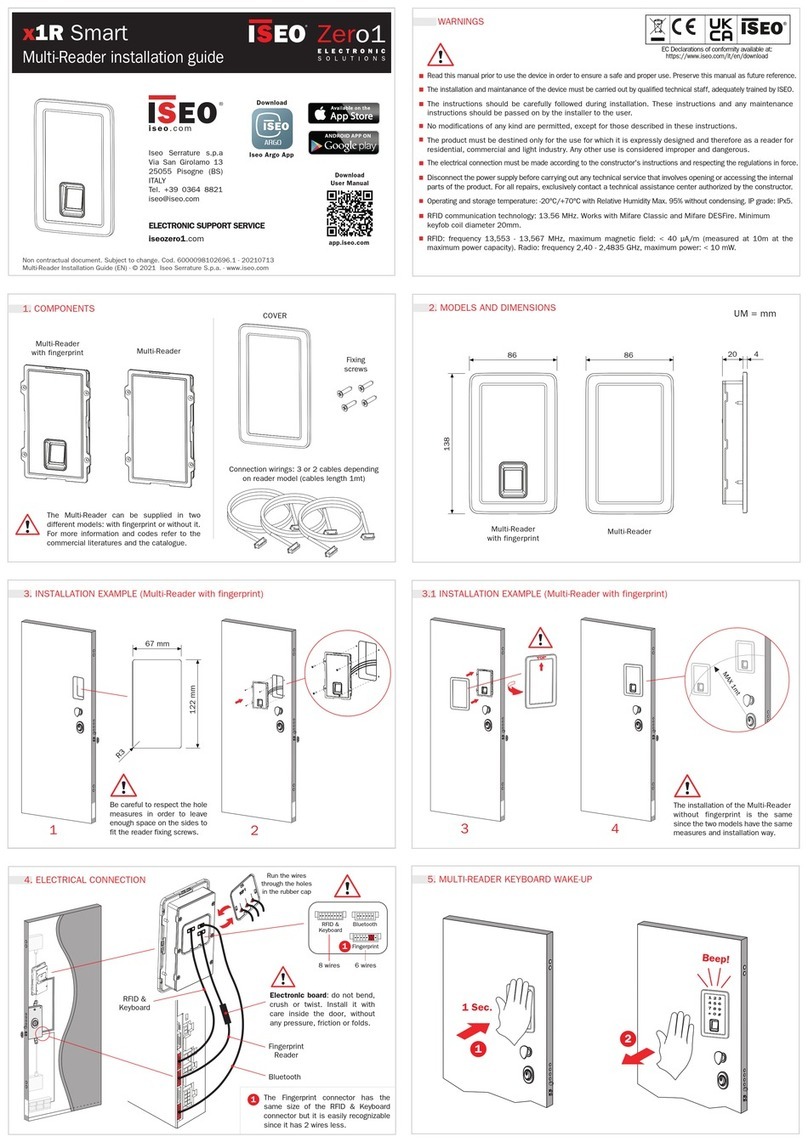
1. COMPONENTi 2. MODELLI E DIMENSIONI
3. ESEMPIO INSTALLAZIONE (LETTORE A FILO)
5. INFORMAZIONI SULL’AUTENTICAZIONE BIOMETRICA
112
67 5
Lettore a FILO
112
67 12
Lettore SPORGENTE
1926
Lettore
A FILO
Lettore
SPORGENTE
O
PLACCA
Viti fissaggio
lettore
Il Lettore Impronte Digitali da Incasso può
essere fornito in 2 modelli differenti: Lettore
a Filo o Sporgente. Per maggiori informazioni
consulta la documentazione commerciale e il
catalogo per i codici.
3.1 ESEMPIO INSTALLAZIONE (LETTORE A FILO)
1
2
3
234
4. CONNESSIONI ELETTRICHE
Collega il cavo all’ x1R Smart, nel
connettore del Lettore Impronte
Digitali (terzo connettore dal basso).
Prima di collegare il cavo del Lettore
Impronte Digitali all’ x1R Smart,
rimuovi il tappo dal connettore.
53 mm
R10
86 mm
Il processo di registrazione dell’ impronta digitale è la parte più impor tante per la creazione del modello
biometrico e la successiva identificazione dell’impronta digitale. Per conoscere come aggiungere impronte
digitali a x1R Smart, consulta il Manuale Utente Argo disponibile su app.iseo.com.
L’autenticazione biometrica può variare perchè dipende dalle persone, dalle condizioni ambientali o dall’uso
non corretto: esposizione delle dita a superfici abrasive, colla, solventi, polveri, cemento, umidità eccessiva,
possono compromettere l’autenticazione biometrica delle impronte digitali. Dita sporche, bagnate, asciutte,
tagliate o rovinate potrebbero non essere correttamente registrate o identificate.
I bambini fino ai 5 anni di età potrebbero non essere registrati correttamente. L’impronta digitale di un
bambino dovrebbe essere registrata ogni 6 mesi.
E’ consigliato registrare indice, medio o anulare, perchè pollice e mignolo potrebbero essere più dificili da
registrare e utilizzare.
Cerca di non premere troppo forte o troppo delicatamente sul sensore ottico. Posiziona il dito fermo e
stabile sul sensore con una pressione appropriata. Un dito bagnato o troppo asciutto potrebbe non essere
registrato o identificato correttamente.
Si raccomanda di memorizzare per ogni utente non solo l’impronta digitale ma anche altre credenziali come
PIN, carte, smartphone, da utilizzare in caso l’impronta digitale non funzioni.
Si consiglia di memorizzare più impronte digitali per la stessa persona. In questo modo nel caso un dito non
venga riconosciuto perchè per esempio tagliato, sfregiato o rovinato, è possibile utilizzarne un altro.
1
UM = mm
Cavo Lettore Impronte Digitali (lunghezza 1mt).
MAX 1mt
Temperatura di funzionamento: -20°C/+55°C con Umidità Relativa Max. 90% senza condensa.
Presta attenzione che il dito sia sempre posizionato al centro del sensore ottico e premuto saldamente.
Tocca sempre con il centro dell’impronta digitale (cuore dell’impronta), perchè la punta del dito non può
essere registrata correttamente. Per maggiori informazioni sulla posizione corretta del dito, consulta il
Manuale Utente Argo disponibile al sito app.iseo.com.
L’installazione del Lettore Sporgente
è indentica e necessita di un minor
spazio all’interno della porta, perchè
ha uno spessore interno di 7mm in
meno del Lettore a Filo.
Prestare attenzione a rispettare
le misure del foro in modo da
lasciare sufficiente spazio ai
lati per applicare le viti
fissaggio lettore.
Scheda elettronica
all’interno: non piegare,
schiacciare o torcere.
Cavo collegamento
lettore (a x1r Smart)
Lunghezza cavo = 1mt.
Scheda elettronica: non piegare,
schiacciare o torcere. Inserirla
con cura all'interno della porta
senza pressioni, frizioni o pieghe.
https://www.iseo.com/it/it/downloadhttps://www.iseo.com/it/it/download
