manuals.online logo
Brands
  1. Home
  2. •
  3. Brands
  4. •
  5. iver
  6. •
  7. Door Lock
  8. •
  9. iver Backplate Privacy Configuration guide

iver Backplate Privacy Configuration guide

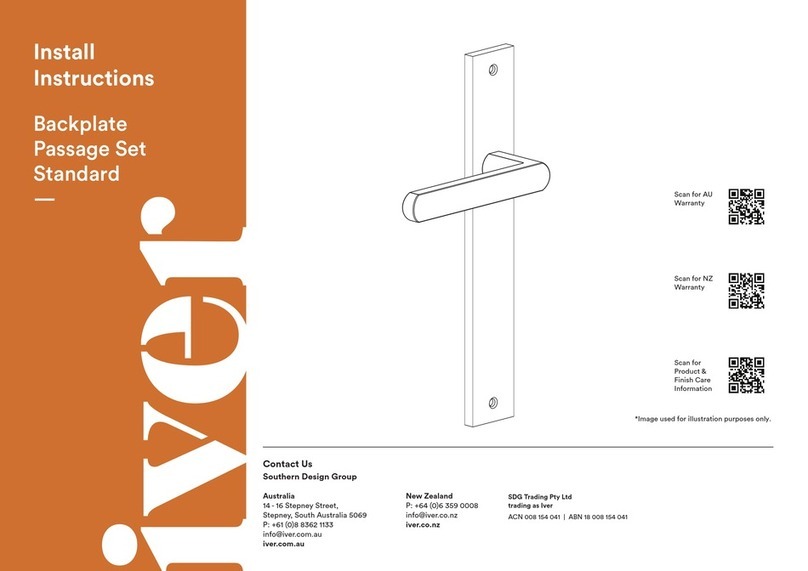
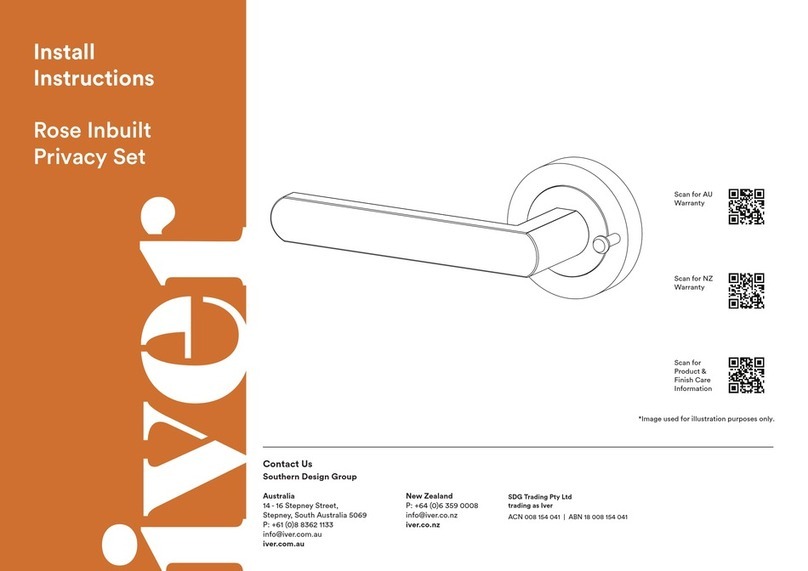
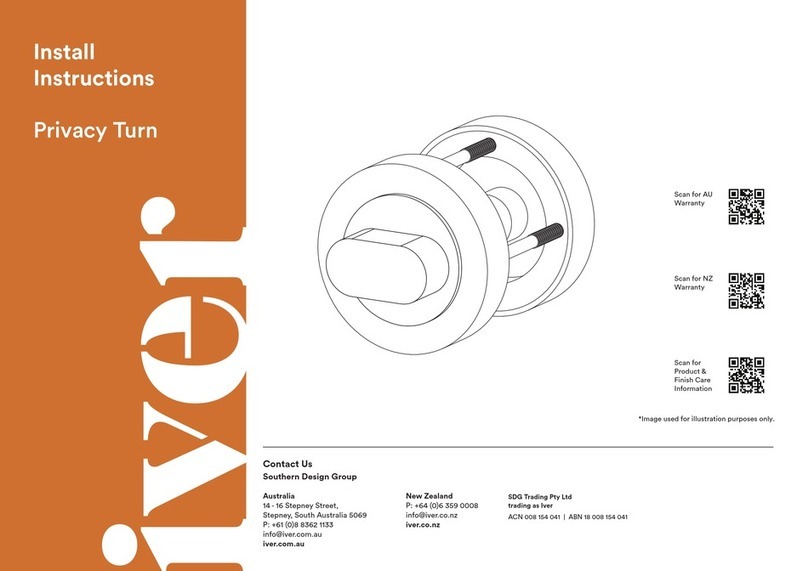
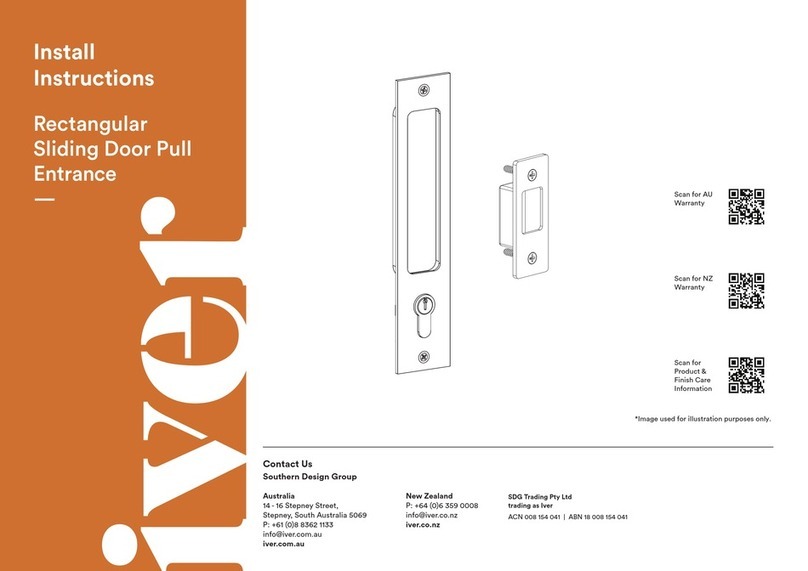
*Image used for illustration purposes only.
Install
Instructions
Backplate
Privacy Set
—
Australia
14 - 16 Stepney Street,
Stepney, South Australia 5069
P: +61 (0)8 8362 1133
info@iver.com.au
iver.com.au
SDG Trading Pty Ltd
trading as Iver
ACN 008 154 041 | ABN 18 008 154 041
Contact Us
Southern Design Group
New Zealand
P: +64 (0)6 359 0008
info@iver.co.nz
iver.co.nz
Scan for
Product &
Finish Care
Information
Scan for NZ
Warranty
Scan for AU
Warranty
1.1. Mark the edge of
your door at the
desired height
of your lever.
1.2. We recommend
around 900mm –
1100mm from oor
level, or at the
centre of a lock rail
on a panel door.
(Figure 1)
1. Marking
the Door
Preferred product
height
Figure 1.
2. Install Latch, Privacy Bolt & Striker Plates
As per supplier instructions, resources available
at iver.com.au/resources.
Figure 2.
1.3. Using a spirit level,
mark the door at the
desired lever height,
continuing the line
from the front of
the door, around the
edge and onto the
back of the door.
(Figure 2)
1.4. We recommend
extending the line
100mm onto each
face of the door.
3.1. If required, shorten tie bolts to suit door thickness.
(Figure 3)
3. Prepare Tie Bolts
— if using face x timber screws, proceed to step 4
3.2. Ensure to cut so that the screw does not protrude
from the opposite plate once installed. (Figure 4)
Figure 4.
Figure 3.
(8)
4.1. Slide spring over snib neck and place neck
through hole in internal backplate. (Figure 5)
4. Install Privacy Adaptor Snib Release
Figure 5.
(1)
(5)
(2) (4)
4.2. Ax circlip to groove in snib neck on inside
of backplate. (Figure 6)
4.3. Repeat for emergency release on external-facing
backplate.
Figure 6.
(2)
(5)
(4)
PLEASE NOTE:
The screws provided with Iver products are made from
solid brass. This allows nishes to be matched as closely
as possible and prevents the possibility of screws rusting in
coastal areas. Please note that screws require pre-drilling.
Please take extra care when tting.
Included
Not Included
5.1. Place the split spindles into the lock body from
either side of the door*.
5.2. Place privacy spindle through privacy bolt follower.
5.3. Align the halves with the lever and privacy spindles
on either side of the door. Push until ush with
the door, ensuring the levers function in the
correct direction.
5.4. Insert male tie bolts through top and bottom
of back plate, OR
5.5. Ax wood screws at all xing points.
5.6. Place the female sections in the opposite holes,
lining them up with the male thread. (Figure 7)
5.7. Secure loosely by hand, then use a screwdriver
to hold the female section while tightening the
male section with a second screwdriver.
—
* Regular spindle also provided
5. Install Levers
Figure 7.
(8)
(6)
Wood Screws
(7)
1.
6.
8.
9. (or 7.)
4.
2. 5.
3.
1. Backplate
Privacy Lever Set
2. Privacy Snub
4. Springs
6. Split Spindle
9. Tie Bolts
8. Privacy Spindle
10. Standard Spindle
7. Wood Screws
5. Circlip
3. Emergency Release
Backplate Privacy
Lever Set
IMPORTANT:
Please install this door
hardware in the following
order to ensure its warranty
is not voided.
1. Install the door hardware
on raw / unnished door
using the instructions
provided.
2. Remove door hardware
and store safely. Do not
place painters tape or
masking tape over the
product. The tape will
damage the nish.
3. Paint / nish door.
4. Reinstall hardware.
Please recycle
me after use

Other iver Door Lock manuals

iver IV003 Configuration guide

iver

iver IV003 Configuration guide

iver IV007 Configuration guide

iver

iver IV007 Configuration guide

iver Rose Passage Configuration guide

iver

iver Rose Passage Configuration guide

iver IV011 Configuration guide

iver

iver IV011 Configuration guide

iver IV008 Configuration guide

iver

iver IV008 Configuration guide

iver Privacy Turn Configuration guide

iver

iver Privacy Turn Configuration guide

iver IV013 Configuration guide

iver

iver IV013 Configuration guide

Popular Door Lock manuals by other brands

Rook SMART LOCK owner's manual

Rook

Rook SMART LOCK owner's manual

hager 4200 installation instructions

hager

hager 4200 installation instructions

Aqara N100 user manual

Aqara

Aqara N100 user manual

Philips EasyKey 7000 Series user manual

Philips

Philips EasyKey 7000 Series user manual

Griffwerk STUDIO INSTALLATION AND CARE INSTRUCTIONS

Griffwerk

Griffwerk STUDIO INSTALLATION AND CARE INSTRUCTIONS

Saflok Quantum MT Operation instructions

Saflok

Saflok Quantum MT Operation instructions

Access Control Solutions Eternity 4 Owners manual and software guide

Access Control Solutions

Access Control Solutions Eternity 4 Owners manual and software guide

Dorex 9500 quick start guide

Dorex

Dorex 9500 quick start guide

Purleve 1002 Installation

Purleve

Purleve 1002 Installation

Assa Abloy Yale Real Living YRD210-ZW Installation and programming instructions

Assa Abloy

Assa Abloy Yale Real Living YRD210-ZW Installation and programming instructions

Glutz 52001 Fixing instructions

Glutz

Glutz 52001 Fixing instructions

Von Duprin StrikeForce 6210 installation instructions

Von Duprin

Von Duprin StrikeForce 6210 installation instructions

SUGATSUNE Lamp GS-GL50 installation manual

SUGATSUNE

SUGATSUNE Lamp GS-GL50 installation manual

Moniteq CC-8946 instruction manual

Moniteq

Moniteq CC-8946 instruction manual

Assa Abloy Corbin Russwin ED5200N Series installation instructions

Assa Abloy

Assa Abloy Corbin Russwin ED5200N Series installation instructions

LSDA 20 Series instruction manual

LSDA

LSDA 20 Series instruction manual

Assa Abloy PE920 manual

Assa Abloy

Assa Abloy PE920 manual

miseno Lorton instructions

miseno

miseno Lorton instructions

manuals.online logo
manuals.online logoBrands
  • About & Mission
  • Contact us
  • Privacy Policy
  • Terms and Conditions

Copyright 2025 Manuals.Online. All Rights Reserved.