manuals.online logo
Brands
  1. Home
  2. •
  3. Brands
  4. •
  5. iver
  6. •
  7. Door Lock
  8. •
  9. iver Rose Passage Configuration guide

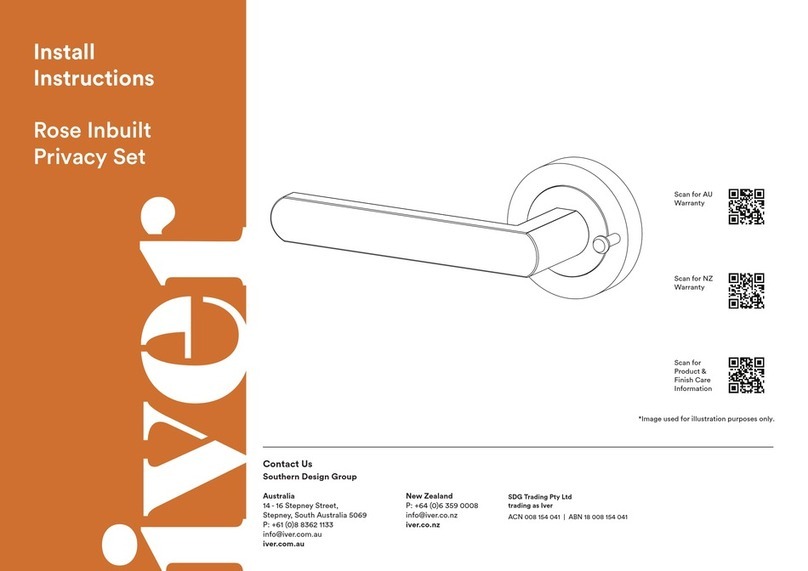
iver Rose Passage Configuration guide

*Image used for illustration purposes only.
Install
Instructions
Rose Passage Set
—
Standard & Grub Screw
Australia
14 - 16 Stepney Street,
Stepney, South Australia 5069
P: +61 (0)8 8362 1133
info@iver.com.au
iver.com.au
SDG Trading Pty Ltd
trading as Iver
ACN 008 154 041 | ABN 18 008 154 041
Contact Us
Southern Design Group
New Zealand
P: +64 (0)6 359 0008
info@iver.co.nz
iver.co.nz
Scan for
Product &
Finish Care
Information
Scan for NZ
Warranty
Scan for AU
Warranty
35mm 38mm 40mm
A
BCD
Fold and align along door edge
60mm
42mm
DOOR THICKNESS
Drill Ø25mm hole
57mm deep at centre
of door edge
CUT ALONG DOTTED LINE
Drilling Template
1.1. Mark the edge of
our door at the
desired height of
our handle. (Figure 1)
1.2. We recommend
around 900mm –
100mm from
oor level, or at the
centre of a lock rail
on a panel door.
1. Marking the Door
Preferred product height
Figure 1.
2. Install Latch & Striker Plate
As per supplier instructions, resources available
at iver.com.au/resources.
Figure 2.
1.3. Using a spirit level, mark
the door at the desired
lever height, continuing
the line from the front of
the door, around the edge
and onto the back of
the door. (Figure 2)
1.4. We recommend extending
the line 100mm onto
each face of the door.
3.1. If required, shorten cut-o screws to suit door
thickness.
3.2. Ensure to cut so that the screw does not protrude
from the opposite rose once installed. (Figure 3)
3. Prepare Cut-o Screws
if using face x timber screws, proceed to step 4
4.1. Place the split spindles into the latch from either
side of the door.
4.2. Unscrew the outer roses from the door lever set
(for square rose hardware loosen grub screw and
remove) and install the halves on either side of
the door, ensuring the levers function in the
correct direction.† (Figure 4)
4.3. Insert two of the cut-o screws through non-
threaded holes of the inner rose at 3 and
9 o’clock, screwing them into the opposite rose.
Repeat at 12 and 6 o’clock, OR (Figure 5)
4.4. Ax wood screws at all xing points.
4.5. Replace outer rose cover.
4. Install Levers
Figure 3.
(6)
† For Helsinki lever unscrew end cap to remove and t rose.
(6) (1)
(7)
Wood Screws
(5)
(2)
(1)
Figure 4.
Figure 5.
Rose Passage Set
—
Standard & Grub Screw
1.
2.
7.
6. (or 5.)
4.
PLEASE NOTE:
The screws provided with Iver products are made from solid
brass. This allows nishes to be matched as closely as possible
and prevents the possibility of screws rusting in coastal areas.
Please note that screws require pre-drilling.
Please take extra care when tting.
Not Included:
1. Rose Passage Lever Set
2. Outer Rose Covers
3. Hex Key
4. Grub Screws
(Square Rose only)
5. Wood Screws
6. Cut-o Screws
7. Split Spindles
Included:
8. Standard Spindle
IMPORTANT:
Please install this door
hardware in the following
order to ensure its warranty
is not voided.
1. Install the door hardware
on raw / unnished door
using the instructions
provided.
2. Remove door hardware
and store safely. Do not
place painters tape or
masking tape over the
product. The tape will
damage the nish.
3. Paint / nish door.
4. Reinstall hardware.
Please recycle
me after use

Other iver Door Lock manuals

iver IV003 Configuration guide

iver

iver IV003 Configuration guide

iver Backplate Privacy Configuration guide

iver

iver Backplate Privacy Configuration guide

iver IV013 Configuration guide

iver

iver IV013 Configuration guide

iver IV011 Configuration guide

iver

iver IV011 Configuration guide

iver IV007 Configuration guide

iver

iver IV007 Configuration guide

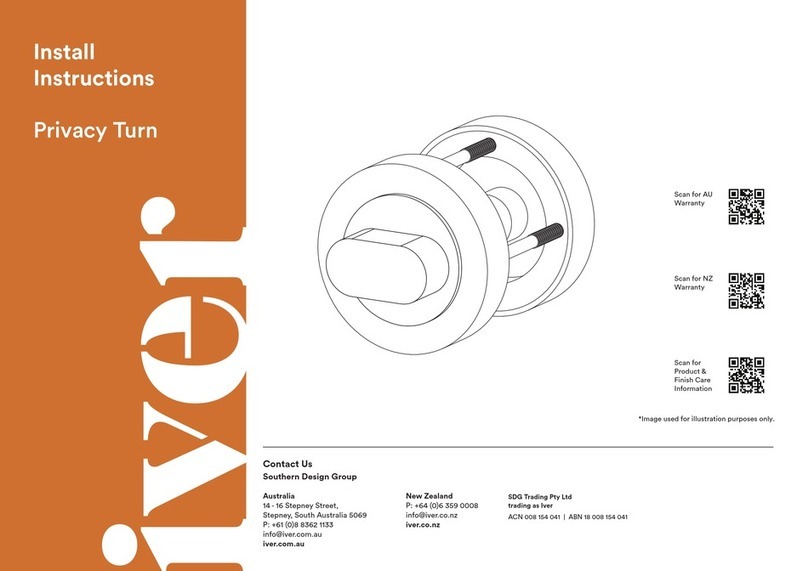
iver Privacy Turn Configuration guide

iver

iver Privacy Turn Configuration guide

iver IV008 Configuration guide

iver

iver IV008 Configuration guide

Popular Door Lock manuals by other brands

Timewatch FGL14 user manual

Timewatch

Timewatch FGL14 user manual

Primera 1-46-729A Fittings guide

Primera

Primera 1-46-729A Fittings guide

Schlage L9000 Series installation instructions

Schlage

Schlage L9000 Series installation instructions

BQT YD25K Installation and operating instructions

BQT

BQT YD25K Installation and operating instructions

Kwikset 914CZigBee C4 Installation and user guide

Kwikset

Kwikset 914CZigBee C4 Installation and user guide

Allegion SCHLAGE Element Series installation instructions

Allegion

Allegion SCHLAGE Element Series installation instructions

Assa Abloy Securitron DSB Series Installation and operation instructions

Assa Abloy

Assa Abloy Securitron DSB Series Installation and operation instructions

Assa Abloy Sargent 52-4424 Replacement instructions

Assa Abloy

Assa Abloy Sargent 52-4424 Replacement instructions

MERONI Nova Assembling instructions

MERONI

MERONI Nova Assembling instructions

CODELOCKS CL410 instructions

CODELOCKS

CODELOCKS CL410 instructions

Philips DDL193LAFCG/97 user manual

Philips

Philips DDL193LAFCG/97 user manual

Alarm Lock ETPDLN Instructions & template

Alarm Lock

Alarm Lock ETPDLN Instructions & template

Assa Abloy DC340 installation instructions

Assa Abloy

Assa Abloy DC340 installation instructions

Finger Access FA88 user manual

Finger Access

Finger Access FA88 user manual

Assa Abloy 8788 Installation instruction

Assa Abloy

Assa Abloy 8788 Installation instruction

Baldwin RESERVE 47038 / 03 Quick user guide

Baldwin

Baldwin RESERVE 47038 / 03 Quick user guide

Salto Neo B1 Series installation guide

Salto

Salto Neo B1 Series installation guide

M-LOCKS T8530 User instructions

M-LOCKS

M-LOCKS T8530 User instructions

manuals.online logo
manuals.online logoBrands
  • About & Mission
  • Contact us
  • Privacy Policy
  • Terms and Conditions

Copyright 2025 Manuals.Online. All Rights Reserved.