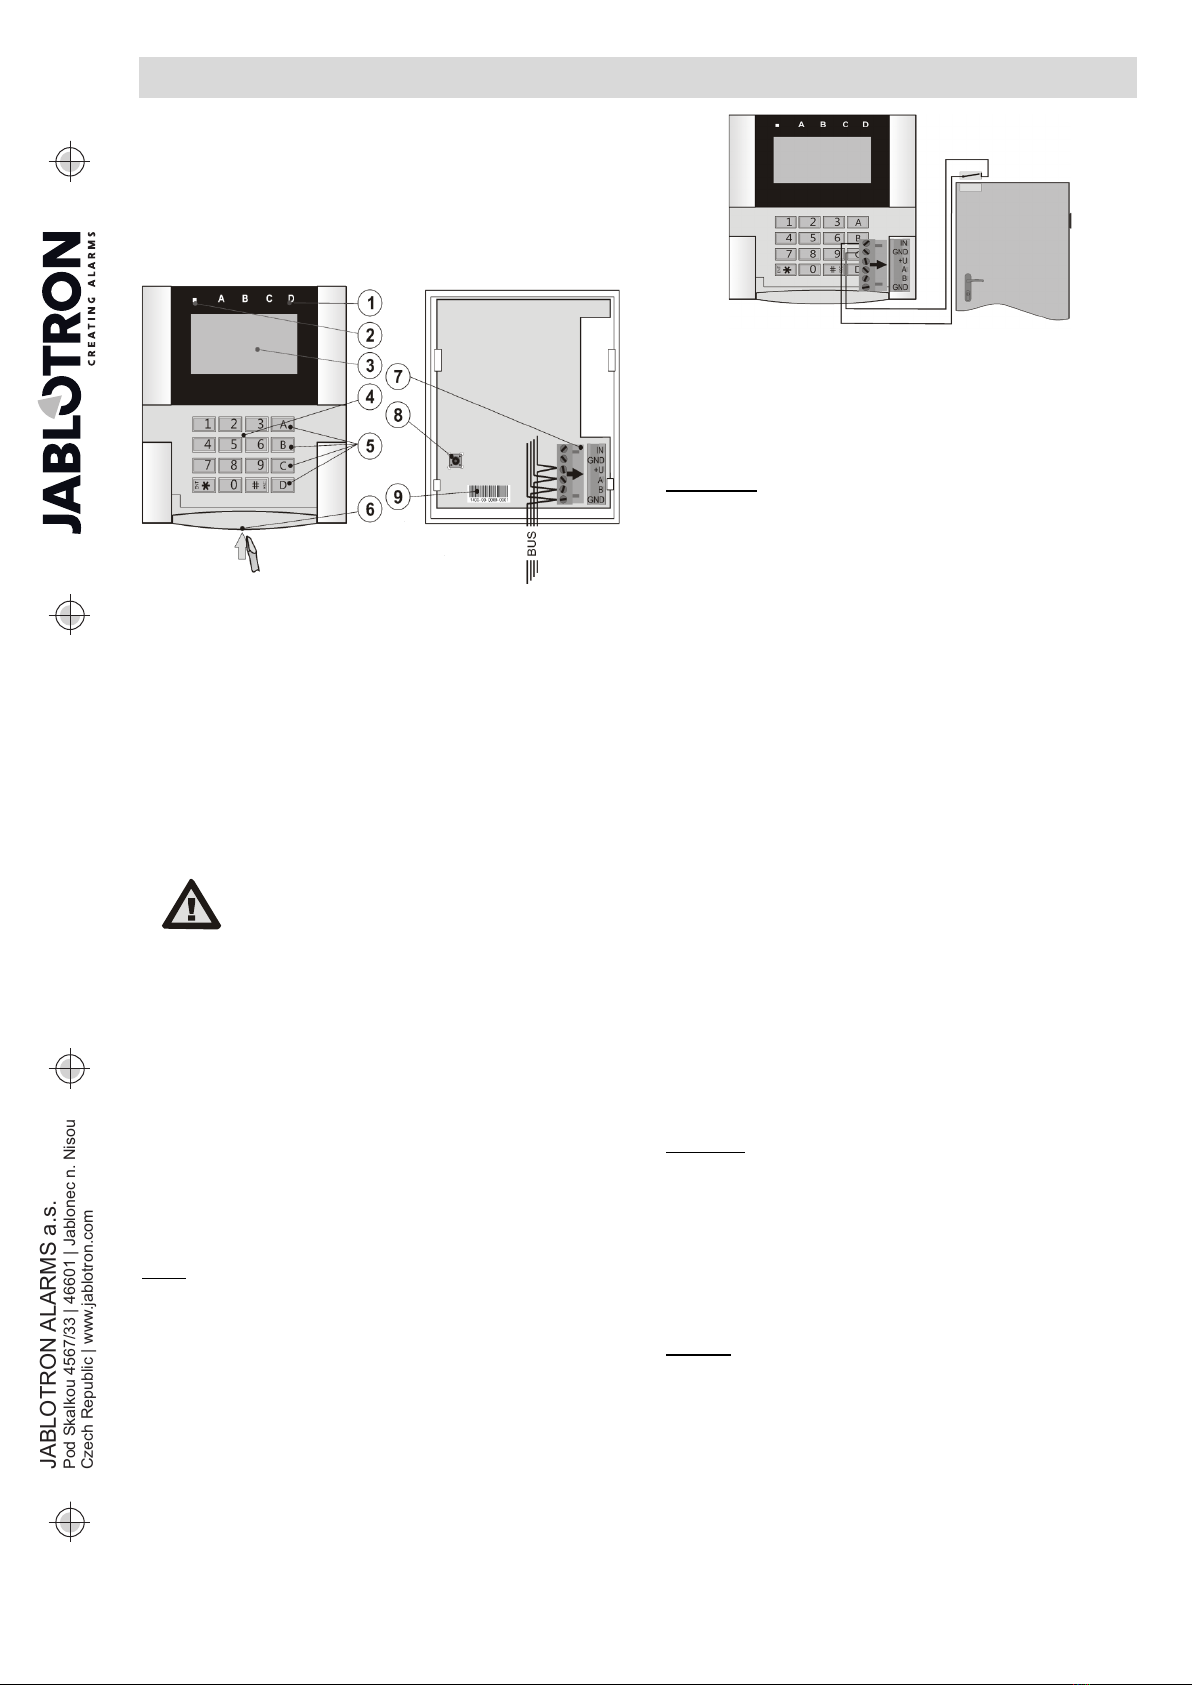
JA-10E BUS keypad
JA-10E BUS keypad 2 / 2 MNX51101
4. Button status change on keypad – The keypad indicates
after a change of the section/PG status by a particular button
and a section indicator. Entrance delay and alarms are
indicated acoustically only.
5. Entrance delay/Alarms on button – The keypad indicates
entrance delays and alarms with a function button and a
status indicator. Change of section/PG status is not
indicated visually or acoustically.
6. Wake-up by pressing –The keypad starts to optically and
acoustically indicate after the front cover has been opened
and also when a key or a function button has been pressed.
RFID reader: In order to save energy we limit the RFID reader to
function for 3 seconds after pressing the keypad cover. The
reader can be also completely disabled. This setting applies to
wireless keypads and access modules as long as they are
supplied permanently by an external power supply, otherwise
their RFID readers will always turn off automatically.
Permanently ON – the RFID reader is always active. A BUS
keypad ignores wake up settings.
Activated by pressing – When the keypad is activated the
RFID wakes up for 3 seconds.
Disabled – RFID is permanently disabled.
Activated by pressing or authorization requirement –
the keypad wakes up after pressing a button on a keypad cover
or by an authorization request, for example during the entrance
delay.
Unset a section by authorization only during an entrance
delay – using an access code or an RFID tag will unset a section
where an entrance delay has been triggered (if the user has
access to the section). This authorization can be used with
wireless keypads only when they declare an entrance delay.
WARNING: This function is not recommended when the control
panel is configured to use a Common section. Unwanted
unsetting may occur to all sections assigned to the Common
section or it may even occur to the whole control panel (when
pressing the Unsetting button is followed by authorization).
Delayed panic – this function triggers a panic alarm (silent
or loud) with an adjustable delay during which the alarm can
be cancelled. Activation and deactivation is done by a function
button configured to Panic or Silent panic functions. The button
pressed once triggers the delay. Press twice to cancel the delay.
When authorization is enabled then it is required for activation
and deactivation. The delay is adjustable from 1 to 255 seconds.
Backlight intensity
−Indicators – backlight intensity of indicators
−Functional buttons – backlight intensity of the function
buttons
−Keypad – backlight intensity of the keypad
−Display – backlight intensity of the LCD display
−Contrast – LCD display contrast
Acoustic indication for sections: list of allowed sections for
acoustic indication.
A keypad configuration which complies with
certification requirements must be selected
from the list of System profiles in the
Parameters tab of the N-Link SW.
Optical indication
System indicator:
Continuous green light - Normal operation. Sections controlled
by the keypad are OK, no faults.
Continuous yellow light - Normal operation, reported faults
in some of the controlled sections. You can get more detailed
information via the LCD keypad menu after user authorization
depending on the user access rights.
If the optical indication is followed by a rotating Jablotron logo
on the LCD keypad then it represents a radio communication fault
between the control panel and the keypad
Continuous red light – The keypad is in BOOT mode, used
while upgrading firmware.
Flashes green (2Hz) – Ongoing authorization during which
the user can change the statuses of the function buttons
or browse the keypad menu. Authorization times out after
8 seconds from the last time any of the buttons had been pressed
or it can be cancelled by pressing ESC.
Flashes yellow (8Hz) - Unsuccessful setting warning indication
Flashes red (8Hz) - Indication of a currently triggered alarm
in one of the sections controlled by the keypad. The type of alarm,
name of the section where an alarm has been triggered and
the source of the triggered alarm is visible on the LCD keypad
Flashes alternately red/yellow - Triggered alarm with an
active fault
Flashes alternately green/red – Ongoing authorization
with an alarm memory
Flashes alternately green/yellow – Ongoing authorization with
an active fault
Flashes yellow 2x every 2 seconds - Programming / Service
mode. All control button indication is disabled, function keys along
with the keypad menu are unavailable for users and the
Administrator. The keypad menu is only available for a service
technician unless a PC is connected to the control panel.
Flashes red 2x every 2 seconds - Alarm memory indication
Flashes yellow 1x every 2 seconds - Fault indication on a
keypad which is in sleep mode (only valid for the EN50131-1 profile)
Flashes red 1x every 2 seconds - Alarm memory indication on
a keypad which is in sleep mode (only valid for the EN50131-1
profile)
No indication – The keypad is in sleep mode.
Function buttons and status indicators – the status of the
function buttons is simultaneously indicated by the status
indicators A, B, C, D
Continuous green light - Section status is Unset or a PG
output is OFF.
Flashes green (4Hz) – Ongoing entrance delay and the system
waits to be Unset by authorization.
Continuous yellow light - Section status is Partially set
Continuous red light - Section status is Set or a PG output
is ON
Flashes yellow (4Hz) - System expects authorization when
partially set or it reports a fault during partial setting.
Flashes yellow (8Hz) - Unsuccessful setting warning indication.
Flashes red (4Hz) – The control panel waits for authorization
during setting or it reports a problem during setting
Flashes red (8Hz) - Alarm memory indication. It is indicated
until it is cancelled
No light - Service mode or a blocked section after an alarm
(after blocking and cancelling alarm memory indication)
Acoustic indication
It can be set regardless of the keypad’s optical indication and
sleep mode. The keypad can indicate entrance/exit delays
or alarms. During valid authorization (by a user code or RFID
card), the acoustic indication of exit delays is suppressed.
By pressing the indication button, the keypad is muted
permanently. Entrance delays and alarms are indicated until their
times expire, unless the activation button is pressed.
Technical specifications
Power from control panel digital bus (9…15 V)
Nominal current consumption to calculate back up 30 mA
Current consumption for cable selection 110 mA
Connection type data BUS – not shared
RFID frequency 125 kHz
Size 120x130x30 mm
Weight 217 g
Operating temperature range -10 to +40 °C
Average operational humidity 75% RH
Operational environment according to EN 50131-1 II. Indoor general
Classification Grade 2 (if selected in the N-Link SW)
according to EN 50131-1, EN 50131-3,
Certification body Trezor Test
Also complies with ETSI EN 300 330, EN 50130-4,
EN 50581, EN 55032, EN 62368-1,
Can be operated according to ERC REC 70-03
JABLOTRON ALARMS a.s. hereby declares that the JA-10E
is in a compliance with the relevant European Union harmo-
nization
legislation: Directives No: 2014/53/EU, 2014/35/EU,
2014/30/EU, 2011/65/EU. The original of the conformity assess-
ment can be found at www.jablotron.com - Section Downloads.
Note:
Although this product does not contain any harmful
materials we suggest you return the product to the dealer
or directly to the producer after use. For more detailed information
visit www.jablotron.com.