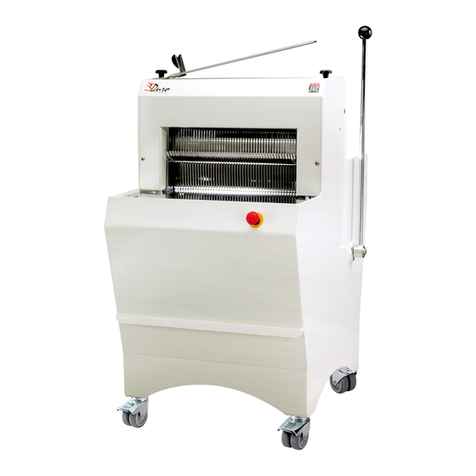
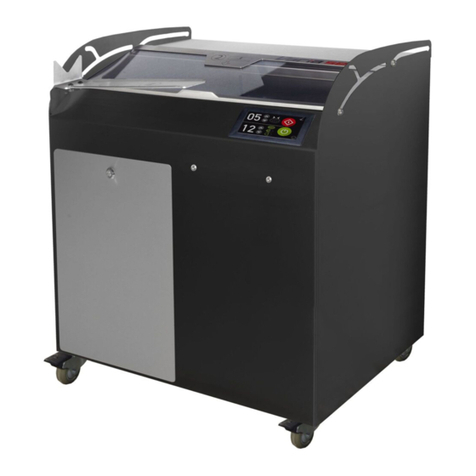
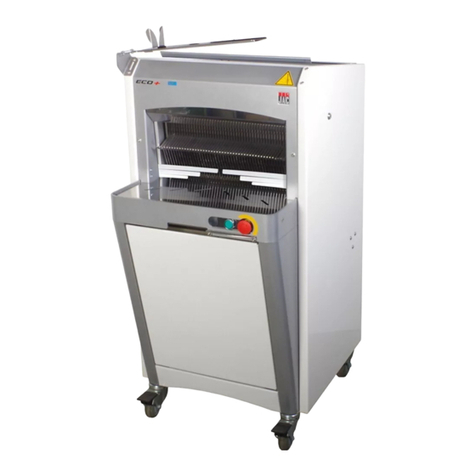
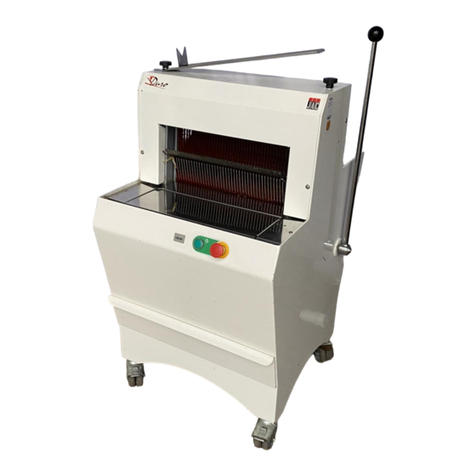
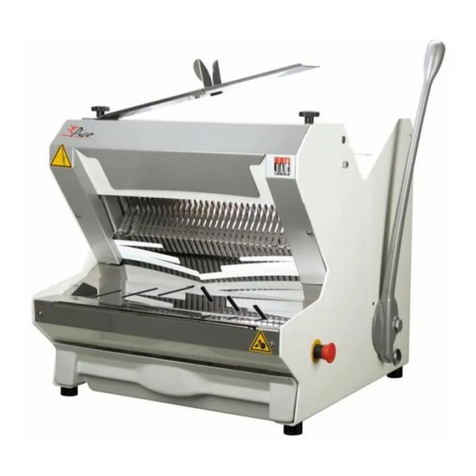
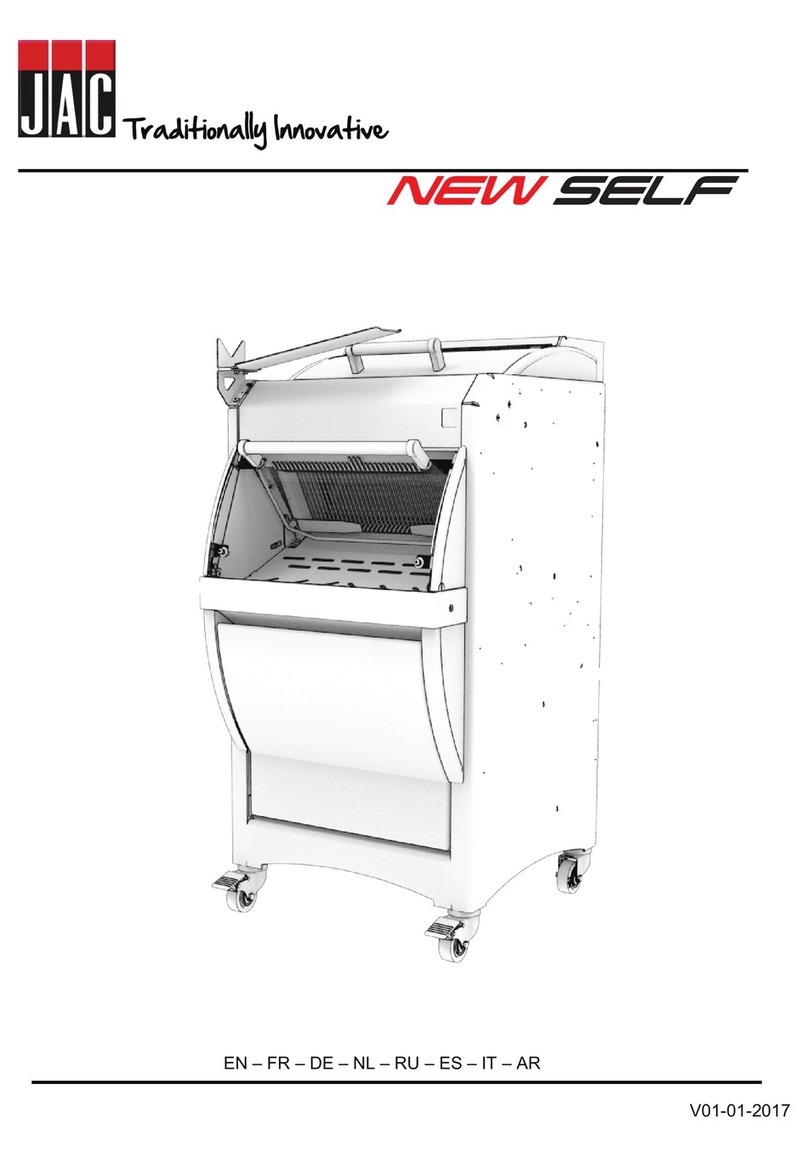
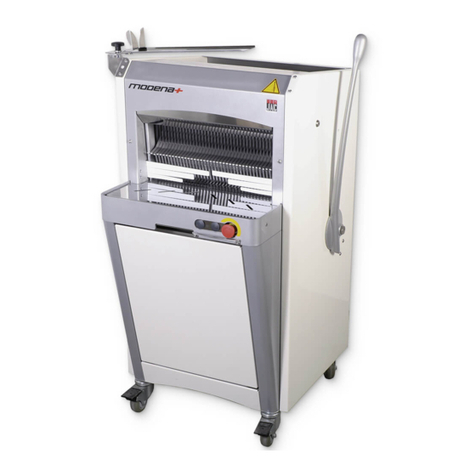
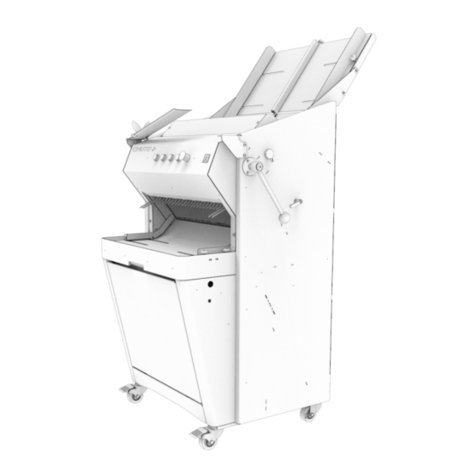
JAC Varia Pro User manual


VARIA PRO
3
MACHINES À COUPER LE PAIN
(Notice d’instructions originale
11
BREAD SLICERS
(Translation of the original instructions
5
EN
ENEN
EN
FR
FRFR
FR
V01.130912

Translation of the original instructions
4

5
BEFORE START-UP
WARRANTY
You have just received a JAC machine and we would li e to than your very much for your
confidence.
In order for you to be completely satisfied over the next few years, please note the following
advices :
- Obtain assistance from your authorised agent for installation, start-up and follow-up ;
- In order to be able to benefit from the 3 year warranty (see conditions for returning be-
low), you should have the service boo filled out by your distributor when the machine is
installed. The service boo is located at the bac of this manual.
JAC offers a 3 year warranty on all its products.
This warranty includes replacement of original parts found to be defective and installation
free of charge by the JAC agent.
The warranty becomes effective from the installation date of the equipment
Under the following restrictive conditions :
1. The equipment is purchased under “normal“ conditions ;
2. Installation is made by an authorised agent ;
3. Utilisation of equipment conforming to the indications of the instructions for use and for
the purpose for which it is made ;
4. The equipment is maintained daily as a good father should and with all due care ;
5. Maintenance followed-up by the authorised agent conforming to the maintenance speci-
fications with at least one maintenance a year (maintenance at the user’s cost).
The manual has a page for this where the agent can detail the different maintenance.
If there is no maintenance follow-up by an authorised agent and/or if the service
book is not completed correctly, the warranty is limited to one year.
6. Exclusive use of JAC original parts.
This warranty doesn’t cover :
1. Replacement of normally wearing parts ;
2. Parts found not to be defective by our dealers ;
3. Problems resulting from abnormal use of the equipment ;
4. Problems resulting from an installation not installed by an authorised agent ;
5. Parts where problems result from transport damage or incorrect handling.
Repair and/or replacement of defective parts during the warranty period does not extend the
initial warranty.

6
CAUTION
START-UP
- If necessary fix the feet or casters (if with stand) delivered with the machine ;
- Chec the direction of the blade rotation; if necessary reverse 2 phase wires ;
- Please refer to the “Instructions for use” section for using the machine.
CONNECTION
- Before connecting your machine to the electricity networ , chec that the machine oper-
ation voltage (see rating plate on the machine) and voltage of the electricity networ
are appropriate ;
- Connection of the machine has to be made using an earthed plug ;
- Your electrical installation supplying the machine has to be protected as below :
- North America : Main protection 15A ;
- Rest of the world : Main protection 16 A.
Note : All other problems resulting from another type of connection will not be ta en into
account.
- This machine is intended for professional ba ers ;
- This machine is solely intended for cutting temperate ba ed bread ;
- It may only be used by one person at a time. (unless otherwise stated) ;
- It has to be ept and used inside in a location, away from humidity and heat ;
- The machine has to be adequately lit for carrying out the wor satisfactorily ;
- This machine has a noise level below < 64,8 dB(A) ±5 dB(A) as per standard EN ISO
3746.
- For machines without special field sources: Non-ionizing radiation is not intentionally
produced, but only for technical reasons of the electrical equipment (such as electric
motors, power lines, or magnetic coils) only. In addition, the machine has no strong
permanent magnets. While maintaining a safe distance (distance to source field implant)
of 30 cm can be ruled out the influence of active implants (ex. pacema ers, defibrilla-
tors) with high probability.

7
Use the diagrams (page 16) to use the machine.
At the start of the day power up the machine with the aid of the main switch (located at the
bac side of the machine).
Procedure to use the machine :
1. Open the cover;
2. Put the bread on the right table;
3. Close the cover ;
4. Push on the rotary button to choose the thic ness from 6 to 25 mm (upper screen (B));
5. Push again on the rotary button (A) and choose the slicing type (lower screen (C)):
- 1 - 2 : Slicing in half ;
- ALL : Slicing all the bread ;
- 1 to 99 : Slicing of 1 to 99 slice needed.
6. Push on the green button (D) to start the slicing ;
7. When the green button flashing, open the cover to ta e you bread out and pac it.
Capacity :
Maximum size (Lengh x widht x height) (cm) : 42 X 29 X 14,5 ;
Capacity : 2.000 breads / day
Safety :
- Opening the crumb collector stops the machine from operating.
- Pushing on red button (E) stops the current slicing.
DANGER
- In case of danger for the user or for the machine, you must use the main switch to
switch off the electric supply of the machine ;
- Remove the electric plug before every maintenance and service operation ;
- Don’t touch the blade even when stopped ;
- If you need to change the blade, have this done by your authorised distributor ;
- Ma e sure that you wear anti-cut protective gloves and safety shoes
when replacing the cutters or carrying out operations in the vicinity of the blades ;
- All maintenance or part changing operations are to be carried out by a qualified person ;
INSTRUCTIONS FOR USE

8
MAINTENANCE
Daily, by a trained user :
1. Chec to see if the crumb collector needs to be emptied ;
NB: Do not forget to loc the door
2. Clean tables using a brush ;
3. Clean the optical sensor ;
4. Clean the glass cover :
- Close to half cover
- Unloc the hoo s on each side
- lift the hood to clean
- Close cover and loc the hoo s.
NB: Use a dry cloth to clean the inside.
5. For outside maintenance, use a damp cloth.
Every year, by an authorised agent :
1. Remove the plug ;
2. Chec the condition of the cutting blade. If a deterioration in the slicing quality is ob
served, you must proceed with replacing the cutting blade (JAC reference: 610022 of
the JAC Spare Parts Catalogue).
If the blade needs to be changed, replace it in accordance with the procedure for chang-
ing the cutting blade ;
3. Clean with a brush and vacuum the inside of the machine.
Check that your authorised agent records the intervention in your service book in
order to keep your 3 year warranty

9
HOW TO CHANGE THE BLADE
Always wear cut resistant protective gloves (EN 388 Standard: 2003 index level B = 5) and
safety shoes when replacing the blade or when carrying out an operation near the blade.
Once you have ensured that your machine is actually disconnected from the mains:
1. Open the left door ;
2. Remove the crumb collector ;
3. Replace the blade :
- Unscrew the nut that holds the blade, using the eys (2) provided ;
- Remove the wedge and replace the blade, ta ing care to place it properly in the
alignment eys ;
- Put the wedge bac ;
- Screw and tighten the nut to loc the blade, using the eys provided.
4. Replace the crumb collector and close the door.
Connect your machine to the electricity networ .
SPARE PARTS
When ordering spare parts, chec with your authorised agent the parts concerned using
the spare parts catalogue published by the manufacturer.
Always provide the machine number as indicated on the rating plate.
Your agent will order the parts from JAC.
The machine is completely stopped
Did you plug it in ?
Is the power supply coming to the soc et ?
Is the cover correctly closed ?
Is the front door correctly closed ?
The bread brea s
Do the cutters have to be replaced ?
Always get an authorised dealer to carry out maintenance work on your machine!
TROUBLESHOOTING

Notice d’instructions originale
10

11
AVANT MISE EN SERVICE
GARANTIE
Vous venez d’acquérir une machine JAC, nous vous remercions pour votre confiance.
Pour que votre machine vous donne entière satisfaction au cours des prochaines années,
nous vous invitons à prendre connaissance des conseils suivants :
- Faites-vous aider par votre agent agréé pour l’installation, la mise en service et le suivi ;
- Afin de pouvoir bénéficier de la garantie des 3 ans (voir conditions reprises ci-après),
faites compléter, par votre distributeur, le carnet d’entretien lors de l’installation de votre
machine. Ce carnet d’entretien se trouve à la fin de cette notice d’utilisation.
JAC offre une garantie de 3 ans sur tous ses produits.
Cette garantie comprend le remplacement des pièces d'origine reconnues défectueuses et
l'installation gratuite de celles-ci par l'agent JAC.
La garantie prend effet à la date d'installation du matériel
Sous les conditions restrictives suivantes :
1. Matériel acquis dans des conditions « normales » (voir page 13) ;
2. Installation effectuée par un agent agréé ;
3. Utilisation du matériel conformément aux indications du mode d’emploi et dans le but
pour lequel il a été fabriqué ;
4. Matériel journellement entretenu en « bon père de famille » ;
5. Entretiens suivis par l'agent agréé conformément aux spécifications d’entretien avec, au
minimum, un entretien par an (entretien à charge de l’utilisateur). La notice comprend à
cet effet une page permettant à l'agent d'indiquer les différents entretiens.
Si il n y a pas de suivi d entretien par un agent agréé et/ou que le carnet d entretien
n est pas correctement complété, la garantie se limite à un an.
6. L'utilisation exclusive des pièces d'origine JAC.
Cette garantie ne couvre pas
1. Le remplacement de pièces d'usure normale ;
2. Les pièces non reconnues défectueuses par nos services ;
3. Les problèmes résultant d'une utilisation anormale du matériel ;
4. Les problèmes résultant d'une installation non effectuée par un agent agréé ;
5. Les pièces ou les problèmes résultant d'un dégât de transport ou d'une manutention
inappropriée.
Une réparation et/ou un remplacement de pièces défectueuses effectués durant la période
de garantie n’a pas pour effet de prolonger ladite garantie.

12
AVERTISSEMENT
RACCORDEMENT
- Cette machine est destinée aux professionnels de la boulangerie ;
- Cette machine est destinée exclusivement à la coupe du pain cuit et tempéré ;
- Elle doit être utilisée par une seule personne à la fois (sauf prescription contraire) ;
- Elle doit être stoc ée et utilisée à l’intérieur dans un local, à l’abri de l’humidité et de la
chaleur ;
- La machine doit être éclairée suffisamment pour effectuer le travail ;
- Émission de bruit dans zone de travail < 64,8 dB(A) ±5 dB(A) suivant la norme EN ISO
3746.
- Pour les machines sans sources de champs spéciaux: Le rayonnement non-
ionisant n'est pas produit intentionnellement, mais seulement pour des raisons tech-
niques de l'équipement électrique (comme les moteurs électriques, lignes électriques,
ou bobines magnétiques) seulement. En outre, la machine n'a pas de puissants aimants
permanents. Tout en maintenant une distance de sécurité (distance d'implantation de
champ source) de 30 cm on peut être exclure l'influence d'implants actifs (par exemple
les stimulateurs cardiaques, défibrillateurs) avec une forte probabilité.
- Avant de connecter votre machine au réseau, vérifier l’adéquation de la tension de ser-
vice de la machine (voir plaque signalétique sur la machine) et de la tension de votre
réseau ;
- Le raccordement de la machine doit se faire par l’intermédiaire d’une fiche munie d’une
terre ;
- La machine doit être connectée à un connecteur visible et accessible, de sorte qu'il peut
facilement être isolé du réseau ;
- Votre installation électrique alimentant la machine doit être protégée comme indiqué ci-
dessous :
- Amérique du Nord : Protection 15A ;
- Reste du monde : Protection 16 A.
Note: Tout problème résultant d’un autre type de raccordement vous incomberait.
MISE EN SERVICE
- Si nécessaire, fixer les pieds ou les roulettes livrés avec la machine ;
- Vérifier le sens de rotation de la lame, si nécessaire inverser 2 fils de phase ;
- Pour l’utilisation de la machine, se reporter au chapitre « Mode d’emploi ».

13
Utiliser les schémas de la page 16 pour l’utilisation de la machine.
En début de journée, mettre la machine sous tension à l’aide de l’interrupteur général (situé
à l’arrière de la machine) ;
Procédure d’utilisation :
1. Ouvrir le capot ;
2. Déposer votre pain sur la table à droite ;
3. Fermer le capot ;
4. Appuyer de sur la molette de sélection pour choisir l’épaisseur de tranche 6 à 25 mm
(Ecran supérieur (B)) ;
5. Appuyer de nouveau sur la molette de sélection (A) et choisir le type de tranchage désiré
(écran inférieur (C));
- 1 - 2 : Coupe du pain en deux ;
- ALL : Coupe de tout le pain ;
- 1 à 99 : Coupe de 1 à 99 tranches désirée.
6. Appuyer sur le bouton vert (D) pour démarrer le cycle de tranchage ;
7. Lorsque le bouton vert clignote, ouvrir le capot pour extraire le pain coupé et l’emballer.
Capacité :
Dimension maximum du pain (L x l x h) (cm) : 42 X 29 X 14,5 ;
Capacité : 2.000 pains / jour.
Sécurité :
- L’ouverture de l’armoire à mie empêche le fonctionnement de la machine.
- L’appui sur le bouton rouge (E) arrête le cycle de tranchage en cours.
MODE D’EMPLOI
- En cas de danger pour l’utilisateur ou pour la machine, vous devez utiliser l’interrupteur
général pour couper l’alimentation de la machine;
- Retirer la fiche de la prise électrique avant toute opération de maintenance et
d’entretien ;
- Ne pas toucher à la lame, même à l’arrêt ;
- Pour le changement de la lame, faites faire l’opération par votre distributeur agréé ;
- Veiller à toujours porter des gants de protection anti-coupure et des chaussures de sé-
curités lors du remplacement de la lame ou lors d’une opération au voisinage de la
lame ;
- Toute opération de maintenance ou remplacement de pièce doit être effectuée par une
personne qualifiée.
DANGER

14
Tous les jours, par un utilisateur formé :
1. Vérifier si vous ne devez pas vider le bac à miettes ;
NB: ne pas oublier de verrouiller la porte à clé.
2. Nettoyer les tables à l’aide d’une brosse ;
3. Nettoyer le capteur optique ;
4. Nettoyer la vitre du capot :
- Fermer la capot à moitié
- Déverrouiller les crochets de chaque coté
- Soulever le capot afin de le nettoyer
- Abaisser le capot et verrouiller les crochets.
NB: Utiliser un chiffon sec pour le nettoyage intérieur.
5. Pour l’entretien extérieur, utiliser un chiffon humide.
Tous les ans, par un agent agréé :
1. Retirer la fiche de la prise ;
2. Vérifier l’état de la lame de coupe. Si une dépréciation de la qualité de la coupe est
notée, il faut procéder au remplacement de la lame de coupe (référence JAC : 610022
du catalogue de Pièces de Rechange JAC)
Si elle est à changer, remplacer la lame conformément à la procédure de changement
de la lame de coupe ;
3. Nettoyer à la brosse et aspirer l’intérieur de la machine.
Vérifier bien que votre agent agréé enregistre son intervention dans votre carnet
d entretien afin de conserver votre garantie de 3 ans
ENTRETIEN

15
Veiller à toujours porter des gants de protection anti-coupure (Norme EN 388: 2003 indice B
= 5) et des chaussures de sécurité lors du remplacement de la lame ou lors d’une opération
au voisinage de lame.
Après vous être assuré que la fiche de votre machine était bien déconnectée du secteur :
1. Ouvrir la porte gauche ;
2. Retirer le bac à mie ;
3. Remplacer la lame :
- Dévisser l’écrou qui maintient la lame, à l’aide des clés (2) fournies ;
- Retirer la cale et remplacer la lame en prenant soin de bien la placé dans les
ergots détrompeurs ;
- Remettre la cale ;
- Visser et serrer l’écrou afin de bloquer la lame, à l’aide des clés fournies.
6. Remettre le bac à mie et fermer la porte.
Connecter votre machine au réseau électrique, la machine est prête.
PIECES DE RECHANGE
Lors d’une commande d’une pièce de rechange, vérifier avec votre agent agréé de quelle
pièce il s’agit sur base du catalogue de pièces de rechange émis par le fabricant.
Préciser toujours le numéro de machine comme indiqué sur la plaque signalétique.
Votre agent effectue les commandes auprès de JAC.
La machine est complètement à l’arrêt
Avez-vous branché la fiche ?
Y-a-t-il du courant dans la prise ?
Le couvercle est-il bien fermé ?
La porte avant est-elle bien fermé ?
Le pain se déchire.
La lame ne doit-elle pas être remplacée ?
Faites toujours entretenir votre machine par un agent agréé !
PROBLEMES
COMMENT CHANGER LA LAME

16
VPL
D
B
C
E
A

17

18

19

B. Van Cauwenberghe
General Manager
JAC s.a.
CONFORMITY CERTIFICATE TO THE EUROPEAN DIRECTIVES.
CERTIFICAT DE CONFORMITE AUX DIRECTIVES EUROPEENNES.
GETUIGSCHRIFT VAN OVEREENSTEMMING MET DE EUROPESE RICHTLIJNEN.
CERTIFICATO DI CONFORMIT0 ALLE DIRETTIVE EUROPEE.
CERTIFICADO DE CONFORMIDAD CON LAS DIRECTIVAS EUROPEAS.
KONFORMITÄTSZEUGNIS AN DIE EUROPÄISCHEN RICHTLINIEN.
СЕРТИФИКАТ СООТВЕТСТВИЯ ЕВРОПЕЙСКИМ ДИРЕКТИВАМ.
EN
ENEN
EN
FR
FRFR
FR
DE
DEDE
DE
NL
NLNL
NL
IT
ITIT
IT
ES
ESES
ES
RU
RURU
RU
Unterzeichneter er lärt, daß diese Maschine den Europäischen Richtlinien 2006/42
2006/95, 2004/108.
The undersigned certifies that the machine complies with the European Directives 2006/42,
2006/95, 2004/108.
Le soussigné déclare que cette machine est conforme aux directives européennes 2006/42,
2006/95, 2004/108.
I onderte ende ver laar dat deze machine in overeenstemming met de Europese
richtlijnen 2006/42, 2006/95, 2004/108.
Ii sottoscritto dichiara questa macchina conforme alle ultime versioni delle seguenti direttive
europee: 2006/42, 2006/95, 2004/108.
El infrascrito declara que esta máquina es conforme con las directivas europeas 2006/42,
2006/95, 2004/108.
Нижеподписавшееся лицо заявляет, что данное устройство соответствует
европейским директивам 2006/42, 2006/95, 2004/108.
Table of contents
Languages:
Other JAC Kitchen Appliance manuals