9
2Installation and Setup
General Information
This section will guide you through the installation and setup of your card printer.
This consists of the following procedures, which should be performed in the order
presented.
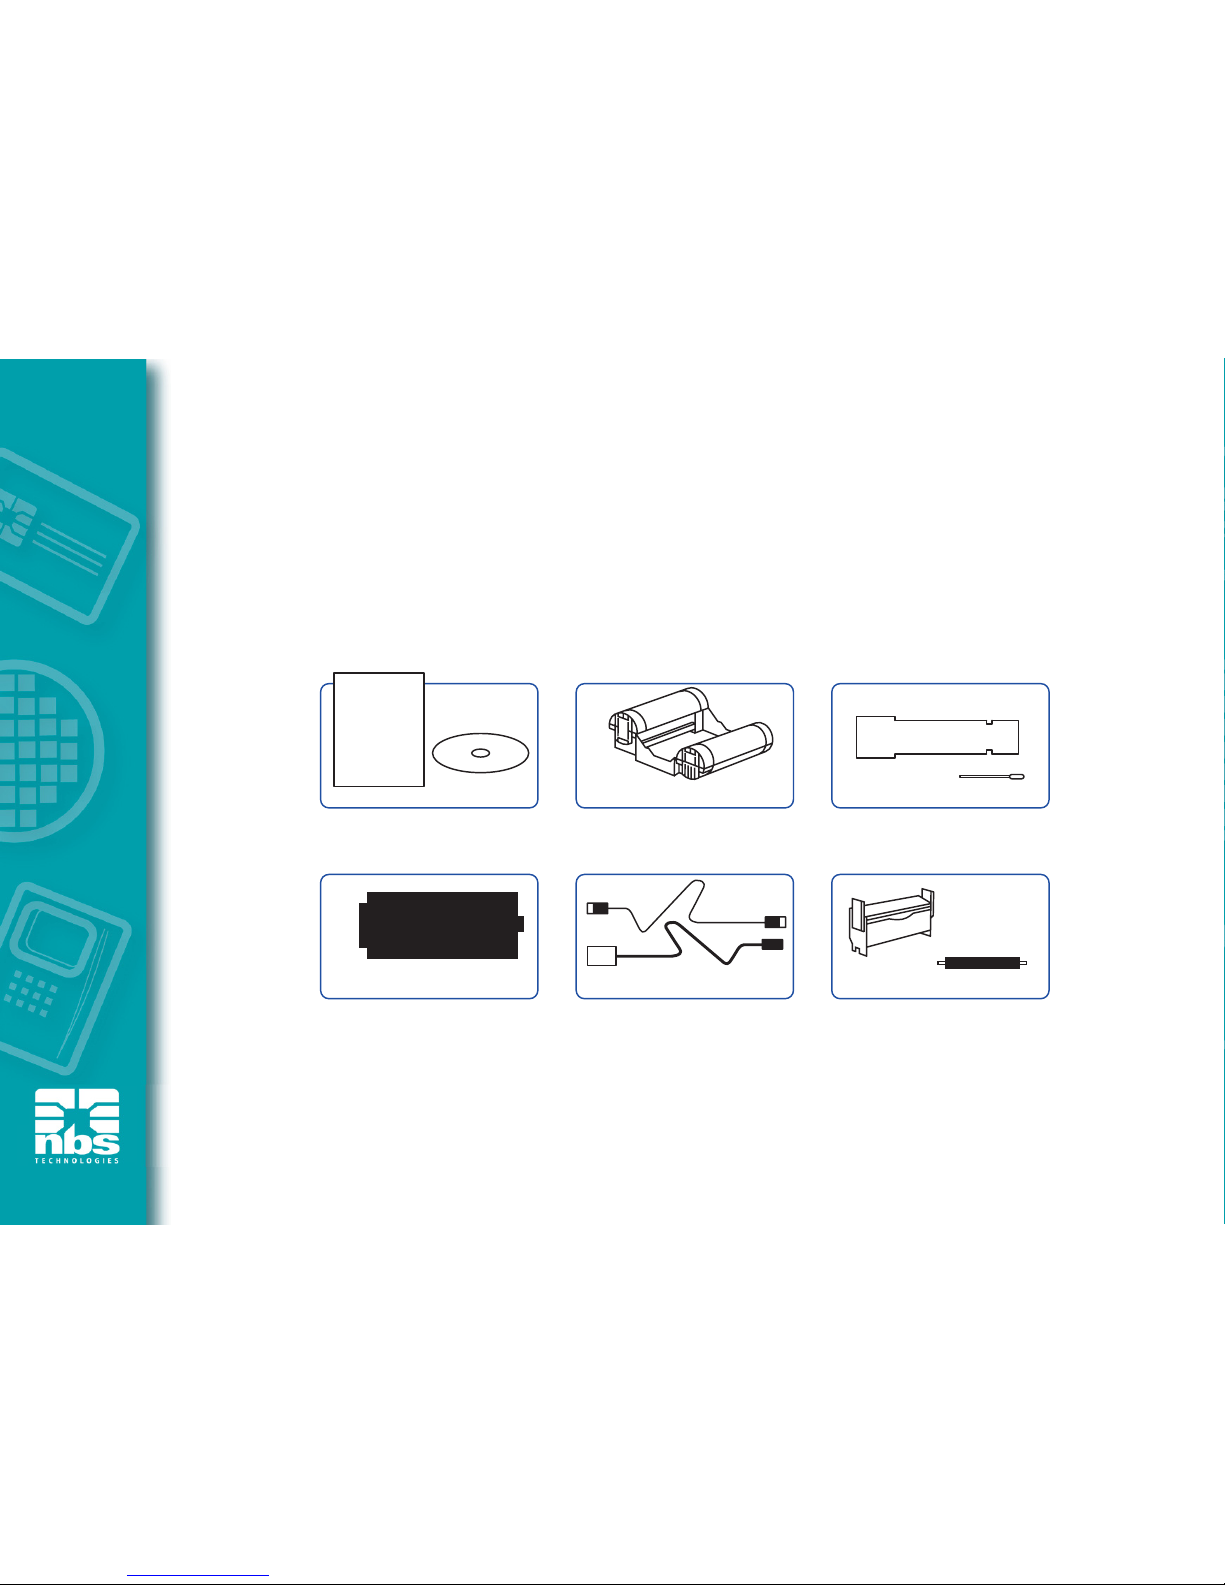
Unpacking the printer
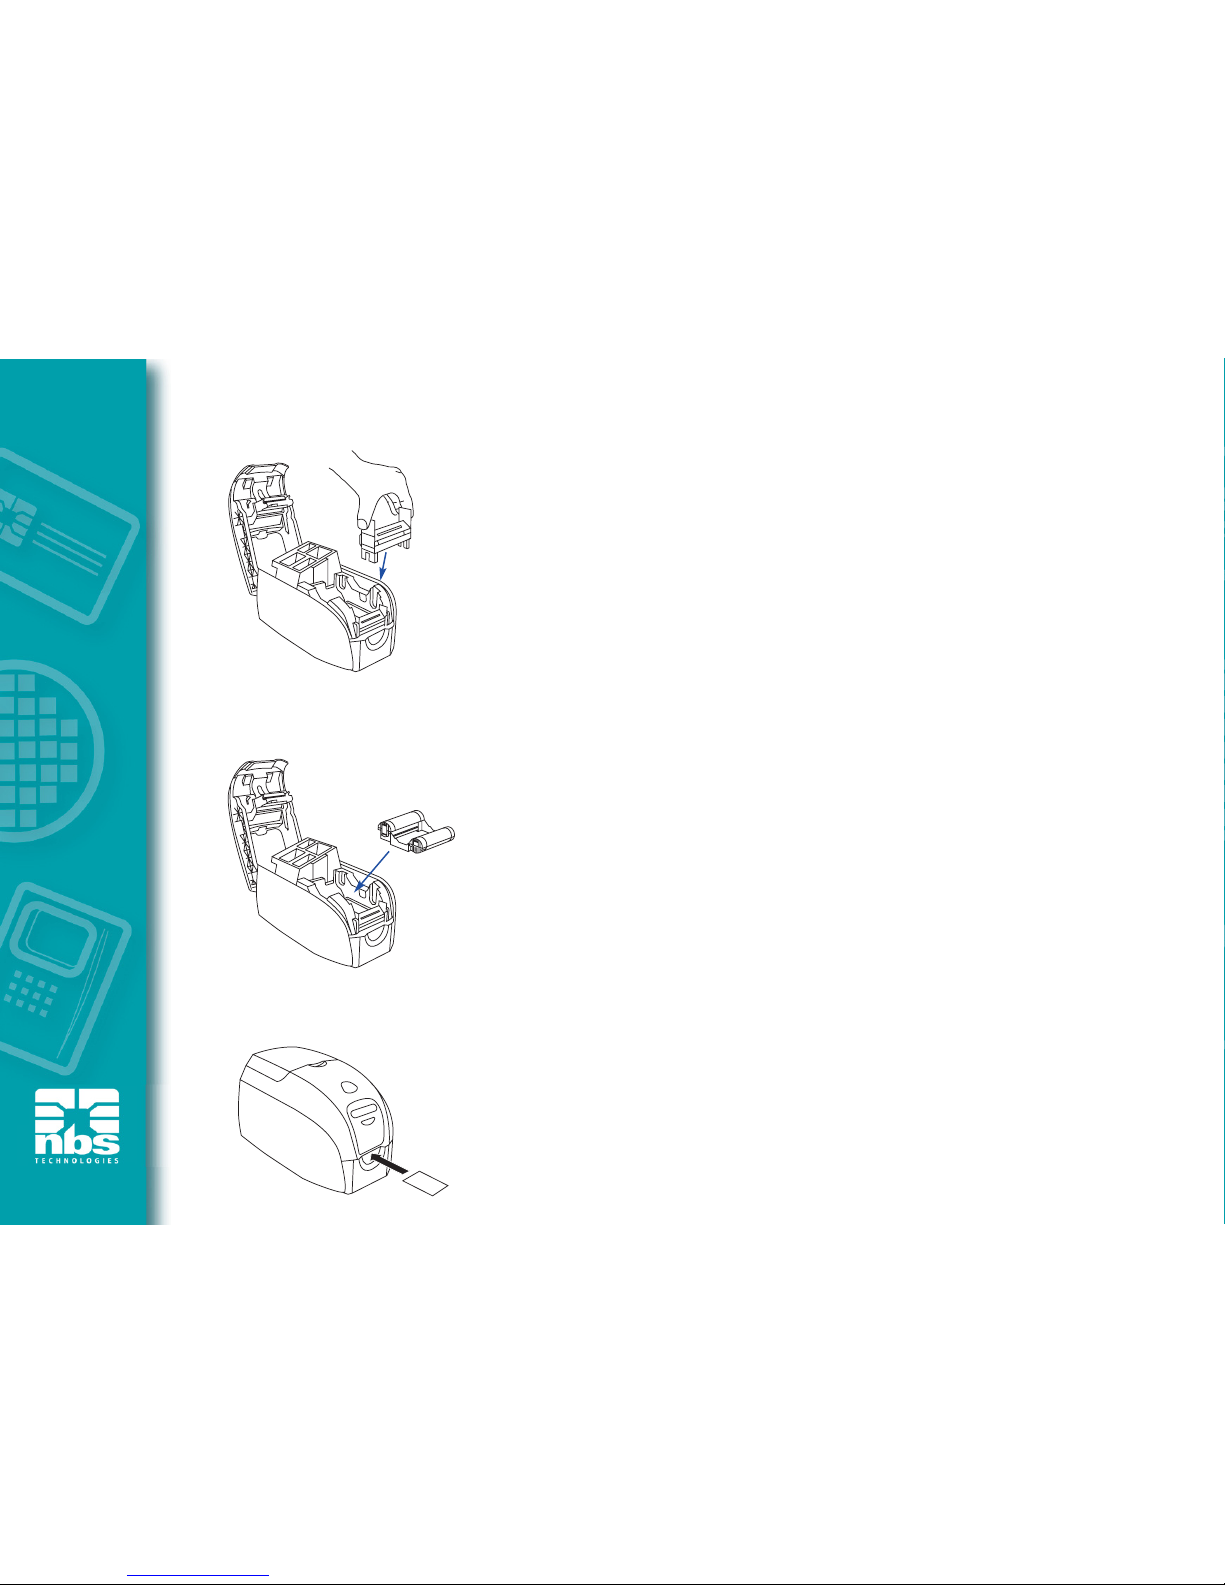
Installing the card cleaning components
Loading a ribbon
Loading cards
Installing the print driver software and setting driver options
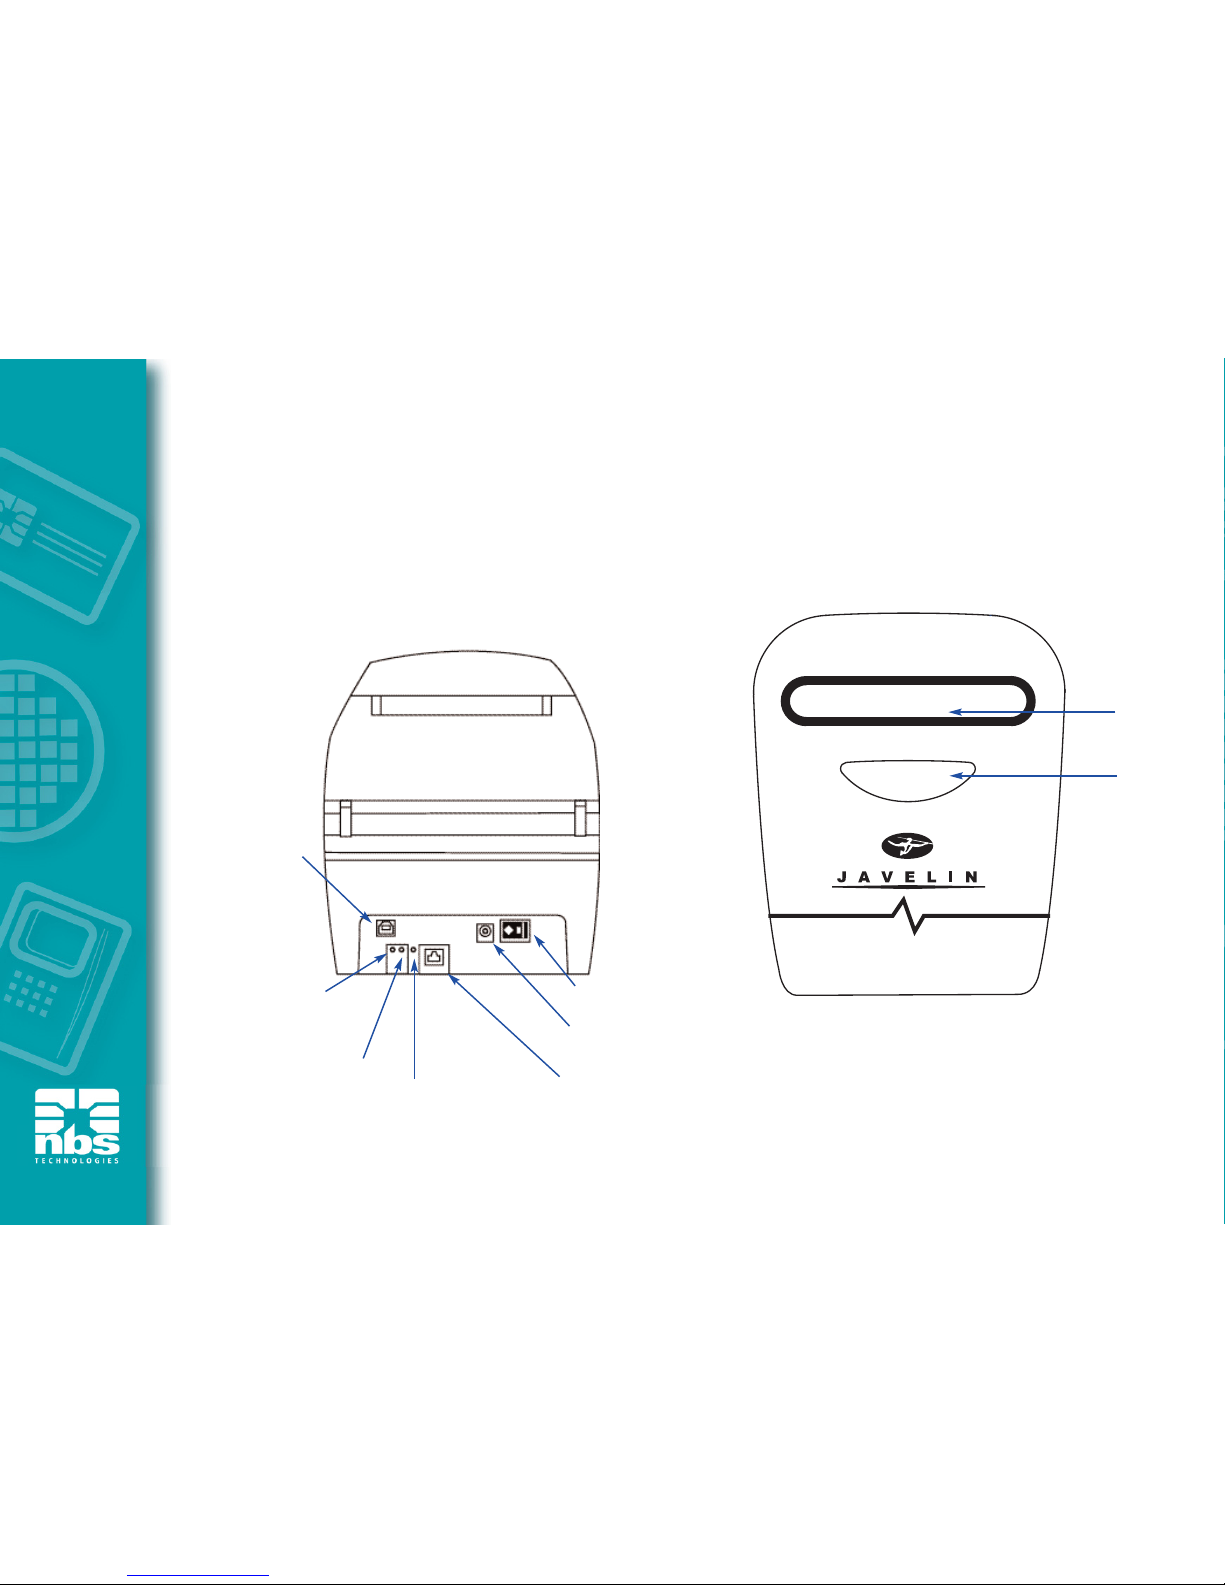
Connecting the printer to your computer
Connecting power
Printing a test card to verify printer operation
The printer should be placed in a location that allows easy access to all sides.
The printer should never be operated while resting on its side or upside down.
Electric Shock Caution: Limit AC power supplied to the printer to 110 ~ 230
volts, 60 ~ 50 Hertz. Limit excess current draw to 16 amps or less, using an associated
circuit breaker or other such device.
Never operate the printer in a location where operator, computer, or printer can get wet.
Personal injury could result.
The printer must be connected to an earthed electrical power source and properly
protected against electrical surges and grounding faults; the electrical reliability of the
printer is based on the reliability of the mains power source and with the earth connection.
The printer’s power supply is an internal unit that can only be serviced or replaced by
trained and authorised personnel.