TABLE OF CONTENTS
1GETTING STARTED ....................................................... 1
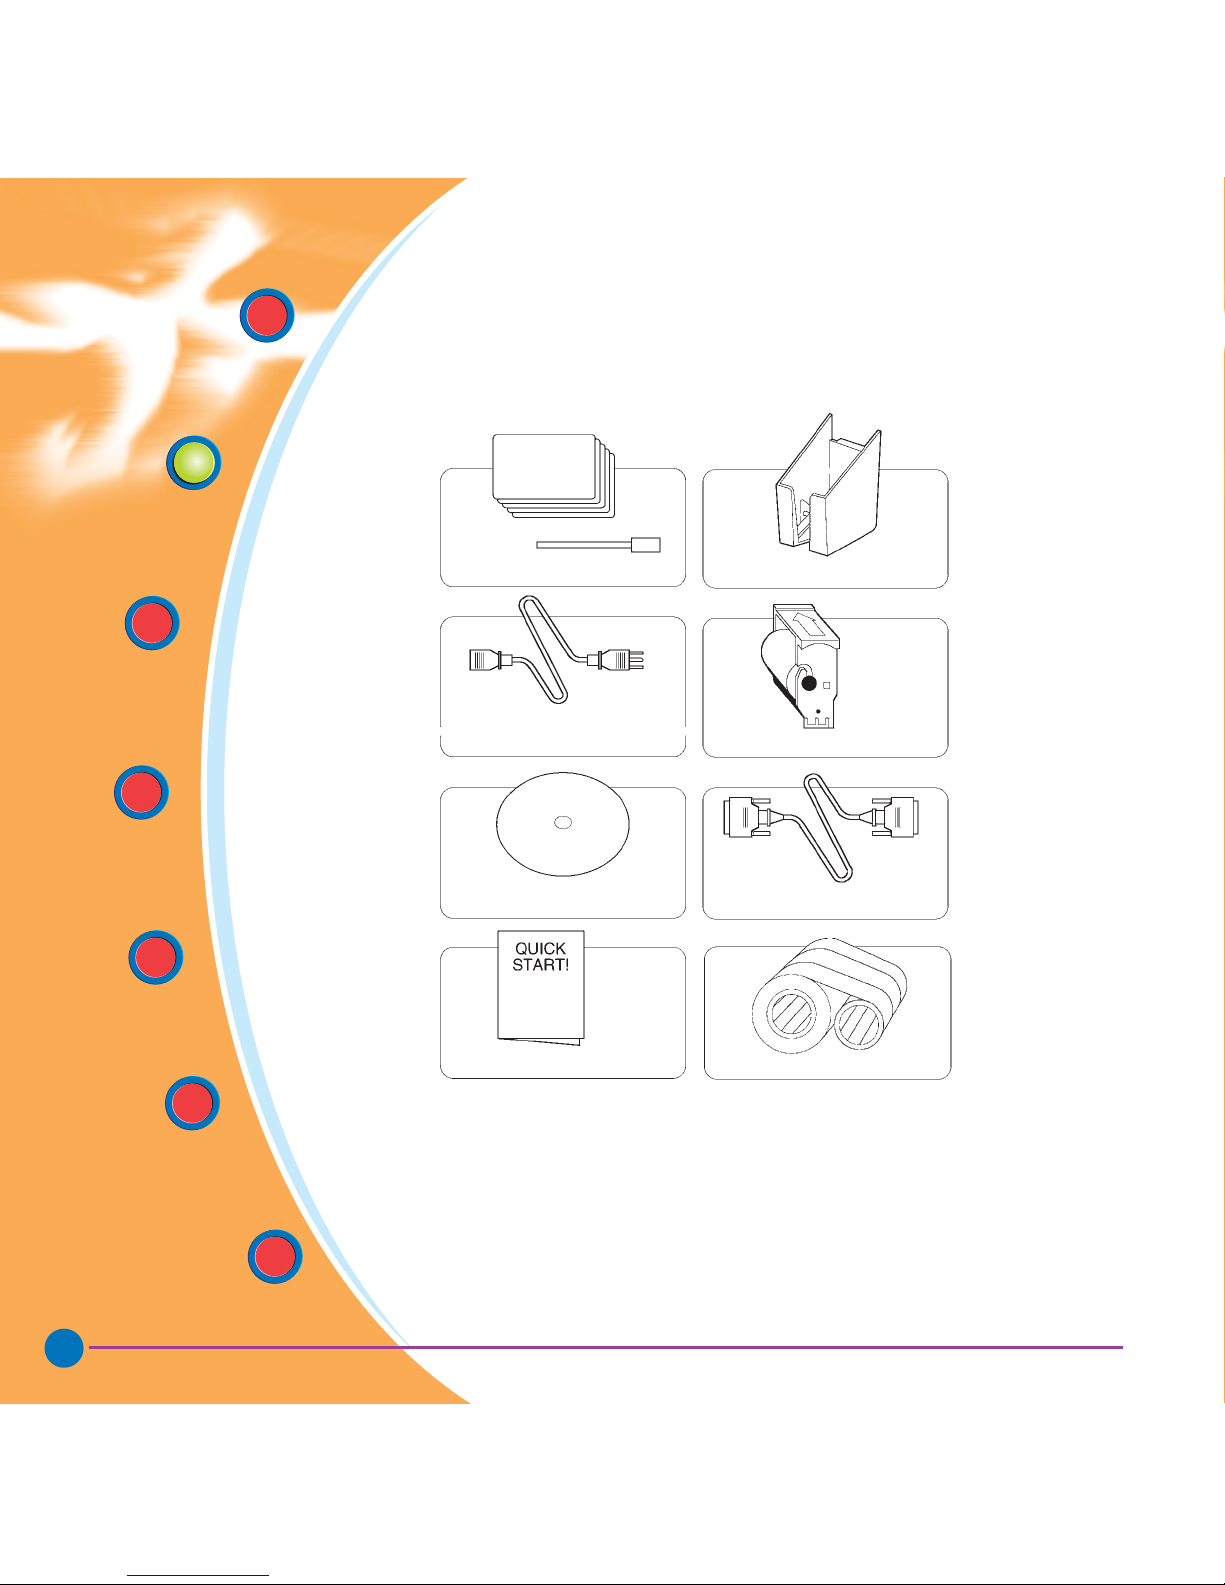
1.1 Unpacking your card printer 1
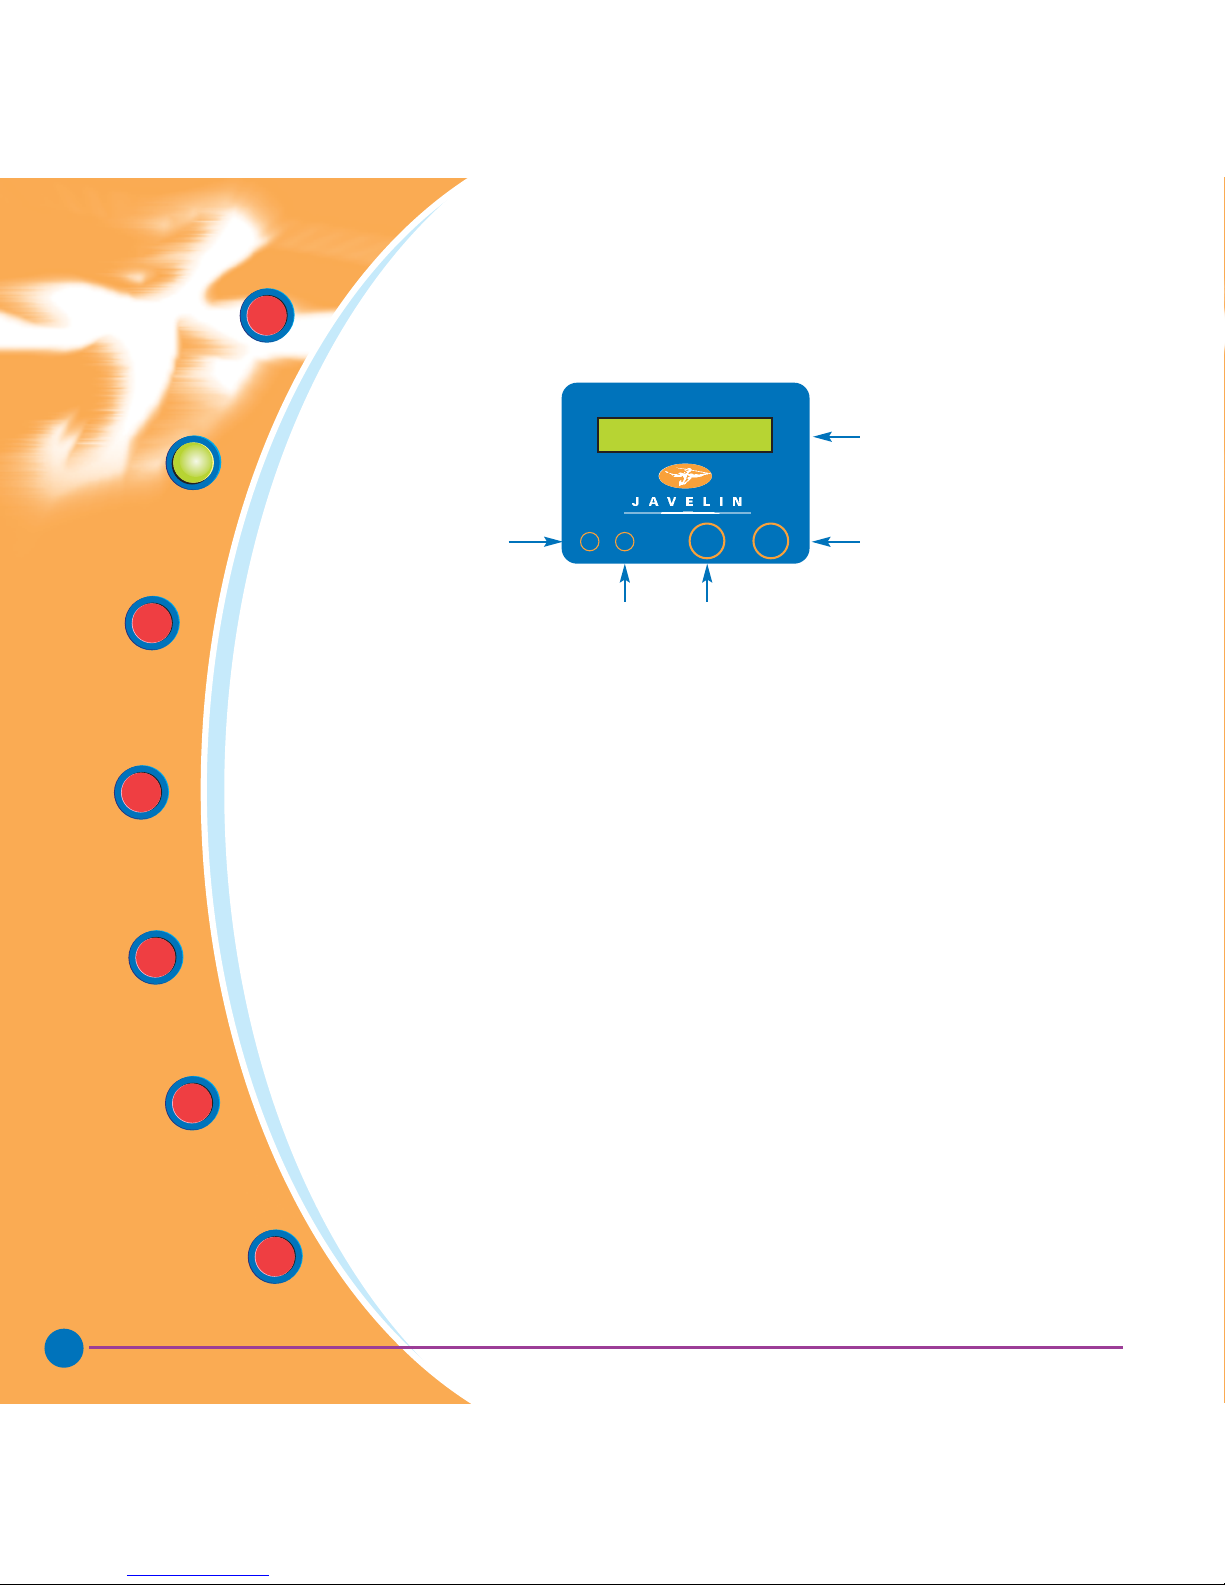
1.2 Indicators and controls 3
1.3 Printer installation 4
2OPERATION 5
2.1 Printer Features 5
2.2 Loading ribbons 6
2.3 Loading cards 8
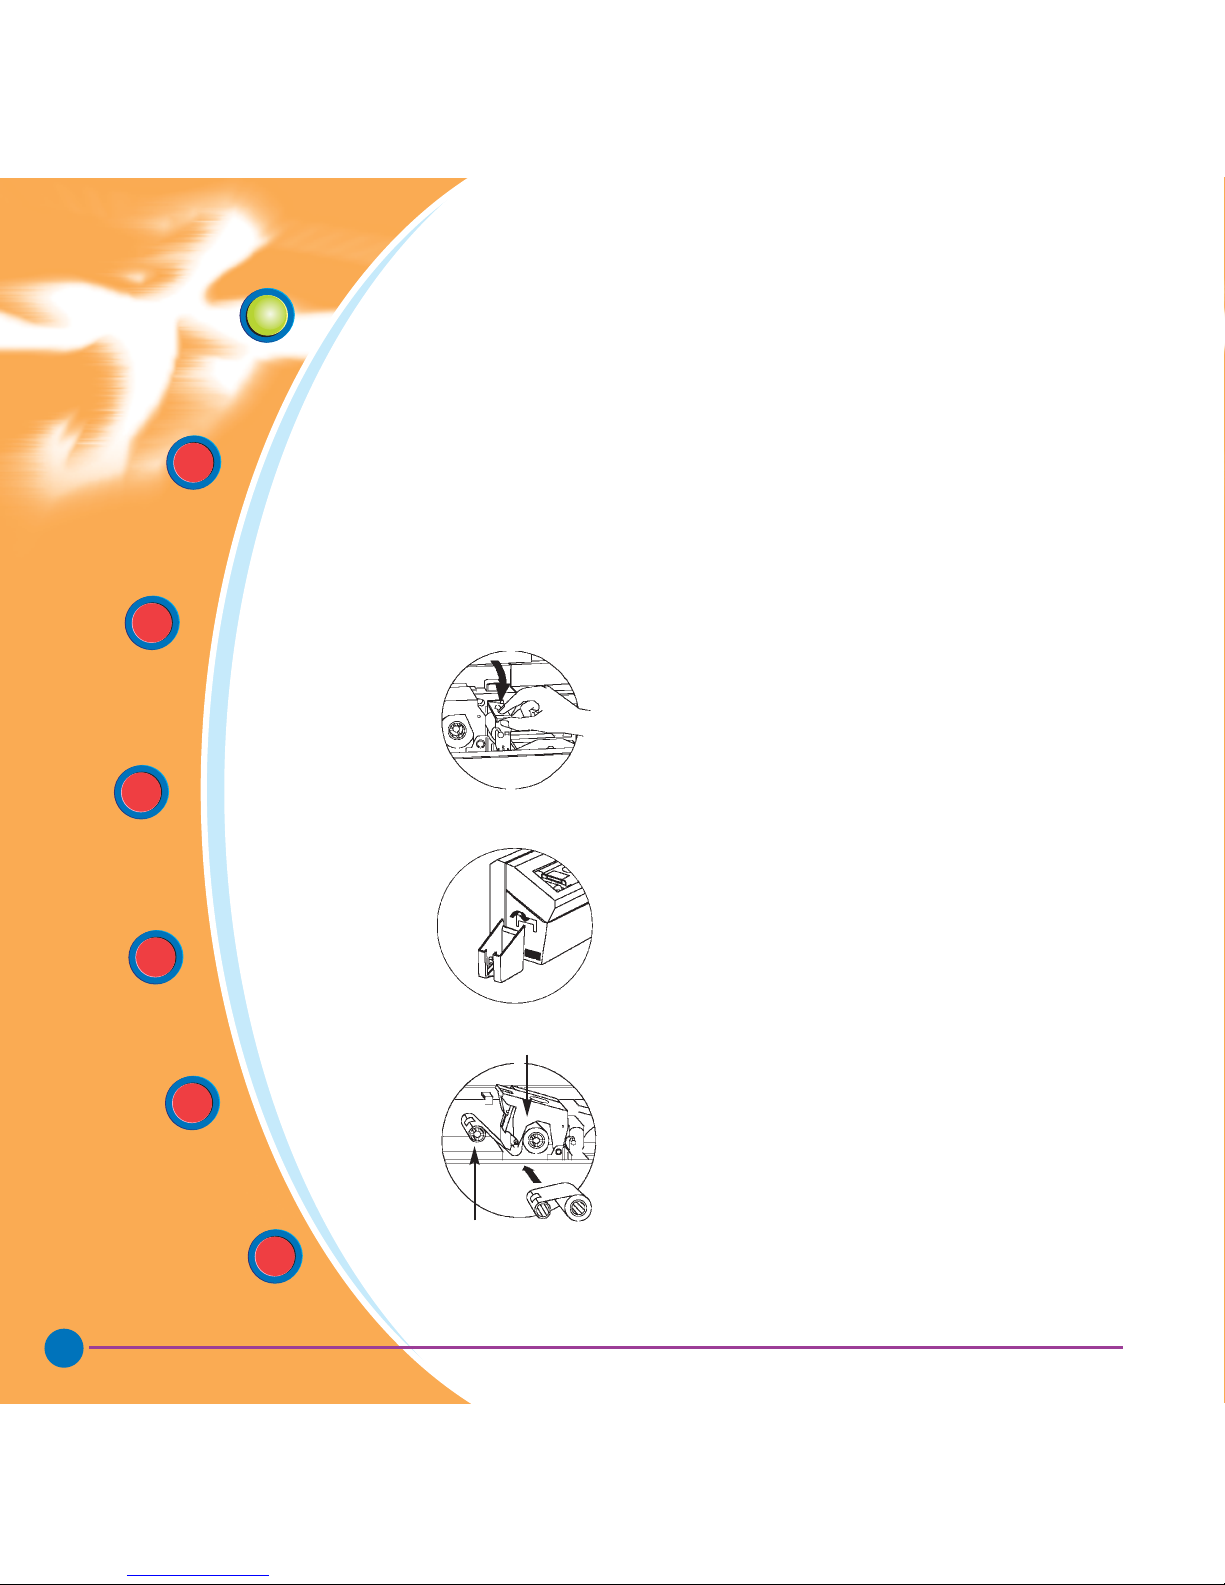
A- Card Feeder 8
B- Card Cleaning Cartridge 10
C- Card Thickness Control Lever 11
D- Card Output Hopper 11
2.4 Reject Card Box 12
2.5 Feeding one card at a time 14
2.6 Printing a test card 15
2.7 Printer menu information 16
3STARTING TO PRINT CARDS 19
A- Install Driver on windows 95/98 20
B- Install Driver on windows NT4.0 21
C- Set Printer Driver Options and printing a test card 21
4CLEANING 23
4.1 Cleaning system 24
4.2 Cleaning the print head 25
4.3 Card Cleaning Cartridge 26
5TROUBLESHOOTING 29
5.1 Interpreting LCD Display Messages 29
5.2 Print Quality issues 32
6TECHNICAL SPECIFICATIONS 35
iii
General
information
Getting
Started
Operation
Starting to
Print Cards
Cleaning
Trouble
Shooting
Technical
Specifications Rev. 1.3
TABLE OF CONTENTS
1GETTING STARTED ...................................................... 1
1.1 Unpacking your card printer ......................................................... 1
1.2 Indicators and controls ............................................................... 3
1.3 Printer installation ...................................................................... 4
2OPERATION...................................................................... 5
2.1 Printer features ......................................................................... 5
2.2 Loading ribbons ......................................................................... 6
2.3 Loading cards............................................................................ 8
A- Card cartridge ....................................................................... 8
B- Card cleaning cartridge ........................................................... 10
C- Card thickness control lever...................................................... 11
D- Card output hopper................................................................. 11
2.4 Reject card box ......................................................................... 12
2.5 Feeding one card at a time........................................................... 14
2.6 Printing a test card .................................................................... 15
2.7 Printer menu information ............................................................ 16
3PRINTING A SAMPLE CARD................................... 18
3.1 To install the J420i printer driver .................................................. 19
3.2 Set printer driver option .............................................................. 20
3.3 Printing a sample card ................................................................ 21
4CLEANING ......................................................................... 22
4.1 Cleaning system......................................................................... 23
4.2 Cleaning the printhead ............................................................... 24
4.3 Card cleaning cartridge ............................................................... 25
5TROUBLESHOOTING .................................................. 27
5.1 Interpreting LCD display messages ............................................... 27
5.2 Print quality issues ..................................................................... 31
6TECHNICAL SPECIFICATIONS................................ 34
GENERAL INFORMATION