2
ENGLISH
WARNING:
TO PREVENT FIRE OR SHOCK
HAZARD, DO NOT EXPOSE THIS
UNIT TO RAIN OR MOISTURE.
CAUTION:
This monitor system should be used with DC 12V only.
To prevent electric shocks and fire hazards, DO NOT
use any other power source.
WARNINGS
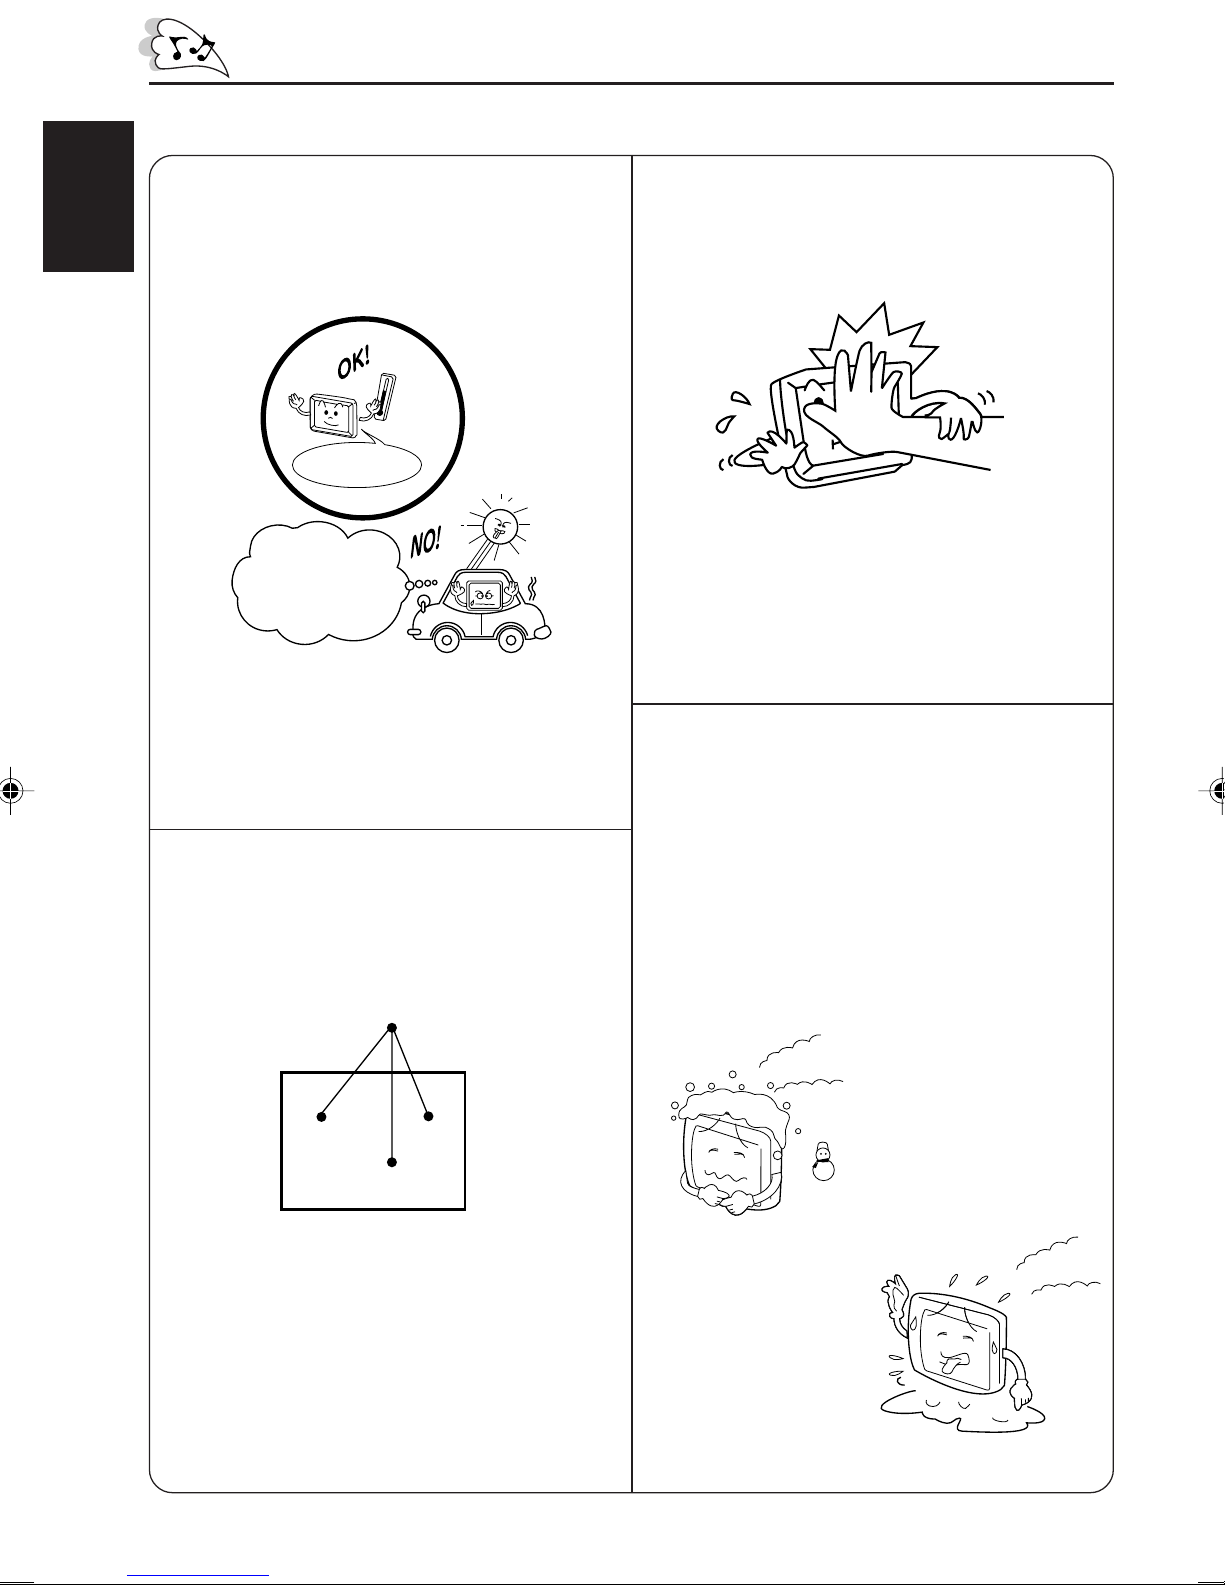
• DO NOT INSTALL THE MONITOR IN A LOCATION WHICH
OBSTRUCTS DRIVING, VISIBILITY OR WHICH IS
PROHIBITED BY APPLICABLE LAWS AND
REGULATIONS.
• THERE MAY BE LEGAL REGULATIONS DEFINING THE
PERMISSIBLE INSTALLATION LOCATIONS FOR THE
DISPLAY UNIT WHICH DIFFER BY COUNTRY OR BY
STATE. BE SURE TO INSTALL THE DISPLAY UNIT IN A
CORRECT LOCATION ACCORDING TO SUCH LAWS.
• DO NOT INSTALL THE MONITOR IN A LOCATION WHICH
OBSTRUCTS THE OPERATION OF AN AIR BAG.
• THE DRIVER MUST NOT OPERATE THE MONITOR
SYSTEM WHILE DRIVING.
OPERATINGTHE MONITOR WHILE DRIVING MAY LEAD
TO CARELESSNESS AND CAUSE AN ACCIDENT.
* STOP YOUR VEHICLE IN A SAFE LOCATION WHEN
OPERATING THE MONITOR.
• THE DRIVER MUST NOT WATCH THE TELEVISION OR
VIDEOS WHILE DRIVING.
IFTHE DRIVERWATCHESTHETELEVISION OR A VIDEO
WHILE DRIVING, IT MAY LEAD TO CARELESSNESS
AND CAUSE AN ACCIDENT.
• WHEN LIGHTNING OCCURS, DO NOT TOUCH THE
ANTENNA WIRE OR THE TELEVISION.
TOUCHING THE ANTENNA WIRE OR THE TELEVISION
UNDER SUCH CONDITIONS MAY CAUSE
ELECTROCUTION.
• KEEP THE MONITOR AT AN APPROPRIATE SOUND
LEVEL WHILE DRIVING.
DRIVING WITH THE SOUND AT A LEVEL THAT
PREVENTS YOU FROM HEARING SOUNDS OUTSIDE
OF AND AROUND THE VEHICLE MAY CAUSE AN
ACCIDENT.
• ASK A TRAINED TECHNICIAN TO INSTALL THE
MONITOR SYSTEM.
INSTALLATION AND WIRING REQUIRE TRAINING AND
EXPERIENCE.
* TO BE SAFE, ASK THE SALES OUTLET WHERE YOU
PURCHASED THE MONITOR SYSTEM TO PERFORM THE
INSTALLATION.
• BE SURE NOT TO LET THE MONITOR FALL OR BE
STRONGLY IMPACTED SINCE THIS MAY CAUSE A
MALFUNCTION OR FIRE.
• DO NOT USE THE MONITOR WITH THE ENGINE OFF.
WATCHINGTHE MONITORWITHTHE ENGINE OFFWILL
CONSUME BATTERY POWER AND MAY PREVENTTHE
ENGINE FROM STARTING.
• DO NOT USE ANY CEILING LIGHT BULBS OTHER THAN
SPECIFIED FOR THIS UNIT (12 V, 3 W).
FAILING TO DO SO MAY POSSIBLY CAUSE FIRE.
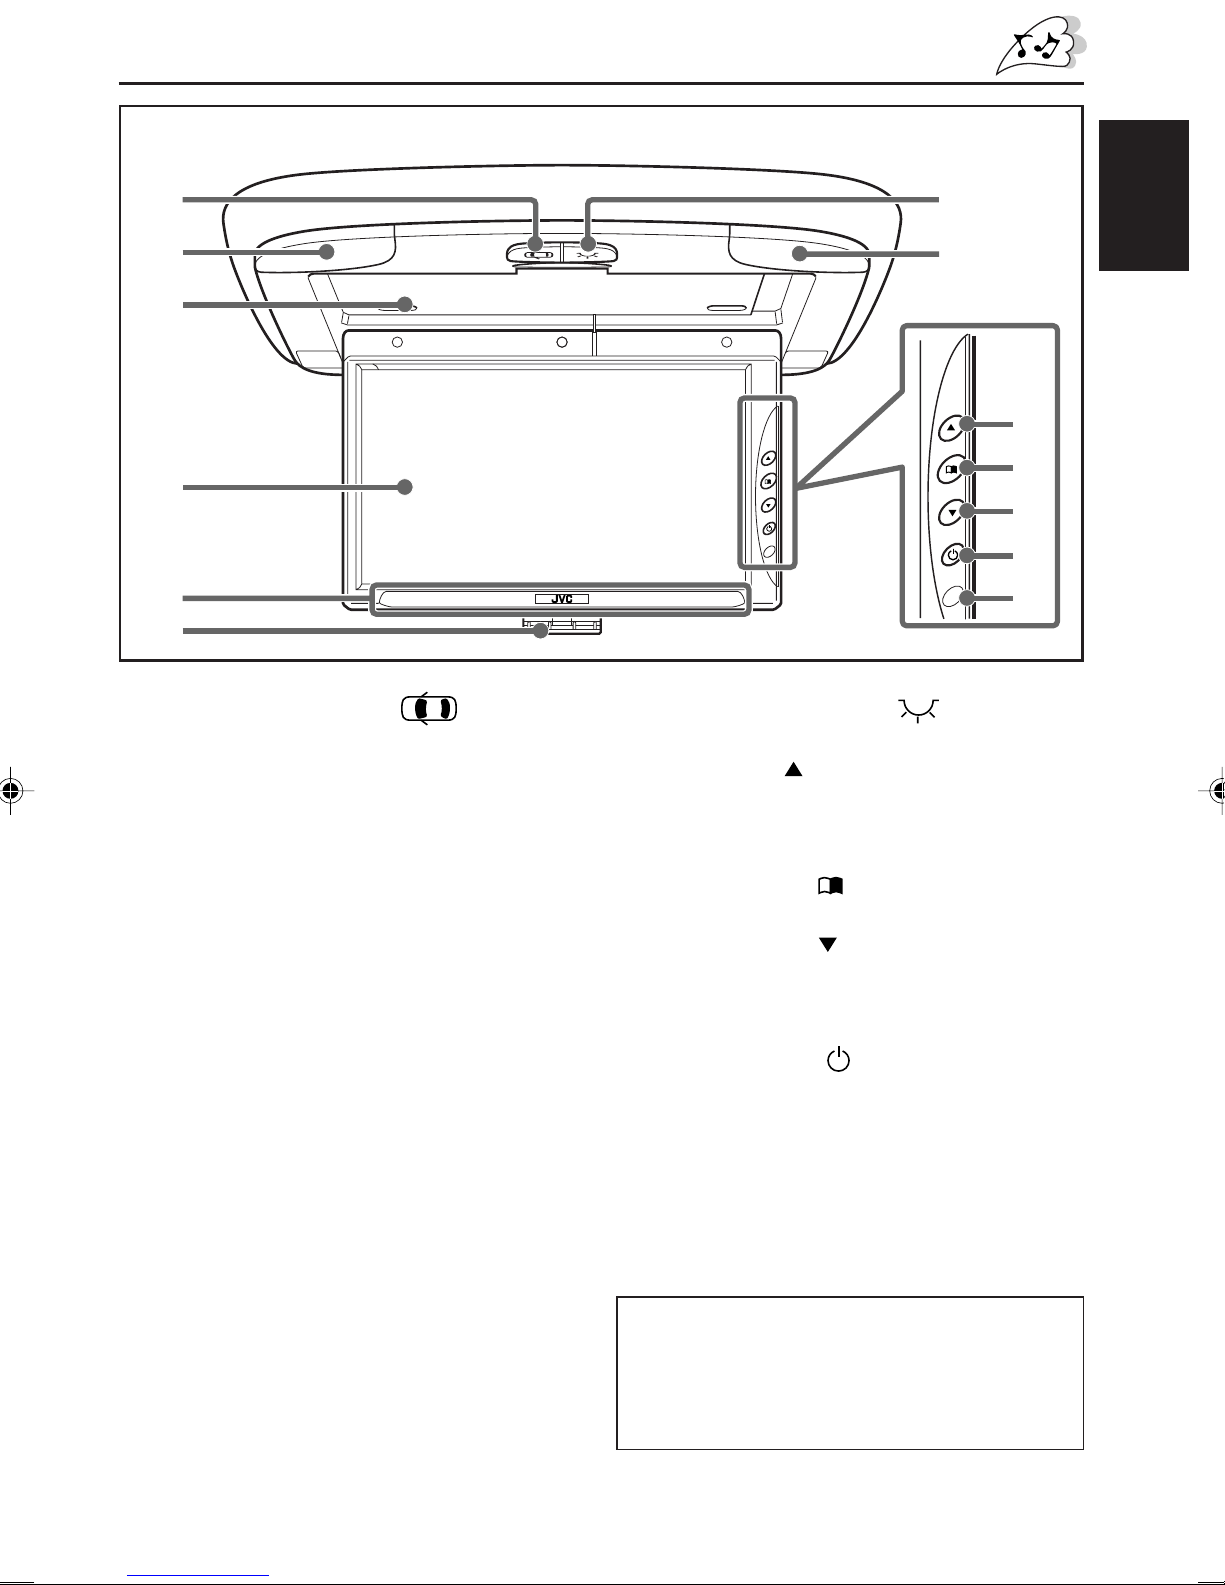
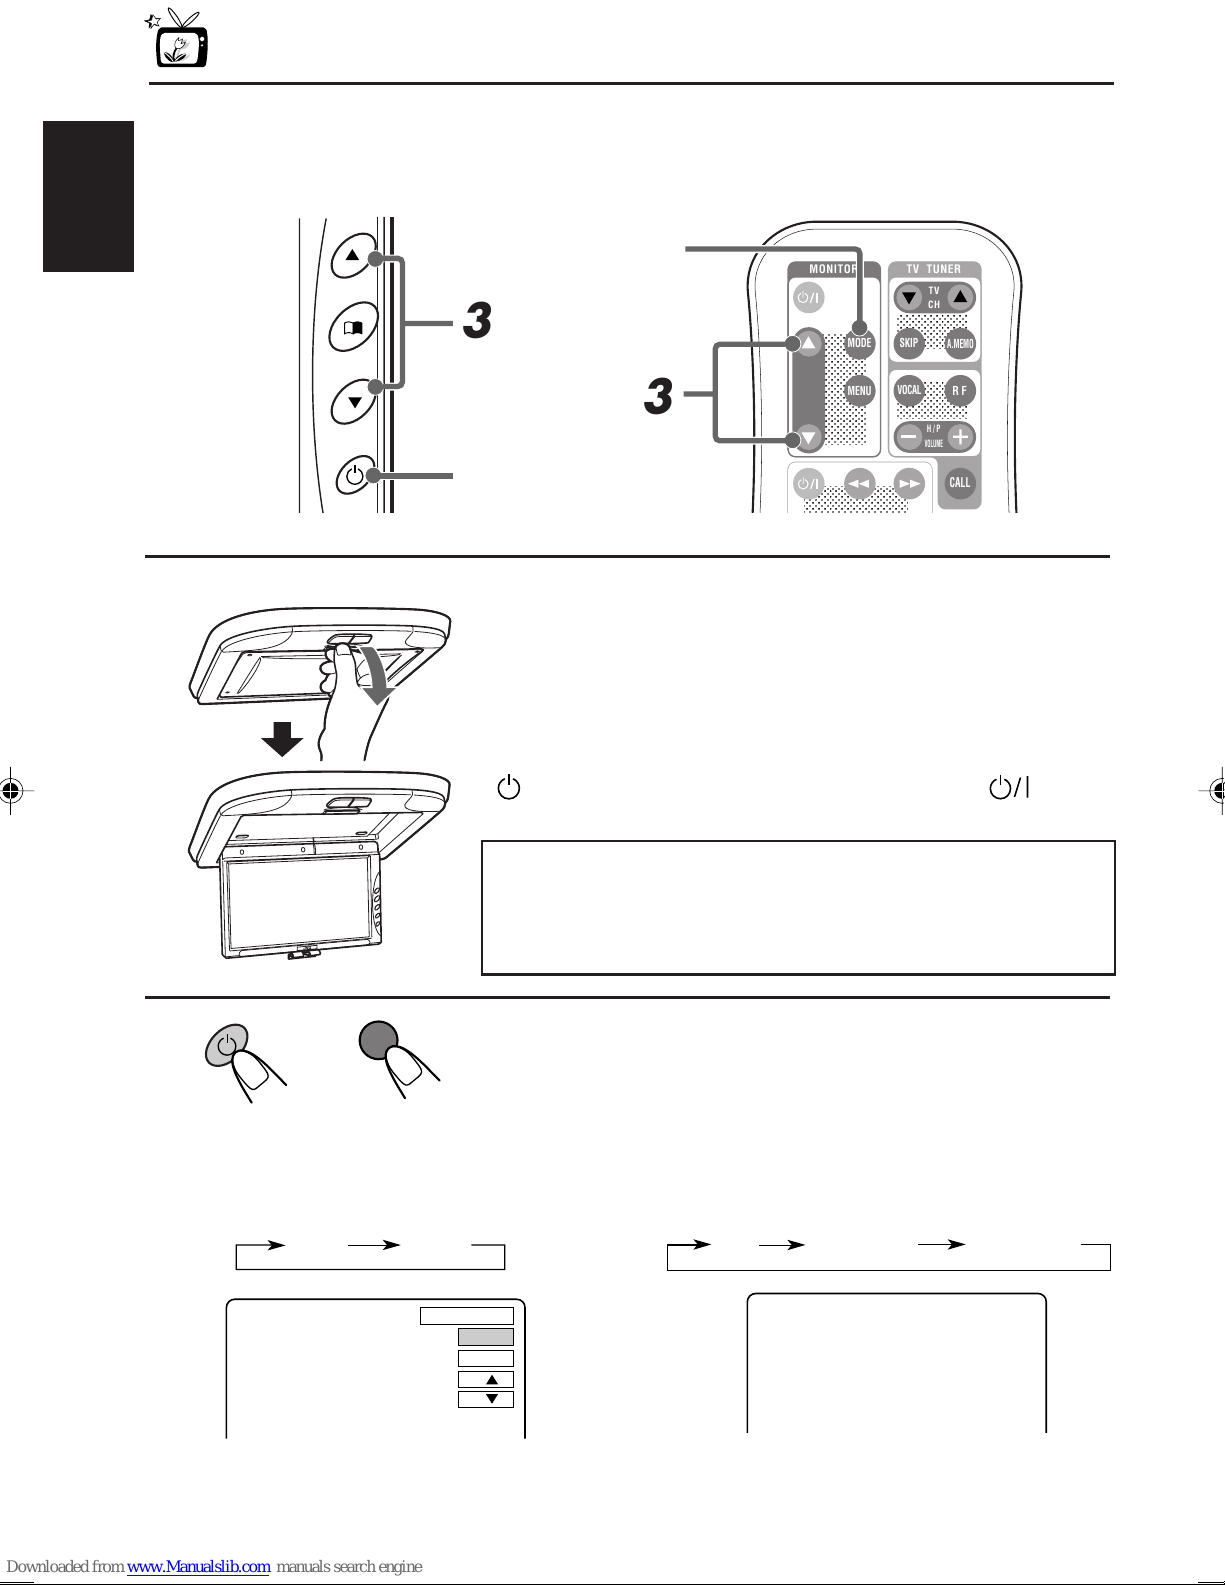
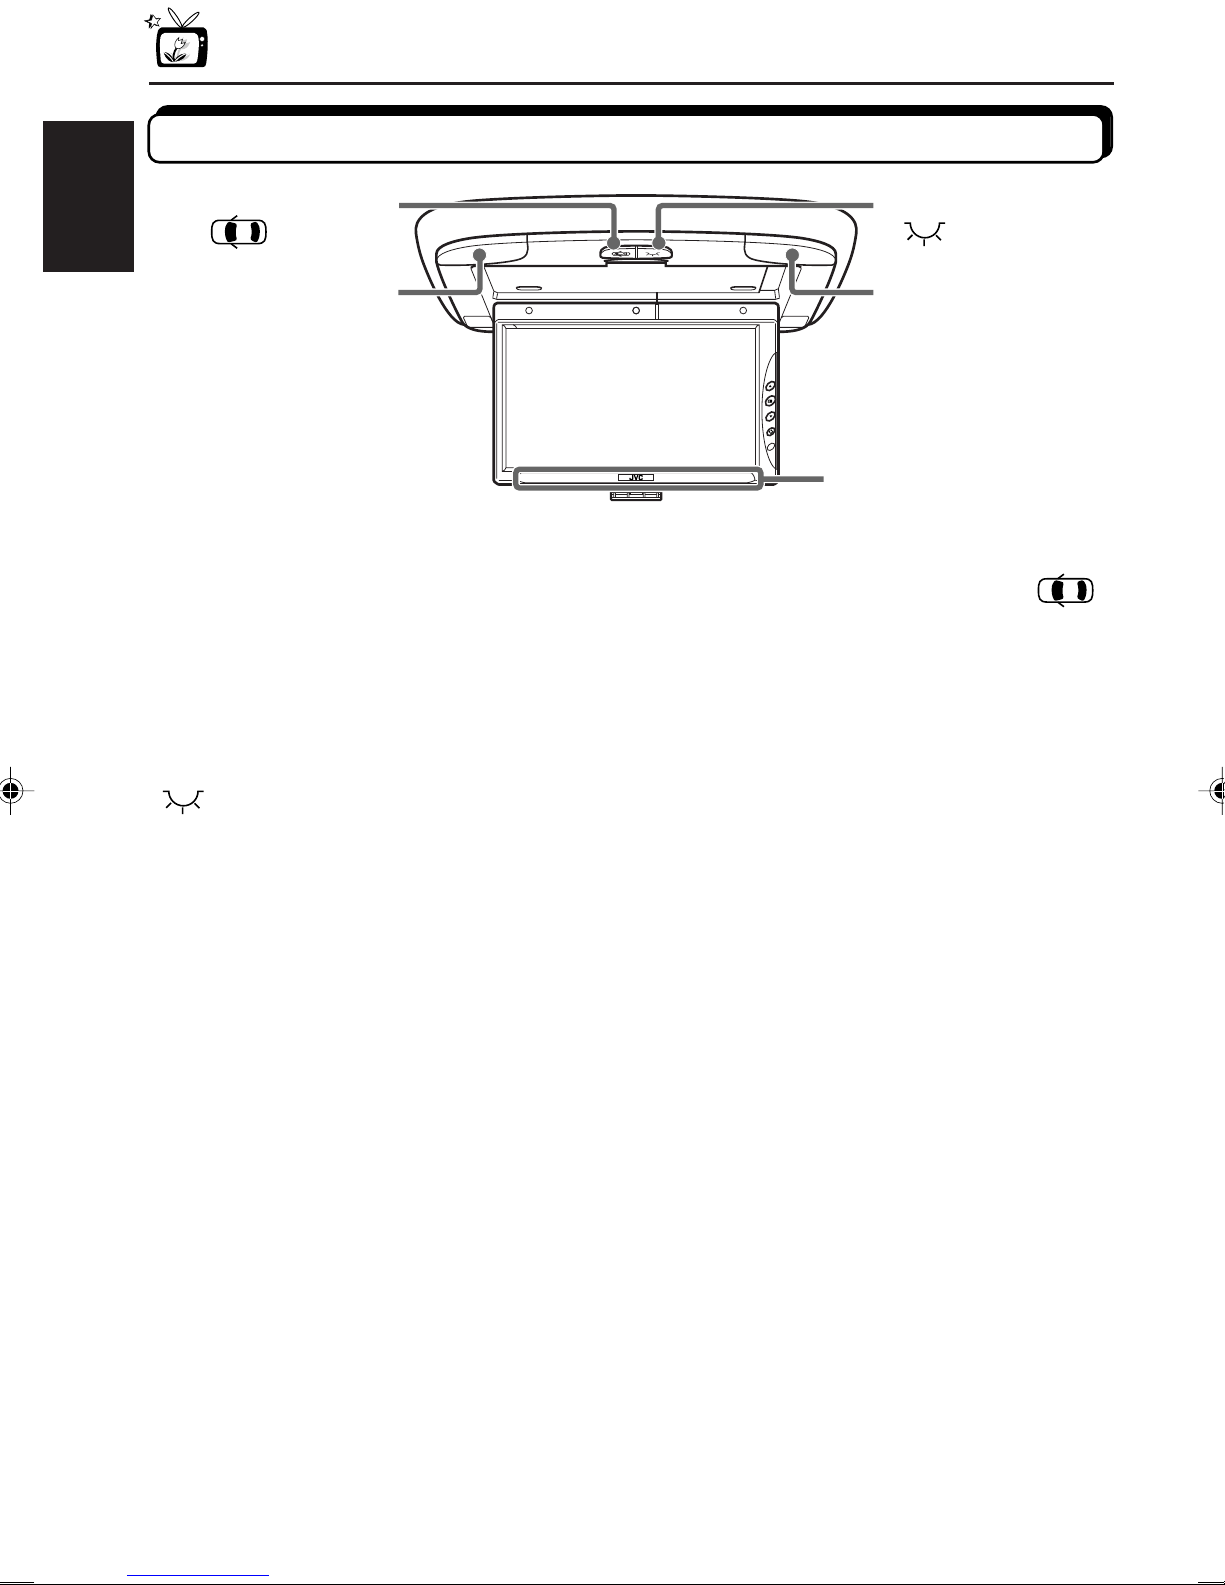
•WHEN NOT IN USE, CLOSE THE LIQUID CRYSTAL
PANEL AND STORE IT INTO THE COMPARTMENT.
Installation requires some special
knowledge.
Do not install the monitor system
yourself. Consult a dealer having
special knowledge of this kind for safe
and reliable installation.
EN02-07KV-MR9000[E]F.pm6 03.3.13, 12:102