manuals.online logo
Brands
  1. Home
  2. •
  3. Brands
  4. •
  5. JYE Tech
  6. •
  7. Test Equipment
  8. •
  9. JYE Tech DSO 096 Operating manual

JYE Tech DSO 096 Operating manual

Button&SWRUNState
1.OscilloscopeMode
2.FrequencyMeterMode
3.FFTMode
ButtonFunctionSummary
Fordetaileddocumentsplease
visit www.jyetech.com
QuickUseGuide
ApplicableModel:09601,09602
DSO096Oscilloscope
Panel&Connectors
ModeNavigating
VerticalSensitivity
Switch1
VerticalSensitivity
Switch2
Test
Signal
Output
CoupleSelect
Switch
Signal
Input
Connector
ControlButtons USBConnector
Power
Switch
Vertical
Position
Indicator
BatteryIndicator HOLDstate
Couple
Vertical
Sensitivity
TimeBase
Vertical&Horizontal
PositionAdjustment
TriggerMode
TriggerLevel
Adjustment
TriggerSlope
Trigger
Level
Indicator
TrigPoint
Indicator
Horizontal
Position
Indicator
Power
Switch
Battery
Connector LCD
Contrast
Adjustment
Programming
Header
Oscilloscope
Mode(default) FrequencyMeter
Mode FFT
Mode
Scrollhighlightbartofunctinwanted
andpress[OK]button
ModeSelectMenu
Hold[MODE]
for3seconds Press[MODE] Press[MODE]
Functions
[VPOS]
[HPOS]
[SEC/DIV]
[MODE]
[SLOPE]
[LEVEL]
[VPOS]hold
[MODE]hold
[SLOPE]hold
[LEVEL]hold
[+]
[-]
[OK]
[OK]hold
V.Sen1&V.Sen2
Couple
SelectVPOS
SelectHPOS
SelectTIME-BASE
Selecttriggermode
Selecttriggerslope
Selecttriggerlevel
Adjusttheselectedparam.
EnterHOLDstate
VPOSalignment
EnterFunctionSelectmenu
TurnLCDbacklighton/off
EnterSettingSelectmenu
Turnoffdevice
Changeverticalsensitivity
Adjusttheselectedparam.
Changecouplemethod
Button&SWHOLDState
Functions
[VPOS]
[HPOS]
[SEC/DIV]
[MODE]
[SLOPE]
[LEVEL]
[+]
[-]
[OK]
SelectVPOS
SelectHPOS
Savewaveformtobuffer
Selecttriggermode
Displaybuffer
Sendscreen
Adjusttheselectedparam.
ExitHOLDstate
Adjusttheselectedparam.
Button&SW Functions
[MODE]
V.Sen1&V.Sen2
Couple Changesensitivity
Changecouplemethod
EnterFunctionSelectmenu
Button&SW Functions
[MODE]
V.Sen1&V.Sen2
Couple Changesensitivity
Changecouplemethod
EnterFunctionSelectmenu
[+]or[-]
[HPOS] Changesamplingrate
ChangeFFTsize
Rev.02
(1KHz5Vpp)
(V/Div)
(Sec/Div)
Pleasenotethatbuttonfunctionsaremodeandstatedependent.Thefollowing
chartslistbuttonfunctionsundervariousmodesandstates.
BasicOperations
1.PoweringON/OFFtheUnit
2.SettingParameters
1)Ifbatteryisconnectedandexternalpowersupply(USB)isnotusedsettingpowerswitchto"BATT"position
willturntheoscilloscopeon.Settingtheswitchto"USB"positionwillturntheunitoff.
2)IfUSBisconnectedALWAYSkeepthepowerswitchat"USB"positionanduseplugging/unpluggingto
poweron/offtheunit.
3)Ifyouun-intentionallyplacedtheswitchat"BATT"positionwhileUSBisconnectedyoumayfindtheunitcan
notbepoweronnomatterbytheswitchorbyplugginginUSBcable.InthiscaseunplugUSBcableandsetthe
switchto"USB"position.Waitfor10-30secondsorlongerthenturnitonbyswitchorplugginginUSBcable.
[Note:Thissituationwon'thappenifthebulit-inbatterychargerwasdisconnected.Forhowtodisconnect
batterychargerpleaseseeexplanationbelow]
1)Vertical-,,andSensitivityPositionCoupling
ØUsethetoptwoslideswitchestosetsensitivity
ØUse[VPOS]and[+][-]buttonstochangewaveformverticalposition
ØUsethebottomslideswitchestoselectcoupling
2)Horizontal-andTimebasePosition
ØUse[Sec/Div]and[+][-]buttonstosettimebase
ØUse[HPOS]and[+][-]tochangewaveformhorizontalposition
3)Trigger-,,andModeSlopeLevel
ØUse[MODE]and[+][-]buttonstoselecttriggermode
ØUse[SLOPE]and[+][-]buttonstoselecttriggerslope
ØUse[LEVEL]and[+][-]buttonstochangetriggerlevel
3.BacklightON/OFF
Holdingdown[SLOPE]buttonfor2-3secondswilltoggleLCDbacklightONorOFF.
AdvancedOperations
RollingMode
WhenTimebaseissetto0.1s/DivorslowerDSO096enterdisplaymode.
Inthismodethetraceshiftsfromrighttoleft,simulatingtimeelapsing.
rolling
Equivalent-TimeSampling(ETS)
Whentime-baseissetto2us/DIVorfasterEquivalent-TimeSampling(ETS)
techniqueisautomaticallyused.ByETSthedisplayedwaveformsareactually
re-constructedfromsamplestakenatmultiplecycles.InordertomakeETSwork
thefollowingtwoconditionsmustbemet.
1)Thesignaltobeobservedmustbeperiodical.
2)Trigmustbegenerated.Thisisbecausethetrigpointsserveasthereference
forre-constructingwaveforms.
Asaresultifyoudon'tseewaveformupdateswhentimebaseissetto2us/DIVor
fasteryoushouldtrytoadjusttriggerlevelsothattrigcanbegeneratedandwaveform
displayupdates..
PleasenotethatunderETSthetriggerpointindicatordoesnothavemeaning.
VerticalPositionAlignment
Sometimesyoumayfindtheverticalpositionindicatorisnotalignedto0Vleveltrace.
Thisdifferencecanberemovedby:
1)SetcoupleswitchtoGNDposition.
2)Press[VPOS]andholditdownforabout3seconds.
Whenthebuttonisreleasedyoushouldlsee0Vlineisalignedtotheverticalindicator.
YoumayneedtodothealignmentbyplacingV.Sen.2switchatX1,X2,andX5
respectively.
10XProbeCalibration
Inordertocorrectlydisplaysignalsthe10Xprobeneedstobecalibrated.Thiscanbe
doneusingthebuilt-in1KHztestsignal.
1)Placeprobehandleswitchat"10X"position
2)Setoscilloscopetimebaseto0.2ms/Divandsensitivityto
0.2V/Div
3)Placeprobetipontothetestsignalterminalring(see
photoatright).Ifdisplayisnotstableadjusttriggerlevel
tomakeitstable
4)TunethecaptrimmerclosetoBNCconnectorwithasmall
screwdriveruntilwaveformsimilartothecenterphoto
belowisobtained.
.
Notenough Right Toomuch
AlternativeBatteryandRunningTime
TheBuilt-inBatteryCharger
HowtoDisconnectBatteryCharger
FirmwareUpgrade
Thestandardconfigurationof096usesone3.7V1200mAhLi-ionbattery,whichcan
runtheunitcontinuouslyforabout4hourswhenfullycharged.
Since096canacceptbatteryvoltagefrom2V-5Valternativebatteriescanbeused.
Twocellsof1.2VAAsizeNi-MHbatteries,forexample,areidealfortheunit.Two
cells2000mAhNi-MHbatteriescanruntheunitforabout5hourscontinuouslyif
fullycharged.
Thebuilt-inchargerisspecificallyfor3.7VLi-ionbattery.Thechargecurrentis
programmedtoabout100mA.Asaresulttofullychargea1200mAhbattery12hours
arerequired.
YoumaywanttodisconnectthechargerifbatteriesotherthanLi-ionareused.Please
seebelowforhowtodisconnectthecharger.
Fromtimetotimeyoumayneedtoupgradefirmwarefornewfunctionsorimproved
performance.Thiscanbedonebythebuilt-inbootloader.Forhowthebootloaderworks
andhowtouseitpleasereferto www.jyetech.com/Products/LedScope/e096.php
Ifhardwareprogrammerisusedtore-programtheMCUpleaseseethecomplete
manualfordetails.(Fusebitdefaultfactorysetting:,
)extendedbyte-0x03highbyte-
0xC0,lowbyte-0xAE
DisconnectJP3
WhenbatteriesotherthanLi-ionisusedthecharger
canbedisconnected.Thereisajumper(JP3)between
thechargerandbattery.RemovingthesolderonJP3
withaironwilldisconnectthecharger(seephoto).
USBConnction
TouseUSBconnectionPCdriverforCP2102needstobeinstalled.Thedrivercanbe
downloadedat www.jyetech.com/Products/LedScope/e096.php.
www.silabs.com/products/mcu/pages/usbtouartbridgevcpdrivers.aspx.
Windowsdriverisalsoavailableat
SaveCapturedWaveform
EnterHOLDstateandpress[SEC/DIV]button.Followscreeninstructions.
RecallSavedWaveform
EnterHOLDstateandpress[SLOPE]button.Followscreeninstructions.
SendScreenasBitmapFile
1)ConnectUSBcable.RunaPCapplicationthatcanhandleXModemProtoco.Set
communicationformatto38400bps,8databits,1stopbit,noparity,noflow
controlandmakeitreadytoreceivefiles.
2)EnterHOLDstate.Adjustwaveformpositionsothatinterestedportionisonscreen.
3)Press[LEVEL]buttonandfollowscreeninstructions.
RestoreFactoryDefaultSettings
Holddown[LEVEL]buttonfor3secondstoenterSettingSelectmenu.Select
"RESTOREDEFAULT"andpress[OK].
Other JYE Tech Test Equipment manuals

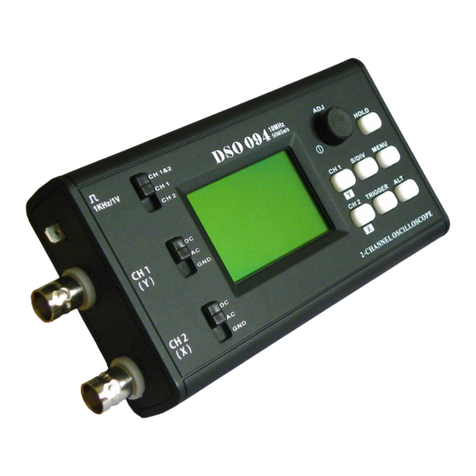
JYE Tech DSO 094 User manual

JYE Tech

JYE Tech DSO 094 User manual

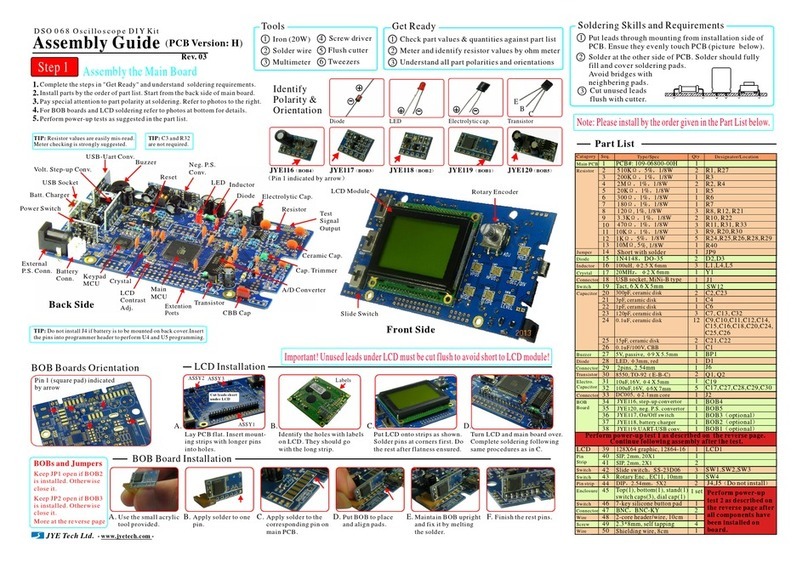
JYE Tech DSO 068 User manual

JYE Tech

JYE Tech DSO 068 User manual

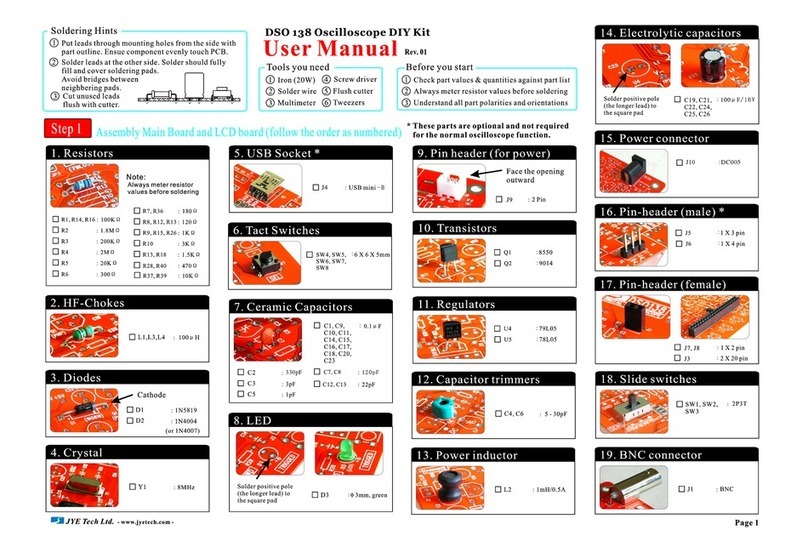
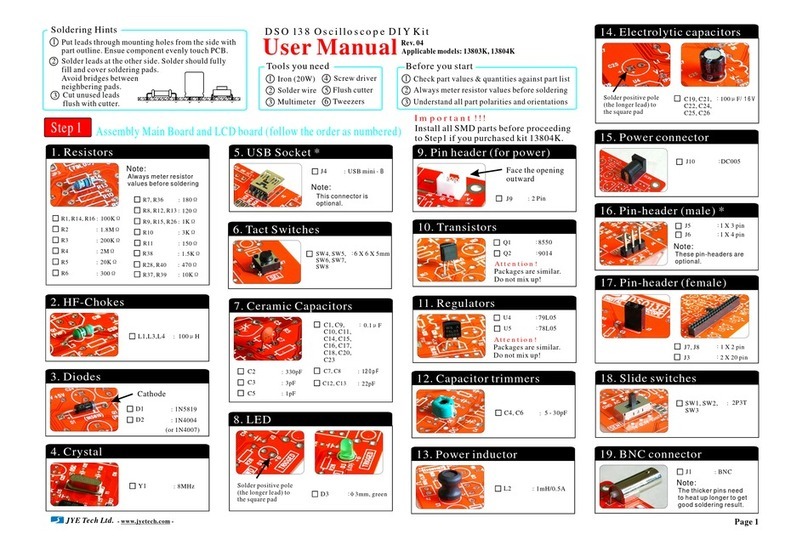
JYE Tech DSO 138 User manual

JYE Tech

JYE Tech DSO 138 User manual

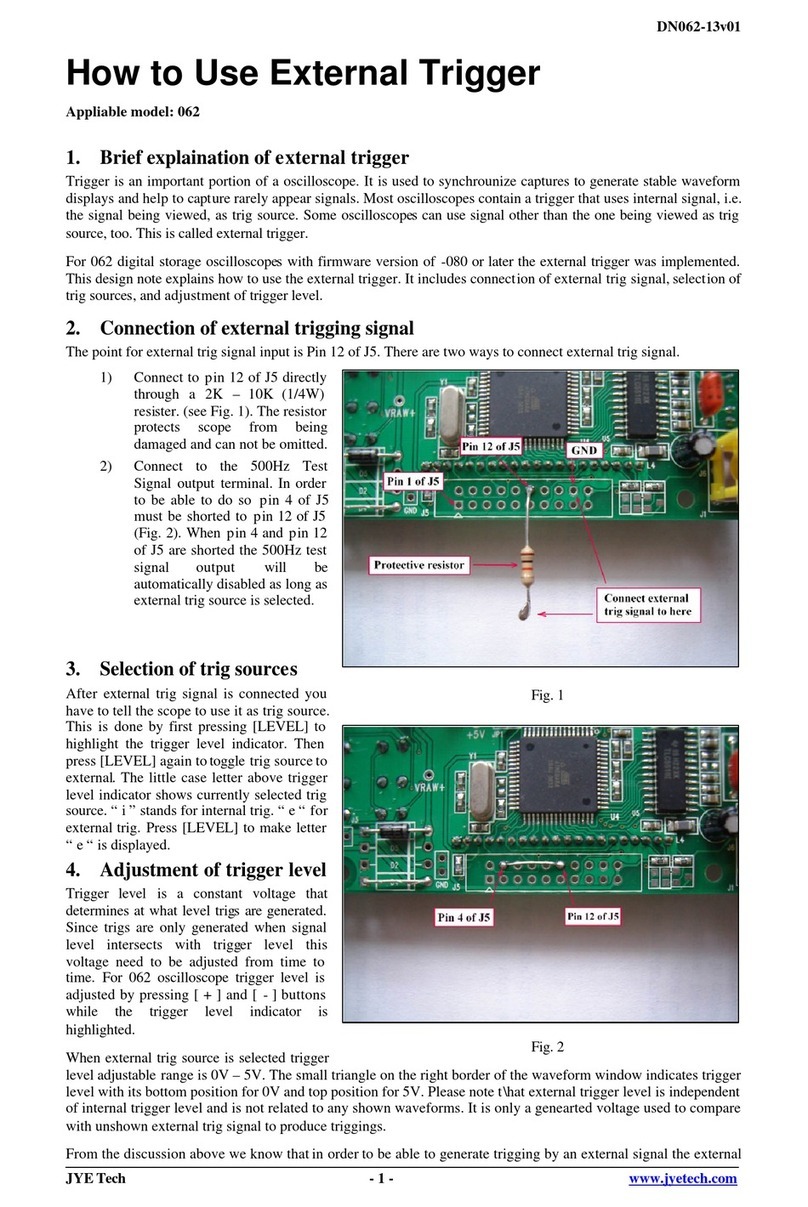
JYE Tech 062 Operating instructions

JYE Tech

JYE Tech 062 Operating instructions

JYE Tech DSO 068 User manual

JYE Tech

JYE Tech DSO 068 User manual

JYE Tech WAVE2 User manual

JYE Tech

JYE Tech WAVE2 User manual

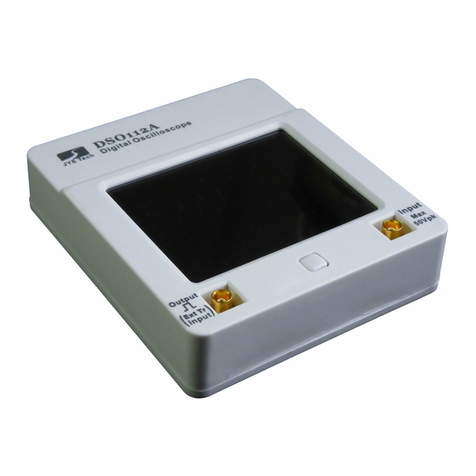
JYE Tech DSO112A User manual

JYE Tech

JYE Tech DSO112A User manual

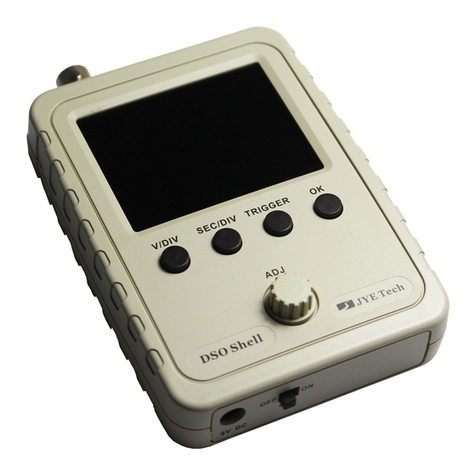
JYE Tech DSO Shell 150 User manual

JYE Tech

JYE Tech DSO Shell 150 User manual

JYE Tech 062 Quick start guide

JYE Tech

JYE Tech 062 Quick start guide

JYE Tech 13803K User manual

JYE Tech

JYE Tech 13803K User manual

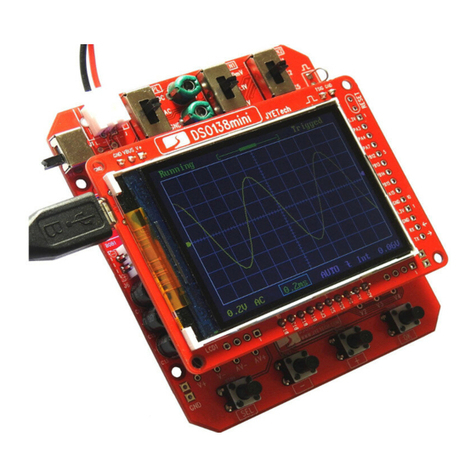
JYE Tech DSO138mini User manual

JYE Tech

JYE Tech DSO138mini User manual

JYE Tech DSO 138 User manual

JYE Tech

JYE Tech DSO 138 User manual

JYE Tech DSO112A User manual

JYE Tech

JYE Tech DSO112A User manual

Popular Test Equipment manuals by other brands

Martel T150 operating instructions

Martel

Martel T150 operating instructions

ALMO MN103 user manual

ALMO

ALMO MN103 user manual

Tektronix 2465B Service manual

Tektronix

Tektronix 2465B Service manual

REV Ritter GK26A operating instructions

REV Ritter

REV Ritter GK26A operating instructions

VOLTCRAFT DSO-1052 USB quick guide

VOLTCRAFT

VOLTCRAFT DSO-1052 USB quick guide

GW Instek LCR-05A quick start guide

GW Instek

GW Instek LCR-05A quick start guide

Sensidyne Go-Cal user manual

Sensidyne

Sensidyne Go-Cal user manual

NOVOTEST TP-1M Operation manual

NOVOTEST

NOVOTEST TP-1M Operation manual

Inder Hydraulic P-231A User instruction manual

Inder

Inder Hydraulic P-231A User instruction manual

Fluke FEV300 user manual

Fluke

Fluke FEV300 user manual

Megger DET3TA user manual

Megger

Megger DET3TA user manual

Hioki FT4310 instruction manual

Hioki

Hioki FT4310 instruction manual

Insoric RealPower Technical description

Insoric

Insoric RealPower Technical description

Beta 1497L instructions

Beta

Beta 1497L instructions

Amptec Research 620ES Operation & maintenance manual

Amptec Research

Amptec Research 620ES Operation & maintenance manual

pico Technology PicoScope 2000 Series Programmer's guide

pico Technology

pico Technology PicoScope 2000 Series Programmer's guide

Uniks centro user manual

Uniks

Uniks centro user manual

Megger Baker ADX Quick reference guide

Megger

Megger Baker ADX Quick reference guide

manuals.online logo
manuals.online logoBrands
  • About & Mission
  • Contact us
  • Privacy Policy
  • Terms and Conditions

Copyright 2025 Manuals.Online. All Rights Reserved.