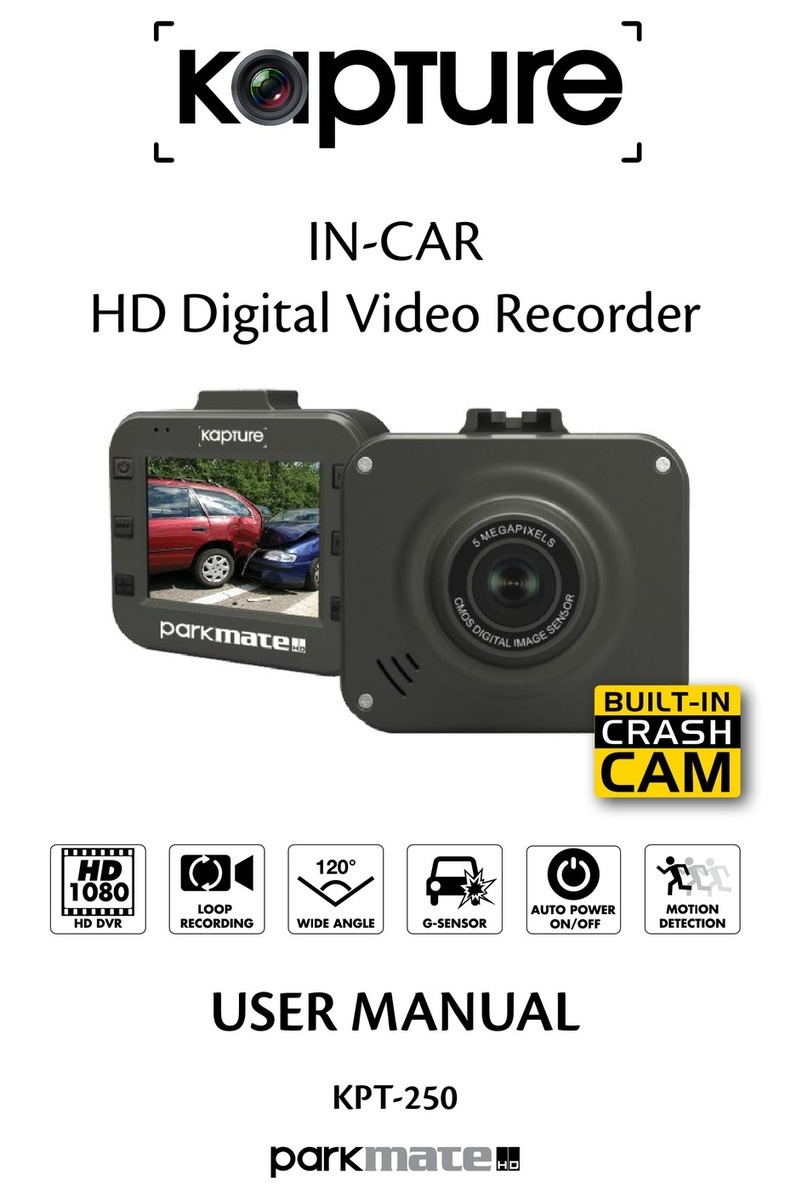
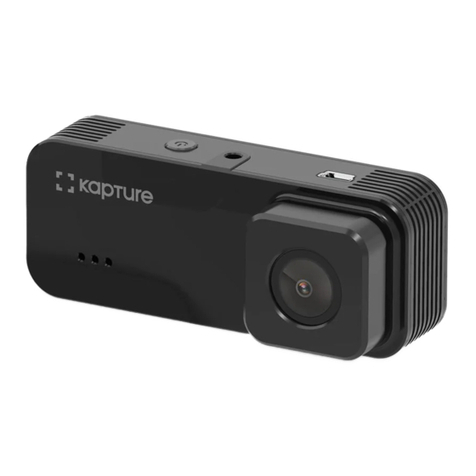
Kapture KPT-200 User manual

IN-CAR
HD Digital Video Recorder
USER MANUAL
KPT-200

2
In order to ensure better use of each function of your Kapture
In-Car HD DVR, it is recommended that you read these
product instructions carefully before using this product.
Note:
1. Please abide by the relevant laws in your local area;
please do not use this product for illegal purposes.
2. Please insert your Micro SD memory card before
recording video
3. Please install the memory card in the correct orientation in
order to avoid damage to the card or the DVR.
4. To avoid losing important footage, it is suggested that you
back-up footage on a weekly basis to your computer.
5. Please ensure the windscreen mounting bracket is
installed securely to avoid damaging the DVR.
6. Battery charge will diminish over time. If the DVR is not
used for a long period of time, please ensure the DVR is
charged fully before use.
7. The working temperature of the DVR is 0 to 40 degrees
Celsius.
8. Please do not leave the DVR in an excessively humid
environment as it is not water resistant.
9. Please avoid shooting footage directly into the sun so as
to avoid damage to the DVR.
10. Please avoid using the DVR in an excessively dusty
environment so as to not obstruct the camera lens.
11. The lens can be cleaned by wiping gently with a soft glass
cleaning cloth.
12. This DVR is a precision electronic product; please do not
expose it to strong shock, vibration, magnetic fields or
heavy current fields.

3
A. Product Details
1. Bracket receiver
2. USB port
3. Reset button
4. Micro SD card slot
5. Speaker
6. Operation indicator
7. Power indicator
8. On/Off button
9. Mode button
10. Menu button
11. LCD Screen
12. Down button
13. Record / select button
14. Up button
15. Camera Lens

4
B. Product Accessories:
• Manual • USB Cable • Car Mount • Car Charger
C. Product Features
• Supports true High Definition resolutions of 1080FHD,
1080p, 720p, 480p and lower
• Built-in microphone and speaker
• Fast initialisation and shut-down
• Fast operation Screen Saver
• Supports high capacity Micro SD cards
• Charge while the DVR is operational
• Automatic Start-Up and Shut-Down
• Motion detection
D. Product Operation
1. Start-Up and Shut-Down:
• Starting Up Parkmate Kapture KPT-200 DVR:
i. To Start-Up from a powered off state with no
charger connected, quickly press the “On/Off”
button. Your DVR will enter into video mode and
commence recording video; the flashing green light
indicates operation.
ii. To Start-Up from a powered off state with the
charger connected, your DVR will automatically
enter into video mode and commence recording
video when your car’s ignition is engaged; the
flashing green light indicates operation.
• Shutting Down your Parkmate Kapture KPT-200
DVR:
i. To Shut-Down from a powered state with no
charger connected, press the “On/Off” button for 3
seconds.

5
ii. When the charger is connected, your DVR will
automatically enter shut down mode after 5
seconds when your car’s ignition is turned off.
iii. When battery power is insufficient, the DVR screen
will shut down and the DVR will automatically save
the video file.
2. Charging The battery:
• You can charge the DVR battery by via a USB cable
or via the car charger.
• If the DVR is turned off while charging a red light will
indicate charging status.
• The red light will turn off once the DVR is fully
charged.
3. Inserting the Memory Card:
• Please be careful to insert your Micro SD card
according to indicated direction until you hear the
card engage.
4. Capturing Video:
• As soon as you press the “Record” button, the
DVR will enter into video recording mode and begin
capturing video, a flashing green light will indicate
operational status.
• To stop the video and save the file, press the
“Record” button, a static green light will indicate
Standby mode.
• When in Standby Mode, press the “On/Off” button to
turn video sound recording on or off.
• When in Standby or Video Recording mode, press
the “Up” button to turn the LCD screen off to save
battery power.
5. Capturing Still Images:
• Press the “Mode” button to enter Photo mode.
• Press the “Record” button to capture still photos.

6
6. Playback and Delete:
• When in Standby mode, press the “Mode” button
and the DVR enters into Playback mode
• Press the “Up” or “Down” button to select the
preview of the file.
• Press the “Record” button to start or stop selected
file playback.
• If you wish to delete the selected file, press the
“Menu” button to enter the Delete menu.
• Select the option “Delete Current” or “Delete All”
• Press the “Record” button to confirm your selection
• Press the “Menu” button to exit the Delete menu and
return to playback mode.
7. SOS function:
• When in video capture mode, in the case of an
incident that occurs in front of your car, press the
“Menu” button.
• This will ensure the current recording is saved for later
review and will not be overwritten.
8. G Sensor:
• When in Video Recording mode with G Sensor
active, if your vehicle is stopped suddenly by the
driver or by external impact, the G Sensor will cause
the DVR save the current file.
• The sensitivity of the G Sensor can be set in the
main system under Menu choices “High”, “Medium”
and “Low” in order to suit the different speed
requirements of the user.
9. Motion Detection function:
• To initiate Motion Detection mode, when in video
capture mode press the “Down” button and the DVR
will stop loop recording.
• Press the “Down” button again and the DVR will
automatically switch to Motion Detection Standby
mode.

7
• Once motion is detected, the DVR will start
recording.
• After 8 seconds the DVR will stop recording and
return to Motion Detection Standby mode until the
next motion has been detected by the DVR.
E. Options and system Settings
• In standby mode, press the “Menu” button to enter
the Settings Menu.
• Press the “Up” or “Down” button to make selections
• Press the “Record” button to confirm selections
• Press the “Menu” button to exit the Settings Menu.
F. Function Directory
Image Settings
Mode Menu Select Settings Remark
Video
Resolution
1080FHD 1920x1080
1080P 1440x1080
720P 1280x720
WVGA 848x480
VGA 640x480
25fps
25fps
30fps
30fps
30fps
Cycle recording Off / 30 seconds / 1min
/ 2mins
Exposure
Compensation
-+2.0, +5/3, +4/3,
+1.0, +2/3, +1/3, +0.0,
-1/3, -2/3, -1.0, -4/3,
-5/3, -2.0
Motion
Detection Off / On
Video & Audio Off / On
Date Label Off / On
Record Mode
Single shooting /
2 second timer /
5 second timer /
10 seconds timer
Select the time
required.

8
Image Settings
Mode Menu Select Settings Remark
Photo
Resolution
12M 4032 x 3024
10M 3648 x 2736
8M 3264 x 2448
5M 2592 x 1944
3M 2048 x 1536
2M 1920 x 1080
1.3M 1280 x 960
VGA 640 x 480
Higher resolution
= larger file size
Continuous
Shooting Off / On
Image Quality High quality / Standard /
Economy
Sharpness Strong / Standard / Soft
Each setting may
change image
effects
White Balance
Auto / Daylight
Cloudy / Tungsten Lamp /
Fluorescent Lamp
Each setting may
change image
effects
Colour Colour / Black & White
/ Tan
Each setting may
change image
effects
ISO Auto / 100 / 200 / 400
Each setting may
change image
effects
Exposure
Compensation
+0.0, -1/3,-2/3, -1.0, -4/3,
-5/3, -2.0, +2.0, +5/3,
+4/3, +1.0, +2/3, +1/3
Each setting may
change image
effects
Face
Recognition
Off / Face / Smile
Recognition
Anti-Shake Off / On
Quick Preview Off / 2 seconds /
5 seconds
Date Label Off / On

9
Image Settings
Mode Menu Select Settings Remark
Play
Back
Cancel Delete Current / Delete All
Protection
Lock Current / Unlock
Current / All Lock /
Unlock All
Slide Show 2 seconds / 5 seconds /
8 seconds
System Settings
Menu Select Settings Remark
Date/Time MM/DD/YY, DD/MM/YY,
YY/MM/DD
Automatic
Shut-down Off / 1 min / 3 mins
Key Sound Off / On
Fill Light Off / On Use “Up” button
to turn On / Off
Language
English / French / Spanish
Portuguese / German
Italian / Simplified Chinese
Traditional Chinese /
Russian / Japanese /
Korean
TV Mode NTSC / PAL
Optical
Frequency 50Hz / 60Hz
Format Micro SD Card
Default
Settings
Restore Default Settings /
Cancel / OK
Automatic
Off-Screen
Off / 1 min / 2 mins /
5 mins
Use “Up” button
to turn On / Off
G-sensor Off / Low / Medium / High

10
G. Connecting DVR to PC for Download of Video and
Photo Data:
• When the DVR is connected via the USB cable to a
computer, the camera’s red power light turns on
• The LCD screen will display Menu Setting Options:
“Mass Storage / PC Camera”.
• When “Mass Storage” is selected, the screen will turn
black and the computer will automatically identify
“Removable Disk”. Use your computer to browse and
manage files.
• When “PC Camera” is selected, the DVR can be
used as web cam.
• Once connection with your PC is complete, press the
“On/Off” button and unplug the USB cable.
• When the data cable or car charger is connected to
charge the DVR, a long pulse red light is displayed. A
constant red light indicates the DVR is fully charged.
H. Note
• If the DVR is incorrectly operated, you can press the
“On/Off” button for more than 5 seconds to Shut
Down.
• You can also RESET the DVR using a paper clip or
small thin object.

11
I. Product Specification
Screen 2.0” TFT screen
Imaging Sensor 1.0MP
Lens 120 degree HD wide-angle lens
Camera Rotation 180 degree
Minimum 1 Lux
Video Resolution 1080P / 720P / 480P
Video Format AVI /MJPG
Frames 30 fps
Image Resolution 12M / 10M / 8M / 5M / 3M / 2M / VGA / 1.3M
Photo Format JPG
Motion Detection Supported
Cycle Recording Off / 30 sec. / 1 min. / 2 min.
Memory Card Type Micro SD Card
Capacity Support up to 32GB / Class 6-10
USB Port USB 2.0
Power Port USB 5V / 500mA
Current Frequency 50Hz / 60Hz
Battery Capacity 350 mAh
Microphone / Speaker Built-In
Language English / German / French / Spanish / Italian / Simplified
Chinese / Traditional Chinese / Japanese / Portuguese /
Russian / Korean
Please Note: We do our best to reflect accurate specifications, however periodic
updates and changes may occur after this manual was printed. We
reserve the right to change the parameters without prior notification.

www.parkmate.com.au
© Parkmate 2014
Table of contents
Other Kapture Dashcam manuals

Kapture
Kapture KPT 860 User manual

Kapture
Kapture KPT-590 User manual

Kapture
Kapture KPT-890 User manual

Kapture
Kapture KPT-920 User manual

Kapture
Kapture KPT-1240 User manual

Kapture
Kapture KPT-500 User manual

Kapture
Kapture KPT-590GPS User manual

Kapture
Kapture KPT-510 User manual

Kapture
Kapture KPT-900 User manual

Kapture
Kapture KPT-850 User manual