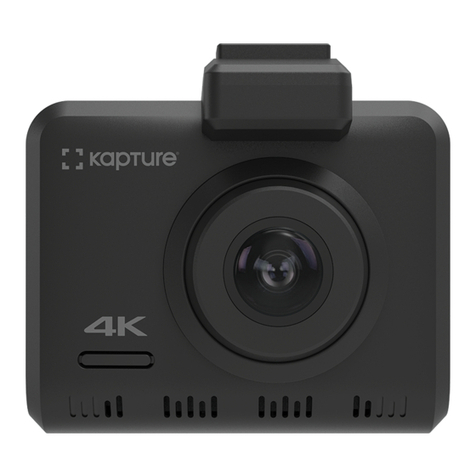
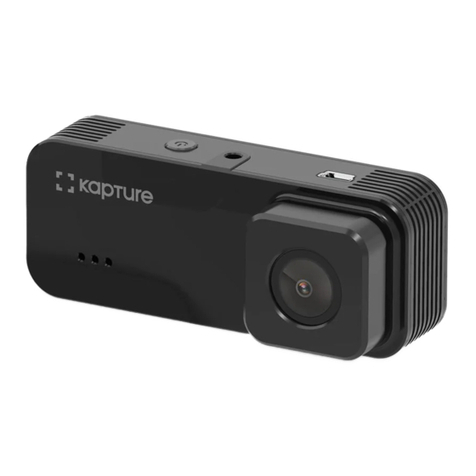
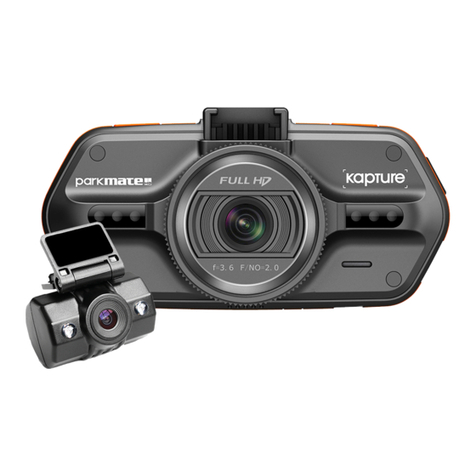
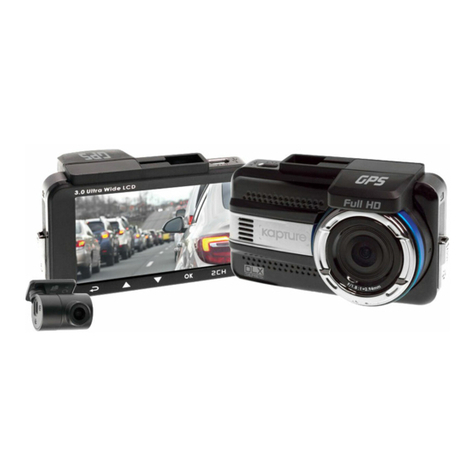
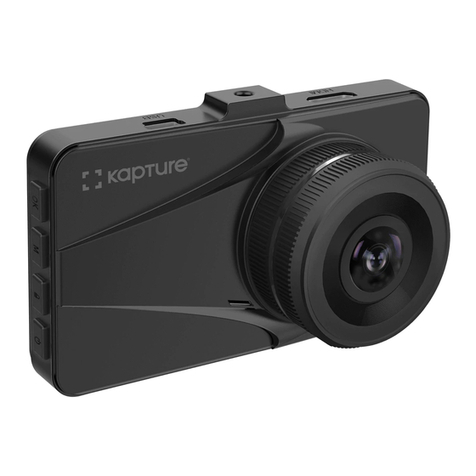
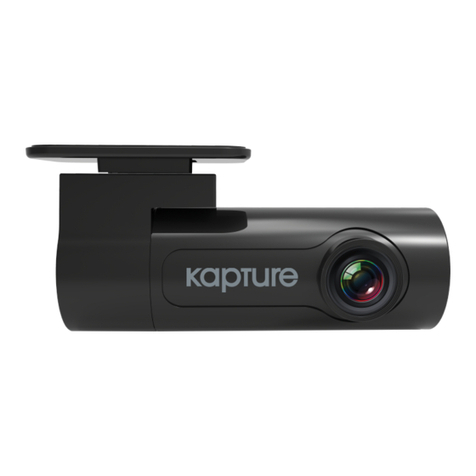
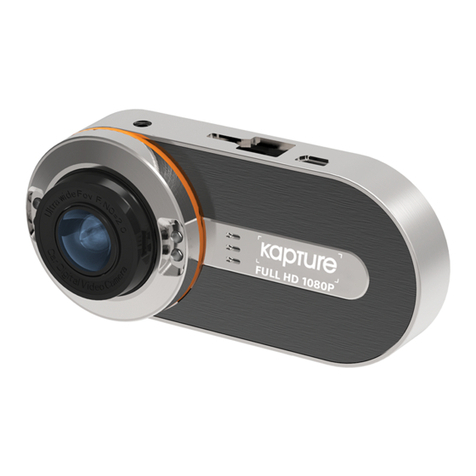
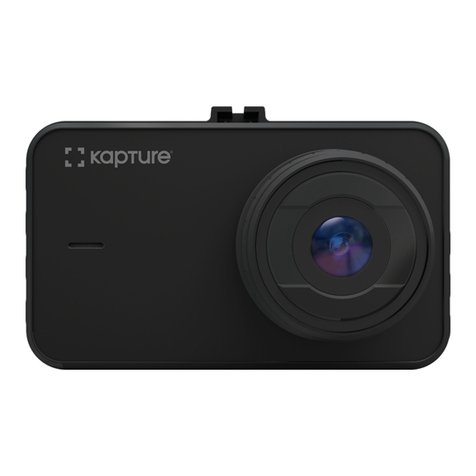
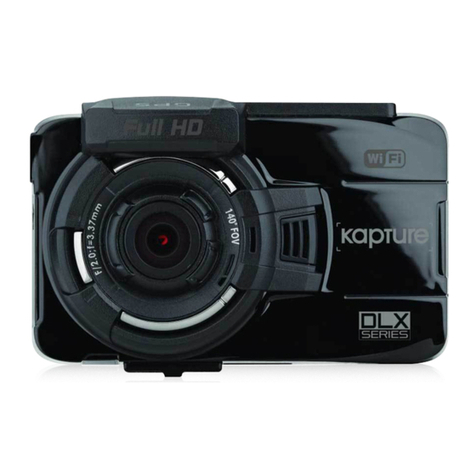
Kapture KPT 860 User manual

USER MANUAL
YOUR EYEWITNESS ON THE ROAD™

2
CONTENTS
1.0 PRODUCT INFORMATION ........................................................................................................................... 06
1.2 INTRODUCTION ...................................................................................................................................................................06
1.3 FEATURES.............................................................................................................................................................................06
1.4 PACKAGE CONTENTS.........................................................................................................................................................07
1.5 PRODUCT OVERVIEW.........................................................................................................................................................07
2.0 GETTING STARTED...................................................................................................................................... 08
2.2 INSERTING A MEMORY CARD..........................................................................................................................................08
2.3 REMOVING A MEMORY CARD..........................................................................................................................................08
2.4 MOUNTING YOUR KPT-860...............................................................................................................................................09
2.5 INSTALLING YOUR KPT-860 MAGNETIC MOUNT.....................................................................................................9-10
2.6 CONNECTING POWER TO YOUR KPT-860.....................................................................................................................11
2.7 POWERING UP YOUR KPT-860.........................................................................................................................................11
2.8 SMARTPHONE CONNECTION ..........................................................................................................................................11
2.9 DOWNLOADING THE APP..................................................................................................................................................11
2.10 WIFI CONNECTION...........................................................................................................................................................12
3
3.0 USING THE APP........................................................................................................................................... 13
3.2 INTRODUCTION ...................................................................................................................................................................13
3.3 CAMERA SETUP .................................................................................................................................................................. 13
3.4 CAMERA ................................................................................................................................................................................14
3.5 VIEWING YOUR KP-860’S LIVESTREAM.........................................................................................................................15
3.6 TRANSFERING CONTENT TO YOUR SMART DEVICE ........................................................................................... 15-17
3.7 SHARING CONTENT TO SOCIAL MEDIA ........................................................................................................................ 18
3.7 SETTINGS .......................................................................................................................................................................19-20
4.0 FEATURES & SPECIFICATION ..................................................................................................................... 21
4.2 FEATURES............................................................................................................................................................................. 21
4.3 SPECIFICATION....................................................................................................................................................................22
5.0 WARRANTY INFORMATION ........................................................................................................................ 23
5.2 ABOUT THIS GUIDE ............................................................................................................................................................23
5.3 WARRANTY TERMS AND CONDITIONS.........................................................................................................................23

CAUTION
• Ensure you are using your Car Dash Cam within your countries’ road laws. Please make sure you
are familiar with your local road legislation before use.
• Avoid leaving your Car Dash Cam in direct sunlight for extended periods of time in an unventilated
space.
• Please set time and date before you use this device to record.
•ThenoticationsgivenbytheCarDashCamaresuggestionsonly,pleasedrivetotheactual
conditions.
• The results of GPS positioning are only for reference. The Car Dash Cam will lose GPS positioning
abilitieswhensignalisblocked(e.g.drivingthroughtunnels,enclosedcarparks).
• GPS positioning accuracy may vary depending on weather and surroundings such as dense
cities,tunnels,orforests.GPSsatellitesignalscannotpassthroughmostsolidmaterials.Tinted
windows may also affect the GPS signal.
•Thevaluesdisplayedinthissystem,suchasspeed,position,andthedistancewarning,maybe
affected by the surrounding environment.
•Thesystemistobeusedonlyfornon-commercialuse,withinthelimitspermittedbytherelevant
laws.
• Avoid using the Car Dash Cam in the vicinity of any devices that emit radio interference
(e.g.MicrowaveOvens).
• It is considered normal operation for the Car Dash Cam to get warm during use.
4
BATTERY WARNING
• Always charge the Car Dash Cam using the provided charger. Improper charging of the Car Dash
Cam and may result in failure of the internal battery.
• Never dismantle the Car Dash Cam or expose the internal battery.
•DonotdisposeoftheCarDashCaminre.
• Dispose of the Car Dash Cam observing local regulations being mindful of the internal battery.
• Do not attempt to replace or expose the internal battery.
NOTES ON INSTALLATION
•ItisadvisedthattheCarDashCamisinstalledneartherearviewmirror,atthetopcentreofthe
windshield for optimal operation.
• Make sure that the lens is within the range of the windscreen wiper to ensure a clear view when it
rains.
•Donottouchthelenswithyourngers.Fingerprintsleftonthelenswillresultinunclearvideosor
photos.Ifphotosorvideosareblurred,pleasecleanthelensgentlywithamicrobrecloth.
•Donotinstallthedeviceonatintedwindow.Doingsomaydamagethetintlmandrestrictthe
Car Dash Cam’s GPS signal.
•MakesurethattheinstallationpositiondoesnothinderorblocktheeldofvieworGPSsignal.
• Only use the included charging cable to power the Car Dash Cam.
5

1.2 INTRODUCTION
Thank you for purchasing a Kapture Dash Cam. Please read through instructions before
attempting to install or use this product.
For latest manual and product updates please visit our website at www.kapturecam.com.au
or www.kapturecam.co.nz.
1.3 FEATURES
•Recording Full HD 1080P footage at 30 frames per second
•Social media sharing
•Built in GPS
•WiFi Smart Device Connectivity
•140°eldofview
•Snapshot Remote
•Automatic Emergency recording and collision detection
•App allowing video transfer and playback alongside GPS tracking
PRODUCT INFORMATION
6
1.4 PACKAGE CONTENTS
KPT-860
Dash Camera
Magnetic
Mount
3M Suction
Disc
Snapshot
Remote
USB Power
Cable
USB Power
Adapter
1.5 PRODUCT OVERVIEW
Mount
Magnetic
Mount
Micro-USB
Power
Socket
Reset Button
Speaker
TF Card Slot
Microphone
Power Indicator
Red
GPS Indicator
Blue
Function
Indicator
Green
Snapshot
Remote
Capture
Button
7

2.2 INSERTING A MEMORY CARD
Ensure that your KPT-860 is powered off. With the lens facing away from you remove the protective
capontherearofthecamerausingyourngernailtopryoffthecapfromthetop.InsertyourMicro
SDcard(notincluded)intotheslotontherearofthecamerawiththetextfaceoftheMicroSD
cardfacingup.Useyourngernailtopressthecardintotheslotuntilaclickisheardandreplace
the protective cap.
NOTE:
1. Do not insert or remove a Micro SD card while your KPT-860 is
powered up. This may damage your Micro SD card.
2. Please use class 10 or higher rated Micro SD cards, 16GB or
above (up to 128GB).
3. Please format the Micro SD card before initial use (in FAT 32
format if you are using a computer to format your Micro SD card).
2.3 REMOVING A MEMORY CARD
EnsurethatyourKPT-860ispoweredoff.UsingyourngernailpresstheSDcarduntilaclickis
heard and release. The card should eject from the slot.
GETTING STARTED
8
2.4 MOUNTING YOUR KPT-860
Please read through all mounting instructions before attempting to install the KPT-860. It is
recommended that you install the KPT-860 behind your rear view mirror. Once you have mounted
your camera using your preferred method it is recommended that you run the power cable
around your windscreen under your vehicles interior trim using the included tool and cable clips.
Ifyourvehiclehassidecurtainairbags,pleasebeverycarefulwhenrunningcablesalongyour
vehicles windows. Please ensure that you do not run the cables past any of these air bags as this
canpreventtheairbagsfromdeployinginanemergency.WhenmountingtheSnapshotButton,
please avoid attaching this to any of your vehicles airbags.
2.5 INSTALLING YOUR KPT-860 MAGNETIC MOUNT
1. ToinstalltheMagneticMount,ensurethe3M
mounting plate is securely attached to the
magnetic mount.
2. CleanwindshieldwithanAlcoholWipe,making
surethereisnodust,moisture,oroilonthe
desired mounting point of the windscreen.
3.Removetheprotectivelmontheadhesive
pad and place the Magnetic Mount in the
desired position on your windscreen.
4. Firmly press and hold the Magnetic Mount
against your windscreen for 60 seconds to
ensure that the adhesive sets.
9

5. Once the adhesive has set use the magnetic the KPT-860 dash cam into place.
6. Angle the camera on the mount correctly and when the position is correct tighten the ball
joint by turning the lock peg clockwise.
2.6 CONNECTING POWER TO YOUR KPT-860
The KPT-860 is designed to run of the 12V DC power provided from your vehicle.
To connect your KPT-860 plug the Dual Socket Car Charger into your vehicles power socket
(cigarettelighter),andconnecttheUSBcabletothe2.1Asocket(The1Asocketcanbeusedto
chargeanyofyour1AUSBdevicescapableoftakinga1Acharge).ConnecttheUSBmicroendof
the cable into the Magnetic Mount.
KPT-860
DASH CAMERA
USB POWER
ADAPTER
10
2.7 POWERING UP YOUR KPT-860
TheKPT-860willpowerupandbeginrecordingautomaticallyonceithasbeencorrectlyinstalled,
and you start your vehicle. The KPT-860 will also record for 20 seconds after you stop your vehicle
before shutting down.
NOTE:
The battery in the KPT-860 is designed to hold settings and dates and is not designed for long term use. Please ensure that the
KPT-860 is installed correctly, and is using your vehicles power when recording.
2.8 SMARTPHONE CONNECTION
ConnectingyoursmartphonetoyourKPT-860allowsyoutotransfervideolestoyourSmartphone
and view your videos alongside your GPS footage. The KPT-860 App requires at least 500MB of free
storage on your smart device to operate correctly.
2.9 DOWNLOADING THE APP
To wirelessly connect your smartphone to the KPT-860 you will need to download the Kapture
KPT-860 App This can be found by searching “KPT-860” on the Apple App Store on iPhones or the
Google Play Store on Samsung Galaxy Android smartphones.
Kapture KPT-860 App can be downloaded from the Apple App Store and Google Play Store.
Apple,theApplelogo,andiPhonearetrademarksofAppleIc.,registeredintheU.S.andother
countries. Google Play and the Google Play logo are trademarks of Google Inc. Industries.
CompatiblewithMicroSDcardsminimum16GB,upto128GBcapacity.Class6orabove
(Class10recommended).MicroSDcardnotincluded.
860
11

2.10 WIFI CONNECTION
To wirelessly connect your smartphone to the KPT-860 you will need to download the Kapture
KPT-860 App This can be found by searching “KPT-860” on the Apple App Store on iPhones or the
Google Play Store on Samsung Galaxy Android smartphones.
1. ToconnecttoyourKPT-860’sWiFiconnection,connecttheKPT-860toyourvehiclespower
using the included cable and power adapter.
2. Wait for 20 seconds for the KPT-860 to start up and the WiFi connection to start
transmitting.
3. Go into your smartphones WiFi settings and connect to the KPT-860 with the details below.
Connection KPT860
Password 1234567890
4. Onceconnected,opentheKPT-860App.
12
USING THE APP
3.2 INTRODUCTION
OnceyouopentheKPT-860Appthefrontpagewillgiveyouaccesstoyourconnectedcamera,
albumsandprole.
3.3 CAMERA SETUP
In some cases you may need to add your KPT-860 to the App so that it is recognised. To add your
cameraensurethatyouareconnectedtotheKPT-860sWiFiconnection,openthecamerascreen
in the KPT-860 app and tap the + button at the top right of the screen. This will show a list of
available cameras. Select your KPT-860 from this list and proceed. Your camera will now be linked
to your KPT-860 App.
NOTE:
If you are using an Android device and you are having difficulty adding your camera, or experiencing connectivity issues you may
need to switch off the intelligent network switching setting.
13

3.4 CAMERA
This screen is the opening screen of the
KPT-860 App. The camera screen is used to
displayyourcurrentspeed,camerafeedand
videos stored on the Micro SD Card installed
in the connected KPT-860.
1. View Finder
View the current stream from your
KPT-860 and manage settings.
2. File List
Your recorded snapshots will appear here.
3. Dashboard
Displays your current driving statistics.
4. Camera
Brings you back to the camera page.
5. Album
Displays all videos and snapshots saved
to your smart device.
6. Settings
Edits app and camera settings.
1
2
6
5
4
3
KPT-860_1A
14
3.5 VIEWING YOUR KPT-860’S LIVESTREAM
Toviewyourcamera’slivestream,followtheinstructionsbelow.
1. Ensure that your smart device is connected to the KPT-860’s WiFi connection.
2. Enter the camera screen by tapping the ‘camera’ button (item 4, page 14).
3.IntheCamerascreen,taptheplaybuttonthatappearsontopofthepage.
4. The cameras live stream will now be displayed on screen.
NOTE:
1. Your KPT-860 must be connected to your smart device via WiFi to access the live view.
2. The KPT-860 must be connected to power to maintain a WiFi connection.
3. Do not attempt to use the app or connect your smart device while operating your vehicle.
4. WiFi Assist functionality and sufficient cellular function is required of your smart device to track your GPS
data alongside your footage on the app.
5. If your Smart device does not have WiFi assist functionality you will need to need to download your offline map
for your area before you will be able to track your GPS data alongside your footage.
6. Your cellular data rates will apply to any data used by the KPT-860 app while using your cellular network.
3.6 TRANSFERRING CONTENT TO YOUR SMART DEVICE
Transferring video allows you to play back and view photos and videos while you are outside
ofrangeoftheKPT-860.Totransfervideos,pleasefollowtheinstructionsbelow.
1. Ensure that your smart device is connected to the KPT-860’s WiFi connection.
2. Enter the camera screen by tapping the ‘camera’ button (item 4, page 14).
3.IntheCamerascreen,taptheplaybuttonthatappearsontopofthepage(item 1, page 14).
15

4. In the View Finder screen press the transfer button in the corner (item 1, page 17).
5. Select either “Download Image Files” or “Download Video Files” depending on which
typeoflesyouwanttotransfer.
6. Select your required media using the slider at the bottom (item 2, page 17) and
presstheplaybuttonontherequiredle.
7.Whentheleloadsup,tapthe“StartDownload”button(item 3, page 17).
8. Yourlewillnowstartdownloading.
9. Tocuttheclipshort,tapthe“FinishDownloading”buttontonishtransferring.
Your transferred videos can then be accessed through the Album page of the
App (item 5, page 14).
NOTE:
1. Your KPT-860 must be connected to your smart device via WiFi to access the live view.
2. Your KPT-860 must be connected to power to maintain a WiFi connection.
3. Do not attempt to use the app or connect your smart device while operating your vehicle.
4. WiFi Assist functionality and sufficient cellular function is required of your smart device to track your GPS
data alongside your footage on the app.
5. If your Smart device does not have WiFi assist functionality you will need to need to download your offline map
for your area before you will be able to track your GPS data alongside your footage.
6. Your cellular data rates will apply to any data used by the KPT-860 app while using your cellular network.
16
1
2
3
17

3.7 SHARING CONTENT TO SOCIAL MEDIA
To share your videos on social media your smart device must be linked to your social media app.
Toshareyourvideostoyourchosensocialmedia,pleasefollowtheinstructionsbelow.
1. Transfer your required video to your smart device following the instructions laid out in the
section of this manual titled “Transferring Photos and Videos to your Smart Device”.
2. Onceyouhavetransferredyourrequiredvideotoyoursmartdevice,entertheAlbummenu
bypressingtheAlbumbutton(item5,page15).
3.Selectrequiredvideoandpresstheuploadbutton,whichwillgiveyouyoursharingoptions.
4. Ifyourrequiredsocialmediaisnotanoptioninthissharingmenu,selectthephotostream
option which will save the video to your smart devices photo roll.
5. Once saved to your smart devices photo roll you will be able to upload the video to your
social media platform of choice either via your social media app or your photo stream app.
6. Smart device must be connected to your KPT-860 via WiFi to access video transfer.
7. The KPT-860 must be connected to power to maintain a WiFi connection.
8. Do not attempt to use the app or connect your smart device while operating your vehicle.
NOTE:
1. Your KPT-860 must be connected to your smart device via WiFi to access video transfer.
2. Your KPT-860 must be connected to power to maintain a WiFi connection.
3. Do not attempt to use the app or connect your smart device while operating your vehicle.
4. Please be mindful of the privacy of others when uploading videos to any public forum.
18
3.8 SETTINGS
The settings menu is used to adjust the settings of both the app and the camera.
The settings menu also gives you a snapshot of your driving behaviour.
The following settings can be edited in the following sub folders.
SETTING NAME SETTING DESCRIPTION LOCATION
Camera Name Customise the name of your KPT-860. Settings/Settings/Camera Settings/
Camera Name
Camera Password Change your camera’s WiFi password. Settings/Settings/Camera Settings/
Camera Password
Camera Volume Set the volume for the cameras audio
notications.
Settings/Settings/Camera Settings/
Camera Volume
Resolution Set the recording quality of the camera. Settings/Settings/Camera Settings/
Resolution
G Sensor Sensitivity Set the sensitivity of the cameras built
in G Sensor.
Settings/Settings/Camera Settings/
Advanced Settings/G-Sensor Sensitivity
Language Set the language of the camera and App. Settings/Settings/Language
Device Storage Management View the storage used on your smart
device.
Settings/Settings/Device Storage
Management
19

Time Format Set the format that you want the time
and date displayed on the footage.
Settings/Settings/App Advanced
Set-tings/Time Format
Camera Recording With Sound Mute or unmute the microphone while
recording.
Settings/Settings/Camera Settings/
Video Recording With Sound
Video Format Set the video format to either 16:9 or
2.4:1.
Settings/Settings/Camera Settings/
Video Format
Camera Storage Management View and format the storage used on the
SD card inserted into your camera.
Settings/Settings/Camera Settings/
Camera storage Management
Camera Info Displays the camera information. Settings/Settings/Camera Settings/
Camera Info
20
FEATURES & SPECIFICATION
4.2 FEATURES
GPSGPSrecordsyourcurrentlocationandspeed,andsavesthisinformationtoyourvideo
lesasitisbeingrecorded.ThisdataisthenplayedbackviatheKPT-860smartphoneapp
showing your mapped location and speed at the time of recording.
WIFIWiFiisusedtoconnectyourKPT-860toyoursmartdevice.ThroughtheKPT-860App,
youcaneditsettingsonthecamera,playbackvideosandGPSrecording,andtransfervideos.
SNAPSHOT BUTTON The included Snapshot Remote connects to your KPT-860 and when
pressed will capture an image and trigger a short video clip which will be saved.
G-SENSOR The built in G-Sensor detects impacts on your vehicle and saves the video that is
beingrecordedatthetimeofimpacttotheEmergencyleintheAlbumfolder.Theselesthen
will not be saved over until they have been manually deleted. The G-sensor sensitivity can be
edited via the KPT-860 App in the following location.
21

4.3 SPECIFICATIONS
Resolution 1080p
Lens 140 °
Storage Media Class 10 Micro SD Card Between 16GB and 128GB
Operating Temperature -20°C ~70°C
Operating Power -2.1A
Interface Micro-USB
Battery 250mAh
Microphone YES
Weight 76g(96gwithmount)
Dimensions 65mm x 80mm x 63mm
22
5.2 ABOUT THIS GUIDE
The content in this document is for information purpose and is subject to change without prior notice. We
madeeveryefforttoensurethatthisUserGuideisaccurateandcomplete.However,noliability is assumed
for any errors and omissions that may have occurred. The manufacturer reserves the right to change the
technicalspecicationswithoutpriornotice.Forlatestmanualandproductupdatespleasevisitourwebsite
at www.kapturecam.com.au or www.kapturecam.co.nz.
5.3 WARRANTY TERMS AND CONDITIONS
Our goods come with guarantees that cannot be excluded under the Australian & New Zealand
Consumer Law. You are entitled to a replacement or refund for a major failure and for compensation for any
other reasonably foreseeable loss or damage. You are also entitled to have the goods repaired or replaced if
the goods fail to be of acceptable quality and the failure does not amount to a major failure.
This warranty is provided in addition to your rights under the Australian & New Zealand Consumer Law.
Directed Electronics warrants that this product is free from defects in material and workmanship for a period
of 12 months from the date of purchase or for the period stated on the packaging. This warranty is only valid
where you have used the product in accordance with any recommendations or instructions provided by
Directed Electronics.
Thiswarrantyexcludesdefectsresultingfromalterationsoftheproduct,accident,misuse,abuseorneglect.
Inordertoclaimthewarranty,youmustreturntheproducttotheretailerfromwhichitwaspurchasedorifthat
retailerispartofaNationalnetwork,astorewithinthatchain,alongwithsatisfactoryproofofpurchase.
TheretailerwillthenreturnthegoodstoDirectedElectronics.DirectedElectronicswillrepair,replaceorrefurbish
the product at its discretion. The retailer will contact you when the product is ready for collection. All costs
involvedinclaimingthiswarranty,includingthecostoftheretailersendingtheproducttoDirected
Electronics,willbebornebyyou.
WARRANTY INFORMATION
23

www.directed.com.au
www.directed.co.nz
www.kapturecam.com.au
www.kapturecam.co.nz
YOUR EYEWITNESS ON THE ROAD™
DirectedElectronicsAddress:44TranslinkDrive,KeilorParkVictoriaAustralia3042
Ph: +61 03 8331 4800
Email: [email protected]
Table of contents
Other Kapture Dashcam manuals

Kapture
Kapture KPT-500 User manual

Kapture
Kapture KPT-942 User manual

Kapture
Kapture KPT-1240 User manual

Kapture
Kapture KPT-890 User manual

Kapture
Kapture KPT-850 User manual

Kapture
Kapture KPT-722 User manual

Kapture
Kapture KPT-590GPS User manual

Kapture
Kapture KPT-2200 User manual

Kapture
Kapture KPT-250 User manual

Kapture
Kapture KPT-522 User manual