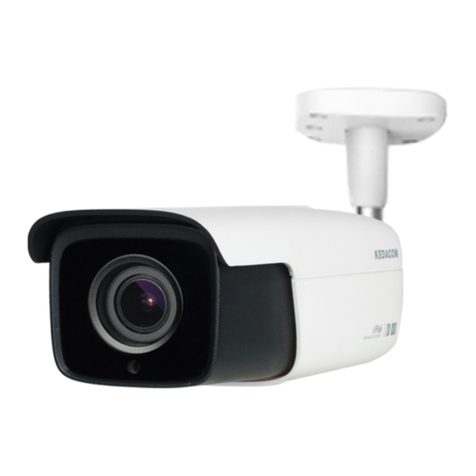
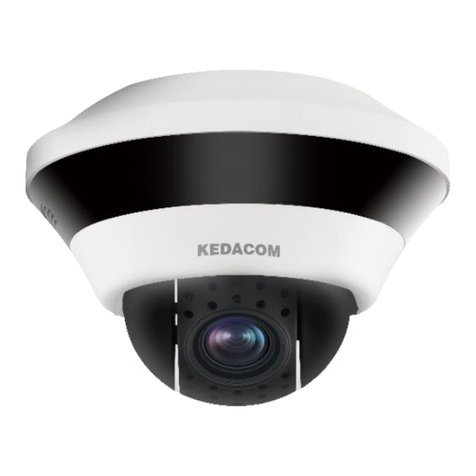
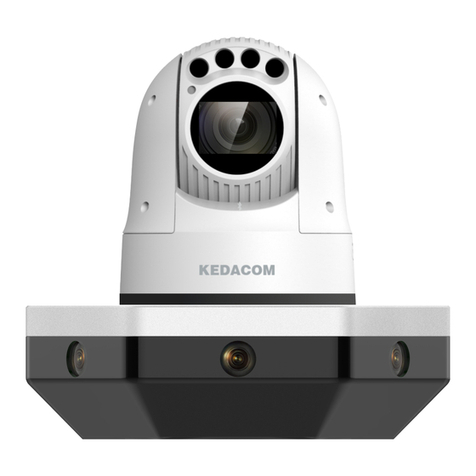
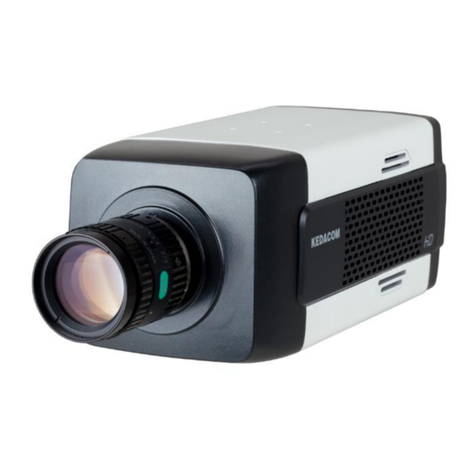
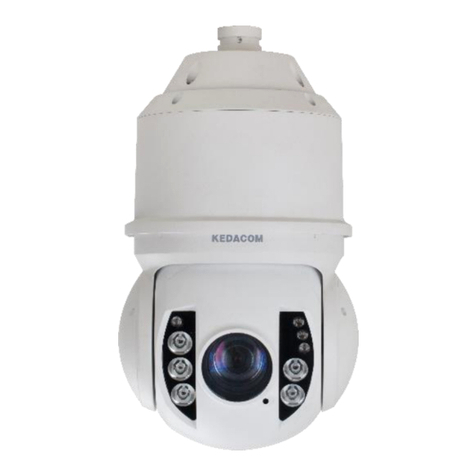
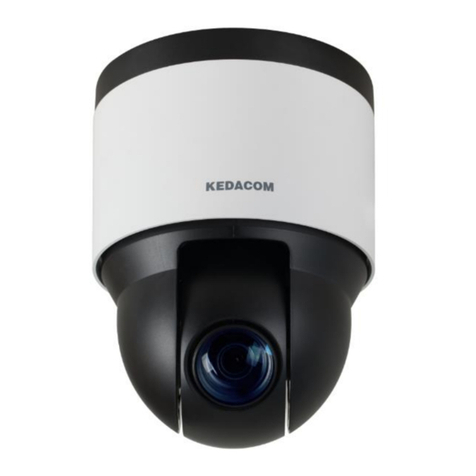
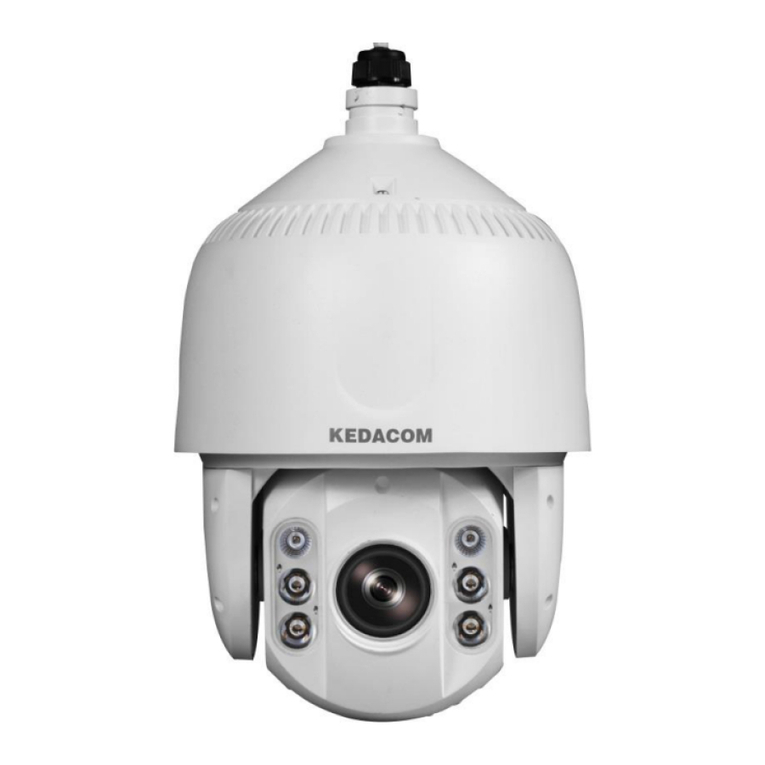
Kedacom IPC2240-HN-SIR30 User manual

快速安装指南
Quick Start Guide
高清红外网络海螺摄像机


一、前言
二、安全说明
感谢您购买我司产品,如对本公司产品有疑问或需要,请随时和我们联系。我们尽最大努力来保证
本手册信息的正确性,如因升级等原因发生信息修改,恕不另行通知。
获取最新文档请联系产品供应商。
请使用满足安全电压要求的电源。
如果设备工作不正常,请联系厂家或最近的服务中心。不要以任何方式随意拆卸或修改设备。
请防止此产品从高处摔落或受强烈敲击。
清洁镜头时,须使用吹气球或专业镜头布除去镜头上的污垢。清洁透明球罩时,须使用足够柔
软、干燥的布擦拭,切勿使用含酒精、苯等清洁剂洗涤。
避免将摄像机对准强光(如灯光照明、太阳光等处)聚焦,否则容易引起过亮或漏光现象 (这并
非摄像机故障) ,将影响摄像机寿命。
避免将产品暴露在非用户手册所示的工作环境下使用 。
使用时不可让水或任何液体流入摄像机。
当运送摄像机时,请重新以出厂时的包装进行包装,或用同等品质的材质包装。
需要替换部件时,请事先与经销商联系,更换指定型号的部件,或与原部件具有相同特性的部
件。擅自使用其它部件进行替换,后果自负。
本产品达到IP66防护等级,工作于室外露天环境时,请注意设备尾线的防水处理。
此内容(手册)的目的是确保用户正确使用本产品,以避免危险或财产损失。在使用产品之前,请
认真阅读此手册并妥善保存以备日后参考。如果用户因没有按照以下安全说明,致使设备不能正常
使用或损坏等情况,责任由用户承担。
【说明】 更多信息见附带光盘中的《高清网络摄像机用户手册》。
工作环境
工作电源 DC 12V,1.25A
温度 -30℃ ~60℃
湿度 10%~95%(无凝结)
海拔高度 -60m~3000m
大气压 86kPa~106kPa
1

从包装箱中取出摄像机,向左侧滑动松开锁扣,使底座和
球体分离。
1
2
三、安装设备
1.摄像机支持吸顶和壁装两种安装方式。安装步骤如图。
2
将安装贴纸贴于墙面,
在指定位置打孔,塞入
螺钉将底座固定在墙面上。
底座尺寸
3
对齐 122 ° 122 °
Φ73
M3*6
3-Φ4.5
在球体底部拧开螺钉,取下盖片,插入TF卡。TF卡安装完
成后,请装回盖片,拧紧螺钉。
【说明】 最大支持128G容量的存储卡。
部分型号不支持插入存储卡,请以具体设备为准。

2. 连接线缆如图2,上电。
图 2
3
DC12V 电源
DC12 V IN
CVBS视频输出
ALARM IN
告警输入
AUDIO IN1
音频输入
AUDIO IN2
音频输入
AUDIO OUT
音频输出
RS485_A/B
串口 连接监控键盘或告警扩展器等
KEDACOM
KEDACOM
ALARM OUT1A/B
告警输出 KEDACOM
PICKUP
根据线缆上的标签连接相应设备
剪断端子台连线
10/100M自适应 客户端
橡皮圈 橡胶圈
线缆防水结构,请务必安装并拧紧!
步骤
2
1穿线
制作水晶头
转动球体调节
监控方向时,
请保持光敏电
阻在下方。
45
对准底座“ ”处斜线方向卡
入球体,将球体向上推平。
调整好监控方向,向右侧滑动
锁定锁扣。需要调整监控方向
时,重新将拨扣拨回左侧。
【注意】请确认安装墙面能承受8倍摄像机加支架等附件的总重量。
整机重量:400g
图 1

4
1)第一次使用时请运行光盘中附带的IPCSearch,在IPCSearch中将显示设备的IP地址、网关等信
息。若IPC设备所接入的网络有DHCP服务,DHCP服务器将自动给IPC分配IP地址。
2 ) 在IPCSearch中选中设备,点击 ,在弹出的界面中设置admin用户的密码和找回密码时
需要用的邮箱,点击激活按钮激活设备。待设备重启。
图 3
2
3
3. 登录客户端
最低配置和系统环境:
Ÿ处理器:3.3GHz酷睿®i3系列及以上或相同性能的其他处理器
ŸRAM内存:4GB及以上
Ÿ操作系统:WindowsXP操作系统或更高版本
Ÿ浏览器:IE7.0及以上版本,Firefox,Google Chrome(41及以下版本)
ŸDirectX:9.0c
【说明】本指南将以WindowsXP为例,说明登录客户端步骤。
【说明】部分型号支持POE供电,即网口供电,网口连接POE路由后无需连接其他电源。
尾线接口请根据具体型号支持为准,图2所示为接口最全的型号。
线缆识别请参考附录部分。

5
5)登录成功后,下载并安装视频插件。
【说明】如果直接通过Web端首次登录未激活的设备,可在登录界面设置管理员的密码激活设备
( 如图5 )。登录前需要先将PC机设置为与设备在同一网段。
4. 图像调节和镜头调整
进入客户端后可以直接浏览图像,界面如图。
【说明】不同型号浏览界面略有差异,请以设备实际界面为主。更多客户端说明参见客户端帮助文
档。
调整设备方向,在Web客户端上进行参数调整,直到浏览画面达到预定要求。
图 4
图 5
3 ) 点击 ,在弹出的界面中配置网络参数 。静态分配IP地址时,请选择自定义地址,填写
以太网参数。修改参数配置,需要填写管理员用户用户名(admin)及激活设备时所设置的密码。完
成IP配置后,设备将自动重启,重启时间约为60秒。
4 ) 在IPCSearch中双击设备或点击 ,输入用户名和密码 ( 如图4 ),登录Web客户端。

6
线缆识别
线序
1
2
3
4
5
6
7
8
9
10
RS485_A
RS485_B
AUDIO_IN 1
AUDIO_IN 2
AUDIO_OUT
AUDIO_GND
ALARM_IN
ALARM_IN_GND
ALARM_OUT 1A
ALARM_OUT 1B
RS485串口A
RS485串口B
音频输入1
音频输入2
音频输出
音频接地
告警输入
告警输入接地
告警输出1,两个端子不分正负
黄
绿
粉红
白
黑/白
浅绿
灰
红
蓝
紫
标签标示
颜色 组别
注释
一组
一组
一组
附 线缆识别
图 6

本保修卡适用于您购买的本公司系列产品。
1.终身保质,免费保修期一年(仅限中国大陆地区,中国大陆以外地区请参考英文说明)。
2.凡保修期内,由于本产品自身引起的故障,请与公司售后服务部联系。
3.保修时我们将使用您的保修卡信息,请认真填写。
4.以下情况,属于有偿保修范围:
-人为原因造成的设备故障
-因使用环境不符合本产品要求造成的故障
-因不可抗力造成的产品损坏
-无保修卡
-已过保修期
用户名称:
详细地址:
传真: 电话:
邮箱: 邮编:
产品名称:
产品型号:
购买日期:

Preface
Safety Instruction
Thank you for purchasing our product. If there are any questions, or requests, please do not hesitate to contact
us.
Every effort has been made to ensure the accuracy and validity of this Guide. Any update of this Guide is
subject to change without notice. For the latest document, please contact the dealer.
Please adopt power supply in the safety voltage range.
If the product does not work properly, please contact your dealer or the nearest service center. Never
attempt to disassemble or repair the product yourself in any way.
Do not drop the camera or subject it to physical shock.
When cleaning the lens, please use a rubber dust blower or lens cleaning cloth to remove the dirt. When
cleaning transparent housing, please use soft and dry cleaning cloth to wipe it gently. Never apply any
cleanser with ethanol or benzene in it.
Do not focus the camera lens on strong light such as the sun or incandescent lamp. The strong light can
cause overexposure or light leak (not camera malfunction), which may shorten camera lifetime.
Do not expose the camera in the environment not defined in the Guide.
Keep the camera away from water or any liquid.
While shipping the camera, pack it in the factory packing or use materials with equivalent quality.
When it is necessary to replace a part, please contact your dealer in advance and replace the part with
specified model or part of the same features. We shall not assume any responsibility for problems caused by
unauthorized replacement.
The camera is IP66-rated. When expose it outdoor, remember to handle with the back cable of the camera
and make it water-proof.
These instructions are intended to ensure that the user can use the product correctly to avoid danger or
property loss. Please read this Guide carefully before using the product, and keep it properly for future
reference. If the product cannot work normally or is damaged because the user does not follow the safety
instructions, we shall not assume any responsibility.
[Note] For more information, please refer to the User Ma nual for HD IP Cam era in the attached CD.
Humidity 10%~95% (non-condensing)
Altitude
Atmospheric Pressure
-60m~3000m
86kPa~106kPa
Working Voltage
DC12V, 1.25A
Temperature
-30℃~60℃
Operating Environment
1

Camera Installation
2
Take out camera from the box and rotate it anti-clockwise to
loosen the locker. The base and the dome will separate.
1
1.Camera supports ceiling mount and wall mount. Steps are as follows:
Paste the installation sticker on the wall;
punch holes and insert screws to fix the base
on the wall.
Size of base
3
Align 122 ° 122 °
Φ73
M3*6
3-Φ4.5
[Notice]:
The max space of memory card can be 128G;
Some models may not support memory card. Function is subject
to the actual model.
2
Loosen the screws at the base of camera, take off
the cover and insert TF card. Then install the cover
and tighten the screws.

Picture 2
3
2. Connect the cable, as Picture 2 shows, and power on.
Water-proof part of the cable, must be installed and tightened.
CVBS Output
DC12V
DC12V I N
ALARM IN
AUDIO IN 1
AUDIO OUT
Rs485_A/B Connect to surveillance keyboard or alarm expander
KEDACOM
KEDACOM
ALARM OUT 1A/B
KEDACOM
PICKUP
Connect cables as indicated
Cut off terminal and connect
10/100M Adaptive
Client
Rubber Cushion Rubber Ring
2
1Route the cable
Make a Rj45
connector
Steps:
serial port
AUDIO IN 2
When rotate the dome
to adjust direction,
make sure the
photoresistor is at the
bottom.
45
Align to " " on the base and lock the
dome. Push the dome upward untill
it is flat.
After adjusting the direction, rotate the
camera clockwise to lock it. Repeat
the steps when need to adjust
directions. Total weight: 400g
[Note]: please make sure the mount surface could bear weight as heavy as 8 times of the total weight of
camera and brackets.
Picture 1

4
1) When use the device for the first time, run the IPCSearch in the attached CD and set camera IP address and
gateway. If the network provides DHCP service, DHCP server will assign IP for the camera automatically.
2) Select the device and click “Batch processing”. In the popup interface, set admin user’s password and the
claim e-mail address to find back the password. Click “Active” and wait for rebooting.
Picture 3
3. Login client
[Note]:
Some models support PoE (Power on Ethernet). Only have to connect RJ45 connector to PoE switch and no
other power supply is needed.
The tail connector is subject to the actual model. Picture 2 shows the model with most complete connections.
Please refer to the appendix for wire connection.
System for client installation:
Processor: 3.3 GHz CORE®i3 series or other equivalent processors
RAM Memory: 4GB or above
Operating System: Windows XP or newer version
Browser: IE7.0 and newer version, Firefox, Google Chrome (41 and lower)
DirectX:9.0c
[Note]: This Guide will take Windows XP as example to explain client login steps.

4. Live view and lens adjustment
After login, user can view live video directly, as the picture shows.
[Note]: Interface of different models may differ. Please refer to the help file for detailed explanation.
Adjust camera direction, configure camera parameters in web client until the live view meets requirement.
Picture 4
5
Picture 5
3) Click “Modify Params” and set the network parameters. When configure a static IP for the camera, please
check “Custom device address (Close DHCP)” and fill the Ethernet parameter. During the modification, the
user name (admin) and the password set before activation should be entered. After configuration, the camera
will reboot automatically and this takes 60s.
4) Double click the device in IPCSearch or click “Login”. Enter user name and password (as Picture 4 shows) to
login the web client.
5) After login, download and install the plug-in.
[Note]: If login the nonactivated camera by web client, you can set admin user ’s password on the login
interface to activate the device (as in Picture 5). Before setting, set the PC and the device in the same LAN.

Cable Identification
NO.
1RS485_A
Tag Color
Group
Remarks
One
Group
One
Group
One
Group
Appendix Cable Identification
Alarm Output 1, regardless
of positive and negative
Rs485 Serial Port A
Audio Input 1
Rs485 Serial Port B
Audio Output
Audio Grounding
Alarm Input
Alarm Input Grounding
Yellow
Green
Pink
White
Light Green
Gray
Red
Blue
Purple
Black/White
2
3
4
5
6
7
8
9
10
Audio Input 2
ALARM_OUT 1B
ALARM_OUT 1A
ALARM_IN_GND
ALARM_IN
AUDIO_GND
AUDIO_OUT
AUDIO_IN 2
AUDIO_IN 1
RS485_B
6
Picture 6

WHAT IS COVERED BY THIS WARRANTY?
Kedacom warrants the Kedacom-branded hardware product and accessories contained in the original
packaging (hereinafter referred to as "Kedacom Product") against defects in materials and workmanship
when used normally in accordance with Kedacom's published guidelines for a period of TWO (2) YEARS from
the date of original retail purchase in areas other than mainland China by the end-user purchaser (hereinafter
referred to as "Warranty Period"). For the Kedacom Product purchased in mainland China, see the simplified
Chinese version of this warranty for details. Kedacom's published guidelines include but are not limited to
information contained in technical specifications, user guides, and service communications.
The preceding applies unless otherwise agreed in the contract.
Kedacom Two (2) Year Limited Hardware Warranty
WHAT IS NOT COVERED BY THIS WARRANTY?
This warranty does not apply to any non-Kedacom branded hardware products or any software, even if
packaged or sold with Kedacom hardware. Manufacturers, suppliers, or publishers, other than Kedacom, may
provide their own warranties to you but Kedacom, in so far as permitted by law, provides their products "AS
IS". Software distributed by Kedacom with or without the Kedacom brand (including, but not limited to system
software) is not covered by this warranty. Please refer to the licensing agreement accompanying the software
for details of your rights with respect to its use. Kedacom does not warrant that the operation of the Kedacom
Product will be uninterrupted or error-free. Kedacom is not responsible for damage arising from failures to
follow instructions relating to the Kedacom Product's use.
This warranty does not apply: (a) to consumable parts, such as batteries, unless failure has occurred due to a
defect in materials or workmanship; (b) to cosmetic damage, including but not limited to scratches, dents, and
broken plastic on ports; (c) to damage caused by use with another product; (d) to damage caused by acts
outside the control of Kedacom, including without limitation acts of God, accidents, abuse, misuse, fire,
storms, earthquakes, flood, or other external cause; (e) to damage caused by exposure of the product to heat,
bright light, sun, liquids, sand, or other contaminants; (f) to damage caused by operating the Kedacom
Product outside Kedacom's published guidelines; (g) to damage caused by service (including upgrades and
expansions) performed by anyone other than a representative of Kedacom, Kedacom employee, or
authorized Kedacom agent; (h) to an Kedacom Product that has been modified to alter functionality or
capability without the written permission of Kedacom; (i) to defects caused by normal wear and tear or
otherwise due to the normal aging of the Kedacom Product, or (j) if any serial number has been removed or
defaced from the Kedacom Product.
YOUR RESPONSIBILITIES
If your Kedacom product is capable of storing data and other information, you should make periodic backup
copies of the information contained on the storage media to protect the contents and as a precaution against
possible operational failures.
Before receiving warranty service, Kedacom or its authorized agents may require that you furnish proof of
purchase details, respond to questions designed to assist with diagnosing potential issues, and follow
Kedacom's procedures for obtaining warranty service. Before submitting your Kedacom Product for warranty
service, you should maintain a separate backup copy of the contents of its storage media, remove all personal
information that you want to protect, and disable all security passwords.

During warranty service, it is possible that the contents of the Kedacom product's storage media will be lost,
replaced or reformatted. In such an event, Kedacom and its authorized agents are not responsible for any loss
of data or other information contained on the storage media or any other part of the Kedacom product
serviced.
Following warranty service, your Kedacom Product or a replacement product will be returned to you as your
Kedacom Product was configured when originally purchased, subject to applicable updates. You will be
responsible for reinstalling all other data and information. Recovery and reinstallation of other data and
information are not covered under this warranty.
WHAT WILL KEDACOM DO IF THE WARRANTY IS BREACHED?
If during the Warranty Period, you submit a valid claim to Kedacom or an authorized Kedacom agent,
Kedacom will, at its option, (i) repair the Kedacom Product using new or previously used parts that are
equivalent to new in performance and reliability, or (ii) exchange the Kedacom Product for a refund of your
purchase price.
A Kedacom replacement part or product, including a user-installable Kedacom part that has been installed in
accordance with instructions provided by Kedacom, assumes the remaining warranty of the Kedacom Product
or ninety (90) days from the date of replacement or repair, whichever provides longer coverage for you. When
a product or part is replaced or a refund provided, any replacement item becomes your property and the
replaced or refunded item becomes Kedacom's property.
Kedacom reserves the right to refund the purchase price as its exclusive warranty remedy.
HOW TO OBTAIN WARRANTY SERVICE?
To seek warranty service, please contact a local authorized Kedacom agent. When contacting the agent via
telephone, other charges may apply depending on your location.
User Information
Complete the form below and keep for ready reference.
User Name:
Address: Postal Code:
Tel: Mobile:
Fax: E-Mail:
Product Name: Product Model:
Date of Purchase:


中国: 江苏省苏州市高新区金山路131号(215011)
Tel: +86-512-6841 8188 Fax: 86-512-68412699
Suzhou Keda Technology Co.,Ltd.
Singapore: 627A Aljunied Road, #09-07, BizTech Centre, Singapore 389842
Tel: +65-6842-5700 Fax: +65-6842-5900
05.03.800319 V2 20151014
Overseas Hotline: +86-0512-8896 9861
This manual suits for next models
1
Table of contents
Other Kedacom Security Camera manuals

Kedacom
Kedacom IPC425 User manual

Kedacom
Kedacom IPC2452-HN-SIR User manual

Kedacom
Kedacom IPC425 User manual

Kedacom
Kedacom IPC524 Series User manual

Kedacom
Kedacom IPC2860 Series User manual

Kedacom
Kedacom IPC4X2 Series User manual

Kedacom
Kedacom IPC2255-Gi4N Series User manual

Kedacom
Kedacom IPC411 User manual

Kedacom
Kedacom IPC2860-HN-PIR15 User manual

Kedacom
Kedacom IPC427-D120-N User manual