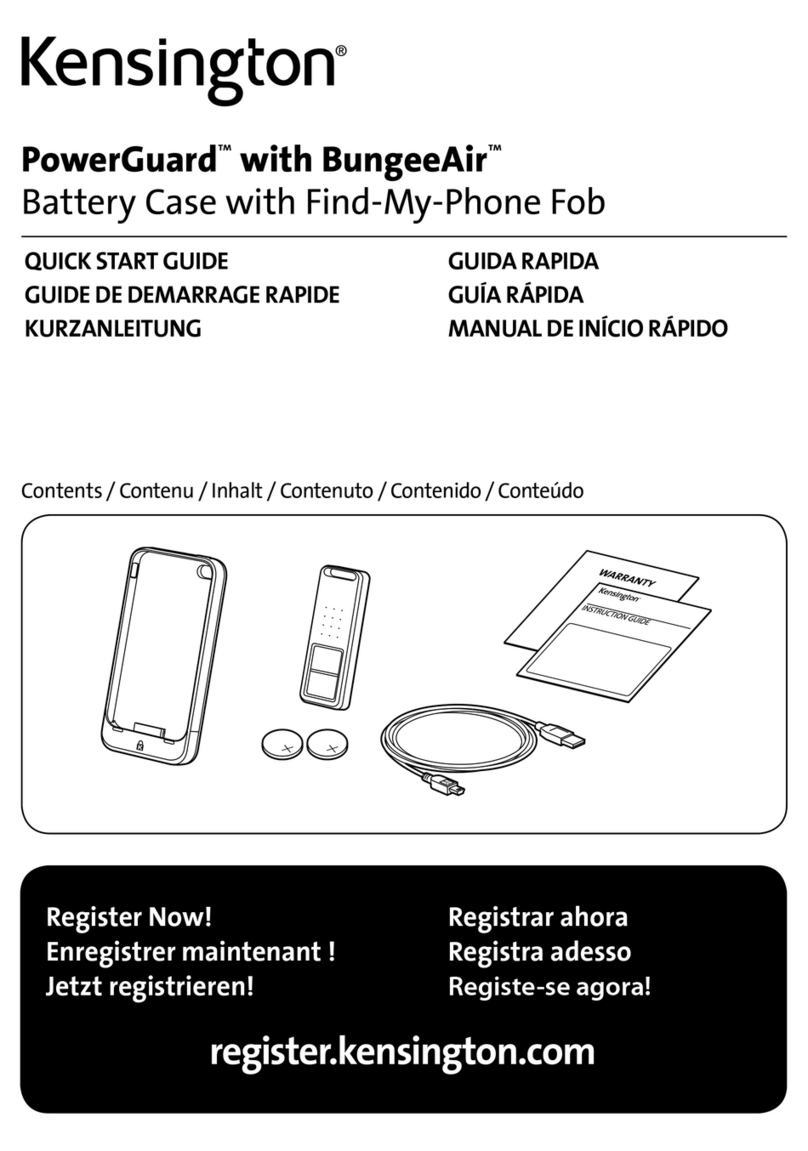
Kensington K67771AM Manual

Register Now!
Enregistrer maintenant !
Jetzt registrieren!
Nu registreren
Registrar ahora
Registra adesso
Regisztràljon most!
Zaregistrujte se nyní!
Zarejestruj się!
Зарегистрироваться!
Registe-se agora!
!
register.kensington.com
Charge and Sync Cabinet
For 10 iPad®Tablets
INSTRUCTION GUIDE HASZNÁLATI ÚTMUTATÓ
GUIDE D’INSTRUCTIONS PŘÍRUČKA S POKYNY
BEDIENUNGSANLEITUNG INSTRUKCJA OBSŁUGI
HANDLEIDING РУКОВОДСТВО ПОЛЬЗОВАТЕЛЯ
ISTRUZIONI MANUAL DE INSTRUÇÕES
MANUAL DE INSTRUCCIONES

2
IMPORTANT! REGISTER YOUR KEY CODE! /
IMPORTANT! ENREGISTREZ VOTRE CODE CLÉ! /
WICHTIG! REGISTRIEREN SIE IHREN KEYCODE! /
BELANGRIJK! REGISTREER UW SLEUTELCODE! /
IMPORTANTE! EFFETTUARE LA REGISTRAZIONE DEL
CODICE DELLA CHIAVE /
IMPORTANTE: REGISTRE EL CÓDIGO DE LA LLAVE /
FONTOS! REGISZTRÁLJA A KULCSKÓDJÁT! /
DŮLEŽITÉ! REGISTRUJTE KÓD SVÉHO KLÍČE! /
WAŻNE! ZAREJESTRUJ KOD KLUCZYKA! /
ВАЖНО! ЗАРЕГИСТРИРУЙТЕ СВОЙ КОД КЛЮЧА! /
IMPORTANTE! FAÇA O REGISTO DO SEU CÓDIGO CHAVE! /
!!
register.kensington.com

3
ACharge and Sync Cabinet
B USB Cable
CInstruction Guide
DWarranty Card
ESafety Information
FPower Cable
GScrews (4X)
HKeys (2X)
ISlots for iPads
JSync Button and LED
K LED Status Lights
LUSB Ports
MFan
NUSB Ports
OPower Connector
PFuse Compartment
QPower Switch
Contents
Components
English
A
BCDE
F
G
H
Optional, not Included.
K67781WW
Lightning, 10pk
K67780WW
30 Pin, 10pk
1 2 3 4 5 6 7 8 9 10
I
J K L M O QN P

4
1Connect the power cable.
2Turn the power switch to On.
Load the iPads
1Insert one iPad into each slot.
12345678910

5
2Plug the USB end of the dock connector cable into the USB port on the
Charge and Sync Cabinet.
1234567
Cables sold separately:
K67780WW — 30 Pin, 10pk
K67781WW — Lightning, 10pk
3Plug the other end of the cable into the dock connector on the iPad.
1234567
Charge the iPads
Charging automatically begins when the dock connector is plugged into the iPad.
NOTE:The Charge and Sync Cabinet will not charge and sync the iPads at the same time.
LED Status
Green = Charged
Amber = Charging in progress
Red = Sync in process
Red Flashing = Over current protection
NOTE:Remove the Device and turn off the AC power for over current reset.

6
Sync
iTunes Setup
1Launch the iTunes application on the host computer.
2Under Preferences, uncheck Check for new software updates automatically. This will
prevent the automatic update process from interfering with the syncing process.
3Click on the Device tab, make sure all options are unchecked.
4Prepare the iTunes library with apps and media that you intend to sync to the iPads.
iPad Setup
Configure each iPad before starting the syncing process. This can be done by connecting
the iPad directly to the host computer or by inserting it into the Charge and Sync Cabinet.
If connecting through the cabinet, only one iPad can be configured at a time.

7
1Connect the supplied USB cable to the host computer.
2Connect the other end of the USB cable to the USB port on the back of the Charge
and Sync Cabinet.
3Insert one iPad into the Charge and Sync Cabinet.
12345678910

8
4In the iTunes sidebar, select the iPad under Devices.
5Click on the Summary tab, select Open iTunes when this iPad is connected and
Sync only checked songs and videos. Verify Manually managed music and videos
is not selected (this function would require you to drag and drop your selections
to each iPad).
6Click on each of the tabs at the top (Apps, Music, Movies, TV shows, Books, Photos)
and select which type of files you will want to sync on this iPad. Click the Sync or
Apply button.
7Repeat Steps 3 to 6 for each iPad that will be used in the Charge and Sync Cabinet.

9
Ready to Sync
1Insert one iPad into each slot.
12345678910
NOTE:If the iPads are new, they should be fully charged before attempting to sync.
2Plug the USB connectors into the Charge and Sync Cabinet and the iPads. All the iPads
loaded in the Charge and Sync Cabinet will appear under Devices in iTunes.
12345678910

10
3Press the Sync Button to start the sync process.
Sync enabled (LED = Red)
Sync disabled (LED = Off)
1
23
4iTunes will launch and syncing will start automatically.
5When syncing is completed, an Eject icon will appear next to each device. Click on the
Eject icon or close iTunes to safely eject the iPad.
6Unplug the USB cable from the computer so charging can begin.
IMPORTANT!
Charging will not occur until the USB cable is unplugged from the host computer.
Locking
Option 1

11
Option 2
Desktop and Peripherals Locking Kit sold separately.
K64615
Stacking
Lower second unit on top of base unit.

12
Use a cable lock to lock the units together and tether them to an anchor.
NOTE:Up to three Charge and Sync Cabinets can be stacked together.
Locking
a
b

13
Multi-Cabinet Sync Connection
K33978WW Mobile Hub
Sold separately
1Arrange the units in order on a secure surface.
2Place configured iPad devices in the slots, connect the dock connector cable to the iPads
and USB ports. Push Sync switch button to “ON”, LED light will appear in red.
3Connect all units together using a USB hub (K33978WW Mobile Hub, sold separately).
iTunes will automatically detect the new searched device name.
NOTE:Adding a new iPad device to the station after the sync button has been activated will
require the sync button to be reset. Push the sync button off, and then on again to reset.
Replacing Fuse
If the Cabinet is not receiving power from an electric outlet, the internal fuse may be blown
and needs to be replaced.
WARNING! IMPORTANT SAFETY INSTRUCTIONS
Before replacing the fuse, the power switch must be turned off and then the power cord must
be removed completely.
1
2
3
T 5A/250V
5.2 X 20mm
Technical Support
Technical support is available to all registered users of Kensington products. Technical
Support contact information can be found on the back page of this manual.

14
Web Support
You may find the answer to your problem in the Frequently Asked Questions (FAQ) section
of the Support area on the Kensington Website: www.support.kensington.com.
Telephone Support
There is no charge for technical support except long-distance charges where applicable.
Please visit www.kensington.com for telephone support hours. In Europe, technical support
is available by telephone Monday to Friday 09:00 to 18:00 (Central European time).
Please note the following when calling support:
• Call from a phone where you have access to your device.
• Be prepared to provide the following information:
– Name, address, and telephone number
– Name of the Kensington product
– Make and model of your computer
– System software and version
– Symptoms of the problem and what led to them
FEDERAL COMMUNICATIONS COMMISSION RADIO FREQUENCY INTERFERENCE STATEMENT
This device has been tested and found to comply with the limits for a Class B digital device, pursuant to Part 15 of the
FCC Rules. These limits are designed to provide reasonable protection against harmful interference in a residential
installation. This equipment generates, uses. and can radiate radio frequency energy and, if not installed and used in
accordance with the instructions, may cause harmful interference to radio communications.
However, there is no guarantee that interference will not occur in a particular installation. If this equipment causes
harmful interference to radio or television reception, which can be determined by turning the equipment off and on,
the user is encouraged to try to correct the interference by one or more of the following measures:
• Reorient or relocate the receiving antenna.
• Increase the separation between the equipment and receiver.
• Connect the equipment into an outlet on a circuit different from that to which the receiver is connected.
• Consult the dealer or an experienced radio/TV technician for help.
MODIFICATIONS: Modifications not expressly approved by Kensington may void the user’s authority to operate the
device under FCC regulations and must not be made.
SHIELDED CABLES: In order to meet FCC requirements, all connections to equipment using a Kensington input device
should be made using only the shielded cables.
FCC DECLARATION OF CONFORMITY COMPLIANCE STATEMENT
This product complies with Part 15 of the FCC rules. Operation is subject to the following two conditions: (1) This device
may not cause harmful interference, and (2) This device must accept any interference received, including interference
that may cause undesired operation. As defined in Section 2.909 of the FCC Rules, the responsible party for this device
is Kensington Computer Product Group, 1500 Fashion Island Blvd., 3rd Floor, San Mateo, CA 94404, USA.
INDUSTRY CANADA CONFORMITY
This device has been tested and found to comply with the limits specified in RSS-210. Operation is subject to the
following two conditions: (1) This device may not cause interference, and (2) This device must accept any interference,
including interference that may cause undesired operation of the device.
This Class [B] digital apparatus complies with Canadian ICES-003.
CE DECLARATION OF CONFORMITY
Kensington declares that this product is in compliance with the essential requirements and other relevant provisions of
applicable EC directives. For Europe, a copy of the Declaration of Conformity for this product may be obtained by
clicking on the Compliance Documentation link at www.support.kensington.com.
INFORMATION FOR EU MEMBER-STATES ONLY
The use of the symbol indicates that this product may not be treated as household waste. By ensuring this
product is disposed of correctly, you will help prevent potential negative consequences for the environment and
human health, which could otherwise be caused by inappropriate waste handling of this product. For more
detailed information about recycling of this product, please contact your local city office, your household waste
disposal service, or the shop where you purchased the product.
Kensington and the ACCO name and design are registered trademarks of ACCO Brands. The Kensington Promise is a service
mark of ACCO Brands. iPad is a registered trademark of Apple Inc., registered in the U.S. and other countries.
All other registered and unregistered trademarks are the property of their respective owners.
© 2015 Kensington Computer Products Group, a division of ACCO Brands USA LLC. Any unauthorized copying, duplicating,
or other reproduction of the contents hereof is prohibited without written consent from Kensington Computer Products
Group. All rights reserved. 06/15

15
Français
AArmoire de chargement et de
synchronisation
B Câble USB
CMode d’emploi
DCarte de garantie
EConsignes de sécurité
FCâble d’alimentation
GVisserie (4X)
HClés (2X)
IEmplacements pour iPad
JBoutons de synchronisation et LED
K Voyants LED d’état
LPorts USB
MVentilateur
NPorts USB
OConnecteur d’alimentation
PCompartiment à fusibles
QInterrupteur
Contenu
Composants
1 2 3 4 5 6 7 8 9 10
I
J K L M O QN P
A
BCDE
F
G
H
En option, non inclus
K67781WW
Lightning, 10pk
K67780WW
30 Pin, 10pk

16
1Branchez le câble d’alimentation.
2Allumez l’interrupteur.
Installation des iPad
1Insérez un iPad dans chaque emplacement.
12345678910

17
2Branchez l’extrémité USB du câble de connexion de la station dans le port USB de
l’armoire de chargement et synchronisatio.
1234567
Câbles vendus séparément :
K67780WW — 30 Pin, 10pk
K67781WW — Lightning, 10pk
3Branchez l’autre extrémité du câble dans le connecteur situé sur l’iPad.
1234567
Chargement des iPad
Le chargement débute automatiquement, dès que vous branchez le connecteur de la station
à l’iPad.
REMARQUE: L’armoire de chargement et synchronisation ne peut pas simultanément
charger et synchroniser les iPad.
Etat LED
Vert = chargé
Orange = chargement en cours
Rouge = synchronisation en cours
Rouge clignotant = protection contre les surtensions
REMARQUE: Retirez l’appareil et coupez l’alimentation de la prise secteur pour une
réinitialisation contre les surtensions.
Synchronisation
Configuration d’iTunes
1Lancez l’application iTunes sur l’ordinateur hôte.

18
2Sous “Préférences”, désélectionnez la case “Rechercher automatiquement les nouvelles
mises à jour de logiciel”. Ainsi, le processus de mise à jour automatique ne viendra pas
gêner le processus de synchronisation.
3Cliquez sur l’onglet “Appareils” et assurez-vous que toutes les options sont
désélectionnées.
4Préparez la bibliothèque iTunes avec l’ensemble des applications et fichiers multimédias
que vous souhaitez copier sur les iPad.
Configuration des iPad
Configurez chaque iPad avant de lancer le processus de synchronisation. Pour cela,
connectez directement chaque iPad à l’ordinateur hôte ou insérez-le dans l’armoire de
chargement et synchronisation. Vous ne pouvez configurer qu’un seul iPad à la fois.
1Raccordez le câble USB fourni à l’ordinateur hôte.

19
2Branchez l’autre extrémité du câble sur le port USB situé à l’arrière de l’armoire de
chargement et synchronisation.
3Insérez un iPad dans l’armoire de chargement et synchronisation.
12345678910
4Dans la barre latérale d’iTunes, sélectionnez l’iPad sous “Appareils”.
5Cliquez sur l’onglet “Résumé”, sélectionnez “Ouvrir iTunes lorsque cet iPad est
connecté” et “Synchroniser uniquement les morceaux et vidéos sélectionnés”.
Vérifiez que la case “Musiques et vidéos gérées manuellement” n’est pas sélectionnée
(cette fonction vous obligerait à faire glisser votre sélection individuellement vers
chaque iPad).

20
6Cliquez sur chacun des onglets disponibles dans la barre supérieure (“Musique”, “Films”
“Séries TV”, “Applications”, “Livres”, “Photos”), puis sélectionnez les types de fichiers
que vous souhaitez synchroniser sur cet iPad. Cliquez sur le bouton “Synchroniser” ou
“Appliquer”.
7Répétez les étapes3 à6 pour chaque iPad que vous prévoyez de placer dans l’armoire de
chargement et synchronisation.
Prêt pour la synchronisation
1Insérez un iPad dans chaque emplacement.
12345678910
REMARQUE : S’il s’agit de nouveaux iPad, vous devez entièrement les recharger avant de
lancer une synchronisation.
Table of contents
Languages:
Other Kensington Batteries Charger manuals

Kensington
Kensington K33458US User manual

Kensington
Kensington AC12 Manual

Kensington
Kensington K67862EU Manual

Kensington
Kensington PowerGuard with BungeeAir User manual
Kensington
Kensington K33396US Manual

Kensington
Kensington K67877AM User manual
Kensington
Kensington AC12 Manual

Kensington
Kensington K62878NA Manual