Kensington AC12 Manual

AC12 Security Charging Cabinet
INSTRUCTION GUIDE ISTRUZIONI
GUIDE D’INSTRUCTIONS MANUAL DE INSTRUCCIONES
BEDIENUNGSANLEITUNG MANUAL DE INSTRUÇÕES
12X 12X
40X
Register Now!
Enregistrer maintenant !
Jetzt registrieren!
register.kensington.com
Registrar ahora
Registra adesso
Registe-se agora!

1
B
C
K
L
D
EJ
H
I
FG
A
P
NOR S
Q
M
Contents
Components
English
ASecurity Charging Cabinet
B Cable Ties (40X)
CInstruction Guide
DWarranty Card
EShelf Labels
FUK Adapter (12x)
GEU Adapter (12x)
HUK Power Cable
I EU Power Cable
J Keys (2X)
KPower Switch
LCable Grommets
M Shelves for Devices
NWheel
OWheel Brake (Front Wheels)
PRear Door Lock
QThumb Screws
RPower Connector
SSide Door Panel

2
Getting Started
Important Safeguards - We want you to be safe!
These cabinets are electrical devices. Use care with them and follow these
important safeguards:
• Electrical devices are not toys. Children are often unaware of the hazards
associated with electrical devices, so this unit must always be used by adults or
with adult supervision.
• Do not use this unit outdoors.
• Liquids should not be stored in, set on or placed inside this unit.
• Never unplug this product from the outlet when your hands are wet.
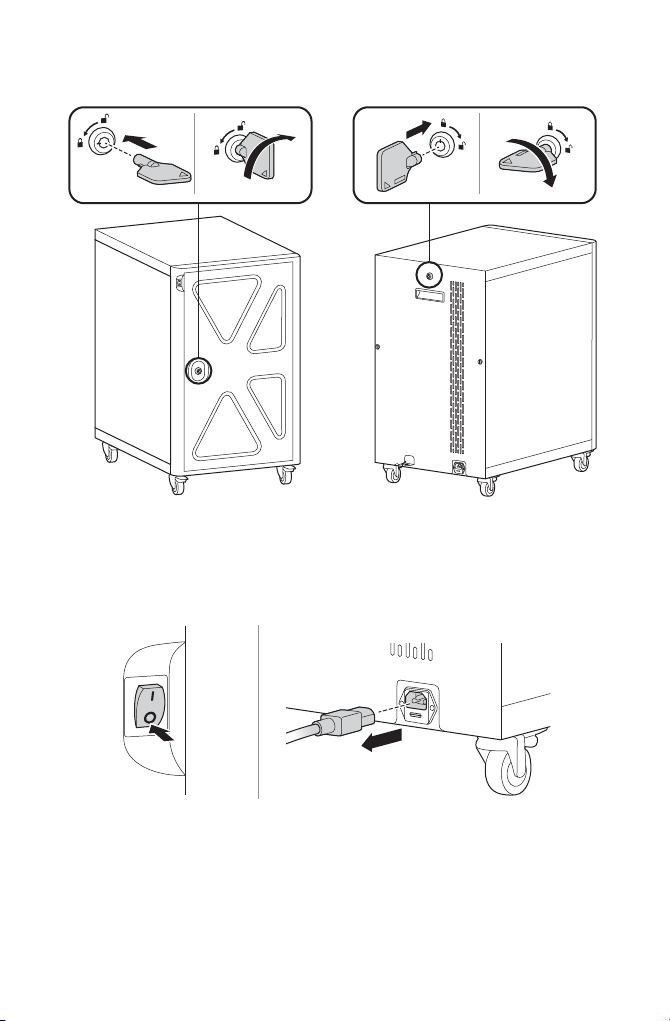
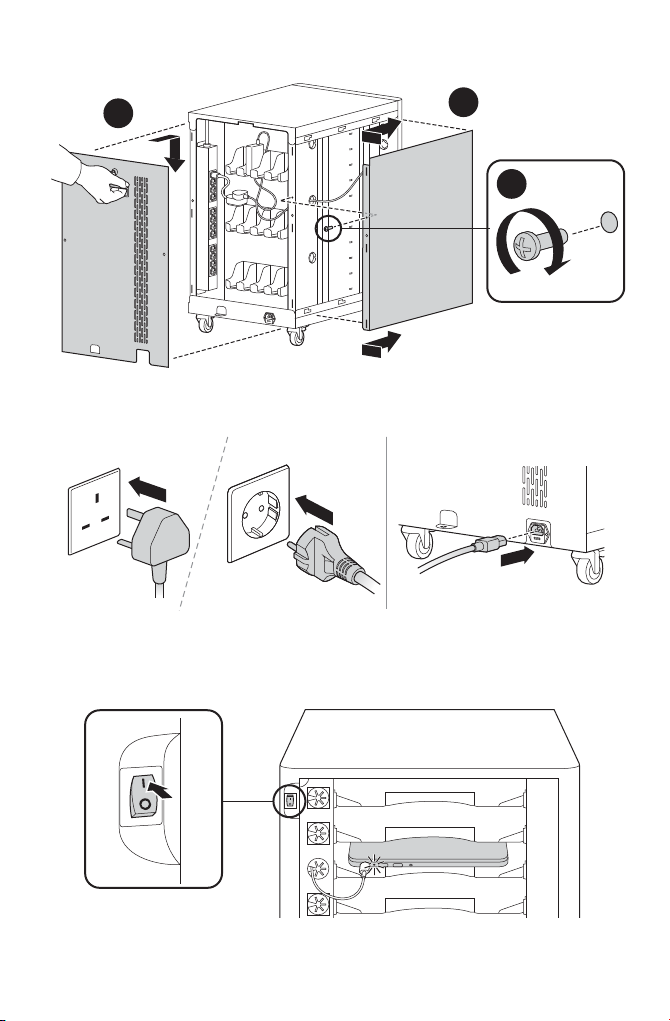
• Set the power switch to the down OFF position before you unplug the unit from
the wall, plug the unit into the wall, or plug in devices.
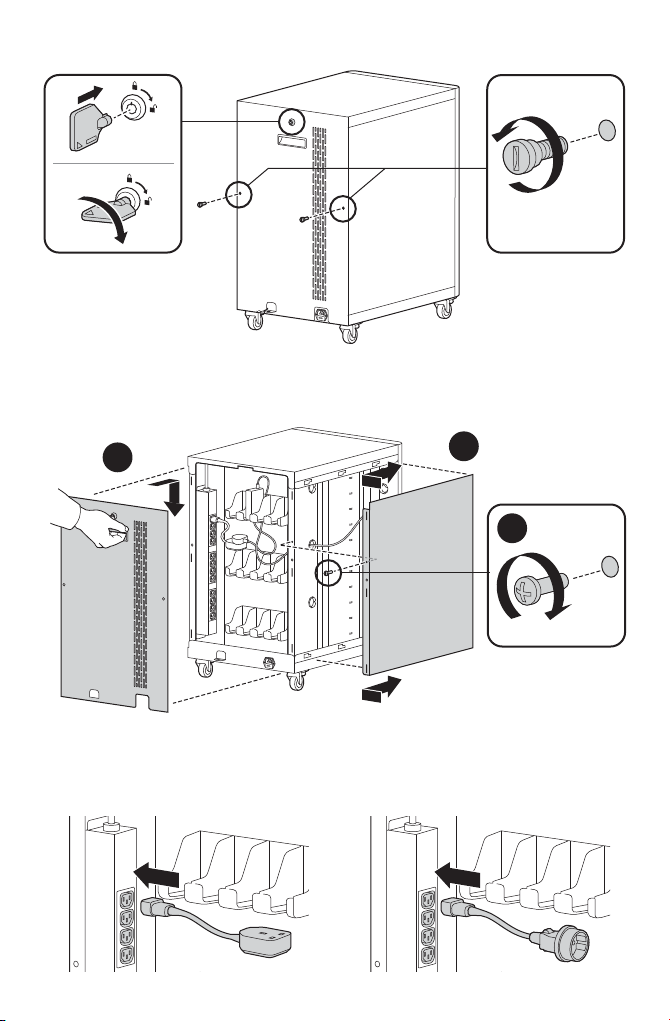
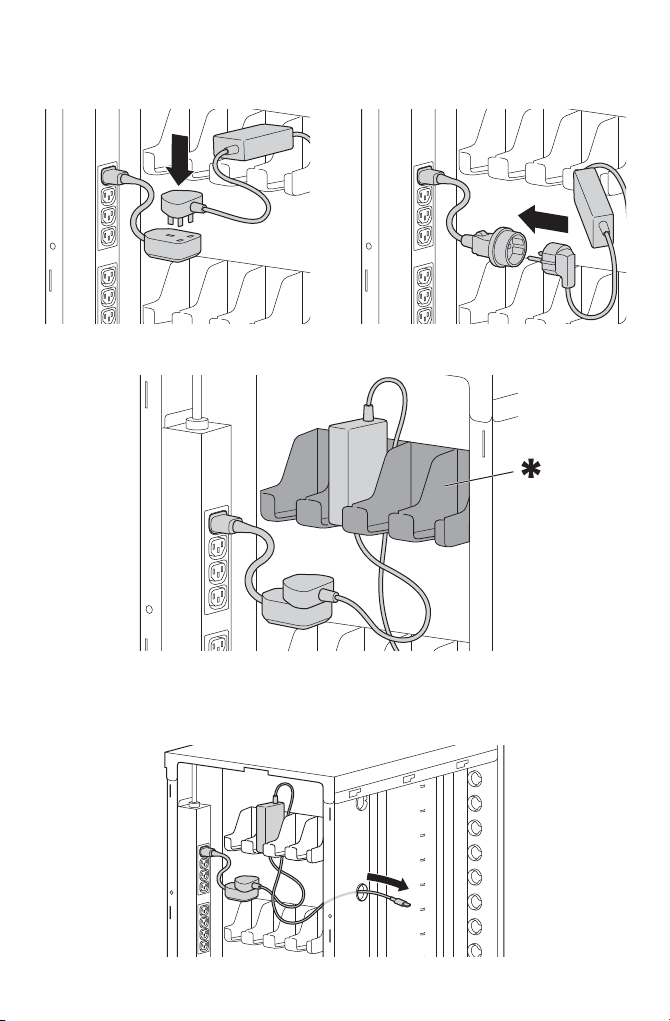
• Be careful with the power cord. Do not jam the power cord against sharp edges.
Do not use the unit if the cord appears to be damaged or if the ground prong is
missing. When the unit is not plugged in, wrap the power cord and store in the
IT area.
• Do not use an extension cord with this unit.
• Inadequate repair can create significant hazards to users and is not covered by
the warranty. Repairs should always be performed by a qualified electrician.
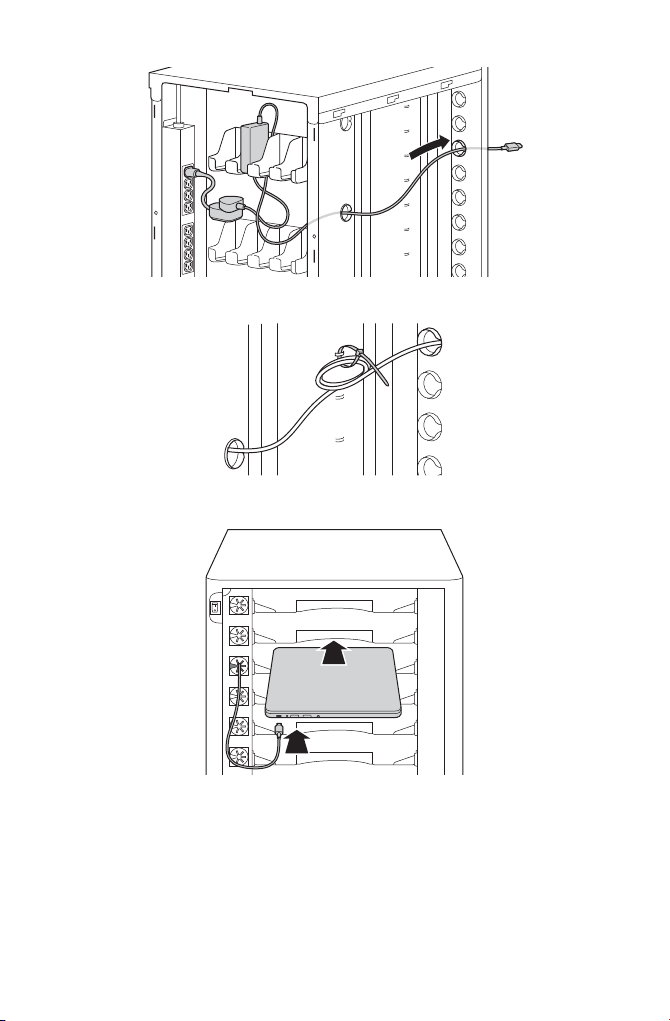
• Do not sit, stand or ride trolley. Do not run over cable. If cable is damaged
unplug it.
Electrical Testing
• If you are concerned about electric surges in your building and have decided to use a
surge protector, choose one that is 10 Amps continuous or greater.
• Before using your new charging cabinet, have a qualified electrician verify the current
draw does not exceed the rating of the unit when all the devices are installed.
• Test the contact integrity of the wall outlet using a receptacle tension tester such as
a Woodhead 1760 or a Safeplug 1700.
• Test the branch circuit for ground integrity and branch circuit protection.
• Do not plug in the unit if the switch, receptacles, or power cord have been damaged
or if the ground prong is missing from the plug. If repairs are ever needed, they
should be performed by a qualified electrician.

3
Locks
Use the same key for both the front and rear locks.
Loading Devices, Cable Management
1Make sure power switch is in the off position and the external AC power cable is
unplugged before installing power adapaters.

4
2Unlock the rear door and remove the two thumbscrews.
3Remove the rear door panel, remove the side door panel screw, then remove the side
door panel.
a
c
b
4 Plug the appropriate regional adapter into the power strip.
UK EU

5
5Plug your device power adapter to the regional adapter.
EUUK
6Store the power adapter in bay (if applicable).
* Remove tray if neccessary.
7Route the cable through the cable hole.

6
8Route the cable through the desired front grommet.
9Optional: Use cable ties to secure cables to chassis as desired.
10 Plug into personal computing device.
11 Repeat steps 4 through 10 for each device.

7
12 Replace the side and rear door panels.
a
c
b
13 Plug in external AC power cable.
UK EU
14 Turn on power switch to start charging. Check charging status on personal
computing device.

8
15 Close the front door and lock cabinet using key.
Securing the Cabinet
Use a cable lock (K64615 – sold separately) to lock the cabinet and tether it to an anchor.

9
Wheel Locks
Troubleshooting
How do I know if my devices will draw more than the allowed current?
Total wattage for all devices attached must be below cabinet’s maximum rating of 2400
watts. Have a qualified electrician verify the unit’s current draw. Perform this test with
devices installed and batteries discharged.
The devices are all plugged in, but they won’t charge. What do I do?
First Check the cabinet: With the switch in the down OFF position, inspect the main
power cord, and plug to make sure they’re undamaged. Unplug the cabinet, and plug the
cord into a working power outlet.
Unlock and open the rear door. Check the internal circuit breaker located on the power
strip, press the button to reset.
Next, check the devices: Verify that each device is connected to its power adapter and
that each brick is plugged into the power column. Move the switch to the up ON
position to direct power to the devices. Still need some help? Call Kensington at
1-800-535-4242 for assistance.
My power cord/plug is damaged. Is it covered under warranty?
No, it is not covered under warranty. If the plug is damaged, have a qualified electrician
replace it. If you need a replacement cord, contact Kensington at 1-800-535-4242.

10
When I plug in the unit it trips the circuit breaker. What is wrong?
The cabinets are designed to run on a 10 amp circuit. If you have other equipment or
appliances plugged into the same circuit you may be overloading it. Have a qualified
electrician check that adequate power is available in the circuit.
My unit was damaged during shipment. What should I do?
Kensington has a program established with our freight carriers to address ship damage.
Please contact Kensington at 1-800-535-4242 and we’ll work with you.
How do I find the unit’s serial number?
The serial number label is located on back of the unit.
Technical Support
Technical support is available to all registered users of Kensington products. Technical
Support contact information can be found on the back page of this manual.
Web Support
You may find the answer to your problem in the Frequently Asked Questions (FAQ)
section of the Support area on the Kensington Website: www.support.kensington.com.
Telephone Support
There is no charge for technical support except long-distance charges where applicable.
Please visit www.kensington.com for telephone support hours. In Europe, technical
support is available by telephone Monday to Friday 09:00 to 18:00 (Central European time).
Please note the following when calling support:
• Call from a phone where you have access to your device.
• Be prepared to provide the following information:
– Name, address, and telephone number
– Name of the Kensington product
– Make and model of your computer
– Symptoms of the problem and what led to them
CE DECLARATION OF CONFORMITY
Kensington declares that this product is in compliance with the essential requirements and other relevant
provisions of applicable EC directives.
For Europe, a copy of the Declaration of Conformity for this product may be obtained by clicking on the ‘Compliance
Documentation’ link at www.support.kensington.com.
INFORMATION FOR EU MEMBER-STATES ONLY
The use of the symbol indicates that this product may not be treated as household waste. By ensuring this
product is disposed of correctly, you will help prevent potential negative consequences for the environment
and human health, which could otherwise be caused by inappropriate waste handling of this product. For
more detailed information about recycling of this product, please contact your local city office, your
household waste disposal service, or the shop where you purchased the product.
Kensington and the ACCO name and design are registered trademarks of ACCO Brands. All other registered and
unregistered trademarks are the property of their respective owners.
© 2016 Kensington Computer Products Group, a division of ACCO Brands USA LLC. Any unauthorized copying,
duplicating, or other reproduction of the contents hereof is prohibited without written consent from Kensington
Computer Products Group. All rights reserved. 04/16

11
Français
B
C
K
L
D
EJ
H
I
FG
A
P
NOR S
Q
M
Sommaire
Composants
ACoffre de chargement de sécurité
B Attaches de câble (40x)
CGuide d’instructions
DCarte de garantie
EShelf Labels
FAdaptateur UK (12x)
GAdaptateur EU (12x)
HCâble d’alimentation UK
I Câble d’alimentation EU
J Clés (2x)
KInterrupteur d’alimentation
LPasse-fils
M Étagères pour appareils
NRoulette
OFrein de roue (roulettes avant)
PDispositif de verrouillage de porte arrière
QVis de serrage
RConnecteur d’alimentation
SPanneau de porte latéral

12
Démarrage
Précautions importantes - Votre sécurité est notre priorité!
Ces coffres sont des appareils électriques. Utilisez-les prudemment et prenez les
précautions importantes suivantes:
• Les appareils électriques ne sont pas des jouets. Souvent, les enfants ne sont pas
conscients des risques associés aux appareils électriques. C’est pour cette raison
que cet appareil doit toujours être utilisé par des adultes ou sous la surveillance
d’un adulte.
• Ne l’utilisez pas à l’extérieur.
• Des liquides ne doivent en aucun cas être stockés ou placés à l’intérieur de
l’appareil, ni posés dessus.
• Ne débranchez en aucun cas ce produit de la prise électrique alors que vos mains
sont mouillées.
• Placez l’interrupteur d’alimentation sur la position OFF (Arrêt) avant de
débrancher l’appareil de la prise murale, de le brancher à celle-ci ou de brancher
des appareils.
• Faites attention au cordon électrique. Ne bloquez jamais le cordon électrique
contre des bords tranchants. N’utilisez pas l’appareil si le cordon vous semble
abîmé ou si la broche de mise à la terre est manquante. Lorsque l’appareil
n’est pas branché, enroulez le cordon électrique et rangez-le dans la zone
informatique.
• N’utilisez pas de rallonge avec cet appareil.
• Toute réparation inadaptée est susceptible de créer des risques importants pour
les utilisateurs et n’est pas couverte par la garantie. Les réparations doivent
toujours être effectuées par un électricien qualifié.
• Ne vous asseyez pas, ne vous tenez pas debout et ne montez pas sur le coffre.
Ne tirez pas sur le câble. Si le câble est abîmé, débranchez-le.
Vérification électrique
• Si vous craignez les surtensions électriques dans votre bâtiment et avez décidé
d’utiliser un limiteur de surtension, choisissez-en un présentant une intensité
continue de 10A ou plus.
• Avant d’utiliser votre nouveau coffre de chargement, faites en sorte qu’un électricien
qualifié vérifie que l’appel de courant ne dépasse pas le courant nominal du produit une
fois tous les appareils installés.
• Vérifiez l’intégrité de contact de la prise murale à l’aide d’un testeur de tension de
prise de courant, tel qu’un testeur Woodhead1760 ou Safeplug1700.

13
• Vérifiez l’intégrité de mise à la terre du circuit de dérivation et la protection de ce
même circuit.
• Ne branchez pas l’appareil si l’interrupteur, les prises ou le cordon électrique ont
été abîmés, ou si la broche de mise à la terre ne se trouve pas sur la fiche. Si des
réparations sont requises, elles doivent être effectuées par un électricien qualifié.
Dispositifs de verrouillage
Utilisez la même clé pour les dispositifs de verrouillage avant et arrière.
Chargement des appareils, gestion des câbles
1Avant d’installer les adaptateurs électriques, veillez à ce que l’interrupteur
d’alimentation se trouve sur la position OFF (Arrêt) et à ce que le câble d’alimentation
secteur externe soit débranché.

14
2Déverrouillez la porte arrière et ôtez les deux vis de serrage.
3Retirez le panneau de porte arrière, retirer la vis du panneau de porte latérale,
puis retirez le panneau de porte latérale.
a
c
b
4 Branchez le bon adaptateur régional sur le bloc multiprise.
UK EU

15
5Branchez l’adaptateur de courant de votre appareil sur l’adaptateur régional.
EUUK
6Rangez l’adaptateur de courant dans la baie (le cas échéant).
* Si nécessaire, retirez le plateau.
7Faites passer le câble dans le passage prévu à cet effet.

16
8Faites passer le câble dans le passe-fil avant souhaité.
9Facultatif : utilisez des attaches de câble pour fixer les câbles au châssis, comme
souhaité.
10 Branchez votre appareil informatique personnel.
11 Répétez les étapes4 à 10 pour chaque appareil.

17
12 Replacez les panneaux de porte latéral et arrière.
a
c
b
13 Branchez le câble d’alimentation secteur externe.
UK EU
14 Enclenchez l’interrupteur d’alimentation pour commencer le chargement. Vérifiez
l’état de charge de votre appareil informatique personnel.

18
15 Fermez la porte avant et verrouillez le coffre en vous servant de la clé.
Fixation du coffre
Utilisez un câble de verrouillage (K64615, vendu séparément) pour verrouiller le coffre,
et attachez-le à un point d’ancrage.
Other manuals for AC12
1
Table of contents
Languages:
Other Kensington Batteries Charger manuals

Kensington
Kensington K62878NA Manual

Kensington
Kensington K67862EU Manual

Kensington
Kensington K33396US Manual

Kensington
Kensington K67877AM User manual

Kensington
Kensington K67771AM Manual

Kensington
Kensington AC12 Manual

Kensington
Kensington PowerGuard with BungeeAir User manual

Kensington
Kensington K33458US User manual