manuals.online logo
Brands
  1. Home
  2. •
  3. Brands
  4. •
  5. Kimo
  6. •
  7. Measuring Instrument
  8. •
  9. Kimo VT110 User manual

Kimo VT110 User manual

Hotwire thermo-anemometer
VT110 - VT115
DESCRIPTION OF THE DEVICE




Airflow direction
Red point :
landmark
Protective tube of the
sensitive element (1)
Sensitive element (velocity)
Sensitive element
(temperature)
Bottom of the
hotwire probe
Airflow direction
hite point :
landmark
Tube de protection de
l'élément sensible (1)
Sensitive element (velocity)
Sensitive element
(temperature)
Bottom of the telescopic
hotwire probe
➢Turn on the device by pressing on «&&».
The device displays its name «VT110» or «VT115» then the measured values.
➢Put the probe to the required location.
The device displays the measurements of velocity or airflow and of temperature.
PERFORM A MEASUREMENT
 !" #! !"
●$% ! !"&! !$%"'(
$)
●* % !" ! )
●* %! !"  ! )
MEASURE AND DISPLAY THE AIRFLOW
It's possible to measure and display the airflow in place of the velocity.
The device is on and displays the velocity and temperature measurements.
➢Press on «&&».
«MODE» blinks.
➢Press on « &», the mode currently used blinks at the bottom of the screen.
➢Press on «&» to select the «&+,-&» mode.
➢Press on « &».
➢«&./&» blinks on screen, press on «&&» to make appear «&0.&», then «&.10.&».
➢Press on «&» to select «&0.&» or «&.10.&» according to the type of sheath or cone «&./&» for a measurement with an airflow
cone.
●If «&0.&» or «&.10.&» is selected, the measuring unit of the type of sheath displays.
➢Press on « » to select the unit&: mm or inch then press on  to adjust the section size&:
●If the type of selected sheath is circular&: « 21*3» displays and the first digit blinks.
Press on « » to select its value then press on «&» to validate. Perform the same procedure to select the value of the
following digits (to return to the previous digit press on « On/Off/Esc »). hen the last digit is adjusted, press on «&» to validate)
The device returns to the display of airflow and temperature measurements.
●If the type of selected sheath is rectangular&: «&,/4&» displays and the first digit blinks.
●Press on «&&» to select its value then press on «&&» to validate. Perform the same procedure to select the value of the
following digits (to return to the previous digit press on « On/Off/Esc »). hen the last digit is adjusted, press on «&». «-12»
to adjust the width also displays on screen, perform the same procedure to select the digits value, when the last digit is adjusted,
press on «&»to validate. The device returns to the display of airflow and temperature measurements.
●If «&./&» is selected: « ./&» displays on screen and the type of cone blinks&: K35, K75, K120, K150.
➢Press on «&&» to select the type de cone, then press on «&&» to validate. The device returns to the display of airflow and
temperature measurements.
& 5%"6)
FREE E THE MEASUREMENT
During a measurement
➢Press on « &» to freeze the measurement.
«Hold» displays on screen and the measurements of velocity or airflow and of temperature are frozen.
➢Press on «&&» to return to the measurements display.
DISPLAY THE MINIMUM AND THE MAXIMUM
Once the measurement is frozen
➢Press on «&»&:
The device displays the maximum value of velocity or airflow measured since the last questioning at the top of the screen and the
minimum value of velocity or airflow measured since the last questioning at the bottom of the screen.
➢Press on «&»&:
The device displays the maximum value of temperature measured since the last questioning at the top of the screen and the
minimum value of temperature since the last questioning at the bottom of the screen.
➢Press on « » to return to the measurements display.
.
PERFORM AN AVERAGE IN VELOCITY
During a measurement
➢Press on «&&»,&«&» displays on screen.
➢Press again on «&», the average calculation is launched, «&» displays on screen and «&*4&» blinks.
➢Press on « &» to end the average calculation, the average displays.
➢Press again on « &» to display the maximum and minimum values measured during the average calculation.
➢Press on «&&» to exit the average function and return to the measurements display.
%% 7
The device is on and in airflow mode.
➢Press on «» until «8/1 » blinks on screen with the airflow unit displayed below.
➢Press on «&&».
The unit currently used blinks on screen.
➢Press on «&&» to select the required measuring unit&: m3/h, L/s, fcm or m3/s.
➢Press on «&&» to validate.
«UNIT» blinks on screen.
➢Press on 9: to return to the measurement display.
%%!%7
The device is on and displays the measurements.
➢Press on «&&» until «&8/1&» blinks on screen with the temperature unit displayed below.
➢Press on « &».
The unit currently used blinks on screen.
➢Press on «&&» pour choisir l'unité de mesure souhaitée&: °C, °F.
➢Appuyer sur la touche «&&» pour valider.
«UNITE» clignote à l'écran.
➢Appuyer sur la touche «&&» pour revenir à la mesure.
%%$7
The device is on and in velocity mode.
➢Press on « &».
«MODE» blinks on screen.
➢Press again on «&».
«UNIT» blinks on screen.
➢Press on «&&», the measuring unit currently used blinks at the bottom of the screen, then press on «&&» to select the
required measuring unit&: fpm, km/h, m/s.
➢Press on «&&» to validate.
«UNIT» blinks on screen.
➢Press on «&&» to return to the measurement display.
ADJUST THE DEVICE
●2$!; %
,)
P_ATM
1009
hPa
 
#
 
,)
UNIT
Km/h
,)
AUTO
OFF
OFF
6 <=
,)
UNIT
°C
,)
MODE
VIT

,)
UNIT
°C
 UNIT
,)
°C
,)
UNIT
°F
&
m/s
>>&6
°C
 UNIT
,)
°C ou °F


&
m/s
=#&<
°C
 

UNIT
,)
Km/h
UNIT
,)
Km/h, m/s...
 
,)
UNIT
Km/h
,)
UNIT
m/s
UNIT
,)
m3/h, L/s...

,)
UNIT
L/s


UNIT
,)
m3/h

L/s
=#&<
°C

,)
UNIT
m3/h

➢Remove the front part at the back of the device.
➢Change the old batterers by AAA LR03 1.5 V batteries.
➢Replace the front.
CHANGE THE BATTERIES
The device is on and displays the measurements.
➢Press on «  »&: to activate the device backlight.
➢To deactivate the backlight press again on « &».
*$$"!7
The device is on and displays the measurements.
➢Press on «&&» until «&?» blinsk on screen.
➢Press on «&&».
«OFF» or «ON» blinks on screen.
➢Press on «&&» to activate the keys beep «&/&»&or deactivate the keys beep «7++&».
➢Press on «&» to validate.
➢Press on «» to return to the measurement display.
*5%%%;7
The device is on and displays the measurements.
➢Press on « &» until «&*8++» blinks on screen.
➢Press on «&&».
The time before device auto shut-off blinks on screen.
➢Press on «&&» to select the time before device auto shut-off&: 15, 30, 45, 60, 75, 90, 105, 120 minutes or OFF.
➢Press on «&&» to validate.
➢Press on «&&» to return to the measurement display.

AUTO
OFF
OFF

,)
AUTO
OFF
30mn
,)
AUTO
OFF
OFF

AUTO
OFF
15, 30mn...


&
m/s
=#&<
°C

ACTIVATE THE BACKLIGHT
,)
BEEP
ON
BEEP
,)
ON
,)
BEEP
OFF
BEEP
,)
OFF / ON

 


&
m/s
=#&<
°C
Once returned to KIMO, required waste collection will be assured in the respect of the environment in accordance to 2002/96/CE guidelines relating to EEE
NTang – portable-VT110-VT115 – 10/06/14 – RCS (24) Périgueux 349 282 095 Non-contractual document – e reserve the right to modify the characteristics of our products without prior notice.

This manual suits for next models

1

Other Kimo Measuring Instrument manuals

Kimo CO 110 User manual

Kimo

Kimo CO 110 User manual

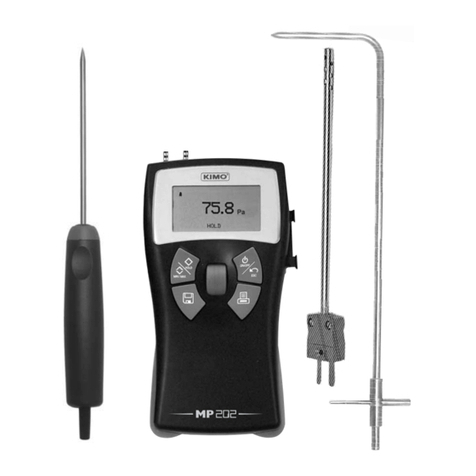
Kimo MP 202 Manual

Kimo

Kimo MP 202 Manual

Kimo DB 200 User manual

Kimo

Kimo DB 200 User manual

Kimo SDA User manual

Kimo

Kimo SDA User manual

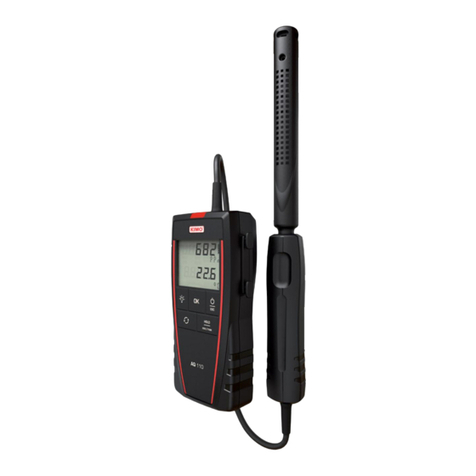
Kimo AQ 110 User manual

Kimo

Kimo AQ 110 User manual

Kimo DBM610 User manual

Kimo

Kimo DBM610 User manual

Kimo DBM610 User manual

Kimo

Kimo DBM610 User manual

Kimo LV 110 User manual

Kimo

Kimo LV 110 User manual

Kimo KIGAZ 210 User manual

Kimo

Kimo KIGAZ 210 User manual

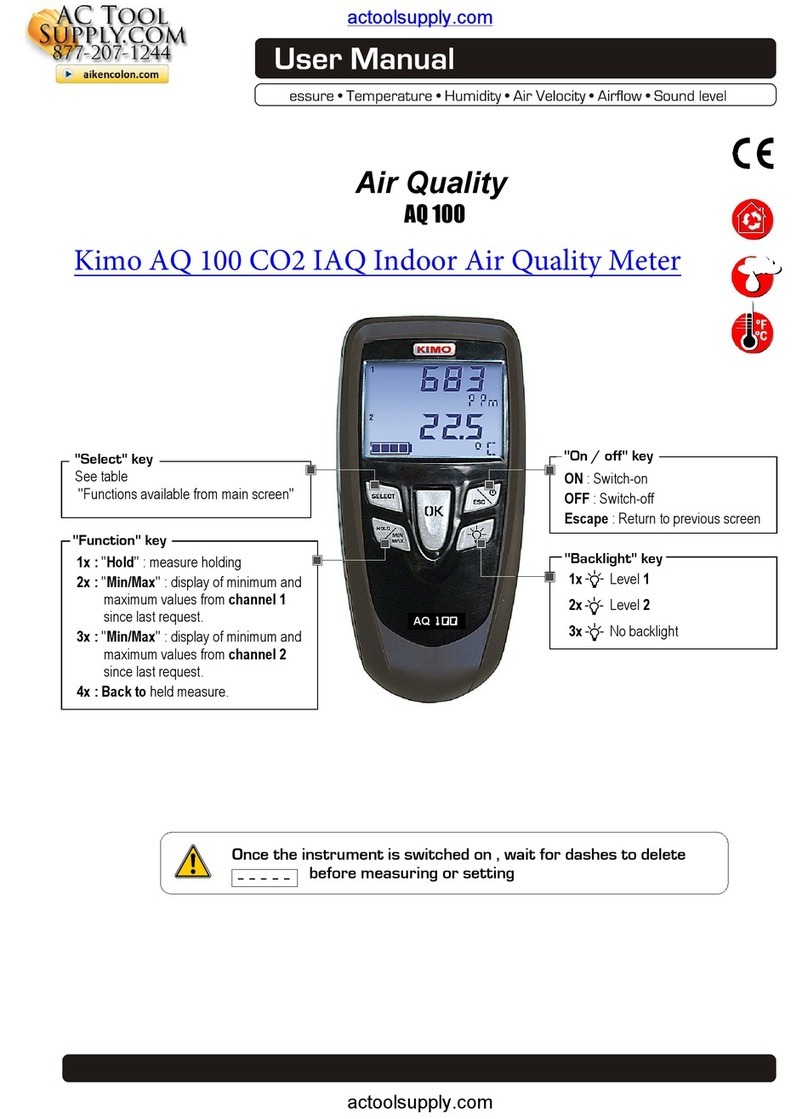
Kimo AQ 100 User manual

Kimo

Kimo AQ 100 User manual

Kimo MP Series User manual

Kimo

Kimo MP Series User manual

Kimo MP 100 User manual

Kimo

Kimo MP 100 User manual

Kimo MP130 User manual

Kimo

Kimo MP130 User manual

Kimo CT 100 Series User manual

Kimo

Kimo CT 100 Series User manual

Kimo DS300 User manual

Kimo

Kimo DS300 User manual

Kimo MP 200 P User manual

Kimo

Kimo MP 200 P User manual

Kimo MP 120 User manual

Kimo

Kimo MP 120 User manual

Kimo Kigaz 300 CLA User manual

Kimo

Kimo Kigaz 300 CLA User manual

Kimo CO 110 Instruction Manual

Kimo

Kimo CO 110 Instruction Manual

Kimo SDA User manual

Kimo

Kimo SDA User manual

Kimo DB300/1 User manual

Kimo

Kimo DB300/1 User manual

Kimo LX 200 User manual

Kimo

Kimo LX 200 User manual

Kimo HD110 User manual

Kimo

Kimo HD110 User manual

Kimo SL200 User manual

Kimo

Kimo SL200 User manual

Popular Measuring Instrument manuals by other brands

SENSIT Technologies ULTRA-TRAC APL quick start guide

SENSIT Technologies

SENSIT Technologies ULTRA-TRAC APL quick start guide

Hanna Instruments HI 38019 instruction manual

Hanna Instruments

Hanna Instruments HI 38019 instruction manual

Xylem PolluStat Installation and operating instructions

Xylem

Xylem PolluStat Installation and operating instructions

Sealey TA304 instructions

Sealey

Sealey TA304 instructions

SMART Olympus LS-14 Description

SMART

SMART Olympus LS-14 Description

Axis ADF Web HD67316-U-D1 user manual

Axis

Axis ADF Web HD67316-U-D1 user manual

Keithley 610 manual

Keithley

Keithley 610 manual

B+G E Tech DRT-430A user manual

B+G E Tech

B+G E Tech DRT-430A user manual

AEMC instruments SR701 user manual

AEMC instruments

AEMC instruments SR701 user manual

Bosch GLL 2-20 Professional Original instructions

Bosch

Bosch GLL 2-20 Professional Original instructions

BD Sensors BD SIMEX PAC-73S user manual

BD Sensors

BD Sensors BD SIMEX PAC-73S user manual

Bacharach AGM-MZ Instruction

Bacharach

Bacharach AGM-MZ Instruction

R&S RT-ZC30 user manual

R&S

R&S RT-ZC30 user manual

Miltenyi Biotec MACSQuant Series user manual

Miltenyi Biotec

Miltenyi Biotec MACSQuant Series user manual

Autometers Systems HORIZON HT-400 manual

Autometers Systems

Autometers Systems HORIZON HT-400 manual

TELEDYNE API T300 Operation manual

TELEDYNE API

TELEDYNE API T300 Operation manual

Sony NEX-FS100C Service manual

Sony

Sony NEX-FS100C Service manual

Altana BYK byko-test manual

Altana

Altana BYK byko-test manual

manuals.online logo
manuals.online logoBrands
  • About & Mission
  • Contact us
  • Privacy Policy
  • Terms and Conditions

Copyright 2025 Manuals.Online. All Rights Reserved.