kincrome K12135 User manual

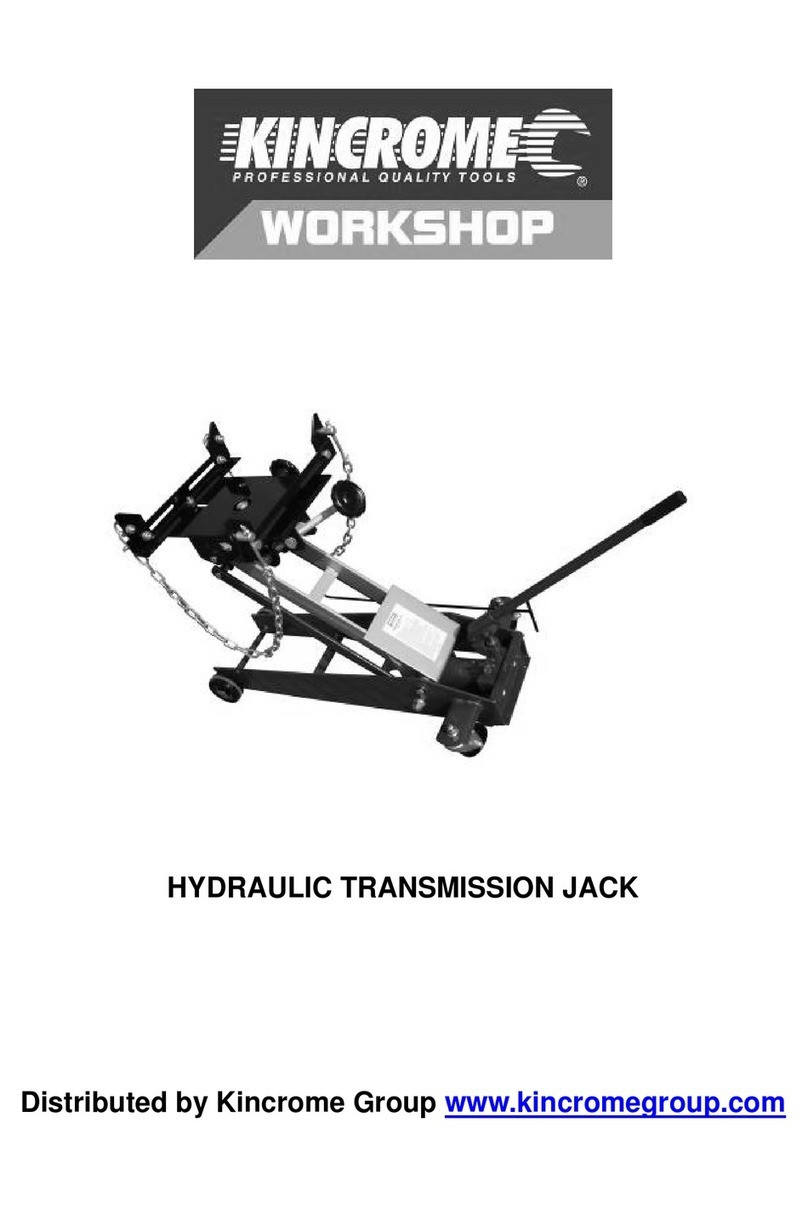
TRANSMISSION
JACK 0.5 TONNE
DUAL
STAGE
LIFT
INCLUDES
SAFETY
CHAINS WAY TILT
CRADLE
3
SWIVEL
CASTORS
4 HD
DUAL
STAGE
LIFT
INCLUDES
SAFETY
CHAINS WAY TILT
CRADLE
3
SWIVEL
CASTORS
4 HD
K12135
ED1 (July 16)

2
TRANSMISSION JACK 0.5 TONNE
50FAN
Table of Contents
Know your product ..................................... 2
Fan Safety Instructions .............................. 2-3
Fan Operation ............................................. 5
Warranty...................................................... 7
Know your product
1. Adjustable Saddle
2. Telescopic Tube (stage 2)
3. Telescopic Tube (stage 1)
4. Handle Assembly
5. Pressure Relief Handle
6. Foot Pedal Assembly
7. Legs
8. Casters
9. Pump Assembly
10. Oil Filler Plug (not shown)
11. Safety Chains
9
11
6
7
8
2
1
3
4
5
SPECIFICATION
Model No...................................................... K12135
Lifting Capacity ............................................ 0.5 Tonne
Maximum Height ......................................... 1750mm (1925mm w/saddle)
Minimum Height .......................................... 930mm (975mm w/saddle)
First stage:................................................... 1330mm (1435mm w/saddle)
Second stage:............................................... 1700mm (1910mm w/saddle)
Saddle Tilt - Forward: . ............................... 15°
Saddle Tilt - Backward: .............................. 40°
Saddle Tilt - Side to Side ............................. 15-40°
Base Dimensions......................................... 197mm x 118mm
Weight……………………….............................. 72kg
Saddle Dimensions……………………............. 500mm x 340mm x 5mm

3
TRANSMISSION JACK 0.5 TONNE
General Safety Warnings
Save all warnings and instructions for future reference.
WARNING! Read all safety warnings and all instructions. Failure to follow the warnings and instructions may
result in serious injury or death.
IMPORTANT SAFETY INFORMATION
The use of a vehicle jack has inherent dangers to avoid risk of personal injury or property damage make sure you are fully
aware of the operating instructions for this product, the recommendations in the vehicle owners manual for jacking of
your vehicle prior to lifting the transmission. Do not exceed maximum lifting capacity of this jack. This jack is intended
for automotive use only. Be aware that large or heavy transmissions may exceed jack’s stated capacity check vehicle
owners manual or contact the vehicle manufacturer. Do not use for any other purpose except the raising and lower of
transmissions, Never use to raise any structure or building, Do not lift any human load and never ride on jack.
Preparing Work Area
Before using jack to lift transmission, it is important to prepare work area properly. Follow this procedure each time the jack is
used to help prevent property damage and or serious injury.
WARNING: The warnings, cautions and instructions discussed in this instruction manual cannot cover all
possible conditions and situations that may occur. It must be understood that common sense and caution are
factors which cannot be built into this product, but must be applied by the operator.
WARNING! Ensure all preliminary checks are carefully carried out before use of jack. Immediately repair
or replace damaged parts (use authorised service agent). Ensure use of genuine parts only.
Unauthorised parts may be dangerous and will invalidate the warranty.
WARNING! Use jack on level and solid ground, preferably concrete. Ensure the floor over which the jack
will be transported is swept clean.
DANGER! DO NOT use on tarmac, or any other soft surface as jack may sink or topple. Serious injury may
result if ignored.
DANGER! If jack tips or leans Stop what your are doing. MOVE QUICKLY TO A SAFE DISTANCE. DO NOT
TRY TO HOLD OR STEADY JACK.
1. Use jack in a suitable work area. Keep the area clean and tidy and free from unrelated materials. Ensure there is
adequate lighting.
2. Before use ensure the gearbox weight and size does not exceed the capacity of the jack.
3. Ensure the vehicle is raised and stabilised at the correct height before attempting to move the jack
under the vehicle.
4. Ensure the jack saddle is fully lowered and is clean, dry, and oil free before attempting to transport the jack with
or without a load.
5. Keep all unauthorised persons away from the jack during lifting and lowering and when in transit.
6. Maintain correct balance and footing. Ensure the floor is not slippery and wear non slip shoes.
7. Remove ill fitting clothing. Remove ties, watches, rings and other loose jewellery, and contain/tie back long hair.
8. WARNING! Ensure that the load is placed level and centrally on the jack saddle and that it is fixed in place before
attempting to lift, lower or transport the load.
9. The lowering speed will vary according to the weight of the load and the release valve setting. Diligence is required
in ensuring that you continually monitor the operation until completed. Should the jack make any abnormal
sounds during use, STOP IMMEDIATELY and contact your local service agent.
10. DO NOT operate the jack if any parts are damaged or missing.
11. DO NOT exceed the rated capacity of the jack.
12. DO NOT raise/lower vehicle lifting platform whilst the transmission jack is being used.
13. DO NOT transport the jack with/without a load, with the saddle in the raised position.
14. DO NOT get the jack wet, or use it in damp or wet locations or areas where there is condensation.
15. DO NOT operate the jack when you are tired or under the influence of alcohol, drugs or intoxicating medication.
16. DO NOT lift or support vehicles with the jack and do not use the jack as a load sustaining device.
17. DO NOT use the jack for any purpose other than removal, transportation and the installation of transmissions.
18. DO NOT make any modifications to the jack.
19. DO NOT adjust, or tamper with, the safety valve.
20. DO NOT remove any labels from the jack.

4
TRANSMISSION JACK 0.5 TONNE
50FAN
21. DO NOT use brake fluid to top up the hydraulic unit.
22. Use Kincrome hydraulic oil only (K12400).
23. Use a qualified person to lubricate and maintain the jack.

24. Before storing the jack in a safe area, ensure that all parts are clean and free of grease and oil, especially the saddle.
Personal Safety
25. Stay alert. Watch what you are doing and use common sense when operating the tool. Do not use the tool while tired or
under the influence of drugs, alcohol, or medication. A moment of inattention while operating the tool increases the risk
of injury to persons.
26. Dress properly. Do not wear loose clothing or jewellery. Contain long hair. Keep hair, clothing, and gloves away from
moving parts. Loose clothes, jewellery, or long hair increases the risk of injury to persons as a result of being caught
in moving parts.
27. Do not overreach. Keep proper footing and balance at all times. Proper footing and balance enables better control of the
tool in unexpected situations.
28. Use safety equipment. A dust mask, non-skid safety shoes and a hard hat must be used for the applicable conditions.
29. Always wear eye protection. Wear ANSI-approved safety goggles.
30. Keep Children away. Children must never be allowed in the work area. Do not let them handle tools, machines or
extension cords.
31. Use the right tool for the job. Do not attempt to force a small tool or attachment to do the work of a larger industrial tool,
Do not use a tool for a purpose it was not intended.
Unpacking
Unpack all the components from the box.
When unpacking the transmission jack carefully inspect for any damage that may have occurred during transit.
Check for loose, missing or damaged parts.
1. Ensure all packaging materials are disposed of as per your local council guide lines.
ASSEMBLY
Assembling the Legs
1. To assemble the legs of the jack, line up the holes on the Pump Assembly (5) base with the holes on each Leg Assembly (7).
Fasten the Leg Assembly (7) to Pump Assembly (5) base using the Spring Washers and Bolts. Repeat on the other side (Fig 1).
2. Slide each Caster (8) up into a Leg Assembly (7). Fasten together using Spring Washer and Nut (Fig 2).
3. The Transmission Jack Base assembly is now complete (Fig 3).
Assembling the Handle Assembly
1. To assemble the Handle Assembly (4). Fit both halves of the Handle Assembly (4) around the top of the Pump Assembly (9) (Fig 4).
2. Fasten together using the provided 4 x Bolt , Washers and Nuts.
3. The handle assembly is now completed (Fig 6).
Fig.1 Fig.2 Fig.3
Fig.4 Fig.5 Fig.6

5
TRANSMISSION JACK 0.5 TONNE
Assembling the Saddle Assembly
WARNING! Failure to assemble the gearbox support correctly may result in serious damage and/or personal injury.
Unpack the product and check contents against the contents list.
Should there be any damaged or missing parts
1. The main support plate (1) already comes assembled (Fig 7).
2. Align the adjuster screw so that it passes through the bracket on the main support plate (1) and screws into the bracket on the
support plate (2) (Fig 8). Continue to screw the adjuster screw (3) all the way through the support plate bracket until it complete-
ly protrudes from the other side. Fit a flat washer over the end of the adjuster screw and continue to turn the adjuster screw
until the flat washer makes contact with the inside face of the opposite bracket and the end of the adjuster screw is protruding
through. Place a flat washer over the protruding end of the adjuster screw at the outside face of the bracket and tighten the
supplied bolt, to lock it into position (Fig 9).
3. Lift the main support plate and allign and feed over the hydraulic lifting arm (Fig 10) and lock into position with the
supplied bolt (Fig 11).
4. Mount the sliding brackets to the top side of the main support plate using the supplied bolts nut and washers (Fig 12), ensure the
open ends of the sliding brackets are facing each other (Fig 13).
5. Attach the 4 mounting brackets by feeding the supplied bolts through the holes on the brackets and sliding brackets (Fig 14).
Ensure all raised corners of the brackets are facing outwards (Fig 15).
6. Assemble the two chain fixings to the mounting brackets (Fig 16) with the supplied nuts, ensure there is one chain fixing on
either side of the transmission jack, once assembled, feed the chain hook through the chain fixing and lock into position with the
butterfly clip (Fig 17).
7. Lock the chain loops into the remaining ounting brackets and lock into position with the supplied washers and nuts (Fig 18).
8. Feed one chain through the chain loop assembly and lock into position (Fig 19).
9. Hook the free end of the chain over the chain hook. Your transmission jack is now ready for use (Fig 20).
Fig. 8 Fig. 11
Fig. 9
Fig. 12
Fig. 10
Fig. 13
Fig. 7
Fig. 15 Fig. 16
Fig. 17
Fig. 14
Fig. 20Fig. 18 Fig. 19

6
TRANSMISSION JACK 0.5 TONNE
50FAN
OPERATION
Before first using jack carry out the following preparation:
a) Check oil level - Open release valve with handle Pressure Relief Handle (5) 1-1/2 counter-clockwise and press down on
saddle (1) to ensure piston is fully down, then remove oil filler plug (10). Oil should be level with bottom of filler hole.
Adjust level as necessary and replace oil filler plug (10).
b) Bleed system - refer to the above “Bleeding/Venting Trapped Air”.
c) Lubricate - Oil the pivots of the manual pump mechanism and the screw thread of the saddle (1) post. Put two or three
drops of air tool oil into the inlet of the air inlet (7). Connect to air supply and operate for three seconds to distribute
lubricant.
(d) Air supply - An in-line filter is recommended.
Bleeding / Venting Trapped Air
Note: Before first use, the hydraulic ram may need to be purged. Some air may intrude in the hydraulic system due to movement
during shipping. Air bubbles can become trapped inside the hydraulic system, thereby reducing the efficiency of the Jack.
Purge air from the system if efficiency drops.
1. Turn the Pressure Relief Handle (5) 1-1/2 turns counter-clockwise.
2. Remove the Oil Filler Plug (10) on the side of the Jack Reservoir.
3. Rapidly pump the Foot Pedal assembly (7) ten times to purge air from the hydraulic system.
4. Turn the Pressure Relief Handle (5) clockwise until tight.
5. Top off Jack Reservoir with a Kincrome hydraulic jack oil (K12400) and re-install the oil filler plug (10)
Removing the Gearbox
1. Removing Gearbox. Loosen all gearbox fixing bolts leaving them finger tight.
2. Raise the gearbox support close to the gearbox and adjust the angle of the support plate using the adjusting screws.
3. Position the sliding brackets and the chain mount brackets to best support and locate the transmission, ensuring that all nuts
and bolts are tightened.
4. Feed the chains (II) over the top of the gearbox and attach to the chain hooks leaving as little slack in the chains as Possible.
Fully tighten the chains using the adjusters on the chain hooks.
5. Remove all gearbox fixings. Disconnect drive shaft. Ensure that the gearbox is stable on the support. Detach gearbox and lower
away from underside of vehicle.
6. Refitting Gearbox. Secure the repaired/new gearbox to the support plate using the chains. Ensure that the sliding brackets and
the chain mount brackets are in a position to best support the transmission and all the nuts are fully tightened.
7. Raise the gearbox into the required position underneath the vehicle and make fine adjustments to the positioning using the
adjuster screws.
8. When the gearbox is in position and properly aligned with its fixing holes, insert all bolts finger tight before progressively
tightening them to the correct specified torque settings. (See vehicle service manual).
9. Remove chains from gearbox and lower support away from underside of vehicle.
CARE & MAINTENANCE
Note: These procedures are in addition to the regular checks and maintenance explained as part of the regular operation of the tool.
1. BEFORE EACH USE, inspect the general condition of the tool. Check for:
a) loose hardware or housing,
b) misalignment or binding of moving parts,
c) cracked or broken parts, and
d) any other condition that may affect its safe operation.
2. Quarterly (every 3 months) –
Tool Disassembly, Cleaning, and Inspection: Have the internal mechanism cleaned, inspected, and lubricated by a qualified
technician.
3. Periodically check the hydraulic fittings for leaks. Repair if any leak is detected.
4. Periodically lubricate all moving points of the Jack.
5. The Hydraulic Ram should be kept clean, free of dirt and water, and protected from corrosion.

7
TRANSMISSION JACK 0.5 TONNE
6. OIL REPLACEMENT:
a. Place Jack in an upright position.
b. Completely lower the Ram.
c. Remove the Oil Filler Plug (9) and keep it clean.
d. Fill Reservoir with high-quality hydraulic jack oil to the lower rim of the oil fill hole.
e. Purge air from the hydraulic system as previously described on Bleeding / Venting Trapped Air on page 4.
f. Top off with more hydraulic oil.
g. Replace Oil Filler Plug (9).
Repairing Jack/Spare Parts
There are no user serviceable parts except as outlined above. Only trained, licensed and certified repair personnel should attempt
any repairs or replacing of parts. Any modifications to this jack, except those performed by the manufacturer, or their designee, will
void all warranties both written and implied.
Caring for the environment
When a tool is no longer usable it should not be disposed of with household waste, but in an environmentally friendly way.
Please recycle where facilities exist. Check with your local council authority for recycling advice.
Recycling packaging reduces the need for landfill and raw materials. Reuse of recycled material decreases pollution
in the environment. Please recycle packaging where facilities exist. Check with your local council authority for recycling advice.
Office Contact Details:
Phone: 1300 657 528
Fax: 1300 556 005
Email: [email protected]om.au
Website: www.kincrome.com.au
TROUBLESHOOTING
Symptom Cause Remedy
Jack will not lift load. 1. Release Valve (4) not fully closed.
2. Oil level low.
1. Close Release Valve (4) firmly.
2. Top-up to correct level.
Jack will not hold load. 1. Release valve (4) not fully closed.
2. Overload condition
3. Hydraulic unit malfunction
1. Close Release Valve (4) firmly.
2. Remedy overload condition
3. Contact Kincrome customer Service
Jack will not lift smoothly or to
full height.
1. Oil level low.
2. Air in hydraulic system.
1.Top-up to correct level.
2. Bleed system - Bleeding / Venting
Trapped Air on page 4.
Jack will not lower completely. 1. Release Valve (4) not sufficiently open.
2. Reservoir overfilled
1. Slowly open valve further.
2. Check oil level
WARRANTY
Warranty given by Kincrome Australia Pty Ltd of 3 Lakeview Drive, Caribbean Park, Scoresby, Victoria (Tel 1300 657 528). The applicable warranty
period (12 months) commences on the date that the product is purchased. If this product has materials or workmanship defects (other than defects
caused by abnormal or non warranted use) you can, at your cost, send the product to place of purchase, an authorised Kincrome service agent or one
of Kincromes addresses for repair or replacement. Your rights under this warranty are in addition to any other rights you have under the Australian
Consumer Law or other applicable laws. Our goods come with guarantees that cannot be excluded under the Australian Consumer Law. You are
entitled to a replacement or refund for a major failure and compensation for any other reasonably foreseeable loss or damage. You are also entitled
to have the goods repaired or replaced if the goods fail to be of acceptable quality and the failure does not amount to a major failure. For further
details please visit www.kincrome.com.au or call us. Due to minor changes in design or manufacture, the product you purchase may sometimes differ
from the one shown on the packaging.

www.kincrome.com.au
Table of contents
Other kincrome Jack manuals

kincrome
kincrome K12076 User manual

kincrome
kincrome K12066 User manual

kincrome
kincrome K12110 User manual

kincrome
kincrome K12162 User manual

kincrome
kincrome K12134 User manual

kincrome
kincrome K12057 User manual

kincrome
kincrome K12161 User manual

kincrome
kincrome K12130 User manual

kincrome
kincrome Workshop K12059 User manual

kincrome
kincrome K12060 User manual
Popular Jack manuals by other brands

Daytona
Daytona 58835 Owner's manual & safety instructions

MecVel
MecVel HT-HR Series Handbook

Clarke
Clarke Strong-Arm CTJ100 Operating & maintenance instructions

HOLZMANN MASCHINEN
HOLZMANN MASCHINEN RWH125ALU user manual

Westfalia
Westfalia 116194 instruction manual

ATD Tools
ATD Tools ATD-7387W owner's manual