Kinetico B Series User manual
Other Kinetico Water Filtration System manuals

Kinetico
Kinetico K5 User manual
Kinetico
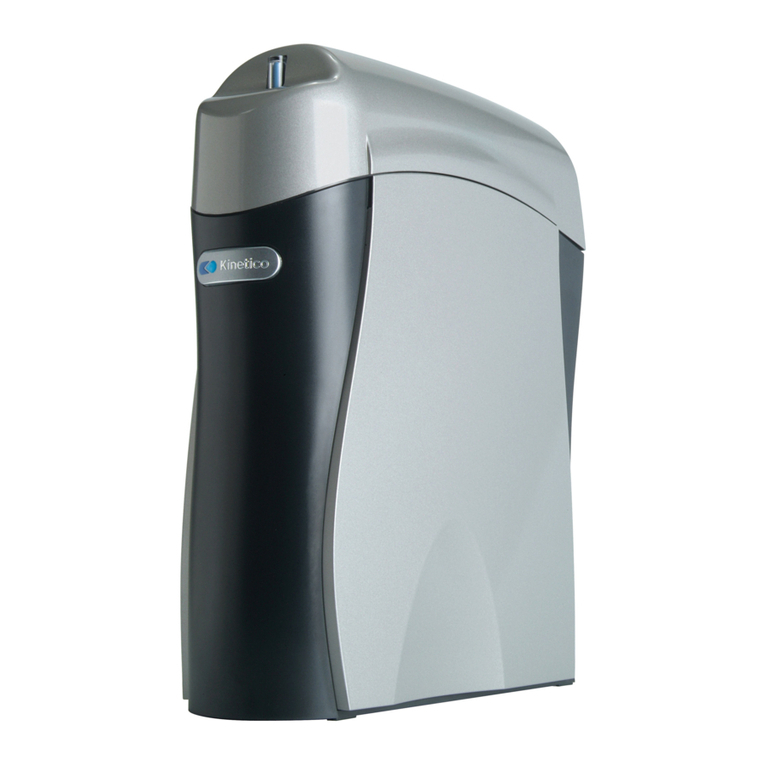
Kinetico PRO CP 213f OD Carbon User manual
Kinetico
Kinetico K5 User manual

Kinetico
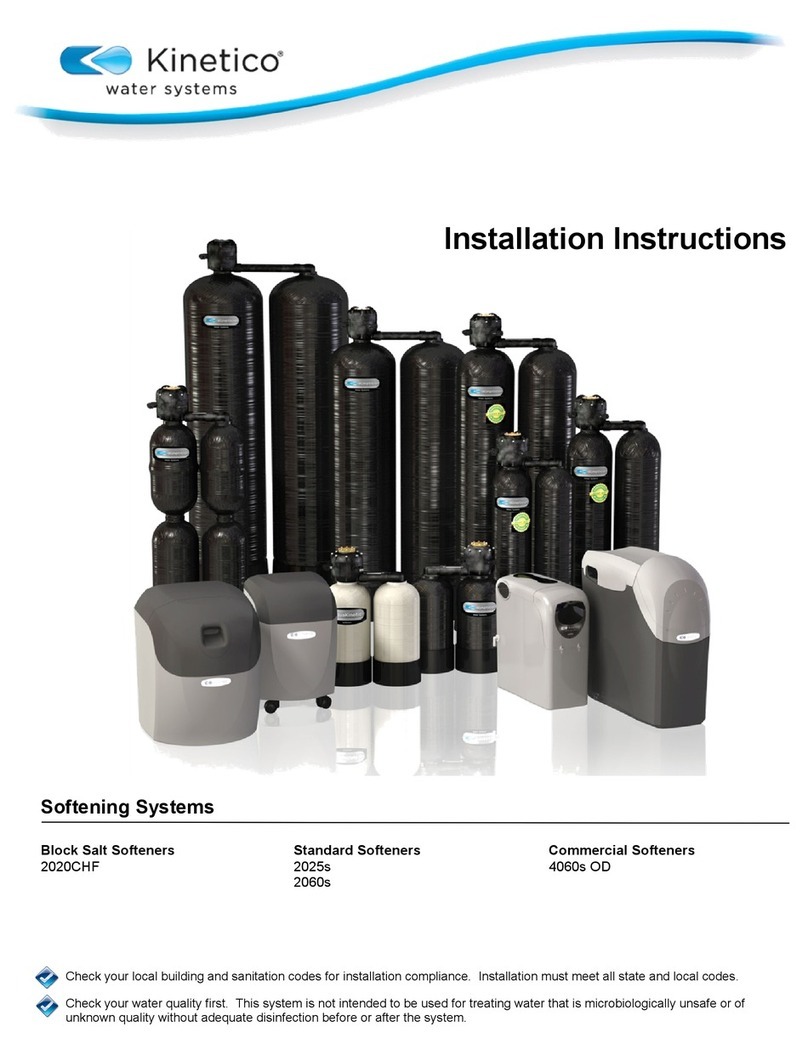
Kinetico premier FILTER Series User manual
Kinetico
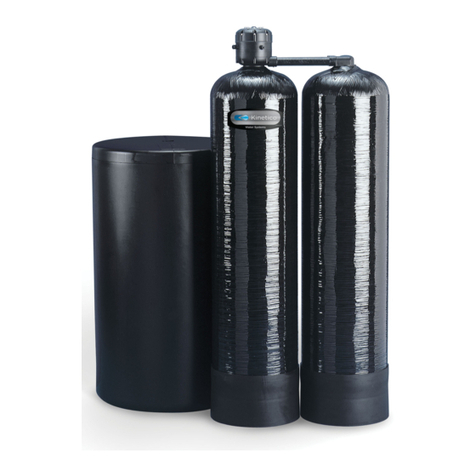
Kinetico 2025s Service manual
Kinetico
Kinetico Commercial Plus Series User manual

Kinetico
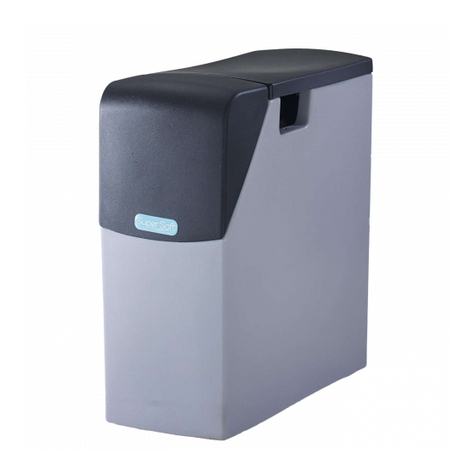
Kinetico Mach Series 2060f User manual
Kinetico
Kinetico SuperSoft Manual

Kinetico
Kinetico ERGO RO BLUE User manual
Kinetico
Kinetico K10 User manual

Kinetico
Kinetico MACH Series User manual

Kinetico
Kinetico TQ 172 User manual
Kinetico
Kinetico 8868h User manual

Kinetico
Kinetico K5 User manual

Kinetico
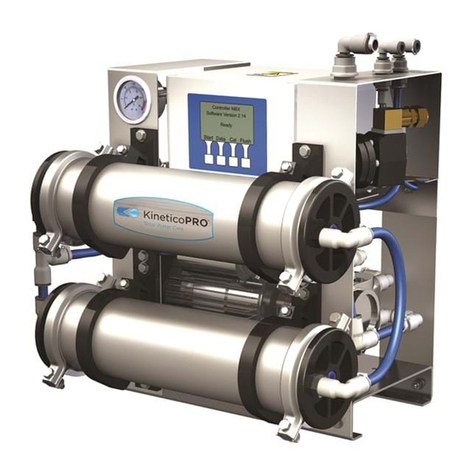
Kinetico Powerline PRO Series User manual
Kinetico
Kinetico Pacifica User manual
Kinetico
Kinetico S Series User manual
Kinetico
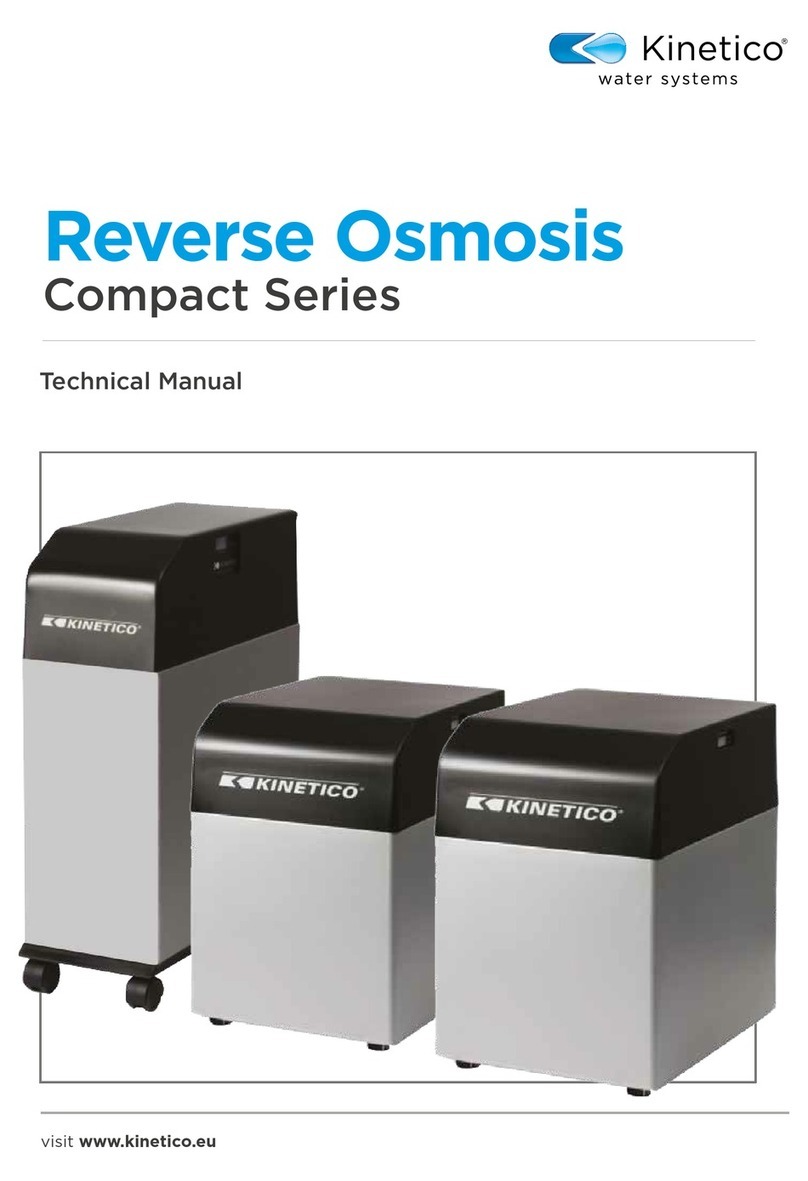
Kinetico Reverse Osmosis Compact Series User manual
Kinetico
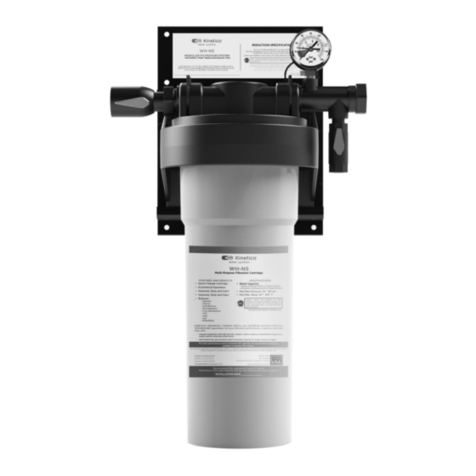
Kinetico WH Series User manual

Kinetico
Kinetico Premier RO User manual
Popular Water Filtration System manuals by other brands

Atlantic Ultraviolet
Atlantic Ultraviolet Mighty Pure MP16A owner's manual

SunSun
SunSun CBG-500 Operation manual

Hayward
Hayward XStream Filtration Series owner's manual

Contech
Contech DownSpout StormFilter Operation and maintenance

Teka
Teka Airfilter MINI operating instructions

Wisy
Wisy LineAir 100 Installation and operating instructions

Schaffner
Schaffner Ecosine FN3446 Series User and installation manual

Pentair
Pentair FLECK 4600 SXT Installer manual

H2O International
H2O International H20-500 product manual

Renkforce
Renkforce 2306241 operating instructions

Neo-Pure
Neo-Pure TL3-A502 manual

STA-RITE
STA-RITE VERTICAL GRID DE FILTERS S7D75 owner's manual
