STE-6014/6017/6018/6019/6020 Room Temperature Sensors 1 Installation Guide
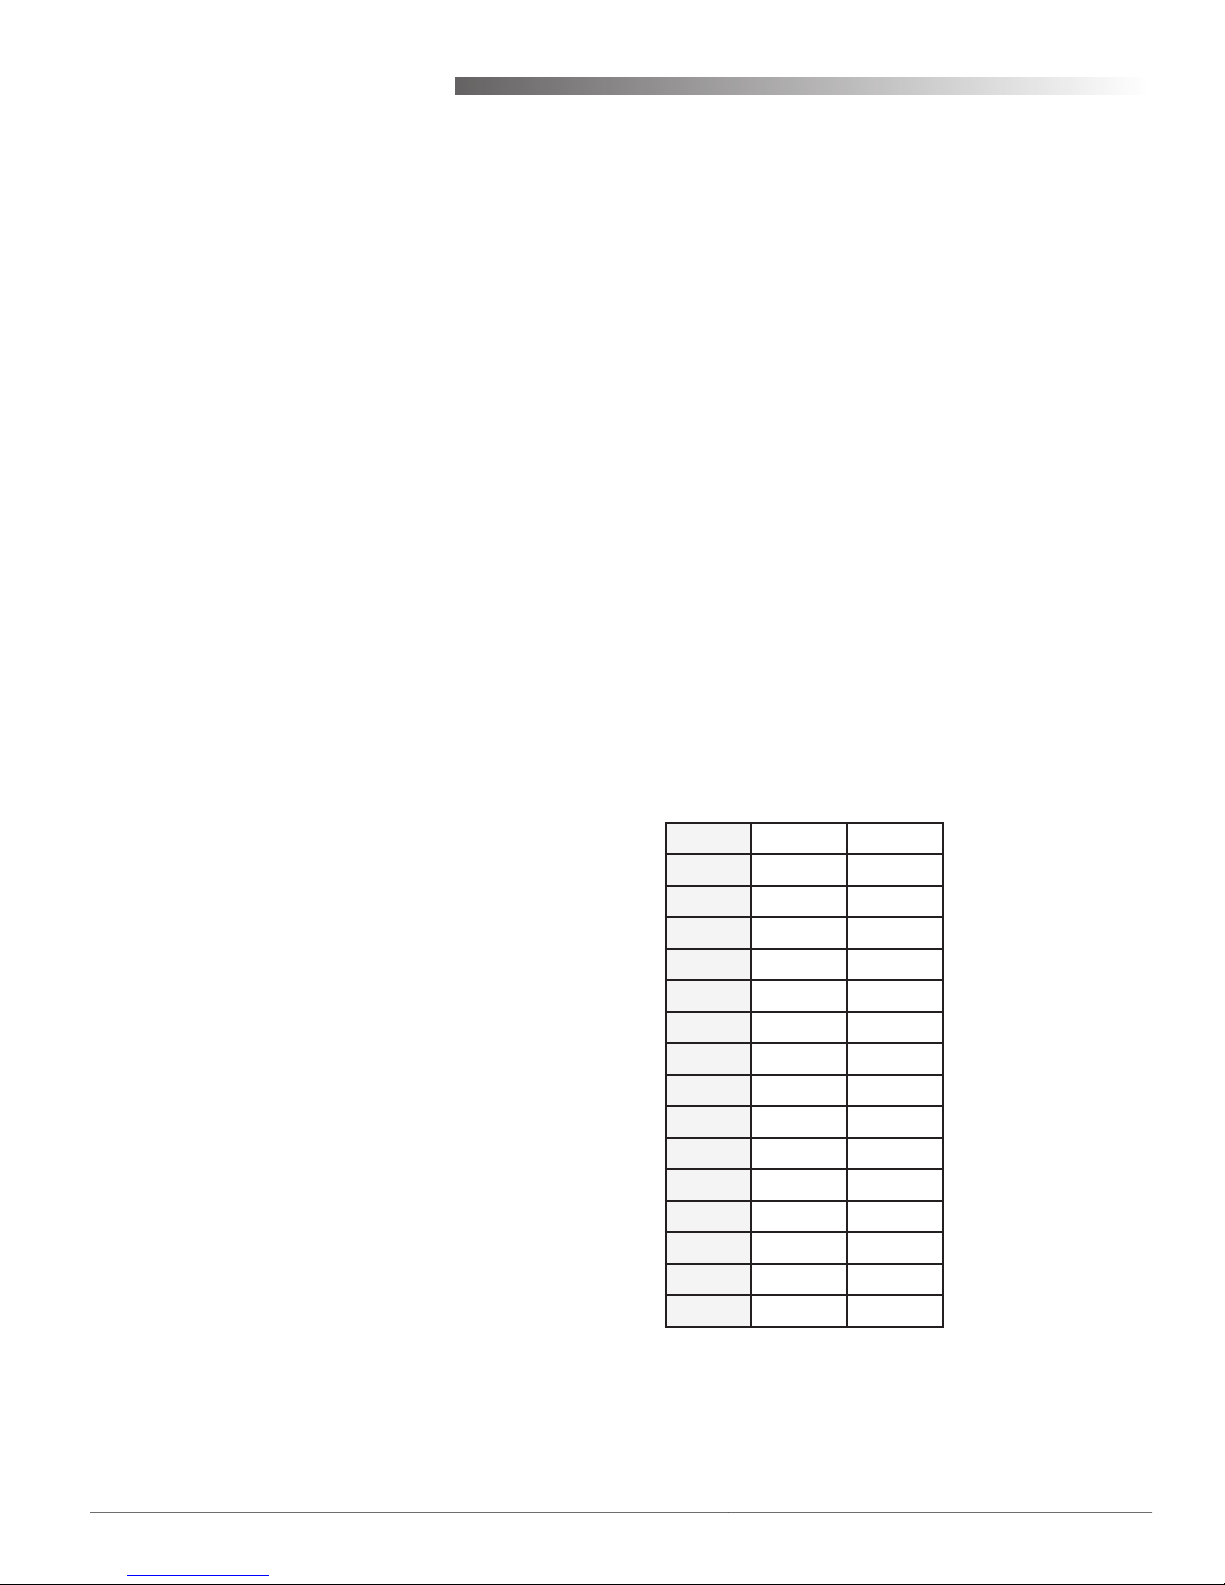
2.438
2.250
R 3.094
R .187
.643
STE-6019/6020
.475
max.
STE-6014/6017/6018
Modular
RJ-45
Jack
Four-pin
EIA-485
PC Data
Port
Clamp
(Screw-type)
Terminals
.422
Installation Guide
Room Temperature Sensors (with Rotary Dials)
STE-6014/6017/6018/6019/6020
All dimensions are in inches
Hollow Wall Installation
1. Remove the cover from the back panel.
2. Using the back panel as a template, drill two holes
for mounting screws (7/64 inches or 3 mm in di-
ameter and 1.4 inches, 1-13/32 inches, or 35.6 mm
apart) and cut a center hole (size needed is depen-
dent on model) for the terminal block or jack.
3. Aachthebackpaneltothewallusingtwo
#6 self-threading screws. (Plastic anchors are
recommended, and the size of the holes will then
need adjusting.)
4. Aachthecabletotheterminalblockorjack
according to the appropriate wiring diagram on
the next page.
5. Replace the cover.
Location and Cover Removal
Install the sensor on an inside wall where it can sense
the average room temperature and be away from
direct sunlight, heat sources, windows, air vents,
and air circulation obstructions (curtains, furniture,
etc.). It can be mounted on a hollow wall or (with a
universal backplate HMO-6036) to a 2 x 4 inch handy
box.
The cover is held to the black, back panel by three,
small,roundpegsthattintheholesofthecover.
Theboompegisonatabandsnapsintothecenter
boomhole.
1. With a small Phillips screwdriver or hex wrench,
pressinandholdthetabbuonthatsnapsinto
thecenterholeontheboomcover.
2. Carefully pull or pry the back panel from the
front cover.
Handy Box Installation (Recommended)
1. Mount a universal backplate
HMO-6036 to the handy box
using the two screws provided.
2. Remove the cover from the
back panel.
3. Aachthebackpaneltothebackplateusingthe
two screws provided.
4. Aachthecabletotheterminalblockorjack
according to the appropriate wiring diagram on
the next page.
5. Replace the cover.
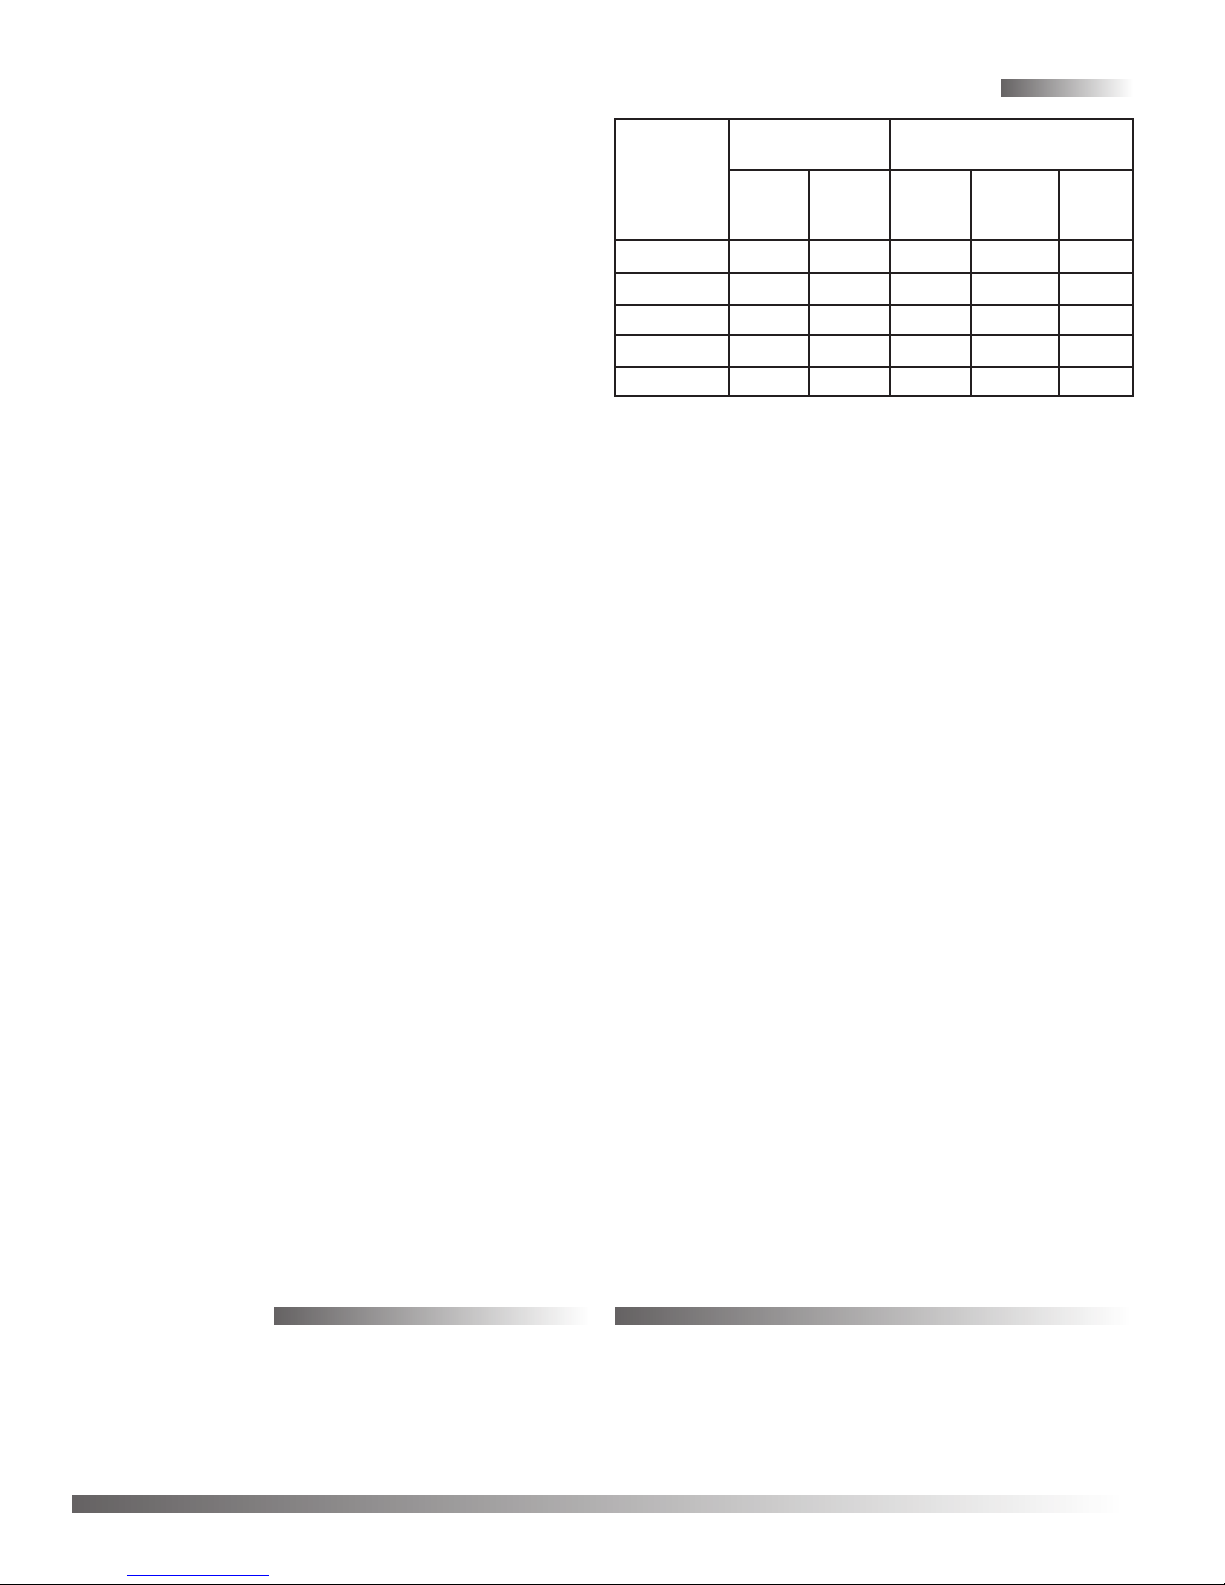
Mounting
STE-6014 STE-6018/6020STE-6017/6019
NOTE: Before July 2008, these models had
numbered °F or °C dials.
Accessories
HMO-6036 Universal Backplate
KMD-569xSTE-6010/6014/6015/6016/6017/
6018 to Controller Cable with RJ-
45 to RJ-11 Connectors (-5693= 25
.;-5694=50.;-5695=75.)
KMD-5624 PC Data Port (EIA-485) Cable
KMD-5576 EIA-485 to USB Communicator