Kogan KAMN27QFSB User manual
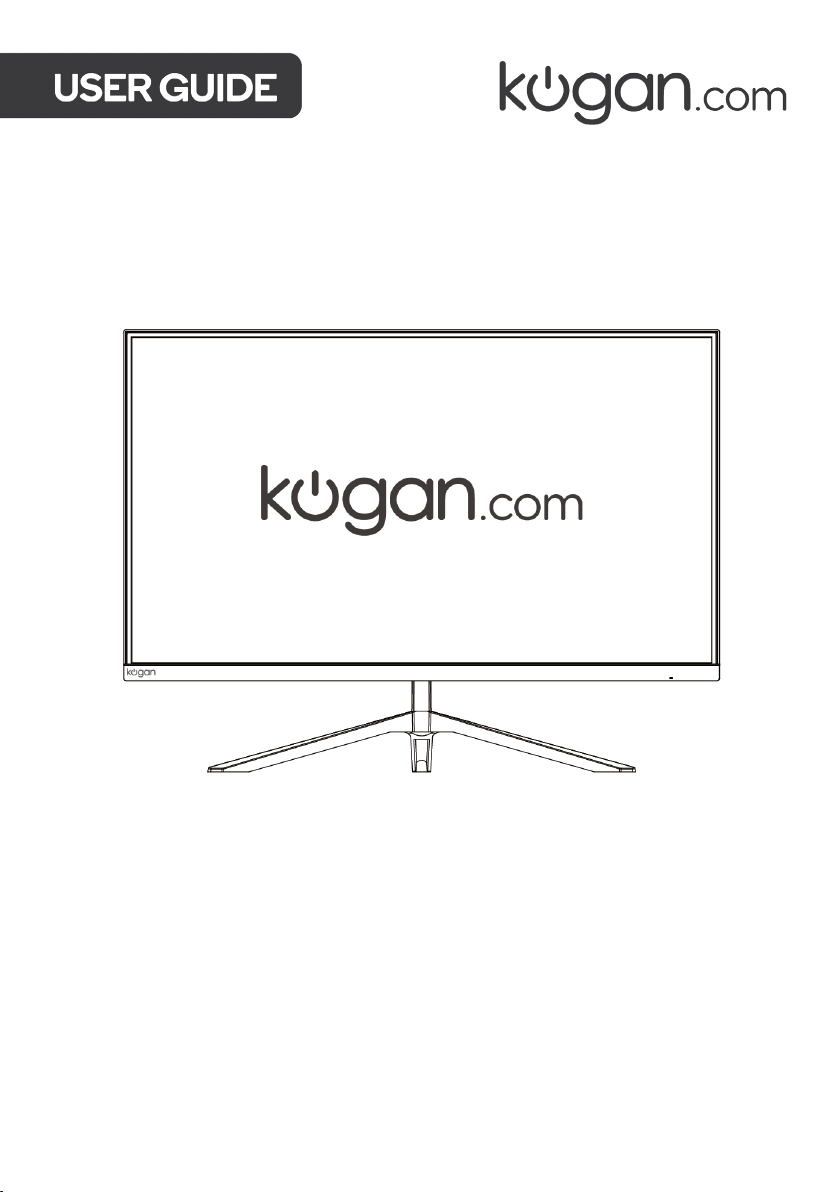
27" QHD IPS FREESYNC 75HZ
FRAMELESS MONITOR
2560 x 1440
KAMN27QFSB

2
Safety & Warnings 3
Components 4
Overview 5
Stand Assembly 6
VESA Mount 8
Connectivity 9
Operation 12
Cleaning & Care 17
Specifications 18
Notes 19

3
Ensure to read all instructions and warnings in this user guide prior to first use. Retain this
user guide for future reference.
•Do not open the back panel of the monitor as it contains a high-voltage current even
when unplugged.
•Do not position the monitor on unstable surfaces. If the monitor falls, it may become
damaged and may cause injury to those within its vicinity.
•Do not place the monitor near heat sources (for example, heaters, stoves, fireplaces).
•Do not place the monitor in areas lacking adequate ventilation.
•Do not place heavy objects on the monitor, power cord, or connected cables as this
may cause damage.
•This monitor is designed with ventilation holes on the back panel. To maintain optimal
performance, do not cover or block these holes.
•Do not insert or spray anything into the vents.
•Ensure the monitor is unplugged before cleaning.
•Do not expose cleaning alcohol, ammonia-based liquids, or other harsh cleaners to
this monitor.
•Unplug the monitor if it will not be used for an extended period.
•The VESA mount and mounting accessories are not included.
The terms HDMI and HDMI High-Definition Multimedia
Interface and the HDMI Logos are trademarks or registered
trademarks of HDMI Licensing Administrator, Inc. in the
United States and other countries.
SAFETY & WARNINGS

4
AMonitor (x1)
B Stand connector (x1)
C Stand base (x1)
D 16mm M6 stand base screw (x1)
E VESA screw (x4)
F
DisplayPort cable (x1)
G
Power cable (x1)
H
User guide (x1)
COMPONENTS
5
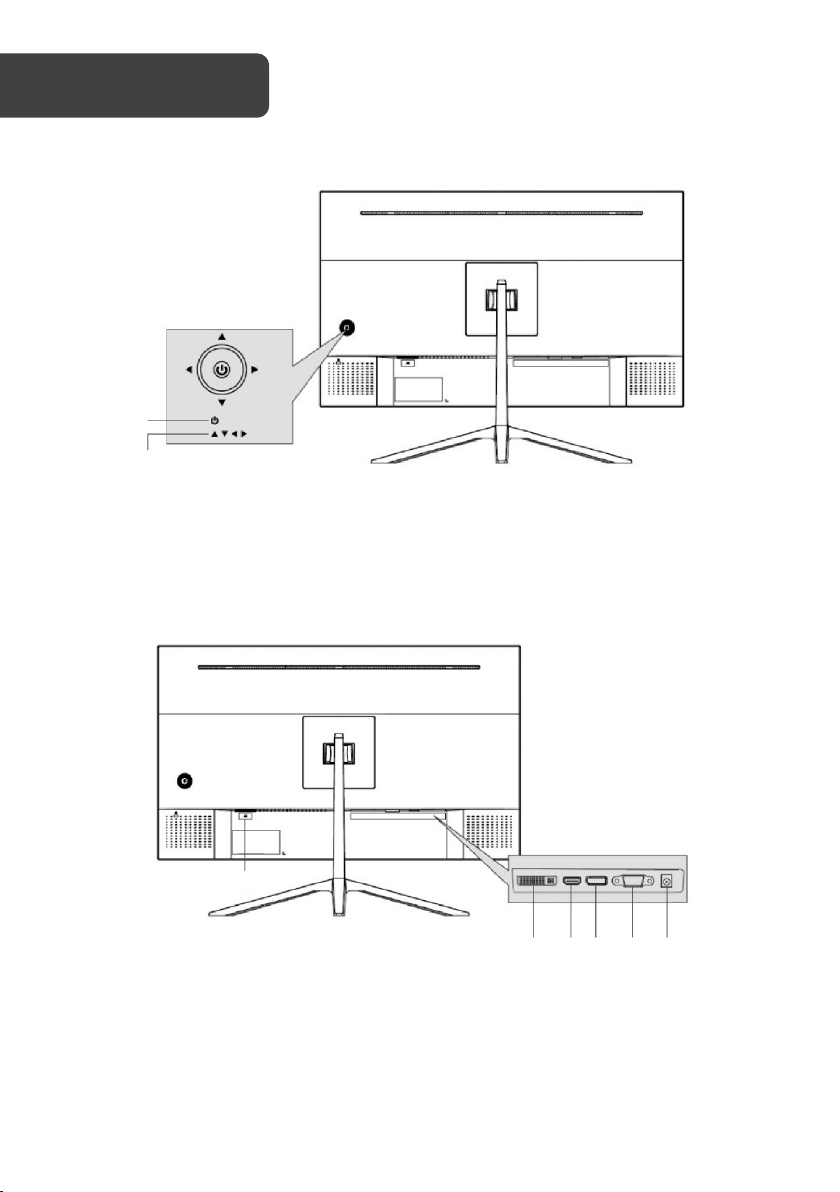
Monitor controls
Ports
1
Power button
2
Directional arrows
3
Power port
6
DP connector
4
DVI port
7
VGA connector
5
HDMI port
8
Audio input
OVERVIEW
1
2
3
4
5
6
7
8
6
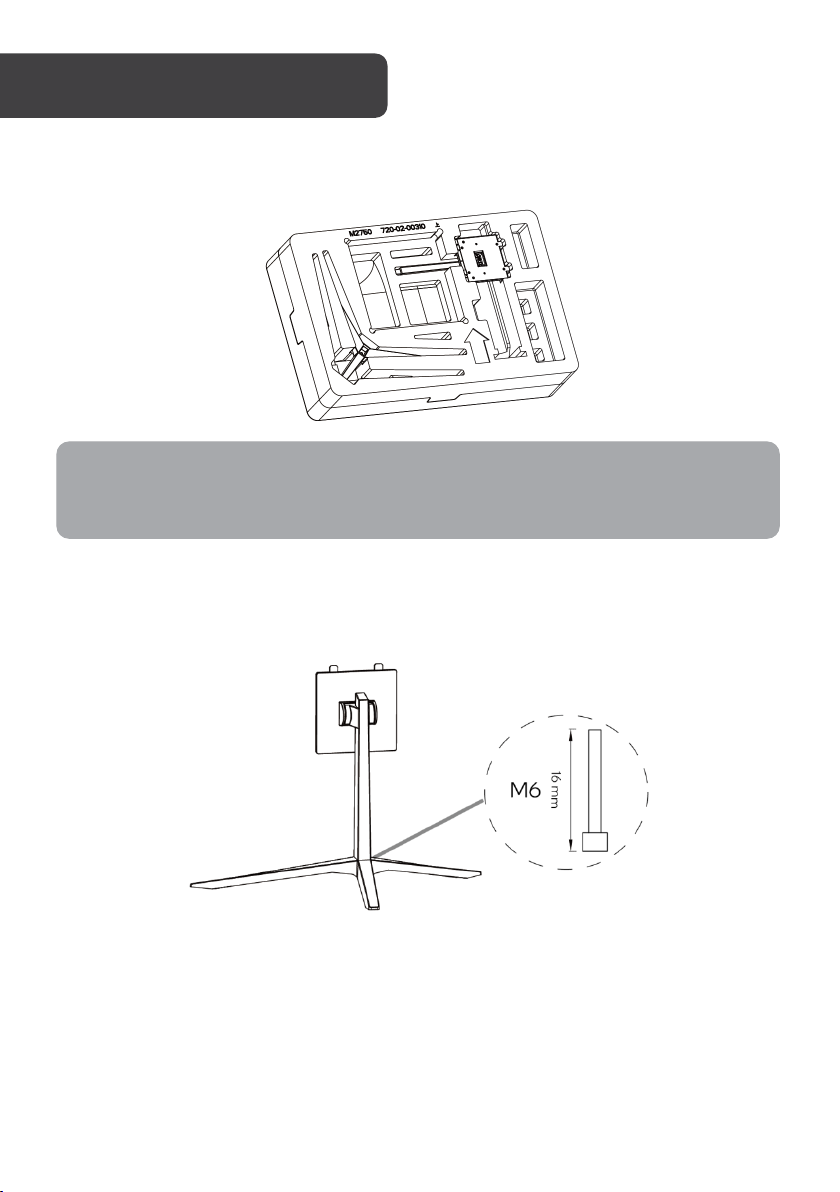
1. Carefully remove the monitor (A) from the packaging with the foam attached, and
place it face down on a soft cloth spread across a stable surface.
2.Attach the stand base to the stand connector using the 16mm M6 stand base screw
(D) provided.
STAND ASSEMBLY
Note:
The monitor is fragile. Keep the foam underneath the monitor while assembling the
stand.

7
3.Insert the stand connector (B) onto the back of the monitor (A). Push down until firmly
connected.
4.Lift the monitor (A) straight up and remove the foam on the bottom. Stand the
monitor (A) on the installed base.

8
1. Open the box and gently take out the monitor with the protection form attached and
place it on a desktop or table. Remove the extra components and the foam covering
the back of the monitor.
Press the release button to remove the stand plate. If the monitor was already
attached to the stand, remove the stand.
2.Assemble the mount as per the instructions provided with the mount.
VESA MOUNT
Stand connector
Release button
Foam
Stand plate
Stand base
Notes:
•VESA mounting pattern 100 x 100mm, screw size M6.
•VESA mount and mounting accessories are not included.
Monitor

9
Power cable
Connect one end of the power cable into the monitor’s power port, then connect the other
end to a power outlet.
Audio input
Connect the audio end of an audio to 3.5mm cable (not included) into the audio input on
the monitor. Connect the 3.5mm end into your computer.
CONNECTIVITY
10
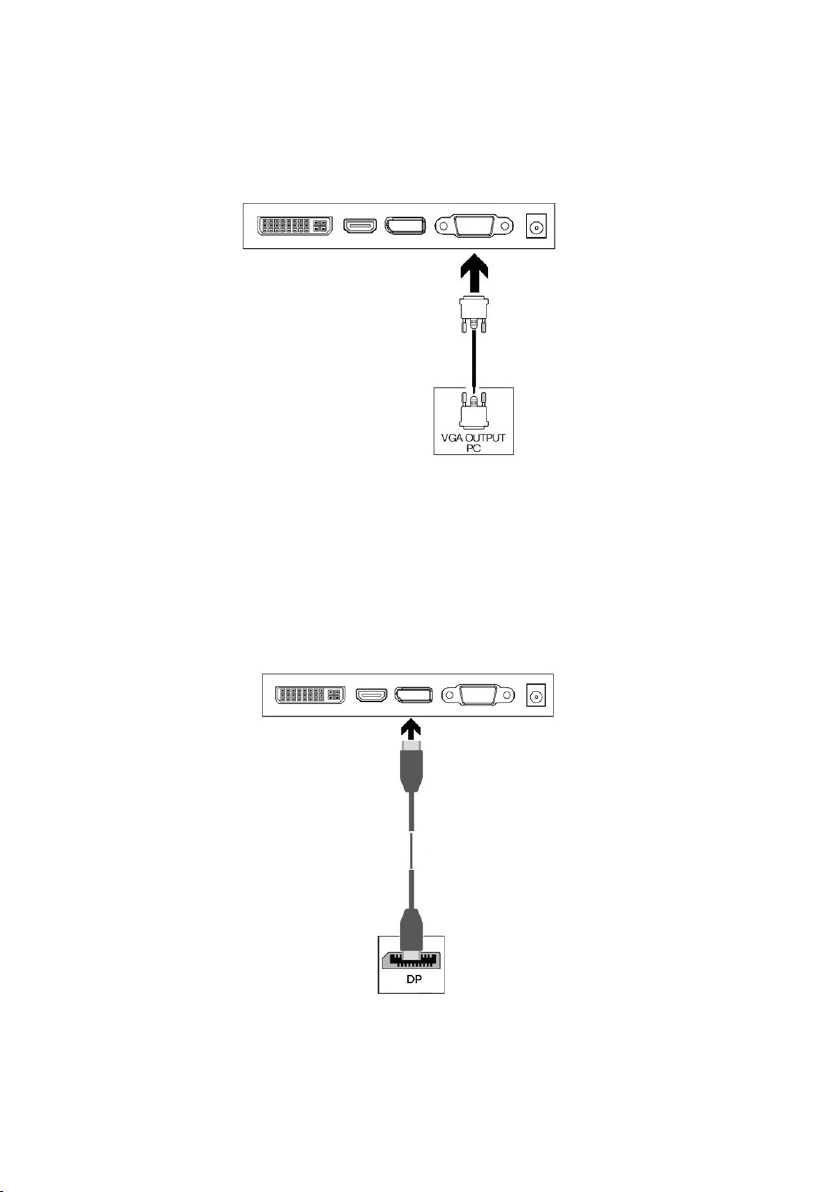
VGA
For the monitor to receive VGA signals from the computer, plug one end of a VGA cable
(not included) into the VGA connector on the monitor. Connect the other end into the
computer’s VGA output.
DisplayPort
For the monitor to receive DisplayPort signals from the computer, plug one end of the
DisplayPort cable into the DP connector on the monitor. Connect the other end into the
computer’s DP port.
Table of contents
Other Kogan Monitor manuals

Kogan
Kogan KAMN24F7CSB User manual

Kogan
Kogan KAMN32F7SA User manual

Kogan
Kogan KALED24MONCA User manual

Kogan
Kogan Kaled24Mona User manual

Kogan
Kogan KAMN21F7VA User manual

Kogan
Kogan KAMN30FXULA User manual

Kogan
Kogan KAMN34RQUCSA User manual

Kogan
Kogan KAMN27LSC User manual

Kogan
Kogan KALED30MONA User manual

Kogan
Kogan KAMN24FG6LA User manual

Kogan
Kogan KAMN27F7VA User manual

Kogan
Kogan KAMN24FG6QA User manual

Kogan
Kogan KAMN27FG6TA User manual

Kogan
Kogan KAMN27QFSA User manual

Kogan
Kogan KALED24144A User manual

Kogan
Kogan KALED27MONC User manual

Kogan
Kogan KAMN27UHFTA User manual

Kogan
Kogan KALED27MONSC User manual

Kogan
Kogan KAMN32F16LC User manual

Kogan
Kogan KAMN28UHFSB User manual


