manuals.online logo
Brands
  1. Home
  2. •
  3. Brands
  4. •
  5. Kohler
  6. •
  7. Bathroom Fixture
  8. •
  9. Kohler MASTERSHOWER Series User manual

Kohler MASTERSHOWER Series User manual

This manual suits for next models

5

Other Kohler Bathroom Fixture manuals

Kohler K-15815 User manual

Kohler

Kohler K-15815 User manual

Kohler EXHALE 77361T-E User manual

Kohler

Kohler EXHALE 77361T-E User manual

Kohler K-9694 User manual

Kohler

Kohler K-9694 User manual

Kohler AVID 97367T-B4 User manual

Kohler

Kohler AVID 97367T-B4 User manual

Kohler K-16281 User manual

Kohler

Kohler K-16281 User manual

Kohler LOURE 98964A User manual

Kohler

Kohler LOURE 98964A User manual

Kohler K-8502 User manual

Kohler

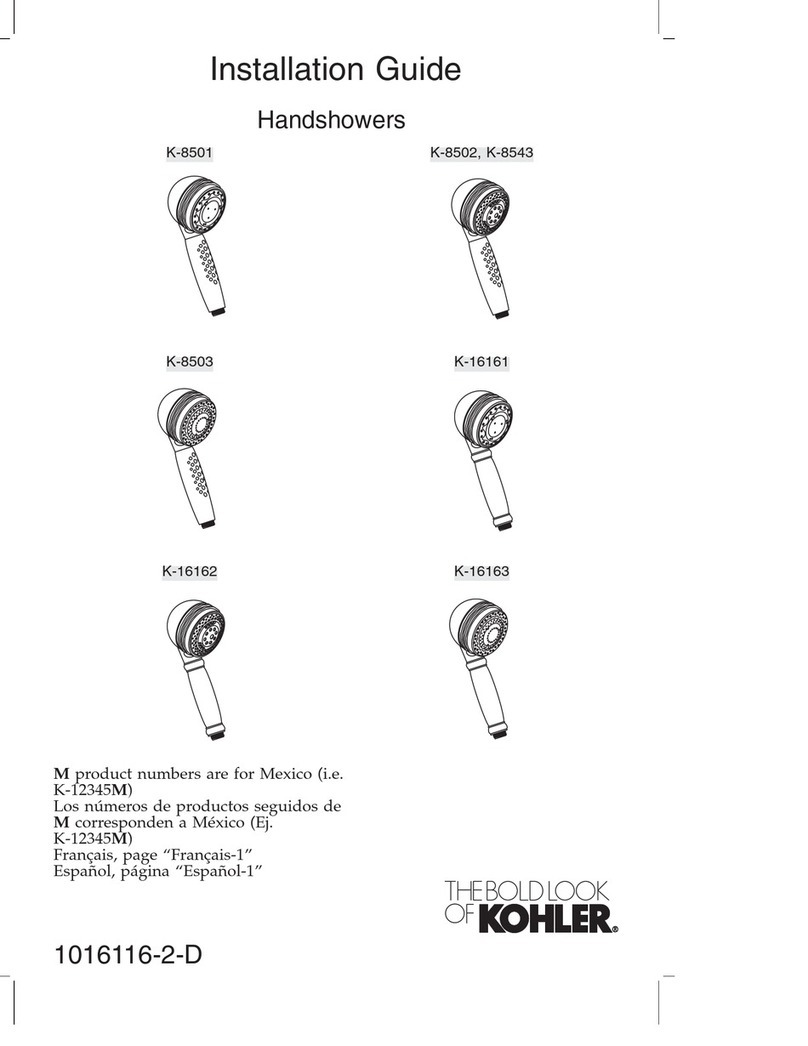
Kohler K-8502 User manual

Kohler Rada PA-TF User manual

Kohler

Kohler Rada PA-TF User manual

Kohler K-1681 User manual

Kohler

Kohler K-1681 User manual

Kohler PureWash E700 User manual

Kohler

Kohler PureWash E700 User manual

Kohler K-6525 User manual

Kohler

Kohler K-6525 User manual

Kohler K-792 Quick start guide

Kohler

Kohler K-792 Quick start guide

Kohler K-10332 User manual

Kohler

Kohler K-10332 User manual

Kohler POPLIN K-75881T User manual

Kohler

Kohler POPLIN K-75881T User manual

Kohler Underscore K-1969-GCW User guide

Kohler

Kohler Underscore K-1969-GCW User guide

Kohler K-10124 User manual

Kohler

Kohler K-10124 User manual

Kohler Margaux K-16238-4 Assembly instructions

Kohler

Kohler Margaux K-16238-4 Assembly instructions

Kohler K-45427 Assembly instructions

Kohler

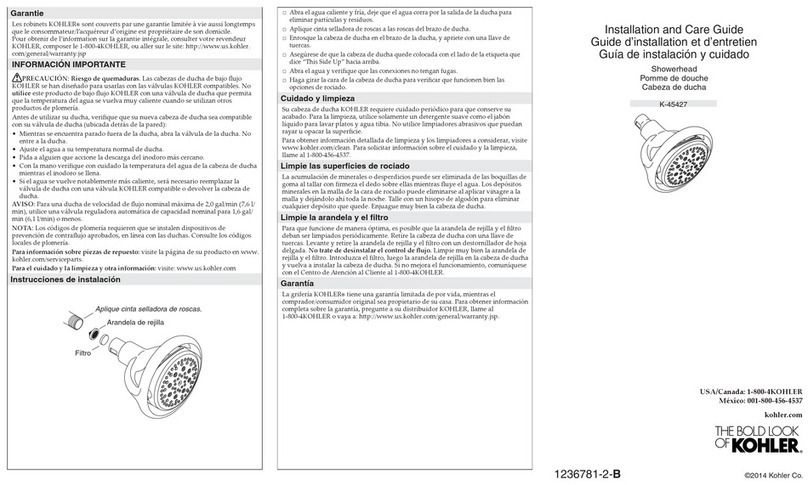
Kohler K-45427 Assembly instructions

Kohler Triton K-T7019 User manual

Kohler

Kohler Triton K-T7019 User manual

Kohler K-R37028 Assembly instructions

Kohler

Kohler K-R37028 Assembly instructions
Kohler K-1893 User manual

Kohler

Kohler K-1893 User manual

Kohler K-704516 User manual

Kohler

Kohler K-704516 User manual

Kohler K-702400 User manual

Kohler

Kohler K-702400 User manual

Kohler K-899-G Quick start guide

Kohler

Kohler K-899-G Quick start guide

Popular Bathroom Fixture manuals by other brands

Moen 186117 Series installation guide

Moen

Moen 186117 Series installation guide

Hans Grohe Raindance Showerpipe 27235000 Instructions for use/assembly instructions

Hans Grohe

Hans Grohe Raindance Showerpipe 27235000 Instructions for use/assembly instructions

Signature Hardware ROUND SWIVEL BODY SPRAY 948942 Install

Signature Hardware

Signature Hardware ROUND SWIVEL BODY SPRAY 948942 Install

fine fixtures AC3TH installation manual

fine fixtures

fine fixtures AC3TH installation manual

LIXIL HP50 Series quick start guide

LIXIL

LIXIL HP50 Series quick start guide

KOLO ATOL PLUS installation manual

KOLO

KOLO ATOL PLUS installation manual

Hans Grohe PuraVida 15073000 Instructions for use/assembly instructions

Hans Grohe

Hans Grohe PuraVida 15073000 Instructions for use/assembly instructions

Toto TS111B8 Installation and owner's manual

Toto

Toto TS111B8 Installation and owner's manual

Coram Showers OFFSET QUADRANT manual

Coram Showers

Coram Showers OFFSET QUADRANT manual

baliv DU-2010 manual

baliv

baliv DU-2010 manual

odass OD-1710 instruction manual

odass

odass OD-1710 instruction manual

Oxygenics Evolution Easy installation instructions

Oxygenics

Oxygenics Evolution Easy installation instructions

Bradley Express SS Series installation instructions

Bradley

Bradley Express SS Series installation instructions

Helvex TH-974 installation guide

Helvex

Helvex TH-974 installation guide

DURAVIT C.1 C15240 0090 Instructions for mounting and use

DURAVIT

DURAVIT C.1 C15240 0090 Instructions for mounting and use

Sunshower PURE SOLO manual

Sunshower

Sunshower PURE SOLO manual

Heatstore HSTRL500WTN Installation and operating instructions

Heatstore

Heatstore HSTRL500WTN Installation and operating instructions

Delabie Delabie Sporting 714700 manual

Delabie

Delabie Delabie Sporting 714700 manual

manuals.online logo
manuals.online logoBrands
  • About & Mission
  • Contact us
  • Privacy Policy
  • Terms and Conditions

Copyright 2025 Manuals.Online. All Rights Reserved.



112766–2–AA (0993) Copyright 1993 Kohler Co.
MASTERSHOWERLINE
SHOWERHEADS/ARMS
K-9505, K-9506
K-9507, K-9511, K-9512

BEFORE YOU BEGIN
HOW TO USE THESE INSTRUCTIONS
Please read these instructions carefully to familiarize
yourselfwiththerequiredtools,materials,andinstallation
sequences. Follow the sections that pertain to your
particular installation. This will aid you in avoiding the
unnecessary expense associated with improper
installation. In addition to proper installation, read all
operating and safety instructions.
All information in these instructions is based on the latest
product information available at the time of publication.
Kohler Co. reserves the right to make changes in product
characteristics,packaging,oravailabilityatanytimewith-
out notice.
TOOLS AND MATERIALS REQUIRED
1/2” shower ell and nipple
Adjustable wrench
Strap wrench
Thread sealant
Clear silicone caulk
ROUGHING-IN DIMENSIONS
Fig. #1
1/2” I.P.S.
2-7/8” D.
2-7/8” D.
2”
3-1/2”
1/2” I.P.S.
4-5/16”
4-5/8” 5-7/16”
5-5/16”
1-1/8” 1” 3-7/16”
1/2” I.P.S.
1/2” I.P.S.
1/2” I.P.S. G 1/2-14
5”
1/2” I.P.S.
5”
2-7/16” D.
K-9505
K-9506
K-9507
K-9511
K-9512
2-7/16” D.
3-3/4”
2112766–2–AA (0993)
Kohler Co., Kohler, WI
INSTALLATION
Install 1/2” I.P.S. nipple to extend from finished wall as
listed below:
1” for K-9511 Shower Arm
3-3/4” for K-9512 Shower Arm
Ensure O-ring and escutcheon are on shower arm and
threadshowerarmontonipple.Tightenshowerarmusing
clean strap wrench.
Place ring of clear silicone caulk or sealant around back
of escutcheon and press escutcheon tight against wall.
Fig. #2
Escutcheon
Shower Arm
Finished Wall
Nipple
Silicone Caulk
Or Sealant
NOTE: Flush out installation to remove debris before
installing showerhead.
Place thread sealant on threads of shower arm nipple.
Thread showerhead onto shower arm nipple. Tighten us-
ing clean strap wrench.
Fig. #3
Shower Arm
Showerhead
Nipple
OPERATION
Check showerhead for smooth operation.
For three-way showerhead, grasp the outer ring of the
showerhead and gently rotate clockwise or
counterclockwise. There are two small detents within the
outer ring to provide the three operating positions.
Forone-wayadjustableshowerhead, grasptheouterring
oftheshowerheadandrotatetochangethespraypattern.
For diverter shower arm, pull knob to divert from shower-
headtohandshower.Whenwaterisshutoff,theknobwill
automatically return to showerhead position.
NOTE: If winterizing hand shower, blow water out of
showerhead with air. Fig. #4
Body
Outer Ring
3112766–2–AA (0993)
Kohler Co., Kohler, WI
SERVICE PROCEDURES
Ifcauseofproblemisunknown,seetroubleshootingchart
first. Then refer to procedure by component assembly
subheading.
Use clean strap wrench to remove showerhead from
shower arm. Blow water out of showerhead with air.
For any flow/performance problem, the first item to check
is the inlet screen and flow control located in the ball joint.
BALL JOINT ASSEMBLY
Gently pry up edge of the inlet screen using thin-bladed
screwdriver.
Removeandcleanscreen.Withscreenremoved,visually
inspect the three orifice holes in the flow control.
Ifholes in flow controlrequire cleaning, use atoothpick or
similar thin, pointed tool to clean the three holes.
NOTE: Theflow controlis pressfit intoplace andcannot
be removed. Fig. #5
Ball Joint
Screen
Ball Joint
Orifice Holes Flow Control
AERATOR HOUSING
(THREE-WAY MODELS ONLY)
Using the special tool provided, insert prongs into aerator
housing holes on face of showerhead. Turn tool
counterclockwise to remove aerator housing.
Fig. #6
Showerhead
Showerhead Tool
Remove rubber gasket and aerator plate. Turn housing
over, letting aerator fall out. Clean both sides of aerator.
Replace aerator into aerator housing, aligning notch in
aerator with keyway in aerator housing.
Replace aerator plate with small diameter ring facing up.
Replace gasket. Unless proceeding to front housing
assemblyservice,replaceassemblyintoshowerhead.Do
not overtighten.
Fig. #7
Aerator Housing
Aerator Plate
Gasket
Aerator
4112766–2–AA (0993)
Kohler Co., Kohler, WI
FRONT HOUSING ASSEMBLY
Alignlargehexendofshowerheadtoolwithflatsofhexnut
on showerhead assembly. Turn tool counterclockwise to
remove hex nut from showerhead.
Using thin-bladed screwdriver, remove plastic thrust
washer from front housing assembly.
Using thin-bladed screwdriver, remove diffuser from front
housing assembly.
Clean diffuser by flexing to break loose mineral deposits.
Place diffuser, with small end of groove facing out, into
front housing assembly. Reinstall thrust washer and hex
nut.Reinstallaeratorassembly.Reinstallhandshoweron
shower hose.
Test showerhead for proper and smooth operation. Fig. #8
Thrust
Washer Diffuser
TROUBLESHOOTING CHART
SYMPTOM POSSIBLE CAUSE CORRECTIVE ACTION
1. Low flow or poor
performance. A. Clogged inlet screen. A. Inspect and clean or replace
screen in ball joint assembly.
B. Clogged flow control. B. Inspect and clean orifice holes in
flow control of ball joint assembly
or replace ball joint.
2. Poor spray pattern on
regular spray. A. Clogged spray ring. A. Disassemble spray ring/thrust
washer from front housing
assembly; inspect and clean
spray ring/thrust washer.
3. Soft spray not aerating
(three-way models
only).
A. Clogged screens in aerator. A. Disassemble screens from
aerator housing and clean or
replace screens.
4. Pulsating spray not
pulsing (three-way
models only).
A. Worn parts or debris in assembly. A. Replace front housing assembly
or showerhead. (Service
technicians: consult service
manual.)