manuals.online logo
Brands
  1. Home
  2. •
  3. Brands
  4. •
  5. Kohler
  6. •
  7. Indoor Furnishing
  8. •
  9. Kohler K-96106X-L Assembly instructions

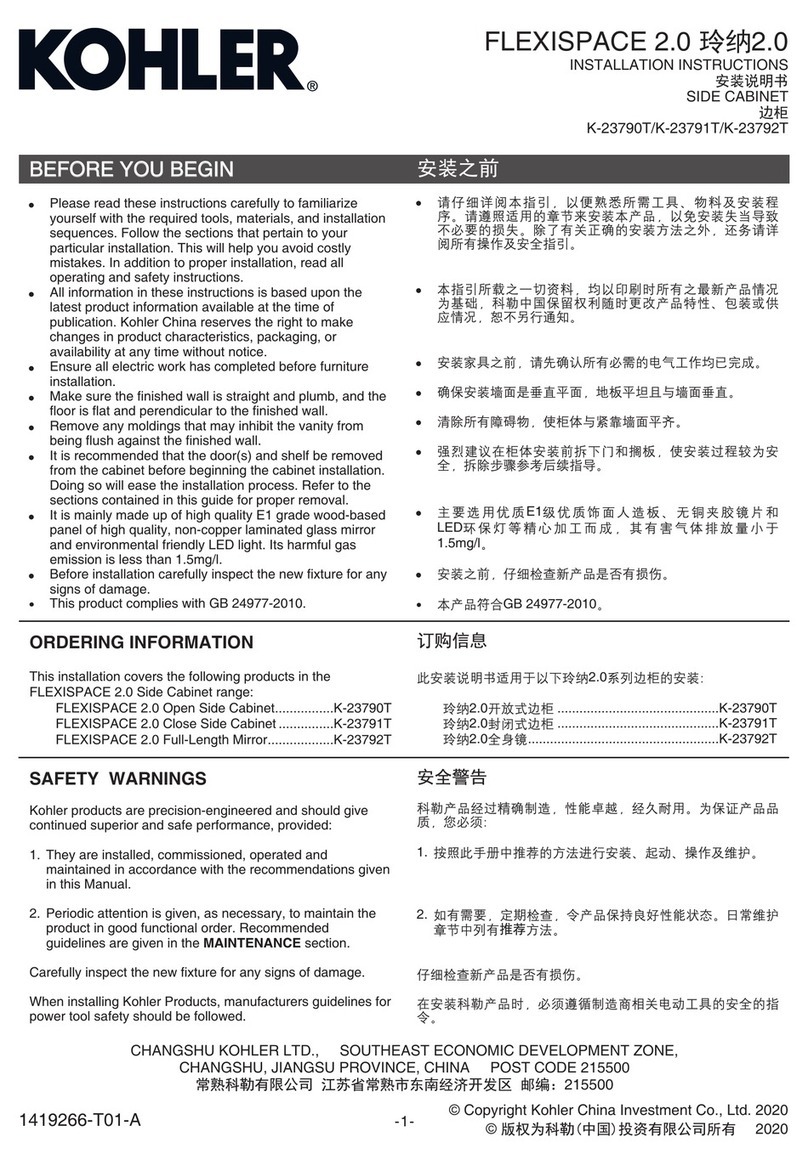
Kohler K-96106X-L Assembly instructions

Installation and Care Guide
K-96106X-L, K-96107X
ขอแนะนําการติดตั้งและการดูแลรักษา
©2018 Kohler Co.
1261996-X2-A
Prepare the Site/ 1
3

กําหนดตําแหนงรูของคลิป และเจาะรูยึดคลิปบนผนัง
ถอดฝาครอบบานพับออกกอน ปรับระยะบานพับของบานประตูทั้งสามทิศทาง เพื่อใหแนใจวา บานประตูไดระดับ
4

2
3" (76 mm)
Dimmer
Switch
Swinging Panels
3" (76 mm)
Min
3" (76 mm)
L2L2
L1L1
66
3.0547
L1 = 320 (Single Door )
L1 = 500 (Double Door )
L1 = 320 (Single Door )
L1 = 590 (Double Door )
5- 6
Mark the clip holes and drill clip holes on the wall.
Adjust the door (only necessary if the door does not completely match the cabinet when it is closed).
Put the cabinet on the mounting bar. Insert top clip from the center of the top. Slide the clips to align with the drilled holes.
Fix the screws.
Height Adjustment Depth AdjustmentSide Adjustment
AssembleAssemble Removal

 




     

Remove the hinge cover or the blumotion before adjustion. Adjust the hinge of door in 3 directions to make sure the door level.
IMPORTANT NOTICE TO INSTALLERS!: Please leave these instructions
for the consumer. They contain important information.
Please take a few minutes to review this manual before you start installation.
If you encounter any installation or performance problems, please don’t
hesitate to contact us.
All information in this manual is based upon the latest product information
available at the time of publication. At Kohler, we constantly strive to improve
the quality of our products. We reserve the right to make changes in product
characteristics, packaging or availability at any time without notice.
• Before installation carefully inspect the new fixture for any signs of damage.
• This cabinet is designed for either right or left door swing. Check the wall
cavity for obstructions.
Grounding Instructions
• This product should be grounded. This product is equipped with a cord
having a grounding wire.
• This repair or replacement of the cord is necessary, do not connect the
grounding wire to either flat blade terminal. The wire with insulation having
an outer surface that is green with or without yellow stripes is the grounding
wire.
• Check with a qualified electrician or service personnel if the grounding
instructions are not completely understood, or if in doubt as to whether the
product is properly grounded.
• This product is factory equipped with a specific electric cord. If the product
must be reconnected for use on a different type of electric circuit, the
connection should be made by qualified service personnel.

 




• 
• 

• 
• 

•   

•   

Before You Begin/
WARNING: Risk of product damage. Use anchors (not provided) rated
for the loaded weight of this product. Refer to the anchor manufacturer's
instructions.
WARNING: Risk of electric shock. Disconnect power before servicing.
 

    

Drill holes for mounting bar to the wall. Using a level to ensure that the mounting bar is level.
Install mounting bar.
Top Clip
Cabinet
Mounting Bar
51
 () : +66 204 6222 kohlerasiapacific.com ©2018 Kohler Co.
1261996-X2-A
หากหนาบานประตูมีพื้นที่ไมพอ
ใหยกและเอียงชั้นวางกระจกขึ้นในตําแหนงที่เหมาะสม
7


6
5


 

8


9







 
In case the door opening angle is not enough, insert
the glass shelf vertically upwards and then rotate to
horizontal position.
Care and Cleaning

1. Many cleansers contain abrasive and chemical substance which is not suitable for cleaning stain-
less steel, enamel, plating or plastic products. You may use mild cleansers or soaps to clean the
surfaces. Wipe any splashes of cleane solutions from the surface with clean soft cloth.
2. Maintain ventilation in the bathroom, and separate the dry area from the damp one if conditions
permit. Try to open the door and windows of the bathroom and maintain good ventilation.
3. Kohler bathroom cabinet are dealt with strict procedures for damp-proof, whose good damp-proof
function ensures good performance even in bathroom of huge humidity. Yet do not splash and
pour water directly on the bathroom cabinet. Make sure that the bathroom is not over damp and
wipe any splashes from surfaces immediately.
4. Maintenance of door board: Clean and wipe door board regularly, and wipe the condensation
vapor with dry and soft cloth.
5. The mirror cabinet door and interior are constructed of mirror and aluminum. Use only a damp
cloth to clean. Spray the cloth, not the mirror when cleaning. Mirrors are damaged by the use of
ammonia or vinegar based cleaners. Rubbing alcohol can be used for stubborn stains.
6. Use no abrasive cleansers on any part of the mirror cabinet.
1. 


2.   

3.   


4. 

5. 


6. 
To adjust mirror height, slide up or down.
IMPORTANT! To adjust mirror height, slide up or down.
Rotate mirror in before closing the door.
Insert the glass shelf into the snap-in pins.Insert the snap-in pins into the side holes.
Align the side mirror with the top and bottom of the cabinet. Clean the back of the mirror.
NOTE: Peel off the double-sided tape and press onto the side mirror for 30 seconds.
CONNECT TO POWER LINE
Open the wire box and pull out the terminal block. Put the terminal block back
after connecting the power lines and then close the wire box.
NOTE:
1. LED light will be brighter when cabinet door is closed and dimmer when
cabinet door is open.
2. A separated switch is needed for lighting.
3. It is recommended to arrange a separated power line for the socket to
keep it power on all the time. Power line shall be copper core ≥1.5 mm2.
4. Power of the electrical equipments connected to the socket shall not
exceed 2000w.


แขวนกลองใสของเขากับขอแขวน แขวนกลองใสของเขากับขอแขวน
ใชไขควงขันยึดที่แขวนไดรเปาผมเขากับชั้นวางกระจก
Side Mirror Bracket
Side Mirror
Hang the storage box on the hook.
Fix bracket for hair drier on the glass shelf
with cross screwdriver.
Terminal Block
Wire Box
Light, Defogger
Wire Input (three-core cable) 220V/50Hz
Plug
Wire Input
(three-core cable)
220V/50Hz
  
  
  
  
Fixture Outlet Wiring Color
Brown
Yellow&Green
BlueNeutral
Ground
Hot

This manual suits for next models

1

Other Kohler Indoor Furnishing manuals

Kohler M MODULAR User manual

Kohler

Kohler M MODULAR User manual

Kohler K-23111T User manual

Kohler

Kohler K-23111T User manual

Kohler K-2412 Assembly instructions

Kohler

Kohler K-2412 Assembly instructions

Kohler Jacob Delafon Idol Operation manual

Kohler

Kohler Jacob Delafon Idol Operation manual

Kohler Englefield 1141301 User manual

Kohler

Kohler Englefield 1141301 User manual

Kohler Bristol K-72480T User manual

Kohler

Kohler Bristol K-72480T User manual

Kohler Archer K-2449 Assembly instructions

Kohler

Kohler Archer K-2449 Assembly instructions

Kohler ALEUTIAN K-24203X Assembly instructions

Kohler

Kohler ALEUTIAN K-24203X Assembly instructions

Kohler K-2431 Assembly instructions

Kohler

Kohler K-2431 Assembly instructions

Kohler VERDERA K-26376T User manual

Kohler

Kohler VERDERA K-26376T User manual

Kohler 97631-G9 Assembly instructions

Kohler

Kohler 97631-G9 Assembly instructions

Kohler VERDERA K-29853T User manual

Kohler

Kohler VERDERA K-29853T User manual

Kohler TRESHAM K-45980T-L User manual

Kohler

Kohler TRESHAM K-45980T-L User manual

Kohler K-77123T User manual

Kohler

Kohler K-77123T User manual

Kohler FAMILY CARE K-31500T User manual

Kohler

Kohler FAMILY CARE K-31500T User manual

Kohler SEQUOIA User manual

Kohler

Kohler SEQUOIA User manual

Kohler K-2684 Assembly instructions

Kohler

Kohler K-2684 Assembly instructions

Kohler K-2962 Assembly instructions

Kohler

Kohler K-2962 Assembly instructions

Kohler Conceal K-2970 Assembly instructions

Kohler

Kohler Conceal K-2970 Assembly instructions

Kohler K-2684 Assembly instructions

Kohler

Kohler K-2684 Assembly instructions

Kohler Verdera K-99007-TL-NA Assembly instructions

Kohler

Kohler Verdera K-99007-TL-NA Assembly instructions

Kohler Fountainhead K-2441 Assembly instructions

Kohler

Kohler Fountainhead K-2441 Assembly instructions

Kohler AMERISSIC K-99073T User manual

Kohler

Kohler AMERISSIC K-99073T User manual

Kohler PASTORIFE K-99074T User manual

Kohler

Kohler PASTORIFE K-99074T User manual

Popular Indoor Furnishing manuals by other brands

Polywood TD102 Assembly instructions

Polywood

Polywood TD102 Assembly instructions

HAMPTON BAY 65-17148B4 Use and care guide

HAMPTON BAY

HAMPTON BAY 65-17148B4 Use and care guide

Herman Miller Eames CTM Assembly instructions

Herman Miller

Herman Miller Eames CTM Assembly instructions

SouthShore 9006 Assembly instructions

SouthShore

SouthShore 9006 Assembly instructions

Closet Maid SHELFTRACK Assembly instructions

Closet Maid

Closet Maid SHELFTRACK Assembly instructions

Lovencare HK 210 instruction manual

Lovencare

Lovencare HK 210 instruction manual

RealFlame Outdoor Living 2372 manual

RealFlame

RealFlame Outdoor Living 2372 manual

DaVinci carter's ARLO Care and maintenance

DaVinci

DaVinci carter's ARLO Care and maintenance

Simpli Home brooklyn+max WyndenHall AXCHUN-01-OAK manual

Simpli Home

Simpli Home brooklyn+max WyndenHall AXCHUN-01-OAK manual

PotteryBarn Carved Wood Triptych Mounting instructions

PotteryBarn

PotteryBarn Carved Wood Triptych Mounting instructions

System Build 5201015COM manual

System Build

System Build 5201015COM manual

HAMPTON BAY FWS00590D Use and care guide

HAMPTON BAY

HAMPTON BAY FWS00590D Use and care guide

HAMPTON BAY IT-130828 Use and care guide

HAMPTON BAY

HAMPTON BAY IT-130828 Use and care guide

Homebase SOPHIA OCCASIONAL instruction manual

Homebase

Homebase SOPHIA OCCASIONAL instruction manual

Simpli Home brooklyn+max WynclenHall AXCRAMH09-HIC quick start guide

Simpli Home

Simpli Home brooklyn+max WynclenHall AXCRAMH09-HIC quick start guide

Home Styles 20 05664 0027 quick start guide

Home Styles

Home Styles 20 05664 0027 quick start guide

Home Styles 88 5523 61 Assembly instructions

Home Styles

Home Styles 88 5523 61 Assembly instructions

BABY DAN 5199 quick start guide

BABY DAN

BABY DAN 5199 quick start guide

manuals.online logo
manuals.online logoBrands
  • About & Mission
  • Contact us
  • Privacy Policy
  • Terms and Conditions

Copyright 2025 Manuals.Online. All Rights Reserved.