1509912-2
Record your model number:
Noter le numéro de modèle :
Anote su número de modelo:
IMPORTANT! Do not use petroleum-based products on this faucet.
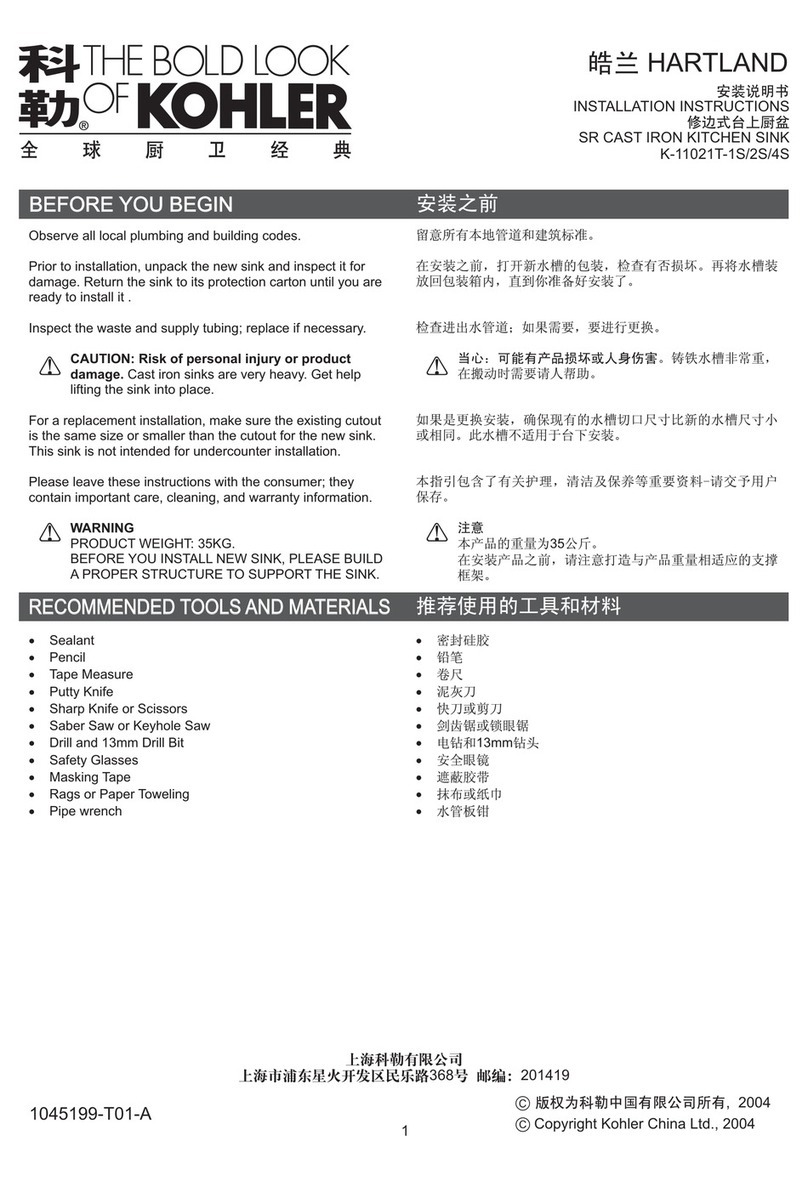
Turn OFF the water supply.
Follow all local plumbing and building codes.
1A. 1-5/16" Hole Saw
1B. 3/16" and 7/32" Drill Bits
1C. Sealant Tape
1D. Socket Wrench and 1/2" Socket
1E. 2x4s
2A. Install a 2x4 backing ush with the studs, at the installation location.
3A. Secure the supply pipe to the 2x4 backing. Verify that the supply pipe is
vertically centered in the 2x4 backing.
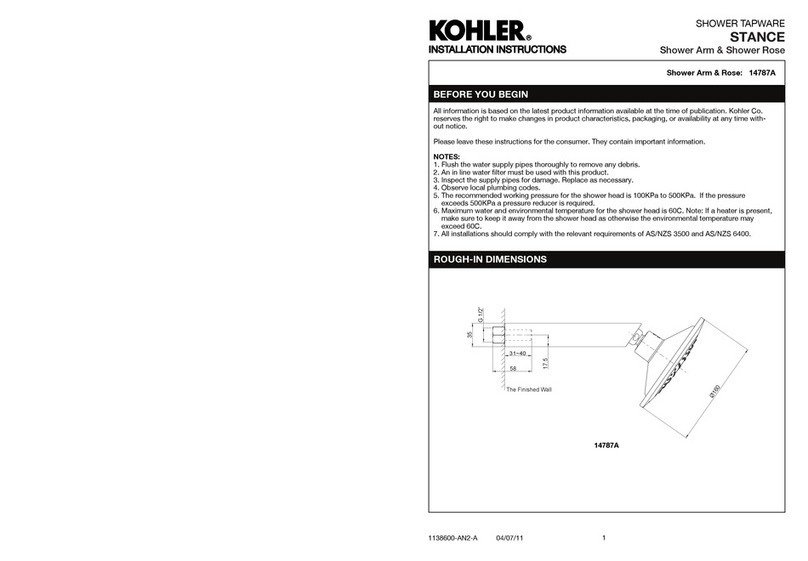
4A. Install a 1/2 NPT supply pipe to extend no more than 1/2" (13 mm)
beyond the nished wall. The supply pipe must protrude perpendicular to
the nished wall.
5A. Complete the nished wall. Provide a 1-5/16" (33 mm) hole around the
pipe.
9A. Verify that the escutcheon is level and mark the four hole locations.
10A. Drill a pilot hole through the nished wall. Do not drill into the backer
board. Use a 3/16" drill bit for drywall. Use a 7/32" drill bit for all other
materials.
11A. Position the escutcheon over the holes. Measure and verify that the
screws will engage a minimum of 3/4" (19 mm) into the 2x4 backing. Secure
the escutcheon with the provided screws or use longer screws (not provided)
for thicker nished walls.
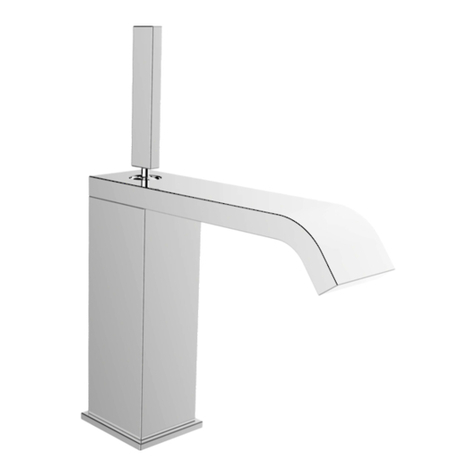
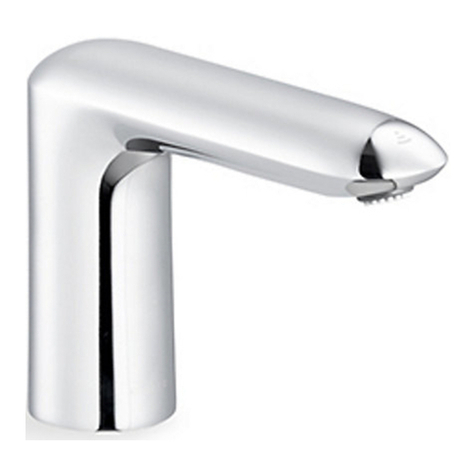
12A. Position the faucet onto the adapter. Verify proper faucet alignment with
the sleeve and press against the escutcheon. Secure with the setscrew.
13A. Verify that the handles are fully clockwise in the OFF position.
14A. Turn ON the water supply and check for leaks.
16A. Open both handles to ush debris from the faucet.
Need help? Contact our Customer Care Center.
•USA/Canada: 1-800-4KOHLER (1-800-456-4537) Mexico: 001-800-456-4537
•Service parts: kohler.com/serviceparts
•Care and cleaning: kohler.com/clean
•Patents: kohlercompany.com/patents
This product is covered under the KOHLER® Faucet Lifetime Limited
Warranty, found at kohler.com/warranty. For a hardcopy of warranty terms,
contact the Customer Care Center.
IMPORTANT! Ne pas utiliser des produits à base de pétrole sur ce robinet.
Couper l'alimentation en eau.
Respecter tous les codes de plomberie et de bâtiment locaux.
1A. Scie cylindrique de 1-5/16 po
1B. Mèches 3/16 po et 7/32 po
1C. Ruban d'étanchéité
1D. Clé à douilles et douille de 1/2 po
1E. Planches 2x4
2A. Installer un renfort 2x4 à ras des montants, à l'emplacement d'installation.
3A. Fixer le tuyau d'alimentation sur le renfort 2x4. Vérier que le tuyau
d’alimentation est centré à la verticale dans le renfort 2x4.
4A. Installer un tuyau d'alimentation NPT 1/2 pour prolonger d’un maximum
de 1/2 po (13 mm) au-delà du mur ni. Le tuyau d’alimentation doit faire
saillie perpendiculairement au mur ni.
5A. Terminer le mur ni. Fournir un trou de 1-5/16 po (33 mm) autour du
tuyau.
9A. Vérier que la rosace est de niveau et marquer les quatre emplacements
des trous.
10A. Percer un trou pilote à travers le mur ni. Ne pas percer dans la planche
d’appui. Utiliser une mèche de 3/16 po pour la cloison sèche. Utiliser une
mèche de 7/32 po pour tous les autres matériaux.
11A. Placer la rosace par-dessus les trous. Mesurer et vérier que les vis
s’engagent d’un minimum de 3/4 po (19 mm) dans le renfort 2x4. Fixer la
rosace avec les vis fournies ou utiliser des vis plus longues (non fournies)
pour des murs nis plus épais.
12A. Positionner le robinet sur l'adaptateur. Vérier que le robinet est aligné
correctement avec le manchon et appuyer contre la rosace. Fixer avec la vis
d'arrêt.
13A. Vérier que les poignées sont entièrement tournées dans le sens horaire
à la position d'arrêt.
14A. Ouvrir l'alimentation en eau et rechercher des fuites éventuelles.
16A. Ouvrir les deux poignées pour purger les débris du robinet.
Besoin d'aide? Appeler notre centre de services à la clientèle.
• USA/Canada : 1-800-4KOHLER (1-800-456-4537) Mexique :
001-800-456-4537
•Pièces d’entretien : kohler.com/serviceparts
•Entretien et neoyage : kohler.com/clean
•Brevets : kohlercompany.com/patents
1 2
3 4
5 6
7 8
9 10
1509912-2-B1 Kohler Co.
