manuals.online logo
Brands
  1. Home
  2. •
  3. Brands
  4. •
  5. Kohler
  6. •
  7. Plumbing Product
  8. •
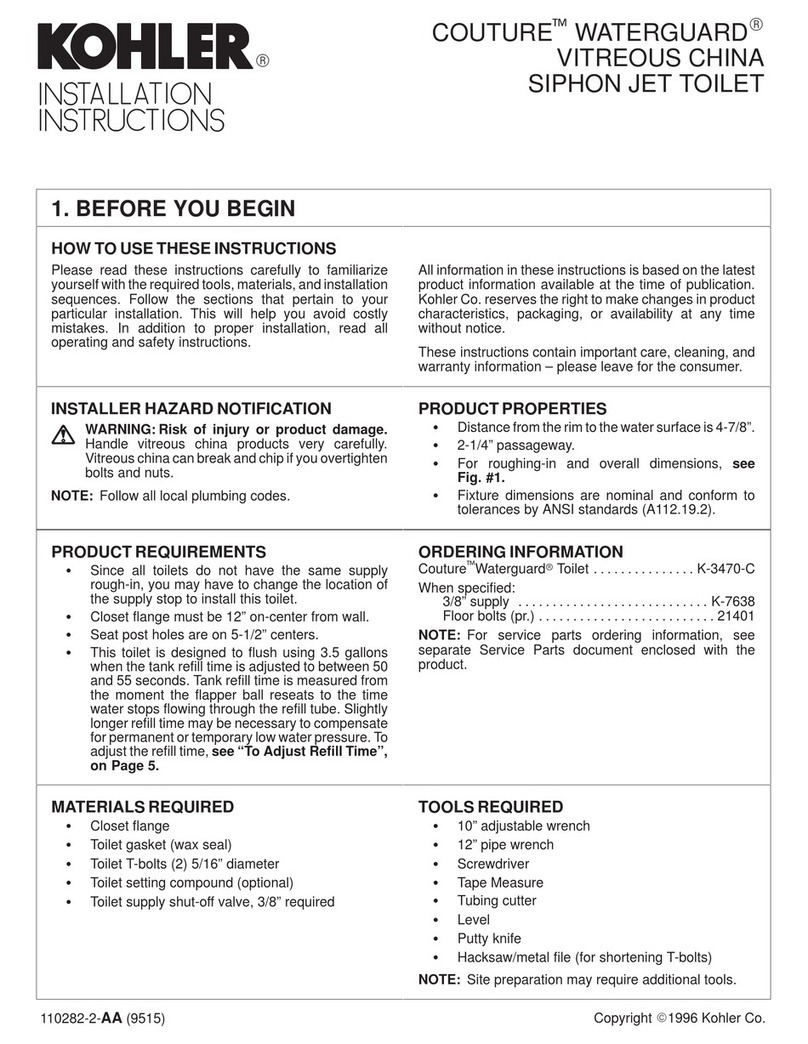
  9. Kohler K-3444K-NS Assembly instructions

Kohler K-3444K-NS Assembly instructions

This manual suits for next models

4

Other Kohler Plumbing Product manuals

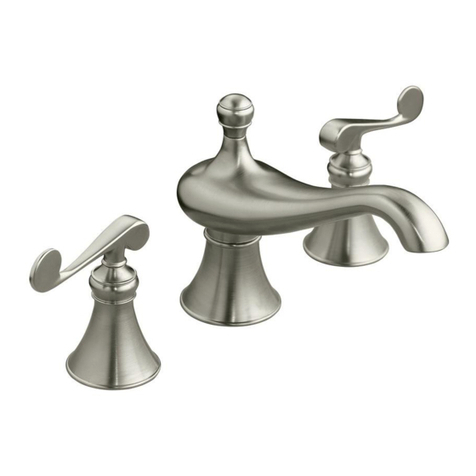
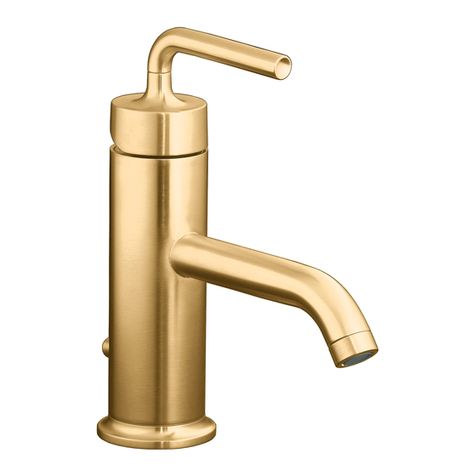
Kohler Purist 14434 User manual

Kohler

Kohler Purist 14434 User manual

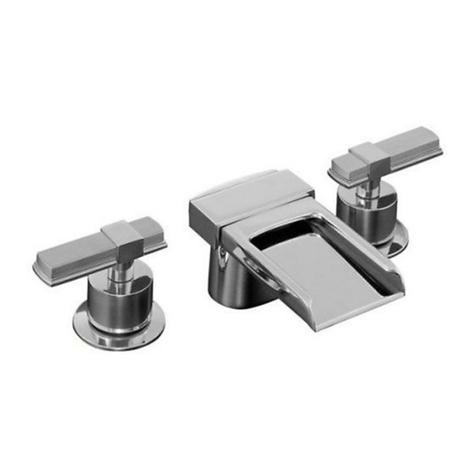
Kohler Fountainhead K-1786 User manual

Kohler

Kohler Fountainhead K-1786 User manual

Kohler 72678M-7 User manual

Kohler

Kohler 72678M-7 User manual

Kohler Mira Platinum Rear Fed User manual

Kohler

Kohler Mira Platinum Rear Fed User manual

Kohler K-T6808 User manual

Kohler

Kohler K-T6808 User manual

Kohler 1202901-5-B Assembly instructions

Kohler

Kohler 1202901-5-B Assembly instructions

Kohler 72695T-B4 User manual

Kohler

Kohler 72695T-B4 User manual

Kohler Mira Event XS Operation manual

Kohler

Kohler Mira Event XS Operation manual

Kohler K-19481 Assembly instructions

Kohler

Kohler K-19481 Assembly instructions

Kohler K-6228 Assembly instructions

Kohler

Kohler K-6228 Assembly instructions

Kohler Mira Showers Escape Thermostatic 9.0 kW User manual

Kohler

Kohler Mira Showers Escape Thermostatic 9.0 kW User manual

Kohler K-8724 User manual

Kohler

Kohler K-8724 User manual

Kohler Cyan K-705788 User manual

Kohler

Kohler Cyan K-705788 User manual

Kohler 1430508-T2-C User manual

Kohler

Kohler 1430508-T2-C User manual

Kohler K-T10592 User manual

Kohler

Kohler K-T10592 User manual

Kohler C3-050 User manual

Kohler

Kohler C3-050 User manual

Kohler Mira Showers Escape Thermostatic 9.8 kW User manual

Kohler

Kohler Mira Showers Escape Thermostatic 9.8 kW User manual

Kohler TAUT 73194T-4 User manual

Kohler

Kohler TAUT 73194T-4 User manual

Kohler K-2816 Operating and maintenance instructions

Kohler

Kohler K-2816 Operating and maintenance instructions

Kohler K-251 User manual

Kohler

Kohler K-251 User manual

Kohler K-877 Quick start guide

Kohler

Kohler K-877 Quick start guide

Kohler K-6814-3 Assembly instructions

Kohler

Kohler K-6814-3 Assembly instructions

Kohler Mira Sport J03A User manual

Kohler

Kohler Mira Sport J03A User manual

Kohler STEWARD ECO User manual

Kohler

Kohler STEWARD ECO User manual

Popular Plumbing Product manuals by other brands

Moen SANI-STREAM 8797 manual

Moen

Moen SANI-STREAM 8797 manual

Grohe Allure Brilliant 19 784 manual

Grohe

Grohe Allure Brilliant 19 784 manual

Cistermiser Easyflush EVO 1.5 manual

Cistermiser

Cistermiser Easyflush EVO 1.5 manual

BEMIS FNOTAB100 Installation instruction

BEMIS

BEMIS FNOTAB100 Installation instruction

Hans Grohe ShowerTablet Select 700 13184000 Instructions for use/assembly instructions

Hans Grohe

Hans Grohe ShowerTablet Select 700 13184000 Instructions for use/assembly instructions

Akw Stone Wash Basin Installation instructions manual

Akw

Akw Stone Wash Basin Installation instructions manual

Enlighten Sauna Rustic-4 user manual

Enlighten Sauna

Enlighten Sauna Rustic-4 user manual

Moen ShowHouse S244 Series quick start guide

Moen

Moen ShowHouse S244 Series quick start guide

Sanela SLWN 08 Mounting instructions

Sanela

Sanela SLWN 08 Mounting instructions

Franke 7612982239618 operating instructions

Franke

Franke 7612982239618 operating instructions

Heritage Bathrooms Granley Deco PGDW02 Fitting Instructions & Contents List

Heritage Bathrooms

Heritage Bathrooms Granley Deco PGDW02 Fitting Instructions & Contents List

Tres TOUCH-TRES 1.61.445 instructions

Tres

Tres TOUCH-TRES 1.61.445 instructions

STIEBEL ELTRON WS-1 Operation and installation

STIEBEL ELTRON

STIEBEL ELTRON WS-1 Operation and installation

Miomare HG00383A manual

Miomare

Miomare HG00383A manual

BELLOSTA revivre 6521/CR1 quick start guide

BELLOSTA

BELLOSTA revivre 6521/CR1 quick start guide

American Standard Heritage Amarilis 7298.229 parts list

American Standard

American Standard Heritage Amarilis 7298.229 parts list

BorMann Elite BTW5024 quick start guide

BorMann

BorMann Elite BTW5024 quick start guide

Moen 1225 quick start guide

Moen

Moen 1225 quick start guide

manuals.online logo
manuals.online logoBrands
  • About & Mission
  • Contact us
  • Privacy Policy
  • Terms and Conditions

Copyright 2025 Manuals.Online. All Rights Reserved.

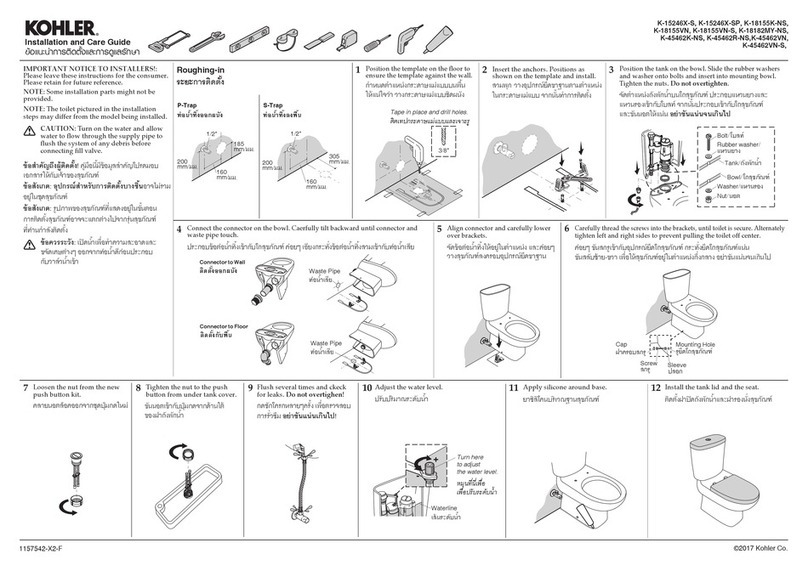
Installation and Care Guide

ขอแนะนําการติดตั้งและการดูแลรักษา
©2014 Kohler Co.
1021797-X2-D
ขอสําคัญถึงผูติดตั้ง! 

ขอสังเกต: อุปกรณสําหรับการติดตั้งบางชิ้น

ขอสังเกต:


CAUTION: Turn on the water and allow water
to flow through the supply pipe to flush the
system of any debris before connecting fill valve.
ข้อควรระวัง:

IMPORTANT NOTICE TO INSTALLERS!:
Please leave these instructions for the
consumer. Please retain for future reference.
NOTE: Some installation parts might not be
provided.
NOTE: The toilet pictured in the installation
steps may differ from the model being installed.
วางดานนี้ขึ้น
This side up.
ตัดสวนที่เกินออก
Cut excess.
K-3444K-NS, K-3444VN, K-4608K-WA,
K-4608X, K-11462X
Floor Flange
 6
6 mm Max
Install the floor flange with T-bolts and
screws on the floor.
Install the bowl. Do not overtighten!
Install the lift rod.
Tighten the tank
bolte evenly.
Do not overtighten!
Adjust the water level.Connect supply and turn on the
water. Flush several times and check
for leaks.
Install the tank lid
and the seat.
1
4 5 76 8
2 3
3.2
3.1
  


อยาขันแนนจนเกินไป!






Insert S-hook into the middle
hole of the lift rod.


Hook the cover bracket
to the tank.


Do not overtighten!
อยาขันแนนจนเกินไป!
1/2"
Supply Hose

Adapter
15/16" to 1/2"
(Optional Part)
Turn here to adjust
the water level.

+
-
©2014 Kohler Co.
1021797-X2-D
Asia Customer Service Centre
No. 158, Jiang Chang San Road, Zhabei District, Shanghai, PRC Post Code 200436.
Tel: +(86) 21 2606 2572 Fax: +(86) 21 6107 8900
KOHLER (THAILAND) PUBLIC COMPANY LIMITED
16th FL. Jasmine City Bldg., 2 Soi Sukhumvit 23, Sukhumvit Road, Wattana, Bangkok 10110 Thailand
Call Center Tel. +(66) 2204 6222 Fax. +(66) 2204 6224
ชั้น 16 อาคารจัสมิน วิตี้, 2 ซอยสุขุมวิท 23 ถนนสุขุมวิท แขวงคลองเตยเหนือ เขตวัตนา กรุงเทพฯ10110
ลูกคาสัมพันธ โทร.0 2204 6222 โทรสาร 0 2204 6224
E-mail: [email protected]
For best results, keep the following in mind when caring for your
product:
• Carefully read the cleaner product label to ensure the cleaner is safe
for use on the material.
• Always test your cleaning solution on an inconspicuous area before
applying to the entire surface.
• Wipe surfaces clean and rinse completely with water immediately
after cleaner application. Rinse and dry any overspray that lands on
nearby surfaces.
• Do not allow cleaners to sit or soak on the surface.
• Use a soft, dampened sponge or cloth. Never use an abrasive
material such as a brush or scouring pad to clean surfaces.
• Be careful not to leave staining materials in contact with the surface
for extended periods of time.
• The ideal cleaning technique is to rinse thoroughly and blot dry any
water from the surface after each use.
WARNING: Risk of property or product damage. Do not
use in-tank cleaners in your toilet. Products containing
chlorine (calcium hypochlorite) can seriously damage fiings
in the tank. This damage can cause leakage and property
damage.
Troubleshooting Care and Cleaning
การดูแลรักษาและการทําความสะอาด
Symptoms Recommended Action
1. Poor flush. A. Adjust the tank water level to match the
waterline.
B. Fully open the water supply shut-off valve.
C. Clear obstructions from the trapway, jet, or bowl
rim holes.
D. Clear obstructions from the waste line.
2. No flush. A. Reconnect the flapper chain to the trip lever or
flush valve.
B. Adjust the flapper chain assembly to
remove excessive slack.
3.
The fill valve
A. Adjust the flapper chain for proper slack so the
turns on/off
flapper closes.
by itself B. Clean or replace the flapper if it is worn, dirty, or
without the misaligned with the opening.
toilet being
C. Clean the area around the opening to allow
flushed, or it
the flapper to seal.
runs, allowing
D
. Adjust the tank water level if it is too high.
water to enter
E. Replace the fill valve if the valve float sinks.
the tank.
F. Adjust the tank water level if it is too high.
4. Tank takes A. Fully open the water supply shut-off valve.
excessive time
B. Check the flexible supply line (if applicable) for
to fill. a kink. Remove the kink.
C. Clean the valve inlet, valve head, or supply line.
Flush the lines.
5. There is A. Partially close the water supply shut-off valve if
excessive the waterpressure to the toilet is too high.
noise when Check the toilet performance following any such
the tank adjustment.
is filling. B. Remove dirt or obstructions from the valve head.
Flush the lines.
6. Trip arm A. Adjust flush ball chain assembly to remove
strikes excessive slack.
tank lid B. Adjust trip arm bracket and flange so they
underside. are parallel with tank top.
ปญหาที่พบ วิธีการแกไข
1.

 
  
  
   
   
2.

 
   
  
   
 
   
  
   
   
   
   
   
  
  
   
 

 

  
   
 
   
   
  
 
   
  
ขอแนะนําการแกไขปญหาเบื้องตน


• 

• 

• 

• 
• 

• 
• 

ขอควรระวัง ความเสี่ยงซึ่งอาจกอใหเกิดความเสียหายกับที่พัก
อาศัยและสุขภัณฑ 
  

