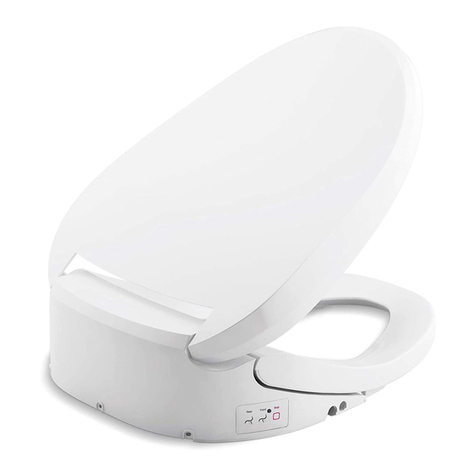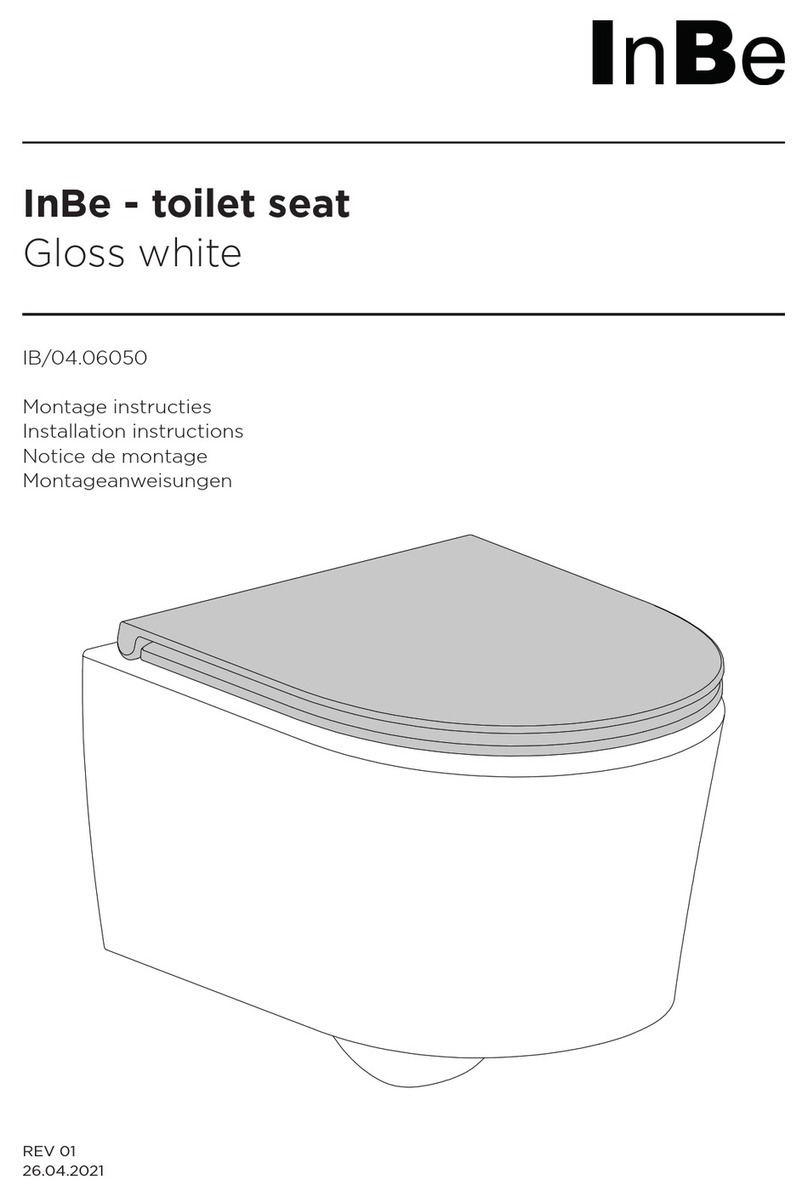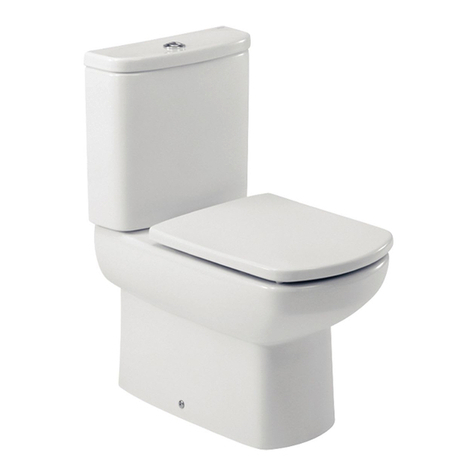
21Install the seat following the seat
instructions.
Installer le siège conformément
aux instructions du fabricant.
Instale el asiento de acuerdo a
las instrucciones para el asiento.
20Turn on the water supply. Check
for leaks.
Ouvrir l'arrivée d'eau. Vérifier
l'étanchéité.
Abra el suministro de agua.
Verifique que no haya fugas.
19Move the tank lid into place, tilt
upward. Reinstall the canister by
inserting the end and rotating into
place.
Mettre le couvercle du réservoir
en place, basculer vers le haut.
Réinstaller la cartouche en
insérant l'extrémité et en la
tournant pour la mettre en place.
Mueva la tapa del tanque a su
lugar, inclinada hacia arriba.
Vuelva a instalar el cilindro
insertando el extremo y girando
a su lugar.
18Attach the canister chains to the
lift rod arms, waterline facing
forward.
Attacher les chaînes de la
cartouche sur les bras de la tige
de levage, conduite d'eau
tournée vers l'avant.
Fije las cadenas del cilindro a los
brazos del tirador, con la línea de
agua hacia adelante.
Troubleshooting
Poor flush or no flush.
1. Ensure that the tank vessel has had time to fill.
2. Ensure the hose is correctly installed.
3. Clean under the bowl rim.
4. Fully open the water supply stop.
5. Plunge the bowl, auger the trap, and auger the drain to clear any
blockage.
6. Ensure the trip lever is connected.
7. Tighten the trip lever nut by turning counterclockwise.
8. Hook the plunger arm over the trip lever arm.
9. Reset the gap between the actuator and the plunger arm.
10. Clean the supply screen with a brush. Replace the screen if
necessary. Phone 1-800-533-3450 (English) or 1-844-488-0669
(Spanish) for assistance.
11. Clean or replace the flow regulator if necessary.
12. Replace inlet components if necessary. Phone 1-800-533-3450
(English) or 1-844-488-0669 (Spanish) for assistance.
13. Refer to installer/dealer for assistance.
Bowl water flows continuously or tank fill water will not shut off.
1. Reset the gap between the actuator and the plunger arm.
2. Repair or replace the plunger arm.
3. Replace the lower supply group (refer to installer/dealer for
assistance).
For additional assistance or for service and warranty on the Sloan
Flushmate® vessel, refer to the Sloan Flushmate® Owner's Service
Manual supplied with the tank. Phone 1-800-533-3450 (English) or
1-844-488-0669 (Spanish).
For service parts information, visit
www.kohler.com/serviceparts.
For care and cleaning and other information, visit
www.us.kohler.com.
ONE-YEAR LIMITED WARRANTY
KOHLER plumbing products are warranted to be free of defects
in material and workmanship for one year from date of
installation.
Kohler Co. will, at its election, repair, replace or make
appropriate adjustment where Kohler Co. inspection discloses
any such defects occurring in normal usage within one (1) year
after installation. Kohler Co. is not responsible for removal or
installation costs. Use of in-tank toilet cleaners will void the
warranty.
To obtain warranty service contact Kohler Co. either through
your Dealer, Plumbing Contractor, Home Center or E-tailer, or
by writing Kohler Co., Attn.:Customer Care Center, 444 Highland
Drive, Kohler, WI 53044, USA, or by calling 1-800-4-KOHLER
(1-800-456-4537) from within the USA and Canada, and
001-800-456-4537 from within Mexico, or visit www.kohler.com
within the USA, www.ca.kohler.com from within Canada, or
www.mx.kohler.com in Mexico.
IMPLIED WARRANTIES INCLUDING THAT OF
MERCHANTABILITY AND FITNESS FOR A PARTICULAR
PURPOSE ARE EXPRESSLY LIMITED IN DURATION TO
THE DURATION OF THIS WARRANTY. KOHLER CO.
AND/OR SELLER DISCLAIM ANY LIABILITY FOR SPECIAL,
INCIDENTAL OR CONSEQUENTIAL DAMAGES. Some
states/provinces do not allow limitations on how long an implied
warranty lasts, or the exclusion or limitation of special, incidental
or consequential damages, so these limitations and exclusions
may not apply to you. This warranty gives you specific legal
rights.You may also have other rights which vary from
state/province to state/province.
This is Kohler Co.'s exclusive written warranty.
USA/Canada: 1-800-4KOHLER
Mexico: 001-800-456-4537
www.kohler.com
Guía para resolver problemas
Descarga ineficiente o no descarga.
Dépannage
Mauvaise chasse ou aucune chasse.
1.1. Asegúrese de que el recipiente del tanque haya tenido suficiente
tiempo para llenar.
S'assurer que la cuvette du réservoir a eu assez de temps pour se
remplir.
2. 2.S'assurer que le tuyau est installé correctement. Asegúrese de que la manguera esté correctamente instalada.
3.3. Limpie por debajo del borde de la taza.Nettoyer le dessous du rebord de la cuvette.
4. 4.Ouvrir complètement l'alimentation en eau. Abra completamente la llave de paso del agua.
5.5. Para eliminar las obstrucciones que pueda haber, utilice una bomba
destapacaños en la taza, y utilice una sonda destapadora en la
trampa y en el desagüe.
Immerger la cuvette, dégorger le siphon et le drain pour les
déboucher.
6. S'assurer que le levier de déclenchement est connecté.
6.7. Asegúrese de que la palanca de descarga esté conectada.Serrer l'écrou du levier de déclenchement en le tournant dans le
sens contraire des aiguilles d'une montre. 7. Apriete la tuerca de la palanca de descarga girándola hacia la
izquierda.8. Accrocher le bras du plongeur par-dessus le bras du levier de
déclenchement. 8. Enganche el brazo del émbolo sobre el brazo de la palanca de
descarga.9. Réajuster l'écart entre l'actionneur et le bras du plongeur.
9.10. Restablezca la separación entre el accionador y el brazo del émbolo.Nettoyer la grille d'alimentation avec une brosse. Remplacer la grille
si nécessaire. Appeler le 1-800-533-3450 (anglais) ou le
1-844-488-0669 (espagnol) pour obtenir de l'aide.
10. Limpie la rejilla del suministro con un cepillo. Reemplace la rejilla
de ser necesario. Llame al 1-800-533-3450 (inglés) o al
1-844-488-0669 (español) para obtener ayuda.11. Nettoyer ou remplacer le régulateur de débit le cas échéant.
11.12. Limpie o reemplace el regulador del flujo, si es necesario.Remplacer les composants de l'orifice d'entrée le cas échéant.
Appeler le 1-800-533-3450 (anglais) ou le 1-844-488-0669
(espagnol) pour obtenir de l'aide.
12. Reemplace los componentes de entrada si es necesario. Llame al
1-800-533-3450 (inglés) o al 1-844-488-0669 (español) para obtener
ayuda.13. Contacter l'installateur/le concessionnaire pour obtenir de l'aide.
L'eau de la cuvette coule continuellement ou l'eau de remplissage
du réservoir ne s'arrête pas.
13. Para más asistencia, consulte con el instalador o distribuidor.
El agua de la taza fluye continuamente o no se cierra el agua de
llenado del tanque.
1. Réajuster l'écart entre l'actionneur et le bras du plongeur.
1. Restablezca la separación entre el accionador y el brazo del émbolo.2. Réparer ou remplacer le bras du plongeur.
3. 2.Remplacer le groupe d'alimentation inférieur (consulter
l'installateur/le concessionnaire pour obtenir de l'aide).
Repare o reemplace el brazo del émbolo.
3. Reemplace el grupo de suministro inferior (consulte al instalador o
distribuidor para obtener ayuda).
Pour obtenir de l'aide supplémentaire ou pour un entretien et une
garantie sur la cuvette Sloan Flushmate®, se reporter au manuel
d'entretien pour le propriétaire Sloan Flushmate® fourni avec le
réservoir. Appeler le 1-800-533-3450 (anglais) ou le 1-844-488-0669
(espagnol).
Para más asistencia o para servicio y garantía del recipiente Sloan
Flushmate®, consulte el manual de servicio del propietario de Sloan
Flushmate® provisto con el tanque. Llame al 1-800-533-3450 (inglés)
o al 1-844-488-0669 (español).
Pour tout renseignement sur les pièces de rechange, visiter
www.kohler.com/serviceparts.
Pour tout renseignement sur l'entretien, le nettoyage et
autre, visiter www.us.kohler.com.
Para información sobre piezas de repuesto, visite
www.kohler.com/serviceparts.
Para el cuidado y la limpieza y otra información, visite
www.us.kohler.com.
GARANTIE LIMITÉE D'UN AN
Les produits de plomberie KOHLER sont garantis contre tout
vice de matériau et de fabrication pendant un an à partir de la
date de l'installation.
Si un vice est découvert au cours d'une utilisation normale,
Kohler Co. choisira, à sa discrétion, la réparation, le
remplacement ou la rectification appropriée après inspection
desdits vices par Kohler Co. pendant un (1) an à partir de la
date d'installation. Kohler Co. n'est pas responsable des frais
d'enlèvement ou d'installation. L'utilisation de nettoyants à
l'intérieur du réservoir annule la garantie.
Pour obtenir le service de garantie, contacter Kohler Co., par
l'intermédiaire du vendeur, plombier, centre de rénovation ou
revendeur par internet, ou bien par écrit à l'adresse suivante
Kohler Co., Attn.: Customer Care Center, 444 Highland Drive,
Kohler, WI 53044, USA, ou appeler le 1-800-4-KOHLER
(1-800-456-4537) à partir des É.-U. et du Canada, et le
001-800-456-4537 à partir du Mexique, ou consulter le site
www.kohler.com aux É.-U., www.ca.kohler.com à partir du
Canada, ou www.mx.kohler.com au Mexique.
LES GARANTIES TACITES,Y COMPRIS CELLES DE
COMMERCIALITÉ ET D'ADAPTATION À UN USAGE
PARTICULIER, SONT EXPRESSÉMENT LIMITÉE À LA
DURÉE DE LA PRÉSENTE GARANTIE. KOHLER CO. ET/OU
LE REVENDEUR DÉCLINENT TOUTE RESPONSABILITÉ
CONTRE LES DOMMAGES PARTICULIERS, ACCESSOIRES
OU INDIRECTS. Certains états et provinces ne permettent pas
de limite sur la durée de la garantie tacite, ni l'exclusion ou la
limite des dommages particuliers, accessoires ou indirects, et,
par conséquent, lesdites limites et exclusions peuvent ne pas
s'appliquer à votre cas. Cette garantie vous donne des droits
juridiques particuliers. Vous pouvez également avoir d'autres
droits qui varient d'un état ou d'une province à l'autre.
Ceci constitue la garantie écrite exclusive de Kohler Co.
GARANTÍA LIMITADA DE UN AÑO
Se garantiza que los productos de plomería KOHLER están
libres de defectos de material y mano de obra por un año a
partir de la fecha de instalación.
Kohler Co., a su criterio, reparará, reemplazará o realizará los
ajustes pertinentes en los casos en que la inspección realizada
por Kohler Co.determine que dichos defectos ocurrieron durante
el uso normal en el transcurso de un (1) año a partir de la fecha
de la instalación. Kohler Co. no se hace responsable de costos
de desinstalación o instalación. El uso de limpiadores de
inodoro que se colocan dentro del tanque anulará la
garantía.
Para obtener el servicio de garantía, comuníquese con Kohler
Co. a través de su distribuidor, contratista de plomería, centro
de remodelación o distribuidor por Internet, o escriba a Kohler
Co., Attn.: Customer Care Center, 444 Highland Drive, Kohler,
WI 53044, USA, o llame al 1-800-4-KOHLER (1-800-456-4537)
desde los EE.UU. y Canadá, y al 001-800-456-4537 desde
México, o visite www.kohler.com desde los EE.UU.,
www.ca.kohler.com desde Canadá, o www.mx.kohler.com en
México.
TODA GARANTÍA IMPLÍCITA INCLUYENDO DE
COMERCIALIZACIÓN E IDONEIDAD DEL PRODUCTO PARA
UN USO DETERMINADO, SE LIMITA EXPRESAMENTE A
LA DURACIÓN DE ESTA GARANTÍA. KOHLER CO.Y/O EL
VENDEDOR DESCARGAN TODA RESPONSABILIDAD POR
CONCEPTO DE DAÑOS PARTICULARES, INCIDENTALES
O INDIRECTOS. Algunos estados/provincias no permiten
limitaciones en cuanto a la duración de una garantía implícita
o a la exclusión o limitación de daños particulares, incidentales
o indirectos, por lo que estas limitaciones y exclusiones pueden
no aplicar a su caso. Esta garantía le otorga ciertos derechos
legales específicos.Además, usted puede tener otros derechos
que varían de estado a estado y provincia a provincia.
Ésta es la garantía exclusiva por escrito de Kohler Co.
1224920-2-A© 2013 Kohler Co.
