manuals.online logo
Brands
  1. Home
  2. •
  3. Brands
  4. •
  5. KSE-LIGHTS
  6. •
  7. Lighting Equipment
  8. •
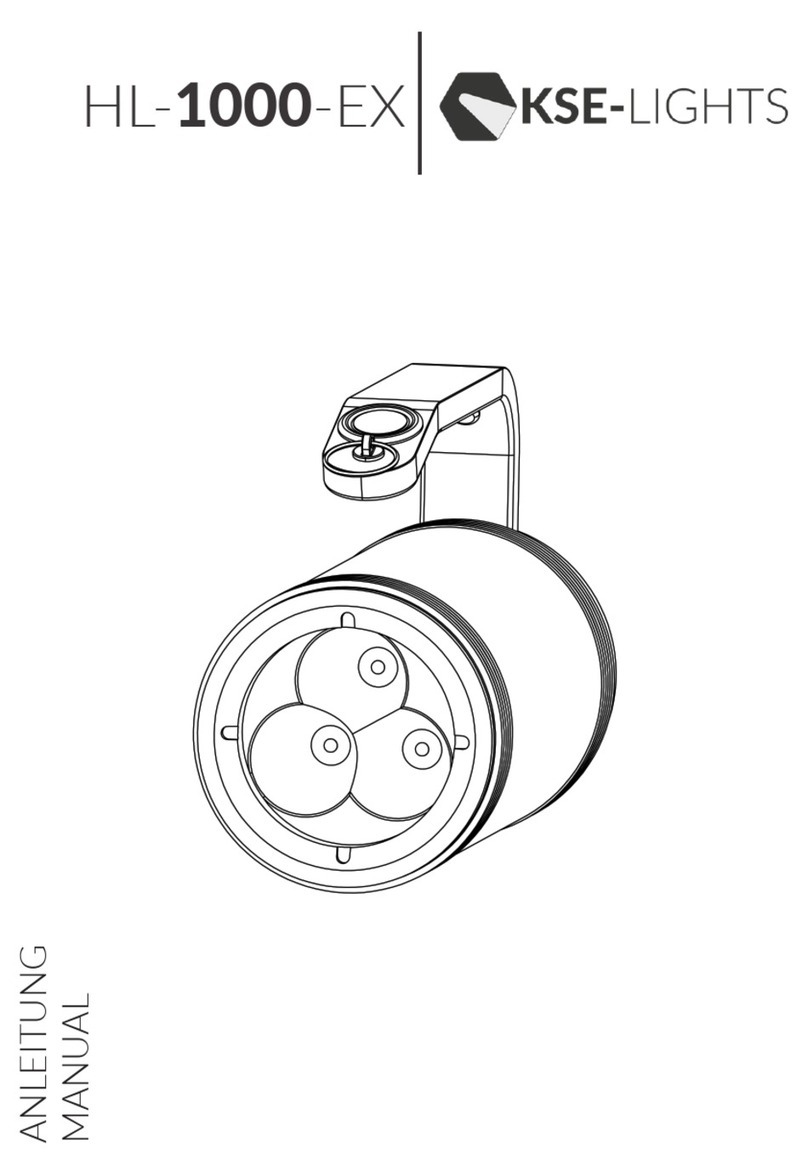
  9. KSE-LIGHTS HL-1000-EX User manual

KSE-LIGHTS HL-1000-EX User manual

A A
B B
C C
D D
E E
F F
4
4
3
3
2
2
1
1
ANLEITUNG
MANUAL
HL-1000-EX
<<< 2 3 >>>
890/515/(890) Lumen
890/515/(890) lumens Reektor
reector
830/480/(830) Meter
830/480/(830) meters
IP68
IP68
8/16/(20) Stunden
8/16/(20) hours
900 Gramm
900 grams
Li-Ion Akku
Li-ion baery
Akkustandsanzeige
baery status display
<8 Stunden Ladezeit
<8 hours charging 67mm x 140mm
POWER-/ Arbeits-/
(Blinklicht)
POWER-/ working-/
(ashlight)
5000K
5000K
HL-1000-EX
HAND LAMP
HL-1000-EX
A A
B B
C C
D D
E E
F F
4
4
3
3
2
2
1
1
A A
B B
C C
D D
E E
F F
4
4
3
3
2
2
1
1
Ein-/Ausschalter
on-/o-buon
Gri
handle
Tragebandbefesgung
strap aachment
Neoprencover
neoprene cover
Ladebuchse
charging socket
Display
display
Lichtaustri / Reektor
light output / reector
Reference standards:
EN 60079-0: 2018; EN 60079-1: 2014;
EN 60079-11: 2012; EN 60079-31: 2014
II 2G Ex db ib IIC T6 Gb
II 2D Ex ib tb IIIC T80°C Db IP68
-20 °C <Ta< +55 °C
ZONE
1/21
TEMP
-15 /
+50 °C
<<< 4 5 >>>
Dieses Produkt wird häug bei der
Inspekon von Hochspannungsleitun-
gen, bei der Suche und Reung, bei
der Inspekon von Geräten, bei der
Wartung und an verschiedenen brenn-
baren und explosiven Orten als mobile
Beleuchtung eingesetzt.
Zone 1 und Zone 2 für gefährliche Gase;
Zone 21 und Zone 22 für gefährlichen
Staub.
• Drei Leuchtmodi können durch-
geschaltet werden. Stark- und
Arbeitslicht sowie ein Blinkmodus;
• Zwischen den beiden Haupt-
leuchmodi kann frei gewechselt
werden. (wie auf der nachfolgen-
den Seite beschrieben)
• Digitale Baerieanzeige, Echtzeit-
anzeige des Status des Akkumu-
lators
• Mit Hochleistungs-LED, geeignet
für den Einsatz im Gelände und
Suche nach Zielen;
• Die patenerte Struktur zur Wär-
meableitung kann die Temperatur
der Lichtquelle schnell reduzieren
und die Zuverlässigkeit und Le-
bensdauer der Lichtquelle eekv
gewährleisten;
• Das Gehäuse ist aus CNC-Prä-
zisionsbearbeitung, und die Ober-
äche des Gehäuses ist mit einer
robusten Oxidaonsbehandlung
veredelt worden
• Es kann mit einer Neoprenschutz-
hülle ausgestaet werden, um
den Widerstand gegen Stürze
und Abnutzung zu erhöhen und
die Lebensdauer des Produkts zu
verlängern;
• In der Handleuchte benden sich
6 1860 Akkumulatoren
LEISTUNGS
MERKMALE
• Prüfen Sie regelmäßig, ob der
Gri und die hintere Abdeckung,
die Lampenröhre und die hin-
tere Abdeckung fest mitein-
ander verbunden sind, um die
Wasserdichgkeit, Explosions-
sicherheit und Stoßfesgkeit zu
gewährleisten.
• Beim Auaden an einem Ort mit
hoher Umgebungstemperatur
oder beim konnuierlichen Ent-
laden mit starkem Licht für eine
lange Zeit, wird die Oberäche
der Taschenlampe leicht an
Temperatur zunehmen, was ein
normales Verhalten darstellt.
• Es ist strengstens verboten, die
durchsichge Fläche der Lampe
nach unten zu halten nachdem
die Lampe eingeschaltet wurde;
leuchten Sie nicht direkt in das
menschliche Auge (weil das
starke Licht das menschliche
Auge verletzen kann).
• Zerlegen Sie die Bauteile der
Lampe nicht nach Belieben, ins-
besondere nicht die versiegelten
Bauteile.
• Nach Nutzung der Handlampe
in korrosiver Umgebung (z.B.
Meerwasser), wischen Sie die
Oberächen gründlich ab um
Korrosionen am Gehäuse zu
vermeiden.
• Die Box enthält Lampen,
Trageband, Ladegerät und die
Anleitung.
This product is widely used in high-vol-
tage line inspecon, search and rescue,
equipment inspecon, maintenance and
various ammable and explosive places
as mobile lighng.
Zone 1 and Zone 2 for hazardous gases;
Zone 21 and Zone 22 for hazardous
dust.
• Three levels of strong light, weak
light, and ashing warning can be
switched at will;
• Dual modes can be switched free-
ly. (as discribed on the following
page)
• Digital baery display, real-me
understanding of lighng me;
• Using ultra-high brightness LED,
suitable for eld patrol operaons
and search targets;
• The patented structure for heat
dissipaon can quickly reduce
the temperature of the light
source and eecvely ensure the
reliability and service life of the
light source;
• The shell is made of CNC preci-
sion processing, and the surface
of the shell is treated with the har-
dest oxidaon treatment, making
the whole elegant atmosphere;
• It can be equipped with a rubber
protecve cover to increase the
resistance to fall and wear and
prolong the service life of the
product;
• Built-in 6pcs 18650 lithium
baeries, with strong endurance,
can be selected according to the
use situaon.
CHARACTERISTICS
OF PERFORMANCE
• Frequently check and ensure
that the handle and the back
cover, the lamp tube and the
back cover are ghtly integra-
ted to enhance the waterproof,
explosionproof, and impact
resistance capabilies.
• When charging in a place with
a high ambient temperature or
connuously discharging with
strong light for a long me, the
surface of the ashlight will rise
slightly in temperature, which is
a normal phenomenon.
• It is strictly forbidden to place
the transparent part of the
lamp facing down aer turning
on the lamp; do not illuminate
the human eye directly (becau-
se the strong light may hurt the
human eye).
• Do not disassemble the struc-
tural parts of the lamp at will,
especially the sealed structural
parts.
• Wipe the surface aer use in
a corrosive environment or
seawater.
• The box includes lamps, lan-
yard, charger, manual.
PRECAUTIONACHTUNG
<<< 6 7 >>>
1. Betägen Sie den Grischalter
san, um das helle Licht einzu-
schalten. Drücken Sie erneut, um
auf das schwache Licht umzu-
schalten, und nochmals, um die
Beleuchtung auszuschalten.
2. Wenn das Licht ausgeschaltet
ist, halten Sie den Schalter für
2 Sekunden gedrückt, um den
Blinkmodus zu akvieren. Das
Licht wird dann blinken. Drücken
Sie erneut, um das Licht auszu-
schalten.
3. Wenn das Licht eingeschaltet
ist, halten Sie den Schalter 5
Sekunden lang gedrückt, um den
Modus zu ändern:
Modus 1: Hohe Beleuchtungs-
stärke für 8 Stunden, niedrige Be-
leuchtungsstärke für 16 Stunden.
Modus 2: Hohe Lichtleistung für
11 Stunden, niedrige Lichtleis-
tung für 16 Stunden.
4. Beim Einschalten der Lampe
wird die Baerieleistung erkannt
und als Prozentwert im An-
zeigefenster am Ende der Lampe
angezeigt. Wenn die Leistung
10% erreicht, muss die Lampe
aufgeladen werden.
5. Nach den ersten Anwendungen
beträgt die Ladezeit 8 bis 10
Stunden. Sie können die Hand-
leuchte jederzeit wieder an das
Ladegerät anschließen. Nach dem
Auaden ist die Handleuchte
für 90 Tage einsatzbereit. Falls
Sie die Handleuchte längere Zeit
nicht benutzen, laden Sie den
Akku vor der erneuten Nutzung
entsprechend der Anleitung auf.
6. Wenn der Strom während des
Gebrauchs zur Neige geht, wird
die Helligkeit des Lichts deutlich
gedimmt und es wechselt in den
Stroboskop-Modus. Der Strom
schaltet sich automasch nach
etwa 10 Minuten ab. Beenden
Sie zu diesem Zeitpunkt den
Betrieb und laden Sie die Lampe
rechtzeig auf.
7. Das Ladegerät verfügt über
eine eingebaute Ladeschutz-
vorrichtung. Önen Sie den
Gummistopfen auf der Rückseite
der Lampe und stecken Sie den
Ausgangsstecker des Ladegeräts
in die Ladebuchse. Ein rotes Licht
leuchtet auf, um anzuzeigen, dass
das Gerät aufgeladen wird. Ein
Wechsel von Rot zu Grün zeigt
an, dass es vollständig aufgela-
den ist.
Ex-Kennzeichnung:
II 2 G Ex db ib IIC T6 Gb
II 2 D Ex ib tb IIIC T80 Db IP68
ANLEITUNG
VERWENDUNG
1. When in use, lightly press the handle
switch to start the High light illumina-
on for the rst me, press the second
me to turn into Low light, press the
third me to turn o, and cycle in turn.
2. When the light is o, press and hold
the switch for 2 seconds, the light will
ash, and then press the switch again
to turn o the light.
3. When the light is on, press and hold
the switch for 5 seconds to switch the
mode:
Mode 1: High light illuminaon for
8 hours, low light illuminaon for 16
hours;
Mode 2: High light illuminaon for
11 hours, low light illuminaon for 16
hours;
4. When the light is turned on, the
baery power will be detected. The
baery power is displayed as a percen-
tage value in the window at the end of
the lamp. When the power is 10%, the
lamp needs to be charged.
5. Aer the rst few mes of use, the
charging me is 8~10 hours. In the
future, it can be recharged in me
according to the normal charging me
to ensure that the baery is always
fully charged; aer a full charge, it can
be used at any me within 90 days. If
the hand lamp is not used for a longer
period of me, charge the baery
according to the instrucons before
using it again.
6. During use, if the power is about to
run out, the brightness of the light will
be signicantly dimmed and enter the
stroboscopic state. The power will be
automacally cut o aer about 10
minutes. At this me, stop using and
charge in me.
7. The charger has a built-in charging
protecon device. Open the charging
rubber plug on the back cover of the
lamp, and insert the charger‘s output
plug into the charging socket. The red
light is on to indicate that it is charging,
and the red to green indicates that it is
fully charged.
Ex marking:
II 2 G Ex db ib IIC T6 Gb
II 2 D Ex ib tb IIIC T80 Db IP68
INSTRUCTION
USAGE
<<< 8 9 >>>

Other KSE-LIGHTS Lighting Equipment manuals

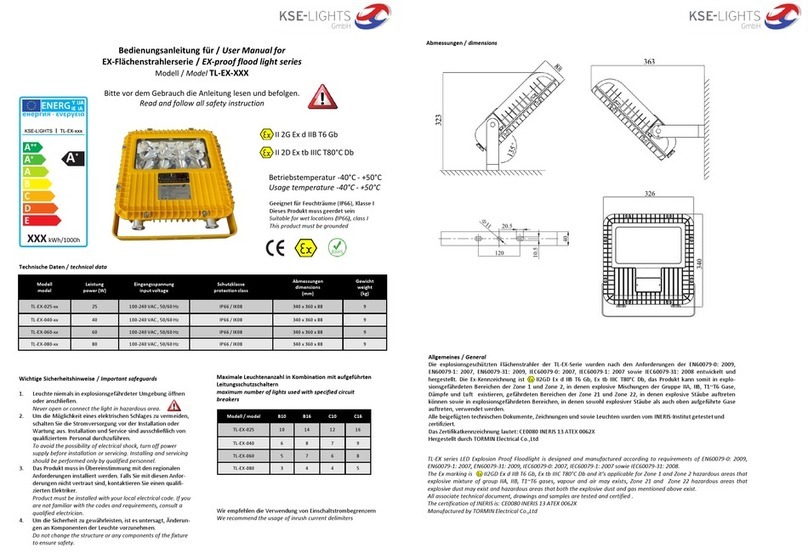
KSE-LIGHTS TL-EX Series User manual

KSE-LIGHTS

KSE-LIGHTS TL-EX Series User manual

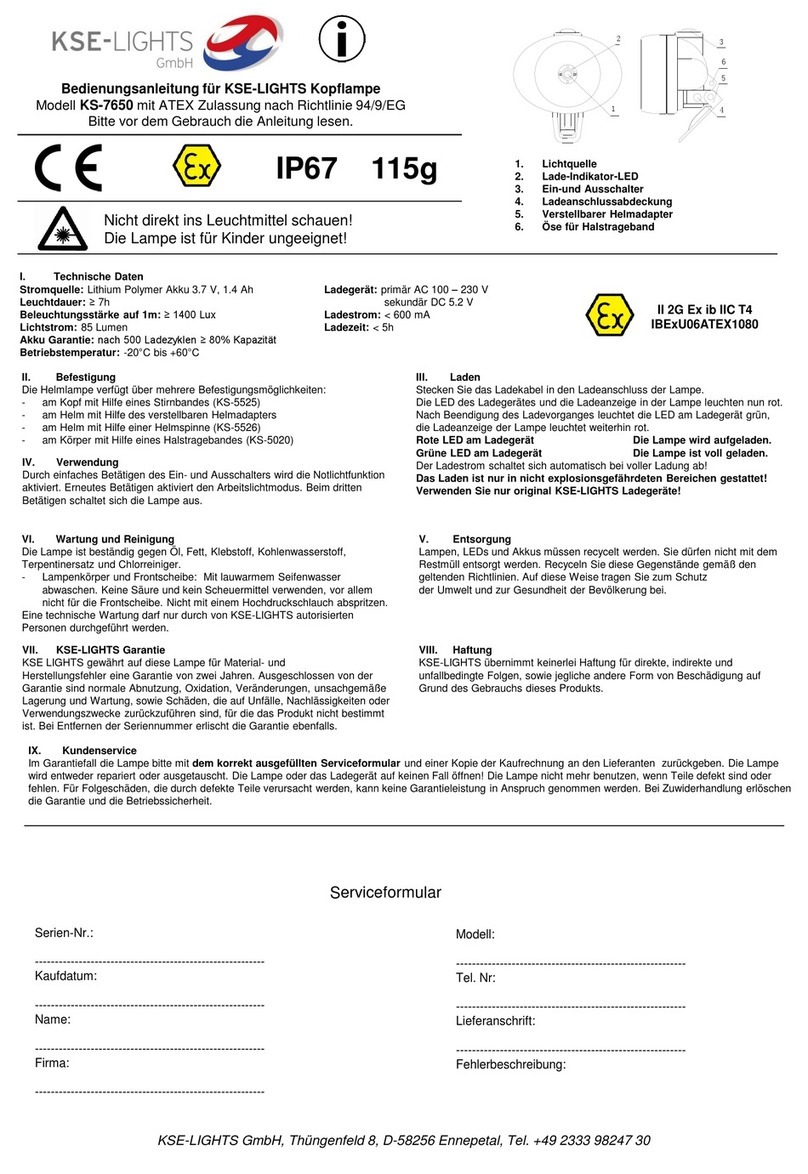
KSE-LIGHTS KS-7650 User manual

KSE-LIGHTS

KSE-LIGHTS KS-7650 User manual

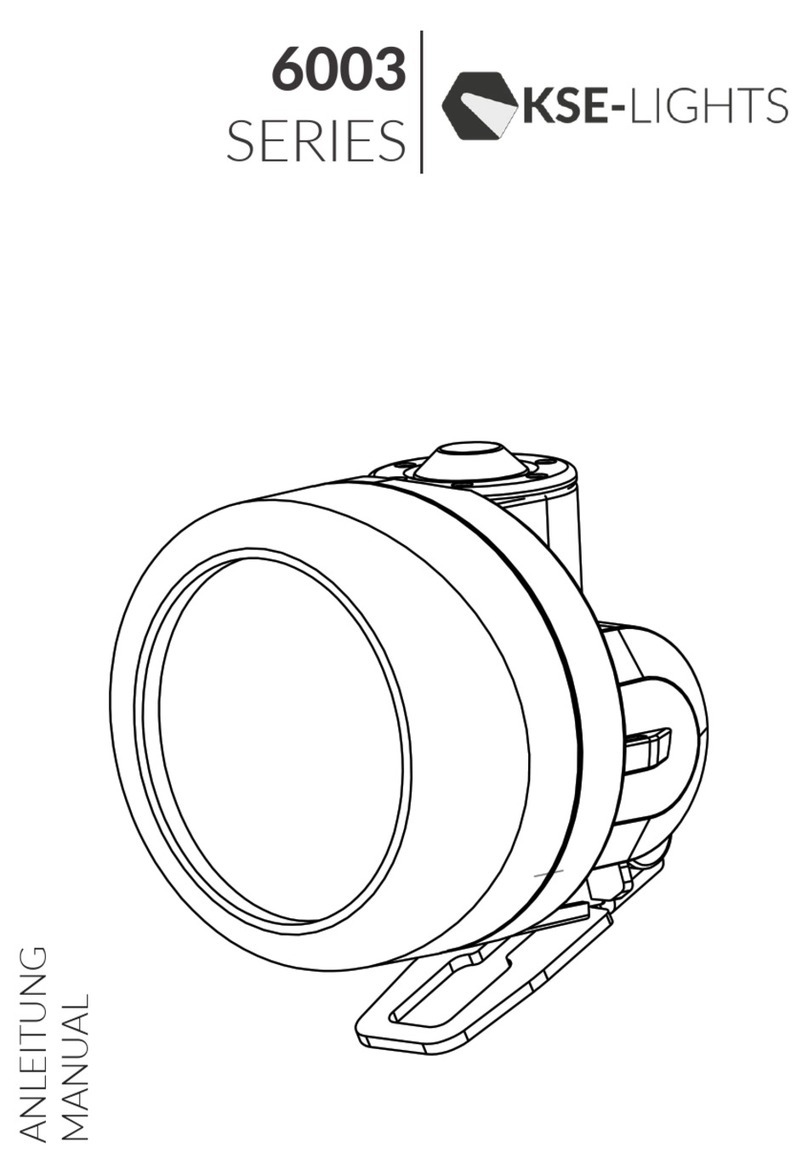
KSE-LIGHTS 6003 Series User manual

KSE-LIGHTS

KSE-LIGHTS 6003 Series User manual

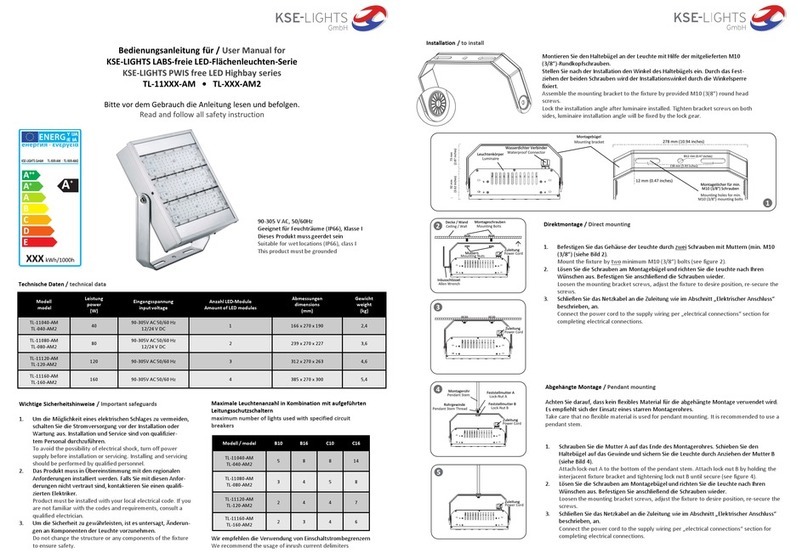
KSE-LIGHTS TL-11 AM Series User manual

KSE-LIGHTS

KSE-LIGHTS TL-11 AM Series User manual

KSE-LIGHTS HERO KS-8000 User manual

KSE-LIGHTS

KSE-LIGHTS HERO KS-8000 User manual

KSE-LIGHTS HL-1000-EX User manual

KSE-LIGHTS

KSE-LIGHTS HL-1000-EX User manual

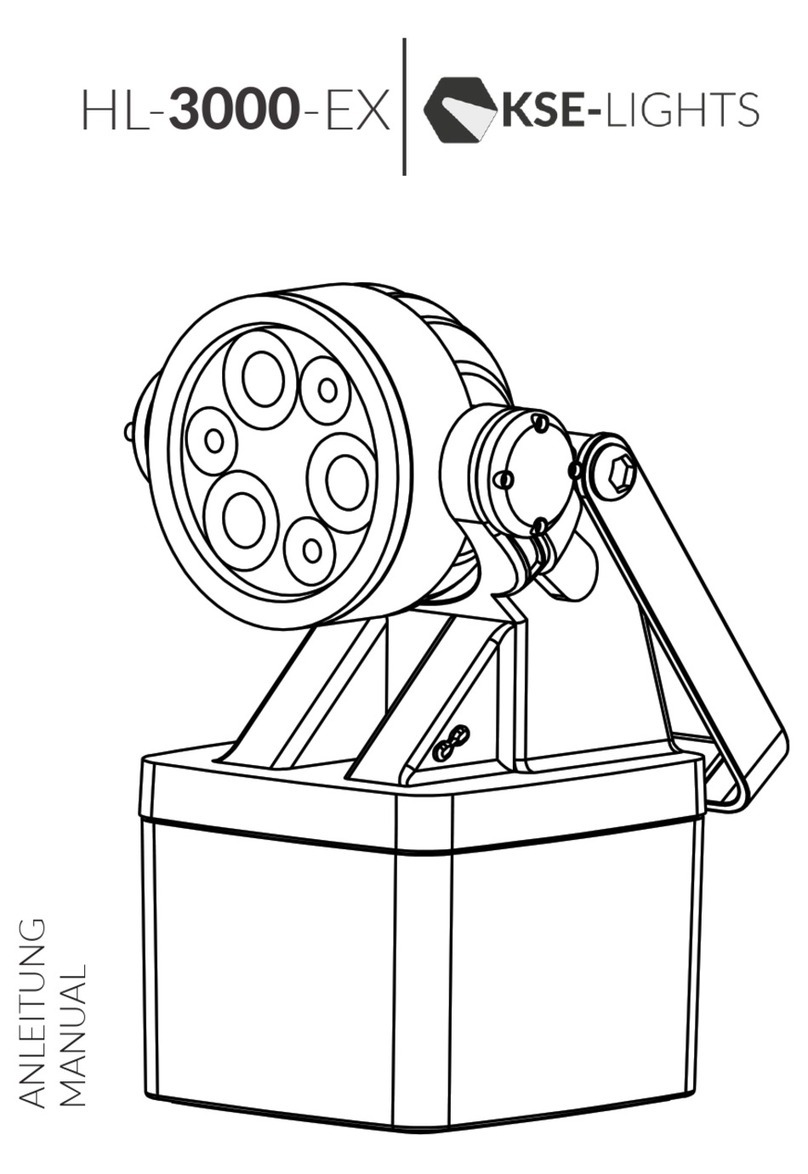
KSE-LIGHTS HL-3000-EX User manual

KSE-LIGHTS

KSE-LIGHTS HL-3000-EX User manual

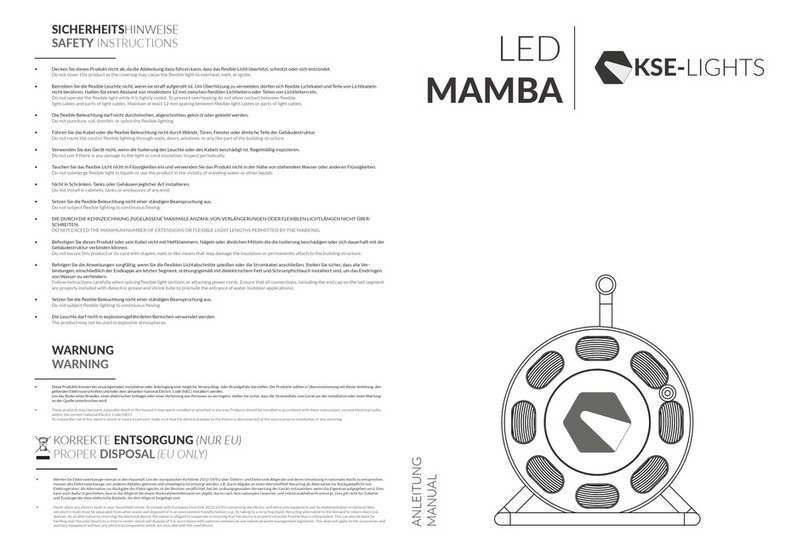
KSE-LIGHTS LED-MAMBA FSL-15 User manual

KSE-LIGHTS

KSE-LIGHTS LED-MAMBA FSL-15 User manual

Popular Lighting Equipment manuals by other brands

Life 39.9F70020C quick start guide

Life

Life 39.9F70020C quick start guide

EuroLite LED ML-20 user manual

EuroLite

EuroLite LED ML-20 user manual

LIGMAN OD-50141 installation manual

LIGMAN

LIGMAN OD-50141 installation manual

Home Accents Holiday 1002461144 instructions

Home Accents Holiday

Home Accents Holiday 1002461144 instructions

Experia IRiS Ripple Light instruction manual

Experia

Experia IRiS Ripple Light instruction manual

Erco Gecko Mounting instructions

Erco

Erco Gecko Mounting instructions

Inter-lux ZTA.100.Surface Installation and maintenance instructions

Inter-lux

Inter-lux ZTA.100.Surface Installation and maintenance instructions

Whelen Engineering Company TN Series installation guide

Whelen Engineering Company

Whelen Engineering Company TN Series installation guide

IKEA BJÖRKSPIREA manual

IKEA

IKEA BJÖRKSPIREA manual

Toolland PM 6640 instruction manual

Toolland

Toolland PM 6640 instruction manual

GTD GTD-LP200 user manual

GTD

GTD GTD-LP200 user manual

LIVARNO home 1105-W-UK manual

LIVARNO home

LIVARNO home 1105-W-UK manual

ProLights EclPar IPMFC user manual

ProLights

ProLights EclPar IPMFC user manual

Velvet EVO Series user manual

Velvet

Velvet EVO Series user manual

IDTOLIGHT GENT installation instructions

IDTOLIGHT

IDTOLIGHT GENT installation instructions

MAYTONI S35 installation manual

MAYTONI

MAYTONI S35 installation manual

MaxLite MLFP14DP4535 user manual

MaxLite

MaxLite MLFP14DP4535 user manual

SLV Elektronik 550621 instruction manual

SLV Elektronik

SLV Elektronik 550621 instruction manual

manuals.online logo
manuals.online logoBrands
  • About & Mission
  • Contact us
  • Privacy Policy
  • Terms and Conditions

Copyright 2025 Manuals.Online. All Rights Reserved.