PAGE
2
ATTENTION! Your local ordinances may have specific requirements on the approved angle of the
plate mount. Be sure the license plate is at the approved angle and meets all local
ordinances.
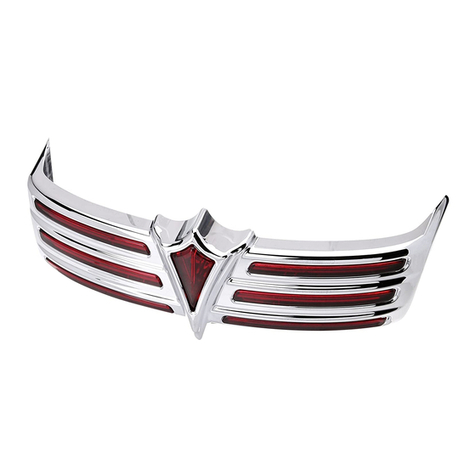
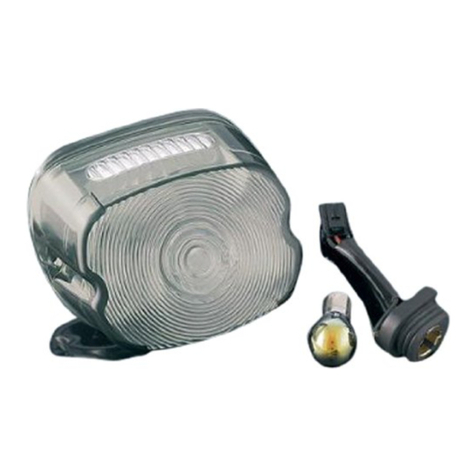
ATTENTION! The brake light on the license plate holder is not intended to function as the
main brake light, it is meant only to be an accent accessory. Be sure your main brake
light is functional before operating your motorcycle.
WARNING! THE ADDITION OF A SIDE-MOUNTED LICENSE PLATE MAY AFFECT
CORNERING CLEARANCE IN SOME SITUATIONS.
STEP 1 Read and understand all steps in the instructions before starting the installation. Park the
motorcycle on a hard, level surface and turn off the ignition. Let cool.
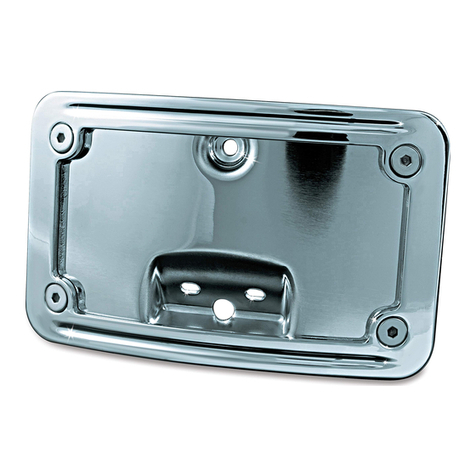
STEP 2 Remove the four Allen screws from the back of the license plate assembly. Install your license
plate into the assembly and fasten the Allen screws. You may need to trim your plate with tin
snips for a perfect fit.
STEP 3 Place the splined section of the license plate assembly over the splined adapter; adjust the angle
of the license plate assembly and secure with the fastener that was supplied with your splined
adapter. Be sure the plate assembly does not interfere with the shock absorber or other
components on the motorcycle and that there is sufficient clearance for the passenger foot peg.
Torque the fastener to 20 ft/lbs., ensuring that the splines on the mount mesh
properly with the splines on the backing plate.
STEP 4 Locate the main wiring harness running to the rear fender. Use a test light, or refer to the factory
service manual to identify which wire performs the run function and which wire performs the
brake function of the taillight and which wire is the ground wire. Mark these wires for reference.
STEP 5 Route the plate assembly wiring harness to the stock wiring harness. Keep the wiring harness
clear of moving parts and high temperature parts (belt, wheel, swing arm pivot, etc.).
ATTENTION! Secure all wiring away from any moving parts, pinch points or extreme heat. Küryakyn
WILL NOT issue a warranty on any electrical component that fails due to pinched,
crimped, broken, abraded, melted or frayed wires.
CAUTION! Avoid potential electrical shock! Disconnect the battery before starting this
procedure.
ATTENTION!
Küryakyn recommends the use of dielectric grease on electrical connections.
LIGHTED CURVED PLATE MOUNT INSTALLATION
-cont.-
