KYOTA Yugana M780 User manual

Yugana M780
4D Massage Chair
User Manual
The World’s Most
Advanced Massage Chairs®


Welcome to
Thank you, and congratulations on purchasing your very own Kyota Massage Chair
product - you’ve made a great buying decision. Welcome to the Kyota family.
Inside this manual, you will nd everything you need to setup and safely enjoy your
chair. Please review the entire manual before assembling or using your chair.If you
are assembling the chair yourself, please see the Assembly Guide next and reference
the online assembly video.
For convenience, we’ve also created a Quick Start Guide.We suggest you keep it in
the remote pocket as a tool to get to know all the features of your new chair.
Sit back, relax, and enjoy your new Kyota massage chair!
Register your product at www.kyotamassagechairs.com/
warranty/registration to ensure it is in our system. This will
simplify the warranty process should you ever need it.
Alternatively, scan the QR code to go directly to the URL above. SCAN CODE
Before assembling your chair, watch an assembly video at:
www.kyotamassagechairs.com/assembly-tutorials
Alternatively, scan the QR code to go directly to the URL above.
SCAN CODE
Warranty Registration
Assembly Video

Chair Features
- 4D Back Mechanism
- 44” L-Track
- Zero Gravity Recline
- Zero Wall Fit™ Space-saving Technology
- Weightless Zero Gravity Recline
- Complete Calf™ Kneading + Oscillation
- Premium Bluetooth Speakers
- SootheMe™ Sound Therapy Onboard Nature Sounds
- Decompression Stretch
- Total Sole™ Triple Reflexology Foot Rollers
- TrueFit™ Footrest Extension
- USB Charging Port
- Lumbar Heat + Back Mechanism Heat
- Truefit™ Body Scanning
- Airbag Compression Therapy
- Intelligent Voice Command + Control
- MyMassage™ Memory Programs
- Chromotherapy Lights
External Structure
Shoulder Airbags
Headrest
Speaker s
Backrest Cushion
Arm Airbags
Legrest
Footrest
LED Lights
Back
rest Cover
Remote Holders
Casters
Power Panel

Table of Contents
Preparation
Chair Setup
Getting Started
Installation Site
Clearance Space for the Chair
Floor Protection
Move Methods
Connect to Power
6
6
6
7
7
Main Power Switch
Adjust Pillow
TrueFit™Body Scanning
Re-adjust Shoulder Position
Getting out of the Chair
Chair Entry and Exit Hazards
USB Charging Port
8
8
9
9
9
10
11
12
13
Auto Programs Menu
Remote Control In-use Screen
Auto Program Descriptions
Airbag Massage Menu
Airbag Region
Airbag Intensity
Options Menu
4D Intensity
Foot Speed
Calf Speed
Heat
Nature Sounds
Volume
Intelligent Voice Command + Control
MyMassage™ Memory Programs Menu
14
14
15
16
16
16
16
17
17
17
17
18
18
19
20
Setting Tool Menu
Timer
Language
Bluetooth Audio
Remote Control Beep
Sleep Mode
Chromotherapy LED Lighting
22
22
22
22
23
23
23
Troubleshooting
FCC Information
Frequently Asked Question
Specications
Limited Warranty
Remote Diagram
Remote Control Operation
29
29
30
30
31
26
Settings
Fixing Issues
Remote Control
Manual Programs Menu
Massage Mode
Massage Position
Massage Speed
Massage Width
24
24
24
25
25
Create a Massage
Staying Safe
Safety Information

6
- 2” clearance for the recline of the backrest; 14” clearance for the extension of footrest and
sliding forward of the chair.
- Keep it 3 feet away from the TV, radio or other audio & video appliance to avoid signal
interference.
Clearance Space for the Chair
Installation Site
Preparation
We recommend to place a piece of thin carpet or soft mat underneath it to avoid damaging
the oor.
Floor Protection
- Do not use the massage chair in high moisture environment such as near swimming pool or bathroom to prevent
electric shock accident.
- Please keep the massage chair away from heated surfaces to prevent re hazard or damage to the product.
WARNING
- Keep the distance between the power socket and power switch within 60” to avoid damage of power cord while
massage chair sliding forward.
- Straighten the power cord while in use to avoid tangle or damage.
- When the massage chair sliding forwards or back, please check to make sure there is no children, pets or other
obstacles around to avoid accident.
CAUTION
14”2”
Massage chair
Floor

7
- Apply pressure to the back of the massage chair from behind to pivot on the Castors. Have a
second person up front to guide the Footrest until in the correct position. Maintain clearances
as mentioned above. Gently lower into place. Do not pull on the side arms.
Move Methods
- Do not move the chair when there is a user inside.
- To carry this product, do not lift by the footrest or armrest, hold the chassis and steady the backrest (have 4 or more
people to carry the product).
CAUTION
Connect to Power
Plug into a 120V grounded outlet.
WARNING– Improper connection of the equipment-
grounding conductor can result in a risk of electric shock. Check with
a qualied electrician or serviceman if you are in doubt as to whether
the product is properly grounded. Do not modify the plug provided
with the product – if it will not t the outlet, have a proper outlet
installed by a qualied electrician.
This product is for use on a nominal 1W0-V circuit and has a
grounding plug that looks like the plug illustrated. Make sure that the
product is connected to an outlet having the same conguration as
the plug. No adapter should be used with this product.
Earthing
This massage chair is a Class 1 electrical appliance. Make sure to use a
grounded outlet to the grounded power supply circuit and a properly
installed earth grounding rod with ground connection, to avoid
electric shock.
Grounded
outlet
Grounding pin
Grounding Instructions
To avoid risk of electrical shock, turn power switch o before plugging unit into electrical outlet. Use only
with properly grounded outlet (3 prong). Do not plug into ungrounded outlet.
WARNING

8
To power up the chair, ick the main power switch located on the back of the base of the chair
to ON.
Main Power Switch
Getting Comfortable
Chair Setup
Take a seat in the chair and take note of where the neck pillow rests on your neck. Adjust the
pillow so that it rests comfortably in the arch of your neck. Do this by removing it from the
velcro, aligning it, and then reattaching to the velcro once it is in the desired position.
Adjust Pillow
Main power switch
Power cord input
CAUTION
- Children should be supervised to ensure that they do not play with the chair or touch the power box.
- Always unplug the massage chair from the electrical outlet immediately after use.
- Unplug from outlet during thunder or lightening storms, and before putting on or taking o parts.
- Turn o the power switch and unplug the massage chair from the electrical outlet while not in use to avoid children
power on the massage chair accidentally.
- When not in use for a long period of time,we recommend that the chair be covered, the power cord be coiled and that
the unit be placed in an environment free of dust and moisture.
Neck Pillo
w

9
Select any auto program and press the OK button.
The chair will automatically begin scanning your
body, mapping your back, shoulders, and neck.
During this process it is important to remain
seated back into the chair without lifting your
head.
The scan can be viewed on the remote control
screen. If ne tuning is needed just after your
body scan, wait for the shoulder adjust prompt
to appear and then use the Up or Down arrow
buttons to move the massage rollers up or down
for the perfect shoulder kneading position.
TrueFit™ Body Scanning
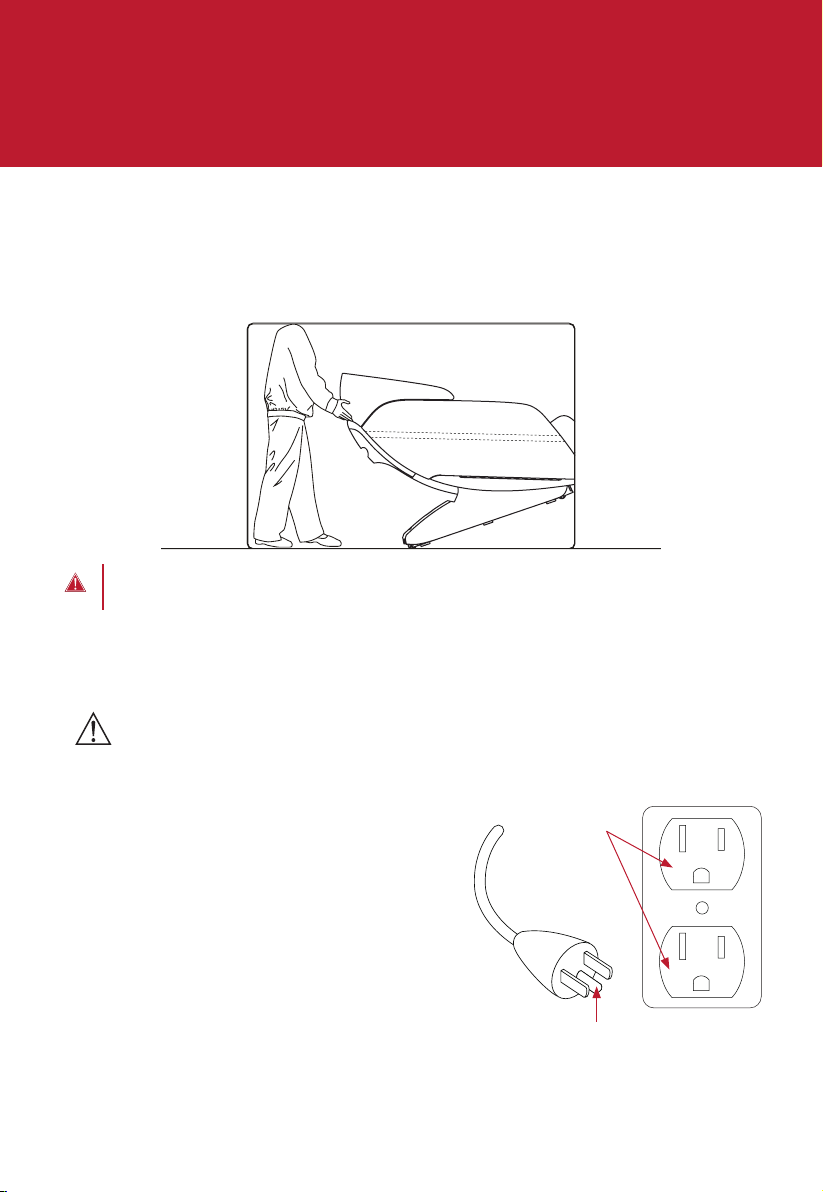
To easily exit the chair at any time, press the ON/OFF power button on the remote control to
restore the chair to the upright position.
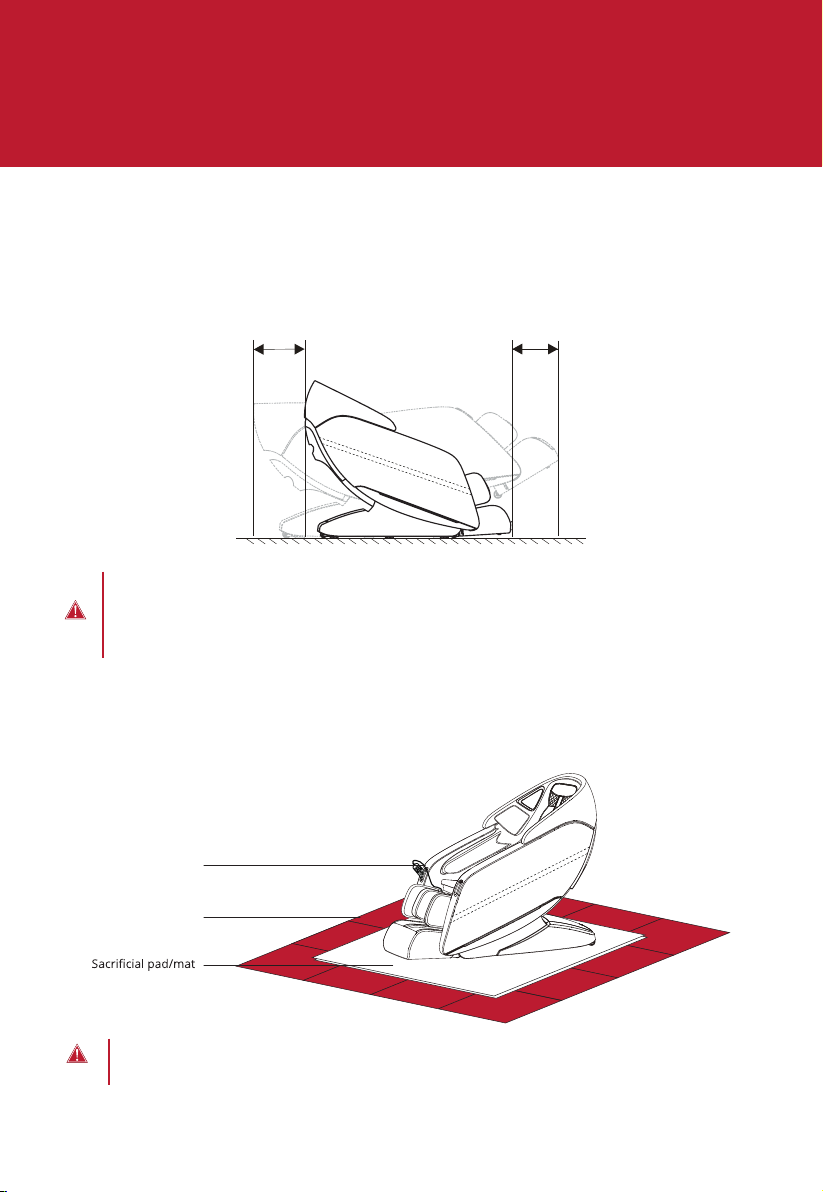
WARNING! Check to make sure children and pets are clear of chair before pressing on/o
button to return chair to upright position. See next page for detailed hazard warnings.
Getting out of the Chair
If you nd that you need to adjust your shoulder
height position after leaving the shoulder adjust
screen, simply use the left and right arrows when
in the in-use screen to navigate to shoulder
position. Press OK to select. Once selected you
will be taken back to the Shoulder adjust screen
where you can use the up and down arrows to ne
tune your shoulder position.
Re-adjust Shoulder Position
Shoulder Position
Shoulder Position
Total Body

H1 - Headline of Page
10
Chair Entry and Exit Hazards
WARNING! The areas under the footrest and behind the back rest are potentially dangerous
for a child or pet. The chair back is heavy and reclines with force. A small child or pet located
behind the chair could be crushed as chair is reclined resulting in serious injury or death. When
chair is reclined, small children or pets who have crawled under the leg rest may not be visible
to the user and could be crushed when leg rest is lowered or when chair is returned to upright
position. To avoid serious injury or death, check these areas carefully before reclining, lowering
leg rest, or returning chair to upright position.
Make sure to check for children
or pets between the chair
back and the base of the
chair before entering zero
gravity recline.
Make sure to check for children
or pets underneath the footwell
before exiting zero gravity recline
and returning to upright position.
Make sure to check for children
or pets between the footrest
and the chair body before
lowering the legrest.
Chair Setup
DANGER
DANGER
DANGER

USB Charging Port
Another feature of your chair is an in-built USB port for charging your devices. The USB
charging port can be found on the left hand side of the seat opposite the remote cord.
11
USB Charging Port

AUTO
12
Remote Control Diagram
Remote Control

13
Remote Control Operation
Power – Powers up the remote or returns the chair to the exit position and
powers down remote.
Home – Shortcut to the home page of all menu screens.
Pause – Press pause to immediately stop all massage chair activity, press again to
resume.
Feet Adjust – Press and hold up arrow to bring foot rest up, press and hold down
arrow to bring foot rest down.
4D 4D – Press to toggle the intensity of the 4D back massage mechanism.
Auto – Select from 13 pre-set massage programs.
Directional Button – Press up, down, left or right to navigate the display screen.
OK – After navigating to the command desired on the display, push OK to select.
Seat Back Position – Press and hold down arrow to recline the seat back and lift up
footrest. Press and hold the up arrow to upright the seat back and lower footrest.
Zero Gravity – Press once for zero gravity 1. Press twice for zero gravity 2. Press
button again to return to zero gravity 1.
Voice Command – Press once to awaken Intelligent Voice Command, hold down
for 3 seconds to turn o Intelligent Voice Command.
ZERO

14
Manual Mode
OK
AUTO
Auto Programs Menu
Getting Started
When massage chair is operating, press the
AUTO button on the remote control to enter
Auto Program Menu. Choose from Quick, Total
Body, Neck & Shoulder, Lower Body, Renew,
Stretch, Bedtime, Mid Body, Shiatsu, Relieve,
Calm, Zen and Stress Free. Press OK to enter
the program you desire. Selected program will
show on the home screen.
Navigating the remote
To show the Auto Programs list: Use the directional buttons to highlight
AUTO PROGRAM from Home display, press OK button to select. Press
up or down button to navigate amongst the 13 auto programs.
To select an auto program: Use the up and down directional buttons to
highlight the program you wish to run. Press OK button to select and
begin program.
Remote Control In-use Screen
Whilst running an Auto Program or Manual mode, the
remote control screen will return to the in-use screen
(as shown below) after 10 seconds of being idle. To
return to the In-use screen from any menu screen,
without waiting, simply press the left button until you
return.
Auto Program
In-use screen
Manual In-use
screen
CAUTION
- Please do not spill water or other liquids in order to
avoid key malfunctions and error codes.
- Please do not place heavy objects on the controller
or power cord.
Total Body

15
Comprehensive massage session using deep
tissue kneading, and tapping.
This program is the best choice to
relax tired muscles and increase
physical vigor.
Total Body
Rapid demonstration of all massage
techniques and chair motions.
A quick way to feel all the massage
techniques and chair movements in a
brief 8 minute session.
Quick
Programs What For? Description
Soothing pain and tension in the neck
and shoulders.
A sequence of neck, shoulder, and upper
back massage techniques.
Neck & Shoulder
This program is recommended to
relieve lower back pain.
Focuses on the lumbar vertebra with targeted
kneading and tapping massage to relieve
tension.
Mid Body
Alleviate tension in the lower half of
the body.
Targets the lower back, buttocks and feet.
Lower Body
Designed for morning or midday
relaxing.
Yoga like stretching motions combined with
deep shiatsu massage helps to boost the
vitality of muscles.
Stretch
This program is recommended to
relieve lower back pain.
Deep shiatsu on the back for 10 minutes.
Shiatsu
Relieving lower and upper back pain. Assists in relieving lower and upper back pain
through focused kneading of the hip area.
Relieve
This is a great program for people
who work at a desk or travel a lot.
This strong kneading and shiatsu massage
eectively decompresses the entire body.
Renew
Reduce built up tension carried in the
body from everyday stress.
Designed to help minimize stress carried in
the neck and shoulders.
Stress Free
Designed for morning or midday
relaxing.
Performs a light massage to ease muscles and
recuperate the body.
Zen
Best for winding down and re-
energizing yourself after a long day.
Assists in relieving lower and upper back pain
through a series of massage techniques.
Calm
Designed to help minimize stress carried in
the neck and shoulders.
Reduce built up tension carried in the
body from everyday stress.
Bedtime
Please note: Quick and Stretch auto programs will not allow for adjustments to air intensity like other
auto programs. This is by design and is integral to the eectiveness of the program choreography.

16
Airbag Region
Getting Started
Select AIR MASSAGE from Home display, press up or down button to
navigate among: POSITION and INTENSITY.
Airbag Massage Menu
Select OPTIONS from Home display, press up or down button to
navigate among: 4D INTENSITY and FOOT SPEED, CALF SPEED, HEAT,
NATURE SOUNDS, and VOLUME.
Options Menu
Navigate to POSITION, press right button, then use the up or down
button to select your desired airbag region: Full Body, Upper Body, or
Lower Body. Press OK button to select the airbag region.
Airbag Intensity
Navigate to INTENSITY, press right button, then use the up or down
button to select your desired intensity: 1 = light, 2, 3, 4 = rm, or O.
Press OK button to select the airbag intensity.

17
4D Intensity
Calf Speed
Navigate to 4D Intensity, press right button, then use the up or down
button to select your desired intensity: 1 = light, 6 = rm. Press OK
button to select the 4D Intensity.
Navigate to Calf Speed, press right button, then use the up or down
button to select your desired speed: 1 = slowest, 2, 3 = fastest, or O
(deactivate rollers). Press OK button to select the Calf Roller Speed.
Foot Speed
Heat
Navigate to Foot Speed, press right button, then use the up or down
button to select your desired speed: 1 = slowest, 2, 3 = fastest, or O
(deactivate rollers). Press OK button to select the Foot Roller Speed.
Your current foot roller speed is displayed in the in-use screen in the top left corner.
Navigate to Heat, press right button, then use the up or down button to
select your desired heat region: Lumbar or Back Mechanism. Press OK
button to select the heat region.
You can select both heat regions at once. If the heat region is highlighted in red it is on. To turn o,
select heat region again. Once heat region is o, writing will return to blue.

18
Getting Started
White Noise
Sounds What is it?
Nature
Ocean Surf
Air Plane
Crickets
Thunderstorm
Car Ride
Rain
Windy Night
Fireplace
A constant, even loop of pure white noise to mask out distractions.
Soothing ocean waves rolling onto the shore.
Night time in the suburbs. Churping Crickets, water trickling from a pond, and faint
traffic noises.
Quiet, light, refreshing rain falling to the ground.
Refreshing sounds of small birds peacefully singing along a tranquil stream.
A Cessna propeller airplane motor idling.
Calming inner-city traffic featuring cars, trucks, and motorcycles.
Crackling of fire in a fireplace.
Heavy rainstorm with thunder.
Heard from inside a cabin, a howling wind blows constantly outside.
Note: Bluetooth must be ON for sounds to work.
Nature Sounds
Volume
Navigate to Nature Sounds, press right button, then use the up or
down button to select your desired Nature Sound. Press OK button to
select.
See descriptions for each nature sound program below.
Navigate to Volume, press right button then press up or down button
to select your desired volume level: 1 = quietest, 2, 3, 4, 5 = loudest, or
OFF. Press OK to select setting.

19
Your chair comes with built in intelligent voice
command + control. This feature allows you
to control your chair and massage experience
completely hands-free by using one of the many
voice commands. Voice Control will only work
when the chair is powered on and active or
within 20 minutes of an auto program ending.
To activate the intelligent voice control function,
simply say ‘Hey Kyota’, pronounced ‘Key-oh-ta’,
or press the voice control button on the remote
control. You may now give your chair any of the
commands below within 6 seconds. Make sure
to speak clearly and slowly. After 6 seconds the
Intelligent Voice Command function will turn o
automatically and must be awakened again.
You can also activate intelligent voice control
by using the remote control. Press the Voice
Command button on your remote control, once
to awaken Voice Command, or hold down for 3
seconds to turn o voice control listening.
Turn O Listening
At any time, Simply press and hold the
Voice Command button for 3 seconds
then release. Turn back on by pressing
the Voice Command button again.
Intelligent Voice Command + Control
Voice Command
button
Commands Manual Commands
Voice Command
button
Quick
Total Body
Neck & Shoulder
Lower Body
Renew
Stretch
Bedtime
Mid Body
Shiatsu
Relieve
Calm
Zen
Stress Free
Turn Chair ON
Turn Chair OFF
Change to Point
Mode
Go a Little Down
Go a Little Up

H1 - Headline of Page
20
Getting Started
Your chair has the ability to save your favorite
customized massage programs to memory.
To create a custom memory setting you rst
need to set up the chair for what it is you want
to record. To do this, create a manual massage
program with all of your desired air, heat,
speed, and intensity settings.
To save a massage program, select Memory
Storage from Home Display, press up or down
button to navigate to: Memory 1, Memory 2 or
Memory 3. Press right button, then press OK
button to save the current massage settings to
memory.
Once a memory program is saved it will show
Saved in Yellow. If you hit save in a position
with a program already saved, it will record
over the previous setting. To run a memory
program, select that program from the bottom
of the Auto Programs Menu.
MyMassage™ Memory Programs Menu
Table of contents
Other KYOTA Massager manuals

KYOTA
KYOTA M868 Yosei 4D User manual

KYOTA
KYOTA Kansha M878 4D User manual

KYOTA
KYOTA Nokori M980 User manual

KYOTA
KYOTA Genki M380 User manual

KYOTA
KYOTA Nokori M980 User manual

KYOTA
KYOTA Yutaka M898 User manual

KYOTA
KYOTA Kokoro M888 4D User manual

KYOTA
KYOTA M680 User manual

KYOTA
KYOTA Genki M380 User manual

KYOTA
KYOTA Kofuko E330 User manual