manuals.online logo
Brands
  1. Home
  2. •
  3. Brands
  4. •
  5. Labelmate
  6. •
  7. Cash Counter
  8. •
  9. Labelmate C-100-US User manual

Labelmate C-100-US User manual

12A Sunset Way, Henderson, NV 89014 USA
(702) 435-8535 FAX (702) 435-8536
Toll-Free (877) 833-7149 in USA!
[email protected]
w w w . l a b e l m a t e u s a . c o m
LABELMATE USA LLC
Product Limited Warranty
Labelmate USA warrants to the original end-user customer that Labelmate USA products will be free from
defects in materials and workmanship for the duration described herein below. Labelmate USA’s Limited
Warranty covers only those defects that arise as a result of normal use of the products and does not cover
any other problems, including those that arise as a result of: (i) improper maintenance or modification; (ii)
parts or supplies not provided or supported by Labelmate USA; (iii) operation outside the products’
specifications; or (iv) unauthorized repair, modification or misuse. Use of any unauthorized accessory or
attachment will void coverage.
The Warranty period for all products commences the date of shipment from Labelmate USA and accrues to
the original end-user customer. Warranty coverage is non-transferable and terminates immediately upon
rental, resale or any other change in ownership. Original purchase documentation should be retained for
Warranty coverage verification.
In the event Labelmate USA substantiates, during the applicable Warranty period, a defect in any product
which is covered by Labelmate USA’s Warranty, Labelmate USA shall repair or replace the product, at
Labelmate USA’s option. Labelmate USA retains sole discretion to determine whether or not a product is
defective. In no event shall Labelmate USA have any obligation to repair or replace until the customer
returns the defective product to Labelmate USA. The customer assumes any and all responsibility and
liability associated with transportation of products for service under this Warranty.
In the event your product requires service or you have questions regarding Warranty coverage, please call
toll-free (877) 833-7149 inside the United States, or +1 (702) 435-8535 outside the United States.
LABELMATE MAKES NO OTHER WARRANTY OF ANY KIND, WHETHER EXPRESS OR IMPLIED
WARRANTIES OR CONDITIONS OF MERCHANTABILITY, SATISFACTORY QUALITY, AND/OR
FITNESS FOR A PARTICULAR PURPOSE. NO OTHER PERSON, AGENT, DEALER OR RESELLER IS
AUTHORIZED TO GIVE ANY WARRANTIES ON BEHALF OF LABELMATE. ANY OBLIGATION TO
WARRANTY OTHER THAN THAT SPECIFICALLY ADDRESSED HEREIN IS EXPRESSLY DISCLAIMED.
WARRANTY PERIOD PRODUCTS COVERED
5-Years “CAT” and “Mini CAT” Label Rewinders
“UCAT” Label Unwinders
3-Years
Label Counters (Excluding Counter Displays and Encoders)
Label Dispensers (Excluding Counter Displays)
Label Slitters (Mechanical Parts Only - excluding Counter Displays)
Reel-to-Reel Machines (Excluding Counter Displays and Encoders)
Print Mechanisms (Excluding Counter Displays and Encoders)
Bottle Label Applicators (Excluding Polyurethane Rollers)
Quick-Chucks
1-Year
Power Supplies, AC/DC Adaptors and Transformers
Counter Displays
Encoders
Any other products or parts not specified herein
180-Days Out-of-Warranty Repairs
MADE IN USA
C-100-US
Ultrasonic Label Counter for use
with CAT-3 Label Rewinders
Retain the Shipping Container and Packaging for Storage and Transport.
• KEEP MANUAL IN A SAFE PLACE FOR FUTURE REFERENCE •
Ultrasonic sensor provides ability
to count both opaque and clear
labels on all types of liners as
long as the labels have gaps
between them.
Digital Circuitry for Accuracy
and Repeatability
Preset Count—Up or Down
Stops Rewinder when Count is
reached.
Remove all parts from shipping container and verify contents.
Package Contents
C-100-US (6”-width”) Label Counter Unit
AC-DC Adapter (Power Supply Module)
3.5 mm External Halt Cable
User Manual (this document)
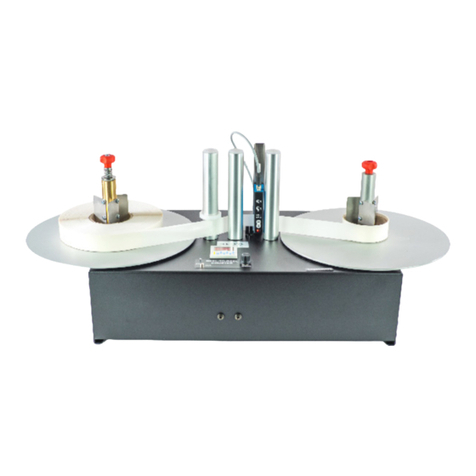
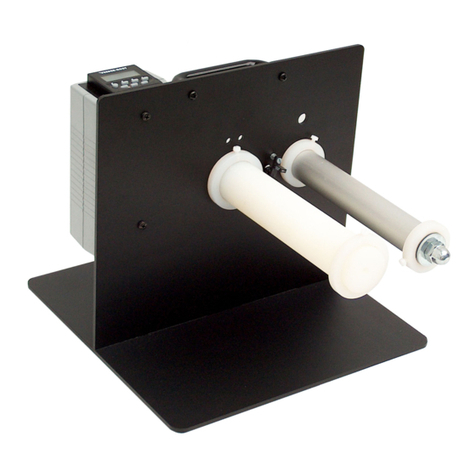
C-100-US Label Counter
LABELMATE USA LLC
COUNTER USE
1. Place the C-100-US Label Counter so that it is perpendicular to the
label web.
2. Observe the Web Path Label on the Counter Chassis.
3. To count labels, feed the label web under the rotating metal Rollers
and through the sensor. The labels must pass through the Label
Sensor Gap between the rotating metal Rollers.
4. Adjust the position of the Rings on the two rotating metal rollers to the
width of your Label Web and tighten the Screws.
5. Affix the leading edge of the label web to the Label Rewind Core on
the Label Rewinder.
6. The Rewinder being used as the Unwinder for the Supply Roll of
Labels can be placed in the OFF Position or in the “reverse direction”
with a very small amount of back-tension as desired.
SELF-TEACHING ULTRASONIC SENSOR
To begin counting labels, once the labels have been threaded through
the Sensor press and hold the “T” button until the green and yellow
LED’s flash simultaneously. Release the “T” button and advance the
label stock through the sensor until the LED’s stop flashing and only
the green LED is shining. Manually rotate the Supply Roll until the first
label you want to count is properly positioned. Reset the Counter to 0
and start the unit.
NOTE: You can slide the Sensor forward and back on the
mounting bracket to adjust for different label sizes by loosening the
knob that holds it in place. Once the sensor is in the optimum position,
retighten the knob to secure the sensor in place.
WARNING
This product is for indoor use only.
Not for use in wet locations.
PC-1 PRESET COUNTER SET-UP
Plug the Control Cable (with 3.5mm plugs at each end) between the
Output Jack on the bottom of the Counter Display Module and the
“EXTERNAL HALT CONTROL” jack on the CAT-3 Label Rewinder.
The Counter is pre-programmed as a Preset Count-Up Counter. Press
each of the 6-digits for the count desired. This is the number of labels
you wish to pass through the Label Sensor before the Counter issues
a “HALT” command to the CAT-3 Label Rewinder.
Pull a short strip of labels back and forth through the Label Sensor Gap
and observe the count on the Counter increasing. When the preset
number of labels is reached, the PC-1 Counter will issue a Halt
Command for the CAT-3 Label Rewinder to stop. Pressing “RESET”
will reset the count.
See the included detailed manual for the Pre-set Counter itself for other
Counter options.
PRESET COUNTER DISPLAY MODULE
1. The Counter is pre-programmed as a Preset Count-Up Counter.
2. Pull a short strip of labels back and forth through the Label Sensor
Gap and observe the count on the Counter increasing.
3. Press each of the 6-digits for the Pre-set Count desired. When the pre-
set number of Labels has passed through the Label Sensor Counter
issues a “HALT” command to both CAT-3 Rewinders and the System
will stop. If you don’t want to use the Pre-set Feature, set the Preset
Number to a very high value.
4. Pressing the white “RESET” Button on the top of the Counter will reset
the count.
Please see the CAT-3 Rewinder User Manual for more information.
MAINTENANCE
The Ultrasonic Label Counter requires no maintenance.

Other Labelmate Cash Counter manuals

Labelmate Count-100 User manual

Labelmate

Labelmate Count-100 User manual

Labelmate Count-100 User manual

Labelmate

Labelmate Count-100 User manual

Labelmate RRC-330-U User manual

Labelmate

Labelmate RRC-330-U User manual

Labelmate RRC-400 User manual

Labelmate

Labelmate RRC-400 User manual

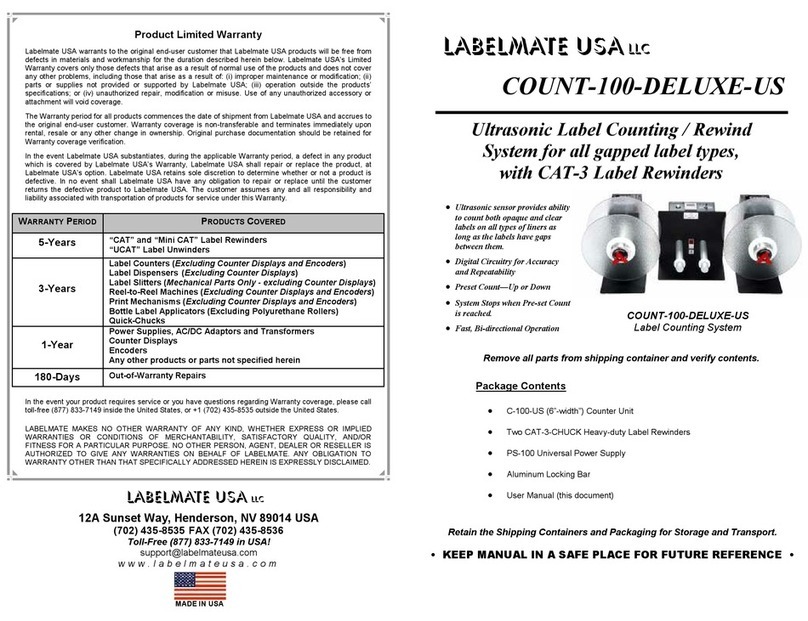
Labelmate COUNT-100-DELUXE-US User manual

Labelmate

Labelmate COUNT-100-DELUXE-US User manual

Labelmate DISTRI-ST User manual

Labelmate

Labelmate DISTRI-ST User manual

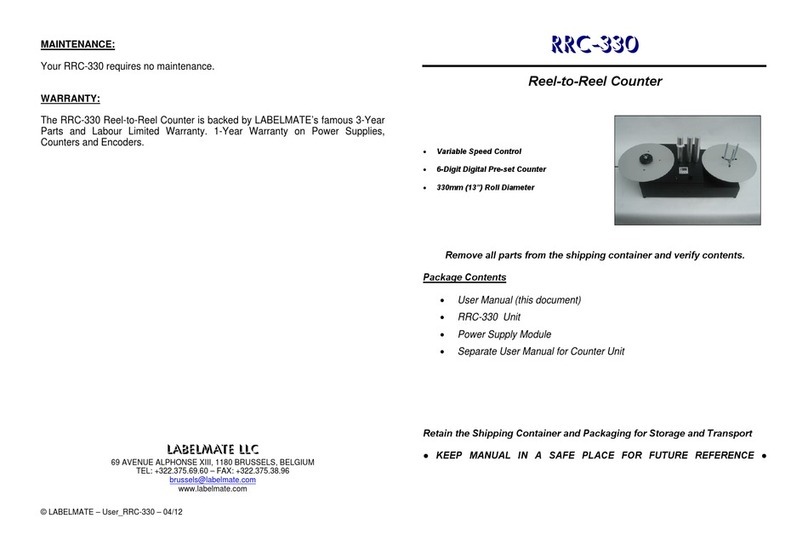
Labelmate RRC-330 User manual

Labelmate

Labelmate RRC-330 User manual

Labelmate RRC-330 User manual

Labelmate

Labelmate RRC-330 User manual

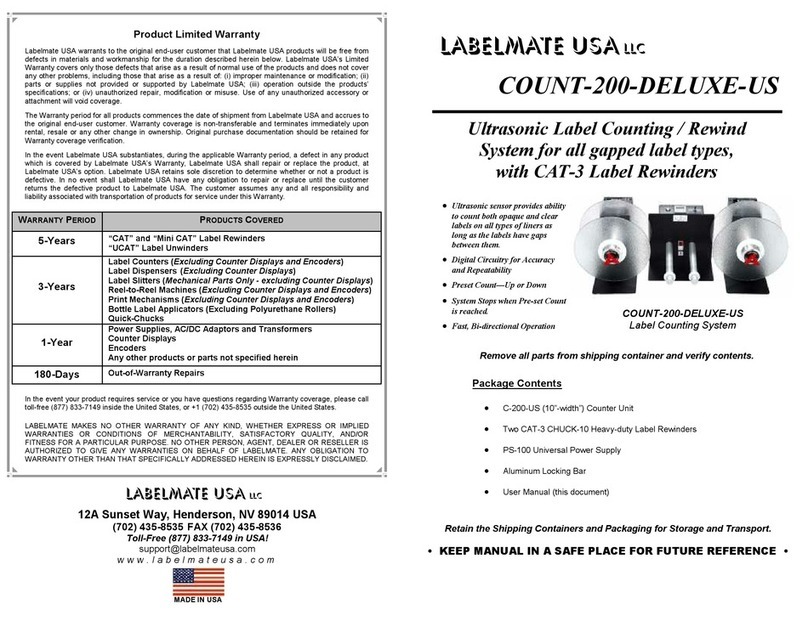
Labelmate COUNT-200-DELUXE-US User manual

Labelmate

Labelmate COUNT-200-DELUXE-US User manual

Labelmate RRC-330 User manual

Labelmate

Labelmate RRC-330 User manual

Labelmate RRC-330 User manual

Labelmate

Labelmate RRC-330 User manual

Popular Cash Counter manuals by other brands

Vemco BR2300 Mounting guide

Vemco

Vemco BR2300 Mounting guide

CashConcepts CCE 140 manual

CashConcepts

CashConcepts CCE 140 manual

CashConcepts CCE 400 manual

CashConcepts

CashConcepts CCE 400 manual

Eaton E5148C142 Series operating instructions

Eaton

Eaton E5148C142 Series operating instructions

A&D MC-2000 instruction manual

A&D

A&D MC-2000 instruction manual

Safescan 1200 manual

Safescan

Safescan 1200 manual

Leader Electronics Corp. LDC-822 instruction manual

Leader Electronics Corp.

Leader Electronics Corp. LDC-822 instruction manual

Eaton Durant Courier Series Installation and operation manual

Eaton

Eaton Durant Courier Series Installation and operation manual

YASKAWA VIPA FM 050-1BB30 manual

YASKAWA

YASKAWA VIPA FM 050-1BB30 manual

CUMMINS ALLISON JetCount 4020 operating instructions

CUMMINS ALLISON

CUMMINS ALLISON JetCount 4020 operating instructions

SUTO S132 Instruction and operation manual

SUTO

SUTO S132 Instruction and operation manual

Agilent Technologies 53220A user guide

Agilent Technologies

Agilent Technologies 53220A user guide

Baumer ME102 operating instructions

Baumer

Baumer ME102 operating instructions

HYOSUNG NH-2700 manual

HYOSUNG

HYOSUNG NH-2700 manual

Tefcold GN1/1 user manual

Tefcold

Tefcold GN1/1 user manual

Kübler CODIX 54U operating instructions

Kübler

Kübler CODIX 54U operating instructions

Quick CHC1203F installation manual

Quick

Quick CHC1203F installation manual

impulse Automation HENGSTLER tico 734 operating instructions

impulse Automation

impulse Automation HENGSTLER tico 734 operating instructions

manuals.online logo
manuals.online logoBrands
  • About & Mission
  • Contact us
  • Privacy Policy
  • Terms and Conditions

Copyright 2025 Manuals.Online. All Rights Reserved.