IMPORTANT INFORMATION:
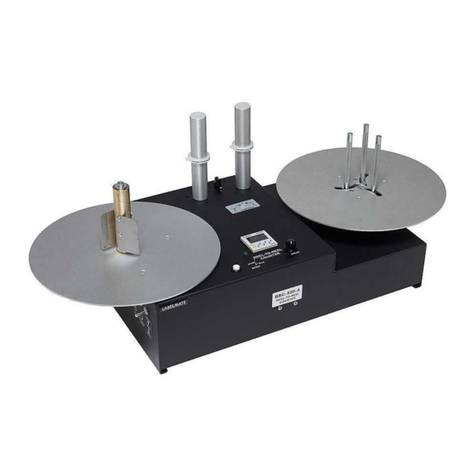
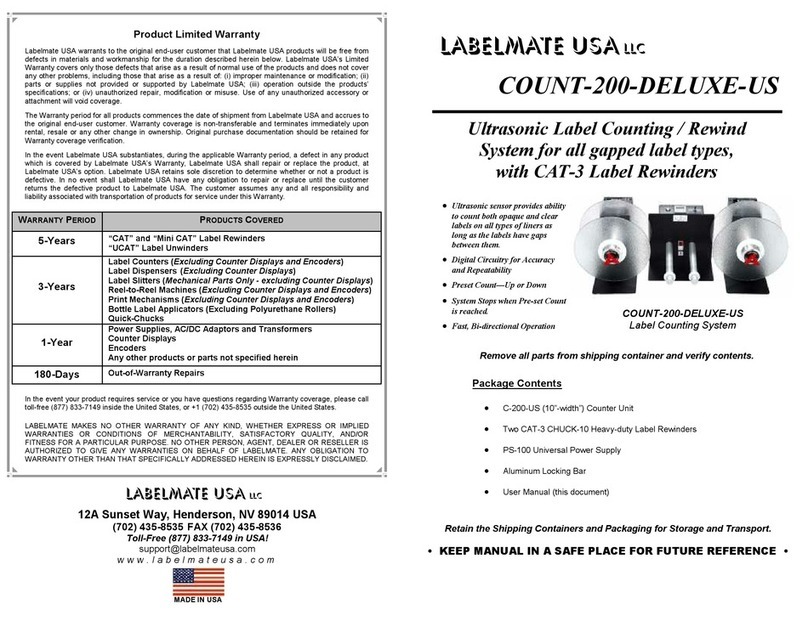
•This product is a reel-to reel label counter. It is only to be used to count (rewind/unwind)
labels to of the recommended dimensions and weight in an indoor, dry environment.
•The machine has to be unplugged before any manipulation.
•The machine is to be used on a flat surface.
•Do not leave the power cable in a passageway.
•The ambient light of the working area needs to be sufficient to avoid any risk.
•The RRC can be used in ambient temperatures of +2°C to 40°C.
•Connection of the machine to the power source must respect local and European
legislations.
SET-UP:
1. Plug the Power Supply Output Cable to the Power Jack on the Rear Panel of
the RRC-330. Plug the Power Supply into a suitable AC Power Mains Outlet.
Place the Power Switch on the rear of the RRC-330 to the “ON / 1” position.
Observe that numbers are displayed on the Counter.
See the separate User Manual for the Counter Modules itself for other
operations.
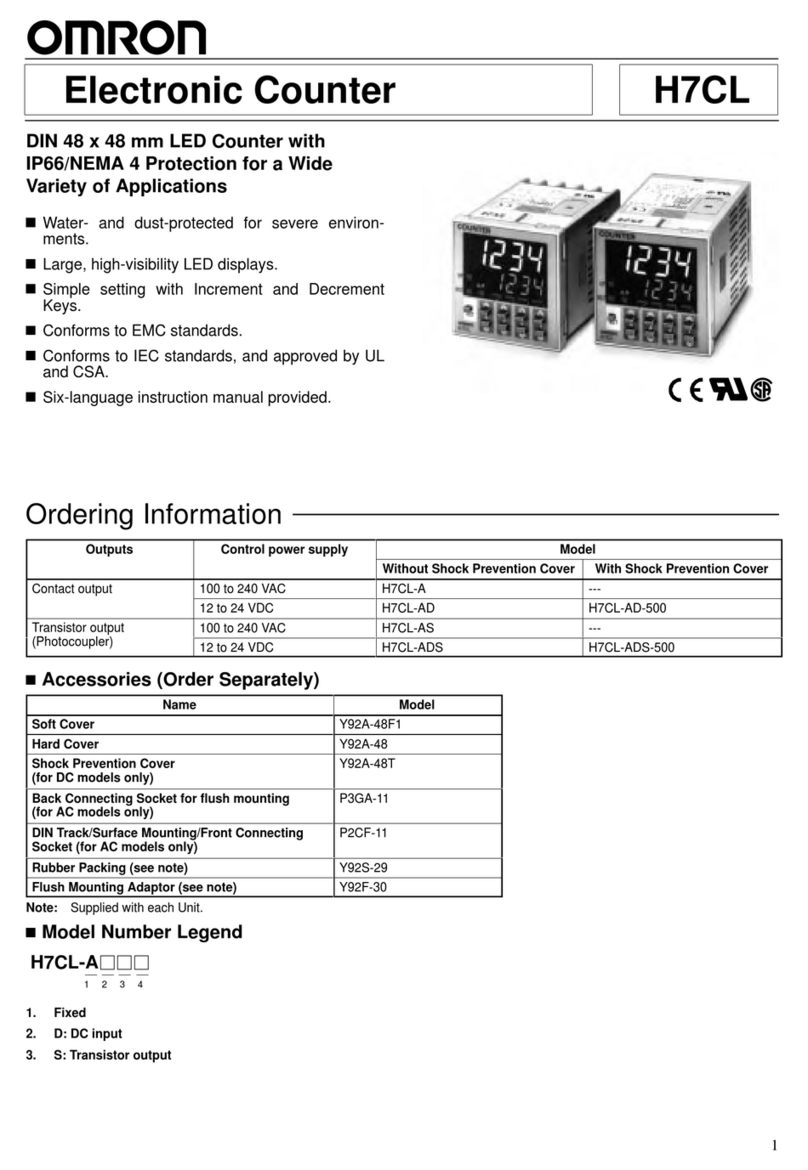
2. The Counter is pre-programmed as a Preset Count-Up Counter. If you want
to use the preset function, introduce the number of labels with the blue push
button on the counter. If you do not want to use preset, set the value to “0”.
3. When the preset number of labels is reached, the RRC-330 will stop.
Pressing “R” on the counter will reset the count and restart the RRC-330
FOR YOUR SAFETY:
Switch off device before any manipulation.
OPERATION:
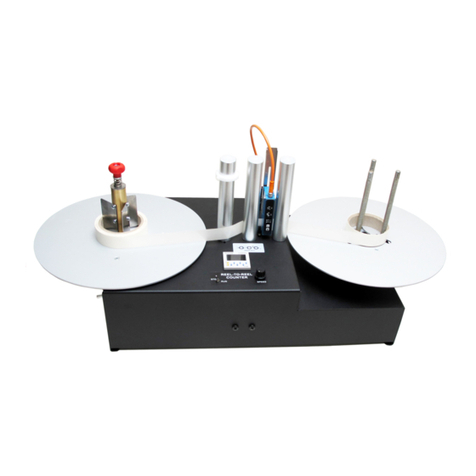
1. Place the “STOP / RUN” Switch in the STOP Position.
2. Place your Roll of Labels on the Roll Holder at the left of the RRC-330. The
Take-Up Spindle on the right rotates in a counter-clockwise direction. Note
that your rewind can be “Wind-In” or “Wind-Out” according to which way you
place the Label Roll on the Roll Holder, right-side-up or upside-down.
3. The 2 plastic rings on the paper guides need to be used only if the unwind
roll is unevenly wound to begin with. Setting the rings at the proper height will
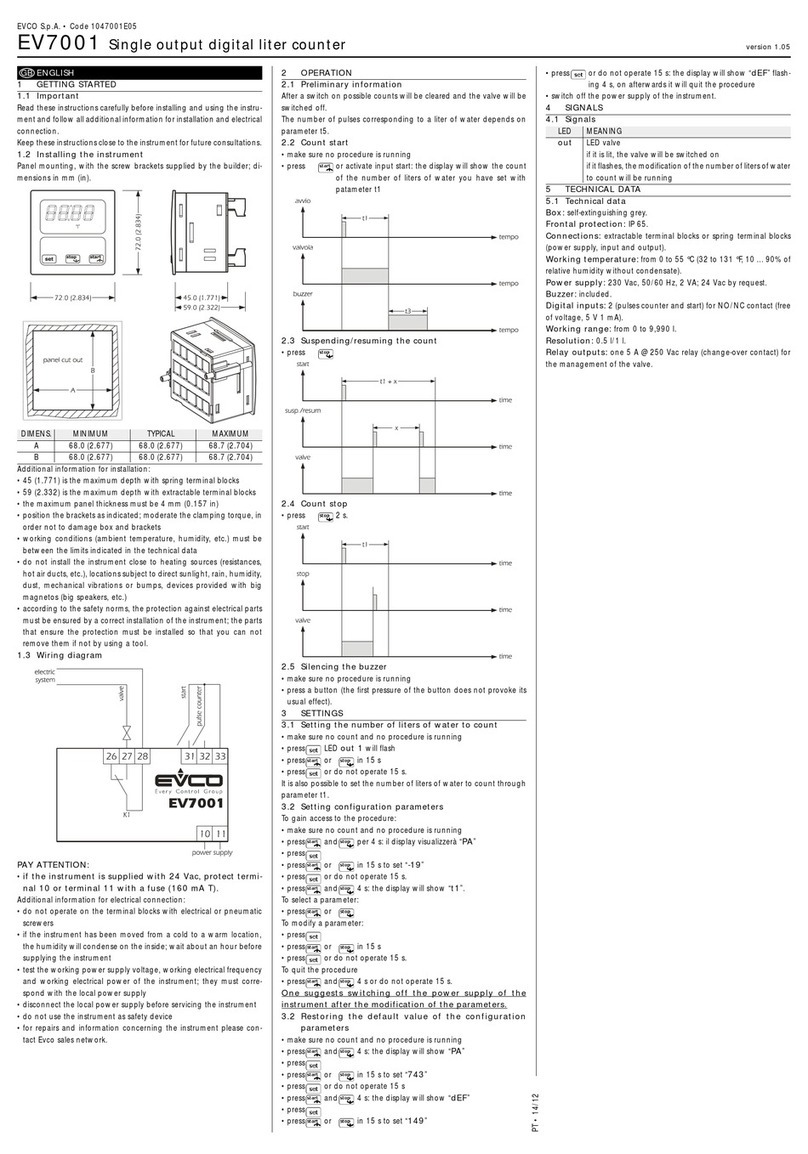
4. The machine will stop when out of paper. To re-start, load paper, and set the
Stop/Run Switch to STOP. Re-set the counter if necessary. Start by
switching to “RUN”.
5. Place an empty label Core (not included) over the Take-Up Spindle and
secure the Label Web using a piece of tape.
6. Enter the desired Label Count via the Push Buttons on the Counter. If you do
not use preset, set the value to “0”.
IMPORTANT!
It is recommended to use the machine at its maximum speed.
Keep unwind plate clean of particles and glue.
OPTIONAL:
The web tension is adjustable via the red knob on the unwinding shaft. This knob
can be replaced with a regular M5 screw so the adjustment can only be made
with a wrench, in order to prevent the operator to change the brake setting.
LEFT SIDE CONTROL PANEL:
RESET: The new left-side control panel has
three items. The toggle switch (reset) is a
momentary closing switch, that has the same
function as the reset button on the counter,
but is more convenient for the operator.
ADJUST: Potentiometer.
TEST: Green LED
