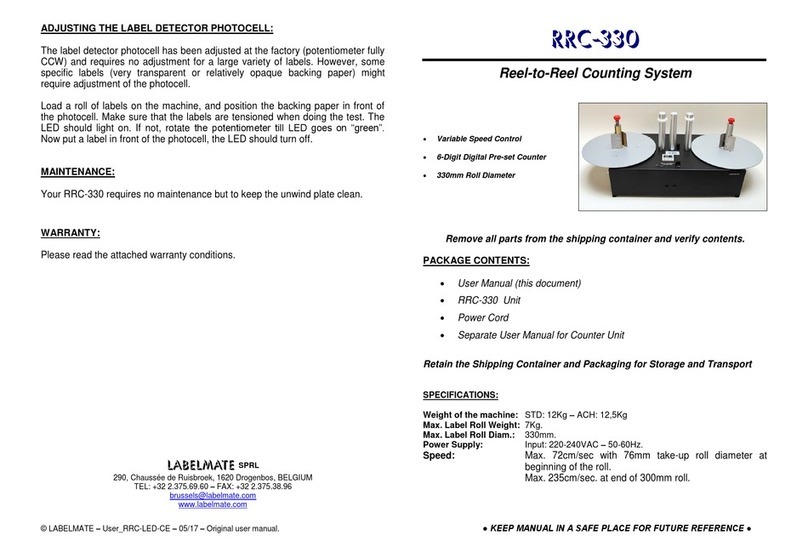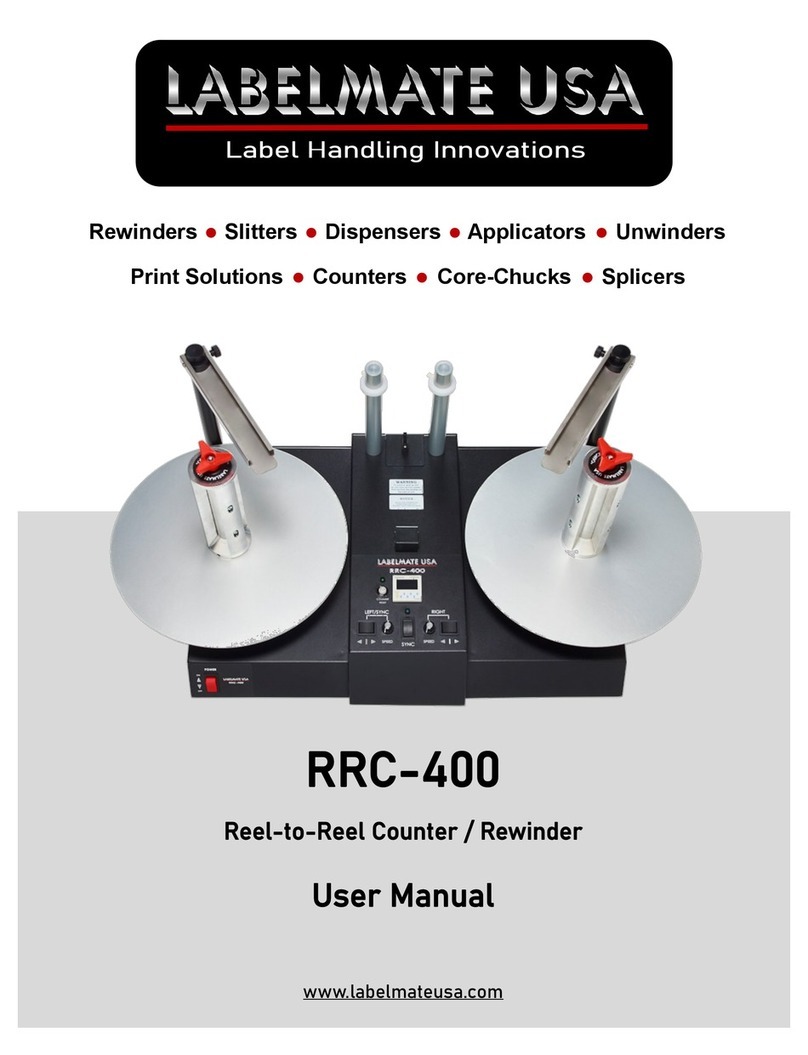
SPECIFICATIONS:
Size: (Overall envelope) HWD – 13”x33”x9” (330x584x229-mm).
Power: Power Supply: 100-240vac 50-60Hz, Output 24vdc, 4.17A.
Roll Width: 6.5” (170-mm). Depending on Roll Diameter.
Core Diameter: RRC-330-US Unwind & Rewind: 3” (76-mm).
RRC-330-USA Unwind: 3” (76-mm), Rewind: 1”-4”
(25-100-mm).
SET-UP:
Plug the Power Supply Output Cable to the Power Jack on the
Rear Panel of the Unit. Plug the Power Supply into a suitable AC Power
Outlet. Rotate the SPEED Control to minimum (full counter-clockwise
position). Place the Power Switch on the rear of the Unit to the “ON / 1”
position.
OPERATION:
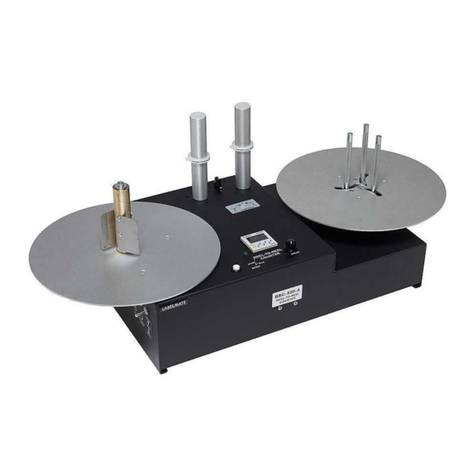
Place the “STOP / RUN” Switch in the STOP Position. Place
your roll of labels on the Supply Roll Spindle on the left side of the unit.
Note that you can “Wind-In” or “Wind-Out” depending on which way you
place the Label Roll on the unit, either right-side-up or upside-down.
Place an empty label core (not included) over the Take-Up
Spindle, thread the labels behind the Guide Rollers and through the
sensors, and secure the Label Web to the empty label core using a piece
of tape. Reset the Counter to zero, and start the unit by switching the
“STOP/RUN” Switch to “RUN”. The machine will stop when out of labels or
when the preset Label Count is reached. To re-start, switch the “STOP/
RUN” Switch to “STOP”. Reload and rethread the unit following the same
procedure as before.
The plastic Ring on the first Rotating Paper Guide can be used if
the supply roll is unevenly wound. Setting the Ring at the proper height will
help correct the unevenness of the Roll on the rewind side. It is
recommended to lower the speed if the supply roll is very uneven.
Select - Ultrasonic (transparent) or Optical (opaque) label count.
SELF-TEACHING ULTRASONIC SENSOR
To begin counting labels, once the labels have been threaded
through the Sensor press and hold the “T” button until the green and
yellow LED’s flash simultaneously. Release the “T” button and advance the
label stock through the sensor until the LED’s stop flashing and only the
green LED is shining. Manually rotate the Supply Roll in a counter-
clockwise direction until the first label you want to count is properly
positioned. Reset the Counter to 0 and start the unit.
WARNING
This product is for indoor use only.
Not for use in wet locations.
Unplug unit before removing waste material or
performing any cleaning or maintenance services. IMPORTANT NOTE REGARDING BIDIRECTIONAL REWINDING
The Take-Up Spindle on the right side of the unit can rotate in
either direction depending on the direction selected by the Direction Switch
on the left-hand panel of the unit. DO NOT FLIP THE DIRECTION SWITCH
WHILE THE UNIT IS RUNNING AS THIS MAY IRREPARABLY DAMAGE THE UNIT.
Always stop the unit first before switching the rewind direction.
RRC-330-A ONLY: USING THE ADJUSTABLE CORE HOLDER (ACH):
Unlock the three Locking Levers underneath the take-up Flange by
turning them clockwise. (The Lever Arms may be repositioned if necessary
by pulling straight down and rotating to the desired position.) While holding
the Take-Up Flange, rotate the black plate underneath the Take-Up Flange
to bring the “Fingers” together or spread them apart. Place your Take-Up
Core approximately half way down over the “Fingers” and rotate the black
plate again to bring the “Fingers” in contact with the Core. Lock the
Locking Levers by turning them counter-clockwise. Push the Take-Up
Core all the way down on the “Fingers”. The Core should now be held
tight. If not, redo the foregoing operation.
NOTE:
Keep the Unwind Plate clean of particles and label adhesive.
END-OF-ROLL and/or OPTICAL PHOTOCELL ADJUSTMENT:
The sensitivity of the Photocell that detects the end of Labels
(stops the RRC) should be calibrated for the label web and labels being
counted. Here’s how: Place the RRC STOP / RUN Switch in the STOP
Position. Place a Label Liner ONLY (no label) in the Label Sensor Gap. (1)
Using a small flat-bladed screwdriver, adjust the Photocell Adjust Control
until the green Photocell Adjust LED illuminates. –or– (2) Adjust Photocell
Adjust control for 3- to 5-VDC at the Photocell Test Jack 3.5-mm Plug.
Remove the label liner from the Sensor Gap and observe that the voltage
falls to 0.25VDC or less. Either method yields identical results.
SENSOR SELECT OPTION
Flip the switch on the back of the unit to select OPAQUE - for
opaque labels and opaque backing only, using the photocell sensor OR
select TRANSPARENT - for transparent labels and transparent backing
using the Ultrasonic sensor.
Please refer to the included Counter Specification sheet for details of the
digital Counter operation and to the Sensor Set-up Instruction Sheet for
details of adjusting the Sensor Mode and sensitivity in the event you are
counting difficult labels.
