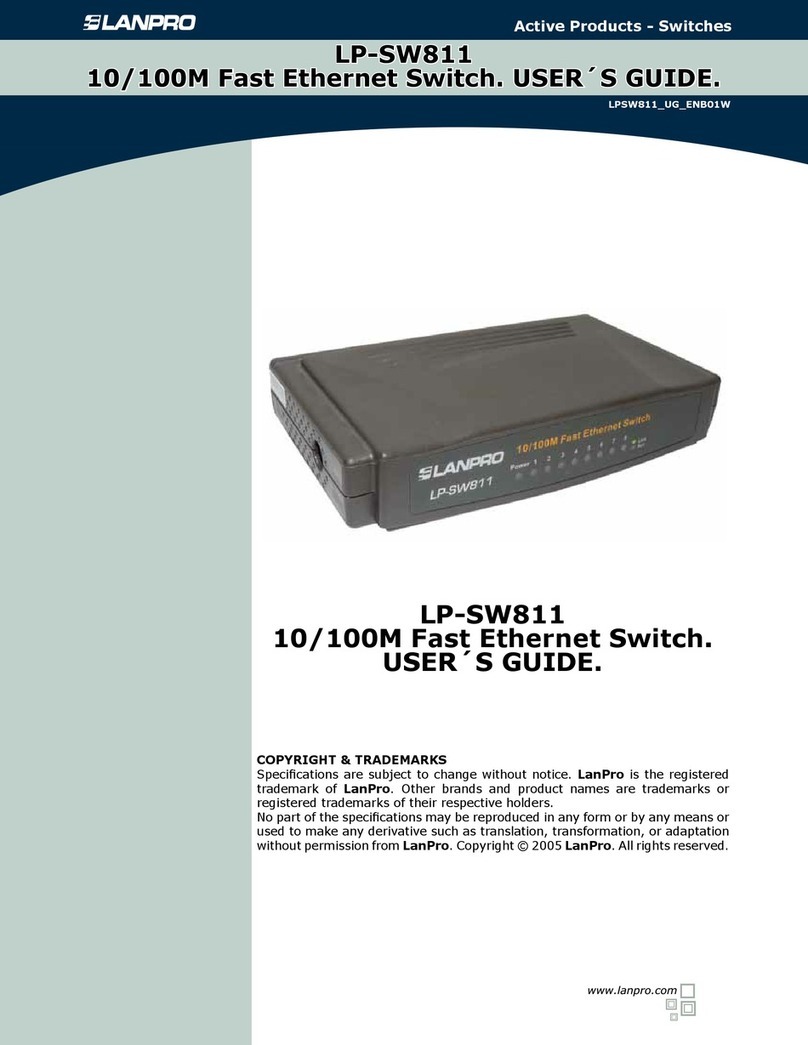
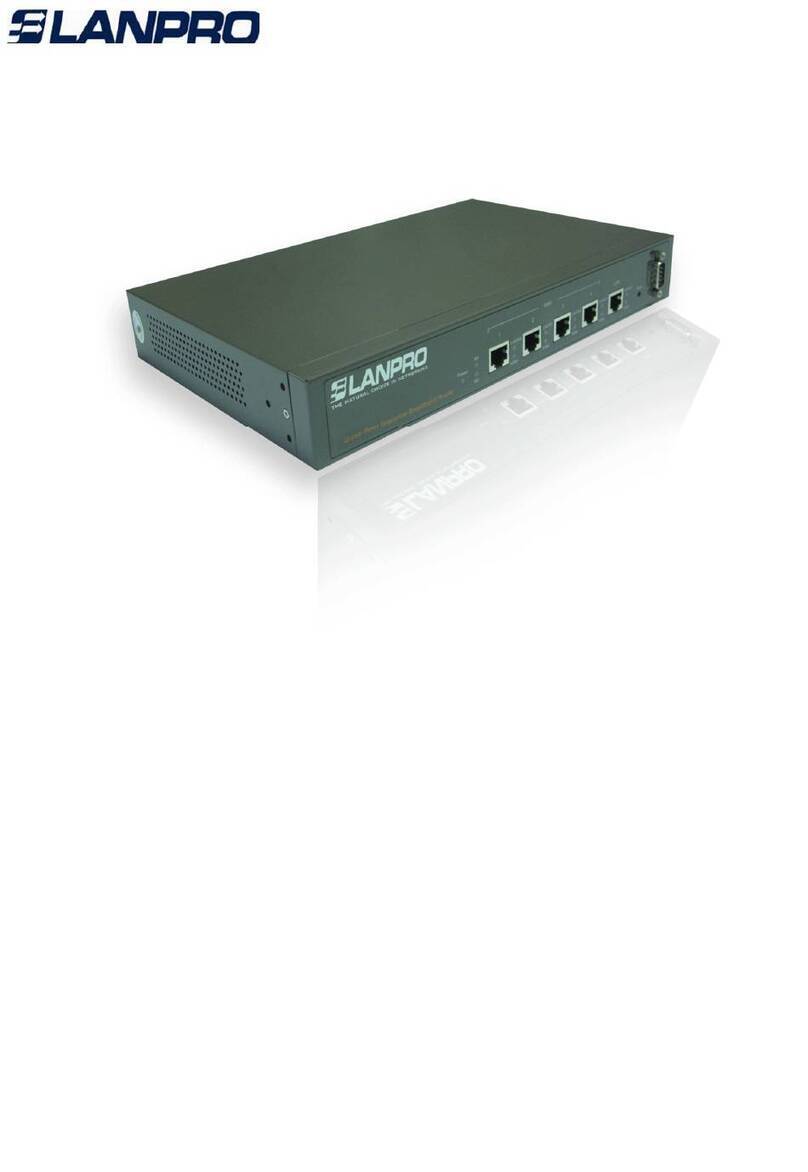
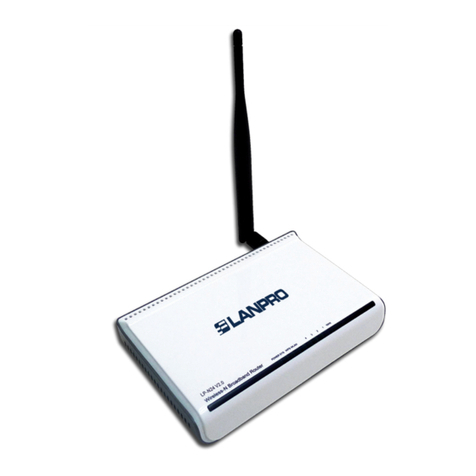
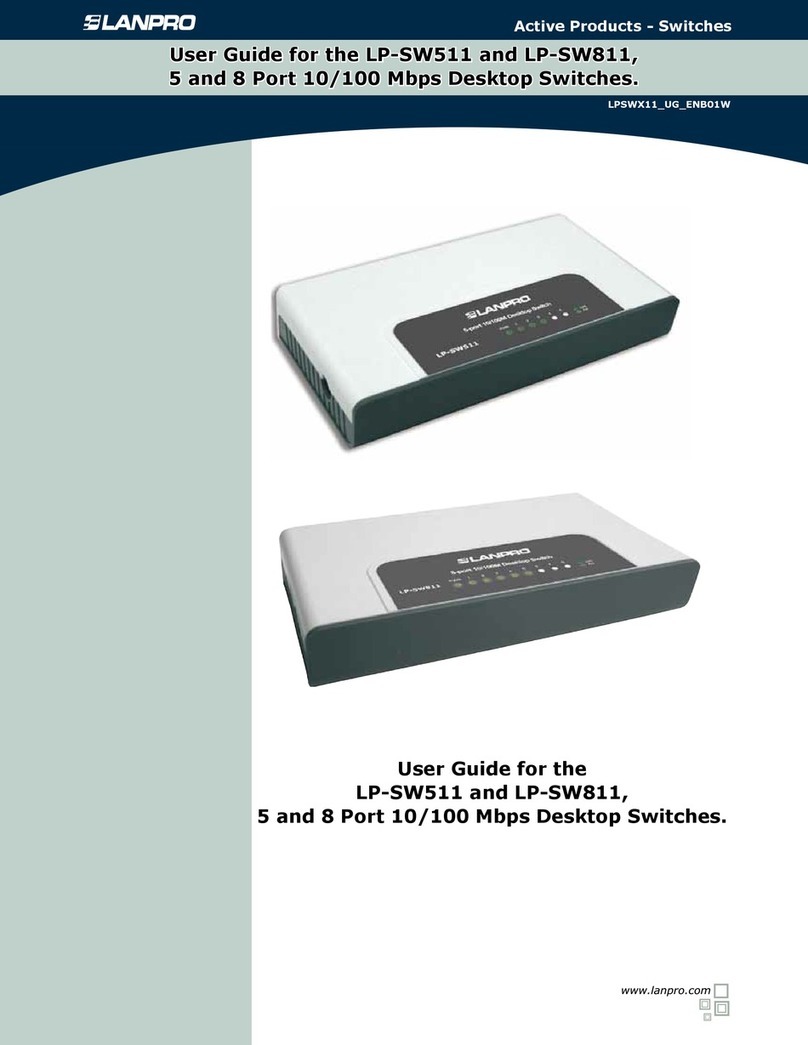
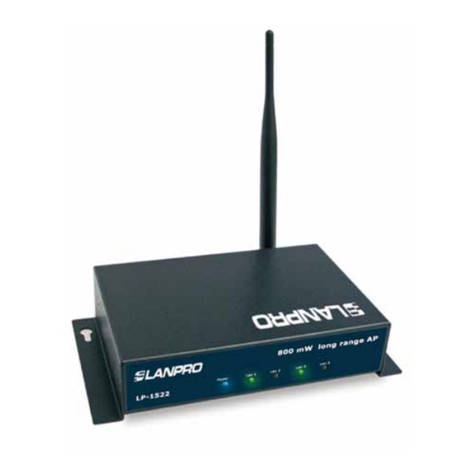
Lanpro LP-1522 User manual

Wireless - Equipment
www.lanpro.com
123 Manual, LP-1522 Broadband Wireless AP/Router,
Point to point/ Point to Multipoint plus Access point installation mode.
LP1522_M123_ENC02W
123 Manual, LP-1522
Broadband Wireless AP/Router,
Point to point/
Point to Multipoint plus
Access point installation mode.

www.lanpro.com
Wireless - Equipment - 2.4 GHz - 123 Manual - LP-1522 Broadband Wireless AP/Router,
Point to point/Point to Multipoint plus Access point installation mode.
2
3
Check box contentment, as it is shown in gure 1.
Figure 1
1
Screw the antenna as you can see in gure 2-1 y 2-2;
in case of having an antenna with pigtail type cable,
remember that this must be connected in the other end.
Figure 2
2
Connect your PC or Switch to a LAN port of your
LP-1522, as it is shown in gure 3-1. In case you want to power
it though the PoE option, please connect the cable to your
LP-Poe150 Power+Data port as it is shown in gure 3-2;
remember that the cable length recommended is maximum
60m. Then, connect a cable from Data in port of your
LP-PoE150 to your PC or Switch as shown in gure 3-3.
Figure 3-1
3
Connect the DC electrical power plug to the power jack
as shown in gure 4-1; do not forget that this device
can be also powered through PoE with the LP-Poe150
(not included). If used, please connect the LP-Poe150
to the mains as it is shown in gure 4-2.
Figure 4-1
4
Figure 3-2
Figure 3-3
Figure 4-2

2
www.lanpro.com
3
Wireless - Equipment - 2.4 GHz - 123 Manual - LP-1522 Broadband Wireless AP/Router,
Point to point/Point to Multipoint plus Access point installation mode.
Go to the Local Area Connection Properties window of your
network card (shown in gure 5) and select: Internet
Protocol, then: Properties.
5
Figure 5
In the window of gure 6, please select: Use the following
IP address, and then input an IP address in the range of
IP address by default of the LP-1522. In this example,
we have selected the following address: 192.168.1.201.
The LP-1522 default address is: 192.168.1.254. Now, input
in Subnet mask 255.255.255.0. In Default gateway
input the destination router address. In DNS, input DNS
address of your ISP or destination router address that
supplies Internet service, this is for any queries that need
to be sent to the destination router.
Once you have nished, click: OK, then: OK again,
and then: Close.
6
Figure 6
For this conguration, you will need MAC addresses of the devices that will be part of point-to-point and multipoint link
connections; to do this, follow these steps:
7
Figure 7-1
Open your selected browser and enter IP address by default 192.168.1.254, as it is shown in gure 7-1.
a

www.lanpro.com
Wireless - Equipment - 2.4 GHz - 123 Manual - LP-1522 Broadband Wireless AP/Router,
Point to point/Point to Multipoint plus Access point installation mode.
4
5
Select the option: Management, then: Status.
In this screen you will be able to see the equipment MAC
Address, as it is shown in gure 7-2. Please, write down this
number. To see the other equipment MAC addresses, please
repeat step 1 through 5 for each equipment and write those
numbers down on your log. Remember that this step is very
important; do not confuse MAC Address because they are
unique identiers for each equipment.
b
Figure 7-2
To continue, please take the rst equipment and open your selected browser, enter default address 192.168.1.1254,
as it is shown in gure 8
8
Figure 8
In the window shown in gure 9, select: Operation Mode,
then select: Bridge, and nally, click on Apply Changes.
9
Figure 9

4
www.lanpro.com
5
Wireless - Equipment - 2.4 GHz - 123 Manual - LP-1522 Broadband Wireless AP/Router,
Point to point/Point to Multipoint plus Access point installation mode.
In the windows shown in gure 10, please, click: OK.
10
Figure 10
In the window shown in gure 11, please select: Wireless,
Basic Settings, in: Mode, select: AP + WDS, verify
Channel Number, because this must be similar to all
equipment. The SSID for each Access Point can be different
because clients will get connected to these AP. Then select
Apply Changes. The equipment will restart.
11
Figure 11
In the windows shown in gure 12, select: Wireless, WDS
Settings and add LAN MAC Addresses of the Routers
that will work under this mode, except the MAC address
of the equipment already congured. Remember click on
Apply Changes for each one of those and wait until the
equipment stabilizes.
12
Figure 12
In window shown in gure 13, please click: OK, the
equipment will restart.
13
Figure 13
In the window shown in gure 14, proceed to set WDS
security, this is an optional step, remember that speed
will be compromised by security. For this, please, select:
Wireless, WDS Settings, Set Security.
14
Figure 14

www.lanpro.com
Wireless - Equipment - 2.4 GHz - 123 Manual - LP-1522 Broadband Wireless AP/Router,
Point to point/Point to Multipoint plus Access point installation mode.
6
7
A window will open (shown in gure 15) where you have
to set the security of this mode. It is very important to
mention that security must be equaled congured in all
equipment being part of these connections.
In: Encryption, please enter the type of encryption, we
recommend WPA2(AES), rst verify that all equipment
being part of this network can support it. Set the type of
key in: Pre-Shared Key Format and the password in:
Pre-Shared Key, minimum 8 characters long, and this
password must be the same for all equipments. Then, click:
Apply Changes.
15
Figure 15
Now you have to set the security of the wireless connection
as AP, this is for the clients that will connect to it. In the
window similar to the one shown in Figure 16, select:
Wireless, Security, in mode of: Encryption.
We recommend using WPA2. Verify that all clients that will
connect to this router support this mode, otherwise, choose
another one. Proceed to connect in the Pre-Shared Key the
password to this network, minimum of 8 characters long,
and then click Apply Changes.
16
Figure 16
As you can see in the window shown in gure 17, you have to
disable DHCP selecting in DHCP: Disabled. We recommend
putting a different IP and a different SSID for each access
as AP, this is for its administration and wireless address.
In order to do this, select the option: TCP/IP Settings,
LAN Interface and input an IP address into the segment.
Example: 192.168.1.254 for the rst one, 192.168.1.253
for the second one, and for the third 192.168.1.152. This
will depend on your network diagram. Finally, click on:
Apply Changes, the equipment will restart, and to have
access to it, you must enter the new IP.
17
Figure 17
6
www.lanpro.com
7
Wireless - Equipment - 2.4 GHz - 123 Manual - LP-1522 Broadband Wireless AP/Router,
Point to point/Point to Multipoint plus Access point installation mode.
It is very important to emphasize that any of the equipment
inside your network must be the IP address delivery server
for clients who connect to the AP. This can be managed by
one of the LP-1522, enabling the same or other hardware
inside your network, verify the DHCP option in Figure 18.
18
Figure 18
We recommend disabling the WPS function
(see Figure 19). Use this only if your clients can support it.
To disable this function, please select the option: Wireless,
WPS and check the box: Disable WPS, after that select:
Apply Changes and then click OK. You must repeat
every step for each equipment.
19
Figure 19
In gure 20, you can see a typical Point-to-Point/Multipoint
plus AP connection Diagram.
20
Figure 20
Important Recommendation (Optional)
Proceed to change the administrative password of your
equipment. In other to do this, please select: Management,
then: Password, input the user name which is Admin,and
then type the new password in: New Password and type
it again in Conrmed Password. Finally, click on Apply
Changes. In other to access to your equipment again, you
must input these data.
21
Figure 21
Other manuals for LP-1522
8
Table of contents
Other Lanpro Network Router manuals

Lanpro
Lanpro LP-289ai User manual

Lanpro
Lanpro LP-N24 User manual

Lanpro
Lanpro LP-1522 User manual

Lanpro
Lanpro LP-1521 User manual

Lanpro
Lanpro LP-1522 User manual

Lanpro
Lanpro LP-SW811 User manual

Lanpro
Lanpro LP-1522 User manual

Lanpro
Lanpro LP-SW511 User manual

Lanpro
Lanpro LP-LB404 User manual

Lanpro
Lanpro LP-N24 User manual