manuals.online logo
Brands
  1. Home
  2. •
  3. Brands
  4. •
  5. LEGRAND
  6. •
  7. Control Unit
  8. •
  9. LEGRAND AU7004 User manual

LEGRAND AU7004 User manual

Other LEGRAND Control Unit manuals

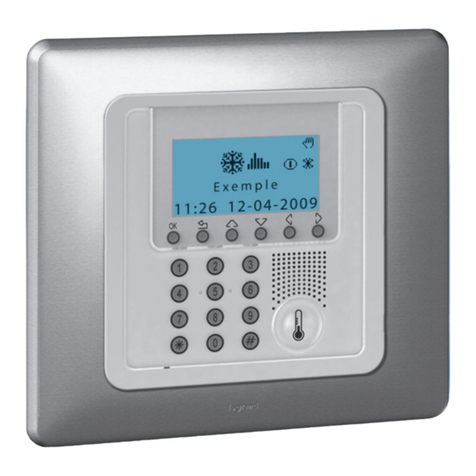
LEGRAND 4 149 40 Instruction Manual

LEGRAND

LEGRAND 4 149 40 Instruction Manual

LEGRAND Wattstopper LMIN-104 User manual

LEGRAND

LEGRAND Wattstopper LMIN-104 User manual

LEGRAND 0 746 85 User manual

LEGRAND

LEGRAND 0 746 85 User manual

LEGRAND Wattstopper IPPAN3-B User manual

LEGRAND

LEGRAND Wattstopper IPPAN3-B User manual

LEGRAND LEXIC 074 03 User manual

LEGRAND

LEGRAND LEXIC 074 03 User manual

LEGRAND 67217 User manual

LEGRAND

LEGRAND 67217 User manual

LEGRAND H4651 User manual

LEGRAND

LEGRAND H4651 User manual

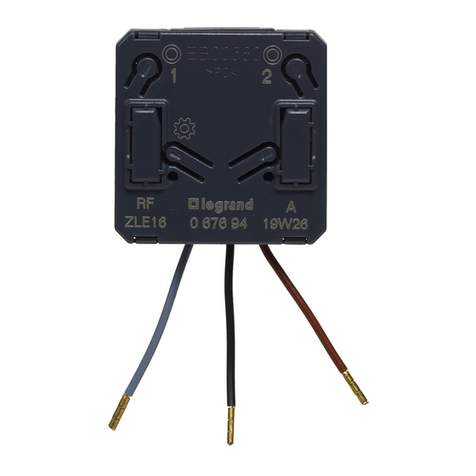
LEGRAND 0 676 94 User manual

LEGRAND

LEGRAND 0 676 94 User manual

LEGRAND 7 521 82 User manual

LEGRAND

LEGRAND 7 521 82 User manual

LEGRAND Wattstopper ELCU-200-347 User manual

LEGRAND

LEGRAND Wattstopper ELCU-200-347 User manual

LEGRAND EMDX3 MI User manual

LEGRAND

LEGRAND EMDX3 MI User manual

LEGRAND 0 648 85L User manual

LEGRAND

LEGRAND 0 648 85L User manual

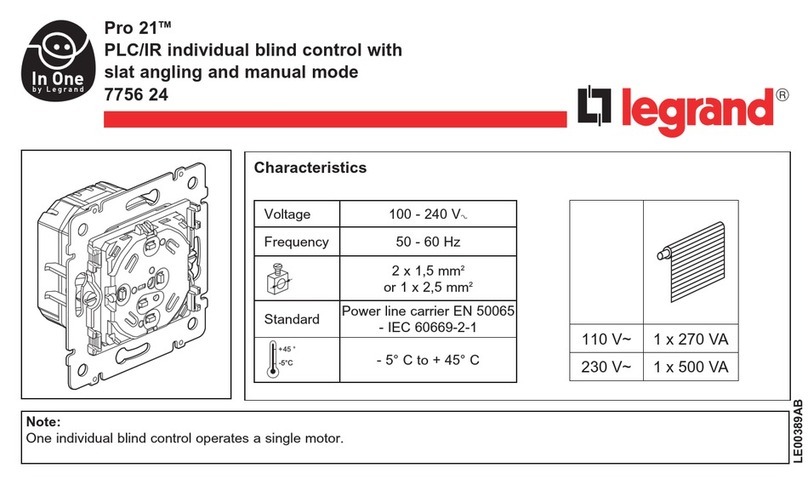
LEGRAND 7756 24 User manual

LEGRAND

LEGRAND 7756 24 User manual

LEGRAND IC5010 User manual

LEGRAND

LEGRAND IC5010 User manual

LEGRAND 4 121 71 User manual

LEGRAND

LEGRAND 4 121 71 User manual

LEGRAND 067697 How to use

LEGRAND

LEGRAND 067697 How to use

LEGRAND 5 742 43 User manual

LEGRAND

LEGRAND 5 742 43 User manual

LEGRAND 5 735 04 User manual

LEGRAND

LEGRAND 5 735 04 User manual

LEGRAND Wattstopper LMCT-100-2 User manual

LEGRAND

LEGRAND Wattstopper LMCT-100-2 User manual

LEGRAND 4 131 01 User manual

LEGRAND

LEGRAND 4 131 01 User manual

LEGRAND 882 01 User manual

LEGRAND

LEGRAND 882 01 User manual

LEGRAND AC1058 User manual

LEGRAND

LEGRAND AC1058 User manual

LEGRAND 674 56 User manual

LEGRAND

LEGRAND 674 56 User manual

LEGRAND 0 677 55L User manual

LEGRAND

LEGRAND 0 677 55L User manual

Popular Control Unit manuals by other brands

Seitz 14A80 user manual

Seitz

Seitz 14A80 user manual

Wilo RS485 Installation and operating instructions

Wilo

Wilo RS485 Installation and operating instructions

Becker CentralControl CC41 Commissioning Instruction

Becker

Becker CentralControl CC41 Commissioning Instruction

SICK CDB650 operating instructions

SICK

SICK CDB650 operating instructions

Panduit NetKey NKP5E88M Series installation instructions

Panduit

Panduit NetKey NKP5E88M Series installation instructions

MX Options Concentric Petite Fitting instructions

MX

MX Options Concentric Petite Fitting instructions

Clean Water Systems Fleck 2510 Installation & start?up guide

Clean Water Systems

Clean Water Systems Fleck 2510 Installation & start?up guide

Fairchild FSB44104A user guide

Fairchild

Fairchild FSB44104A user guide

PMK ATT10BNCS instruction manual

PMK

PMK ATT10BNCS instruction manual

Tektronix TDS3FFT user manual

Tektronix

Tektronix TDS3FFT user manual

Woodward easYgen Technical manual

Woodward

Woodward easYgen Technical manual

Balluff BNI EIP-502-105-R015 user guide

Balluff

Balluff BNI EIP-502-105-R015 user guide

NXP Semiconductors TWR-LS1021A Getting started

NXP Semiconductors

NXP Semiconductors TWR-LS1021A Getting started

Advantech PCM-3117 Startup manual

Advantech

Advantech PCM-3117 Startup manual

Danfoss MCO 101 manual

Danfoss

Danfoss MCO 101 manual

Moons' Lin Engineering R701P user manual

Moons'

Moons' Lin Engineering R701P user manual

Aventics RV1 operating instructions

Aventics

Aventics RV1 operating instructions

MOTECK CB4M-S user guide

MOTECK

MOTECK CB4M-S user guide

manuals.online logo
manuals.online logoBrands
  • About & Mission
  • Contact us
  • Privacy Policy
  • Terms and Conditions

Copyright 2025 Manuals.Online. All Rights Reserved.

Installation Instructions • Notice ďInstallation • Instrucciones de Instalación
Catalog Number(s) • Numéro(s) de Catalogue • Les Numéros de Catalogue:
Country of Origin: Made in China • Pays ďorigine: Fabriqué en Chine • Pais de origen: Hecho en China
Digital Audio Expansion Module
Module d'extension Audio numérique
Módulo de expansión de Audio Digital
Doc. #1507206 1/14 Rev A
AU7004
1
2
4
Insure each Cat 5 cable at the
enclosure end and remote end
have been properly terminated
with an RJ45 plug, and tested to
insure proper end-to-end
continuity.
Run Cat 5 cable from the enclosure to up
to four remote locations where the Cat 5
will be terminated at a device such as a
volume control or amplifier. If additional
AU7004s are used, repeat this step for
each AU7004.
INSTALLATION INSTRUCTIONS
Please read these instructions completely
before you begin.
NOTICE D’INSTALLATION
Veuillez lire toutes ces instructions
avant de commencer.
INSTRUCCIONES DE INSTALACIÓN
Lea completamente estas instrucciones
antes de comenzar.
Exécutez câble Cat 5 de l'enceinte jusqu'à
quatre endroits éloignés où la Cat 5
se
terminera à un périphérique tel qu'un contrôle
de volume ou un amplificateur. Si AU7004s
supplémentaires sont utilisées, répétez cette
étape pour chaque AU7004.
Ejecute cable Cat 5 en el recinto a hasta cuatro
lugares remotos donde el Cat 5 serán
terminados en un dispositivo como un
amplificador o un control de volumen. Si se
utilizan AU7004s adicionales, repita este paso
para cada AU7004.
Cat 5 jumper cables from music
sources (typically AU7001 DIM or
AU7007-xx Global Input)
CAT 5 câbles d'appoint de
sources de musique (typiquement
AU7001 DIM ou entrée Global
AU7007-xx)
CAT 5 cables de arranque de
fuentes de música (típicamente
AU7001 DIM o entrada Global
AU7007-xx)
Cat 5 cables to remote music zones
Câbles CAT 5 aux zones éloignées de la musique
Cables CAT 5 a zonas remotas de música
Cat 5 cable to network
Câble CAT 5 au réseau
Cable CAT 5 a red
Cat 5 cables to additional remote music zones
Câbles CAT 5 zones supplémentaires de musique à distance
Cables CAT 5 para las zonas de música remota adicional
Cat 5 jumper cables from AU7000 or to
additional Expansion Module/s
CAT 5 câbles de démarrage de AU7000
ou d'autres Expansion Module/s
CAT 5 cables de arranque de AU7000 o
de expansión adicional módulo/s
AU7000
AU7004
12VDC Power from PW7760
Alimentation 12VDC de PW7760
Alimentación de 12VCC de PW7760
Insure there is a Cat 5 cable run from the
enclosure to the network device
(switch/router port).
If the switch/router is local, a Cat 5 jumper
may be used.
3
Insure Cat 5 jumpers are connected from
source devices (such as the AU7001 or
AU7007-xx) to the AU7000 and from the
AU7000 to the AU7004 and between each
additional AU7004.
Assurer il y a un câble Cat 5 exécutez à
partir de l'enveloppe au périphérique
réseau (port du commutateur/routeur).
Si le commutateur/routeur est local, un
cavalier de Cat 5 peut être utilisé.
Asegúrese de que hay un cable Cat 5
ejecutar desde el recinto para el dispositivo
de red (puerto de switch o router).
Si el switch/router es local, puede utilizarse
un puente Cat 5.
Assurer Cat 5 cavaliers sont connectés de
dispositifs de source (comme le AU7001
ou AU7007-xx) à la AU7000 et de la
AU7000 à la AU7004 et entre chaque
AU7004 supplémentaires.
Cerciórese de Cat 5 puentes están
conectados de dispositivos de la fuente (como
el AU7001 o AU7007-xx) para el AU7000 y el
AU7000 a la AU7004 y entre cada AU7004
adicional.
Assurer chaque câble Cat 5 à la fin de
l'enceinte et l'extrémité distante ont été
correctement terminé par un connecteur
RJ45 et testées afin d'assurer la bonne
continuité de bout à bout.
Asegurar cada cable Cat 5 en el recinto
extremo y extremo remoto han sido
correctamente termina con un conector RJ45
y probados para asegurar la adecuada
continuidad end-to-end.
860.233.6251
1.877.BY.LEGRAND
www.legrand.us
www.legrand.ca
© Copyright 2013Legrand All Rights Reserved.
© Copyright 201
3Tous droits réservés Legrand.
© Copyright 2
013Legrand Todos los derechos reservados.
Doc. #15072061/14Rev A
At the enclosure, plug each RJ45 Cat 5
plug into the appropriate port and plug in
the power cable from the PW7760. At
each remote location, plug in and install
the remote device (volume control) and
when all connections have been made,
plug in the PW7760, and verify power
has been distributed.
5
À l'enceinte, branchez le port approprié de
chaque prise RJ45 CAT5 et branchez le
câble d'alimentation de la PW7760. Sur
chaque site distant, brancher et installer
l'appareil à distance (contrôle du volume)
et lorsque toutes les connexions ont été
effectuées, branchez le PW7760 et vérifier
la puissance a été distribuée.
En el recinto, cada enchufe RJ45 Cat 5 en el
puerto adecuado y enchufe el cable de
alimentación de la PW7760. En cada
ubicación remota, enchufe e instalar el
dispositivo remoto (control de volumen) y
cuando se han efectuado todas las
conexiones, enchufe el PW7760 y verificar
potencia ha sido distribuido.
This device is verified to comply with Part 15 Class B of the FCC Rules.
Cet appareil est vérifié pour se conformer à la partie 15 classe B de la FCC.
Este aparato está verificado para cumplir con la parte 15 clase B de la FCC.