manuals.online logo
Brands
  1. Home
  2. •
  3. Brands
  4. •
  5. LEGRAND
  6. •
  7. Security Sensor
  8. •
  9. LEGRAND tynetec ZXT815 User manual

LEGRAND tynetec ZXT815 User manual

Tynetec, a business unit of Legrand Electric Ltd
Cowley Road, Blyth Riverside Business Park, Blyth, Northumberland, NE24 5TF.
Tel: +44 (0) 1670 352371 www.tynetec.co.uk
Trusted Technology
Caring for People
869MHz
Flood Detector
_________________________________________________________________________
________________________________________________________________
Doc No. FM0846 V1.02 Page 1
•Fixed trigger device
•Compatible with Reach IP, XT2, Carer Response & NOVO
•Moisture bridge sensor
•Free standing or screw fixed
•5 year Lithium battery (typical)
•Low battery warning
•Operating Temperature: +5oC to +40oC
•Telecare Transceiver: 869.2125MHz Class 1.5
•Digital Heartbeat
•Weight: 36 grams
•Dimensions: 50 x 95 x 18mm (HxWxD)
•Product Code: ZXT815 (or Neat: NE1020006-02)
Flooding caused by taps left running unattended, a
blocked toilet or a leaking pipe can mean costly repair bills
and potentially create dangerous conditions that could
result in a slip or a fall or damp related health conditions.
Once installed in the bathroom or kitchen, the flood
detector will provide an early warning of a possible flood
situation before it causes extensive damage to carpets,
décor and electrical equipment.
Positioning
The flood detector can be placed on the floor below the
wash basin or kitchen sink, or in the bathroom near the
toilet or alongside the bath. It can be left free-standing or
fixed to the skirting board with the screw or self-adhesive
pad provided.
Alarm Condition
An alarm will be raised when water on the floor bridges
the two contacts on the underside of the flood detector.
IMPORTANT: following an alarm the flood detector should
be removed from the affected area until the carpet or
flooring is thoroughly dried.
Low Battery Condition
A low battery condition will be reported automatically to
the Alarm Receiving Centre (ARC) or the local Manager.
Once a low battery call is received the flood detector
should be replaced within 30 days. Flood detectors can be
returned to Tynetec for battery replacement.
Out of Range Notification (Reach IP/NOVO)
The Reach IP/NOVO can monitor all radio peripheral
devices to determine whether they have been damaged or
removed from an installation.
Should the Reach IP/NOVO be unable to detect a device’s
heartbeat it will automatically generate a “radio out of
range” notification. Firstly, investigate if there’s a genuine
reason for the alert, if not, arrange for the peripheral
device to be replaced immediately.
The “Radio out of range timer” can be set from 30 hours to
99999 hours in CMP. “Radio supervision” can be disabled
by unchecking the tick box associated with each peripheral
device in CMP.
Maintenance
The flood detector can be cleaned with a damp cloth or an
anti-bacterial wipe, do not use solvents or cleaners.
Do not immerse in water.
Disposal
Waste electrical products should not be disposed
of with normal household waste. The flood
detector is ideally suited for disposal within the
waste electronic and electrical equipment
(WEEE) recycling scheme. Please recycle where facilities
exist. Check with your local authority or contact your
supplier for recycling/disposal advice.
Tynetec, a business unit of Legrand Electric Ltd
Cowley Road, Blyth Riverside Business Park, Blyth, Northumberland, NE24 5TF.
Tel: +44 (0) 1670 352371 www.tynetec.co.uk
Trusted Technology
Caring for People
869MHz
Flood Detector
_________________________________________________________________________
________________________________________________________________
Doc No. FM0846 V1.02 Page 2
ZXT815
S:121907192
Iss-1
1893081E45
19W12
How to install the Flood Detector
Select the best location, e.g. below the kitchen sink or near
the bath, then fix to the skirting board with a screw
through the hole in the right angle bracket. Ensure the two
brass sensors on the lower face of the flood detector are
touching the floor.
If using the self-adhesive pad; select a location where the
skirting board is clean and dry. Stick the adhesive pad to
the right angle bracket then press firmly to the skirting
board ensuring it is stuck securely.
Telecare Radio ID
The flood detector includes a radio transceiver to
communicate with the Reach IP, Advent XT2, Carer
Response or NOVO.
The Radio ID is a 10-digit
code printed on the
flood detector label…
Test Call
To activate a test call from the flood detector simply place
it on a damp cloth to bridge the 2 brass contacts.
Registering the Flood Detector onto a Reach IP
Login to Pulse CMP (www.tynetecpulse.com) and enter the
Reach IP Serial No. in the ALARM UNIT view. Press the
Accessories button and enter the Radio ID code, Location
and Equipment type. Press Save then Synchronize.
IMPORTANT: when the flood detector is installed a test
call must be made to check operation and start the digital
heartbeat.
Alternatively, with the Reach IP in normal operating mode
undo the fixing screw and remove the stand or connector
cover to access the ⚫Power button.
Press the ⚫Power button to enter Control Mode, then
press and hold the button until the unit announces
“add radio device” then release.
Press the ⚫button to confirm then activate the flood
detector by placing it on a damp cloth.
The Reach IP unit will sound a high beep if it’s a new
device and announce “range test mode”.
Press ⚫to confirm, or press to step to the next
function, or press to exit the mode.
Activate the flood detector to check operation.
Registering the Flood Detector onto an XT2
Press the Settings button on the Home page of the
Manager’s Panel. Press the Manager (or Engineer) button,
enter the password and press the Programming button.
Select the Program Radio Devices option from the tabs
along the bottom of the screen.
Press Flat ID and enter the flat number the flood detector
is being installed in. Enter 4-digits e.g. 0014.
Press Radio ID and enter the 10-digit code taken from the
label on the flood detector.
Press Room Locations and select where the flood detector
is located from the on-screen options e.g. Bathroom.
Press the Send button to update the XT2 system.
Activate the flood detector to check operation.
Registering the Flood Detector onto a Carer Response
Refer to the Carer Response
user manual for full details
of the button functions
and how to navigate the menus.
From the Main menu select
Programming.
From the Programming menu select
Add transmitter.
The display will prompt you to Activate the transmitter…
Activate the flood detector by placing it on a damp cloth.
The Carer Response will beep and the display will change
to the Add transmitter menu with a box showing No ID.
Press then to select Room, then press 
Press to select the room number box 0000.
Press to select the first digit, press to move between
the digits and press or to change each digit.
Press when the correct room number is displayed.
Press to select the alarm type box None.
Press thento select Assistance then press 
Press the button to select Save then press 
The display will show Radio ID saved to memory…
Return to the Main menu and select Quit.
Activate the flood detector to check operation.
⚫Power Button
Tynetec, a business unit of Legrand Electric Ltd
Cowley Road, Blyth Riverside Business Park, Blyth, Northumberland, NE24 5TF.
Tel: +44 (0) 1670 352371 www.tynetec.co.uk
Trusted Technology
Caring for People
869MHz
Flood Detector
_________________________________________________________________________
________________________________________________________________
Doc No. FM0846 V1.02 Page 3
Registering the Flood Detector onto a Neat NOVO
Start your NOVO with the AC adapter attached.
Pairing using CMP
Login to CMP (cmp.neat-cloud.com)
and enter the NOVO serial number
in the CAREPHONE view.
Perform a search to locate the NOVO.
Select Accessories and thereafter New.
Enter the Radio ID code and the Equipment type.
The Radio ID can be found on the flood detector label.
Be sure to enter all 10 characters then press Save.
Wait and thereafter perform a Refresh, it may take up to
30 minutes for the accessory to be added.
Activate the flood detector by placing it on a damp cloth
to check operation.
Pairing using the NOVO Service Mode
Enter Service mode by a short press on the Power switch.
(Button B1, B2 & B3 are lit)
Then press and hold button B3 until “Add transmitter” is
announced.
(Button B1 is lit & B3 is flashing)
Press button B1 to confirm.
(Button B1, B2 & B3 are flashing)
Activate the flood detector by
placing it on a damp cloth.
The NOVO will sound a high beep and
announce “range test mode”.
The pairing is done.
Exit Service mode by pressing button B2.
(Button B1 is lit).
Activate the flood detector by placing it on a damp cloth
to check operation.
Declaration of Conformity
We declare this product complies with the
relevant UK legislation on condition that it is
used in the manner intended, and in
accordance with the current installation
standards and/or the manufacturer's recommendations.
A copy of the full UKCA Declaration of Conformity is
available on request.
We declare this product complies with the
relevant European legislation on condition that
it is used in the manner intended, and in
accordance with the current installation standards and/or
the manufacturer's recommendations. A copy of the full
CE Declaration of Conformity is available on request.
Chris Dodd
CEO
Legrand Assisted Living & Healthcare

Other LEGRAND Security Sensor manuals

LEGRAND Triscan 488TRI3W User manual

LEGRAND

LEGRAND Triscan 488TRI3W User manual

LEGRAND 0 489 59 User manual

LEGRAND

LEGRAND 0 489 59 User manual

LEGRAND Tynetec ZXT494 User manual

LEGRAND

LEGRAND Tynetec ZXT494 User manual

LEGRAND 0 942 80 User manual

LEGRAND

LEGRAND 0 942 80 User manual

LEGRAND 0 489 58 User manual

LEGRAND

LEGRAND 0 489 58 User manual

LEGRAND 0 489 36 User manual

LEGRAND

LEGRAND 0 489 36 User manual

LEGRAND 845 06 User manual

LEGRAND

LEGRAND 845 06 User manual

LEGRAND HC4607 User manual

LEGRAND

LEGRAND HC4607 User manual

LEGRAND 0 489 53 User manual

LEGRAND

LEGRAND 0 489 53 User manual

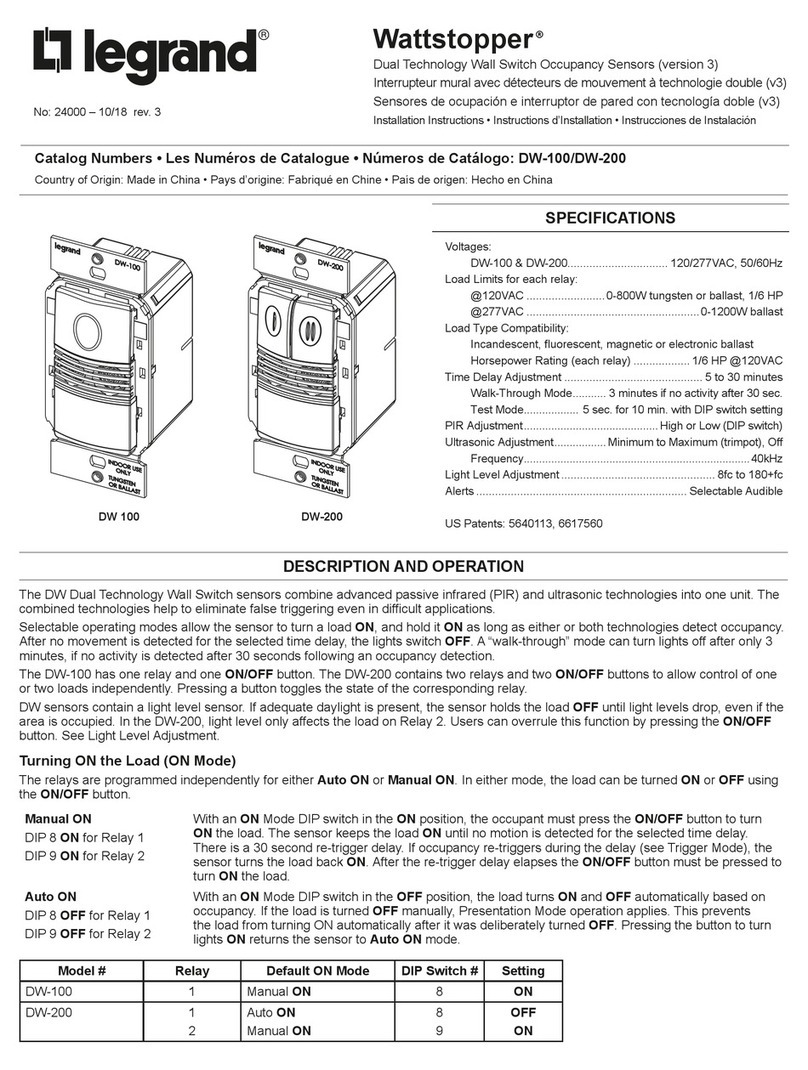
LEGRAND WattStopper LMUC-100-2 User manual

LEGRAND

LEGRAND WattStopper LMUC-100-2 User manual

LEGRAND Mosaic 0 489 22 User manual

LEGRAND

LEGRAND Mosaic 0 489 22 User manual

LEGRAND 488 30 User manual

LEGRAND

LEGRAND 488 30 User manual

LEGRAND PIR IP41 Instruction Manual

LEGRAND

LEGRAND PIR IP41 Instruction Manual

LEGRAND EMOS G1190 User manual

LEGRAND

LEGRAND EMOS G1190 User manual

LEGRAND 0 490 8 User manual

LEGRAND

LEGRAND 0 490 8 User manual

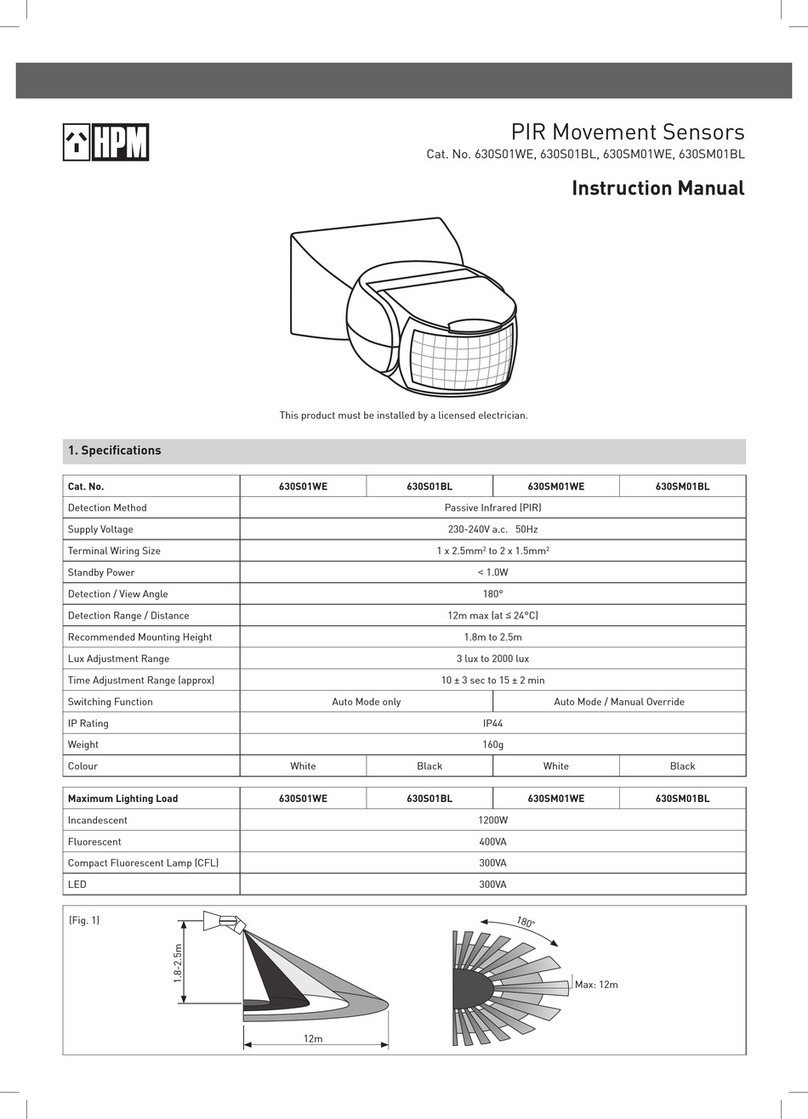
LEGRAND HPM 630S01WE User manual

LEGRAND

LEGRAND HPM 630S01WE User manual

LEGRAND 0 884 09 User manual

LEGRAND

LEGRAND 0 884 09 User manual

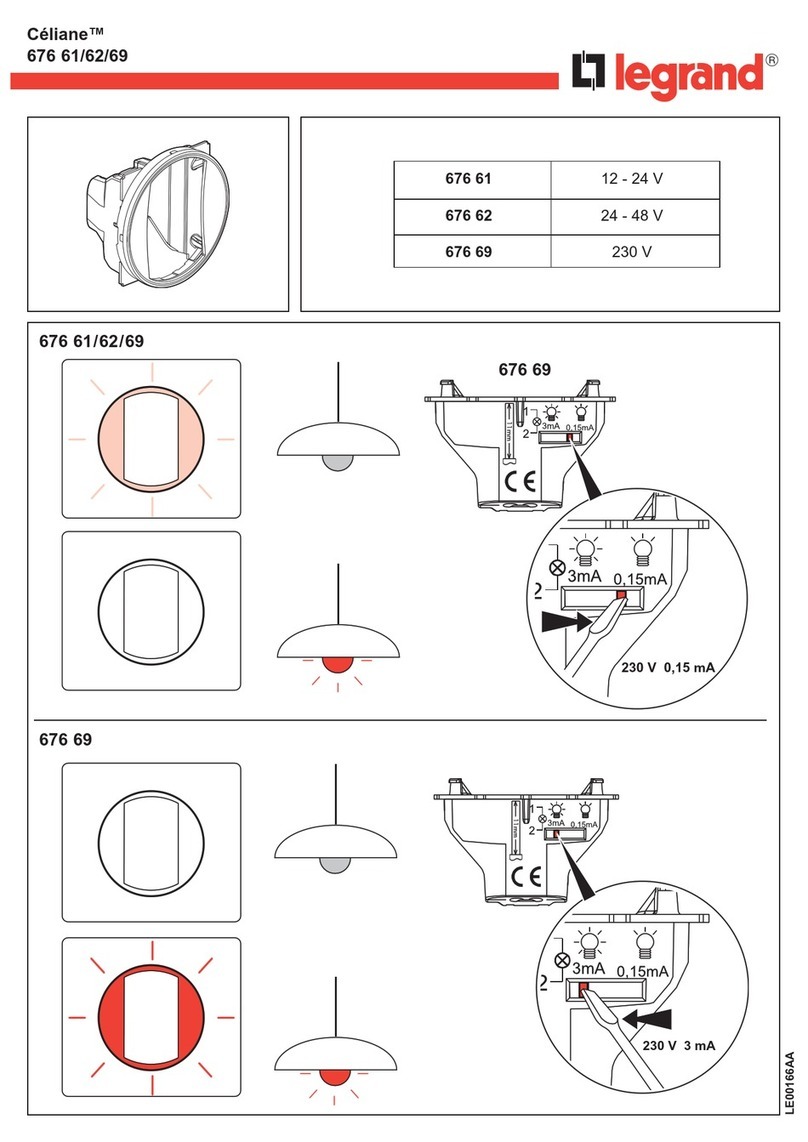
LEGRAND Celiane Series User manual

LEGRAND

LEGRAND Celiane Series User manual

LEGRAND LE03020AB User manual

LEGRAND

LEGRAND LE03020AB User manual

LEGRAND Wattstopper FSP-311 User manual

LEGRAND

LEGRAND Wattstopper FSP-311 User manual

LEGRAND 695 93 User manual

LEGRAND

LEGRAND 695 93 User manual

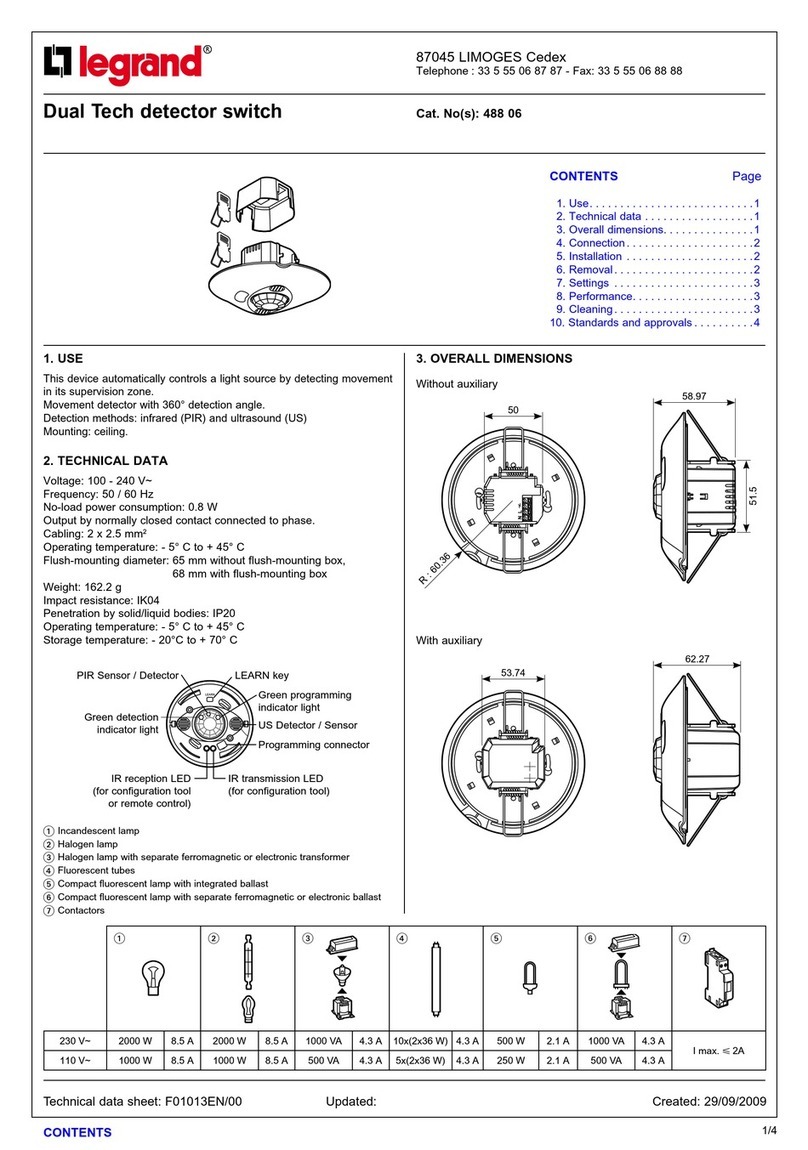
LEGRAND 488 06 User manual

LEGRAND

LEGRAND 488 06 User manual

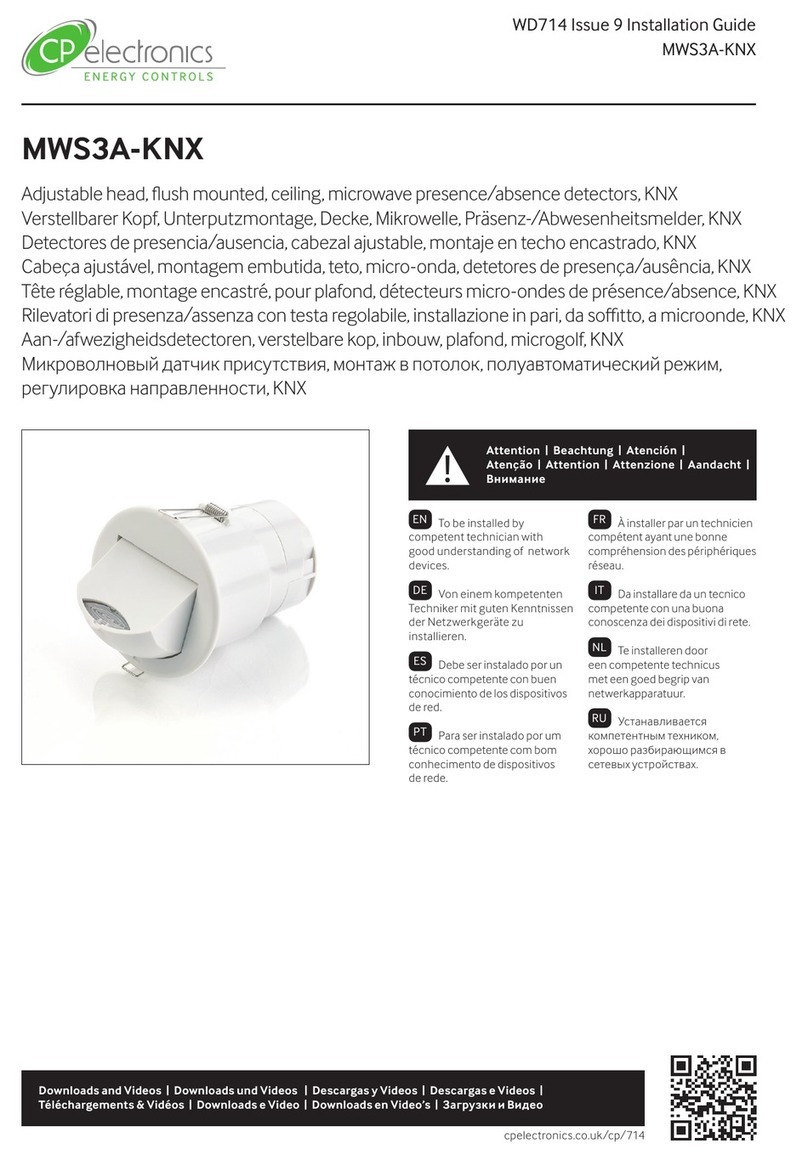
LEGRAND CP Electronics EBDSPIR-DALI2 User manual

LEGRAND

LEGRAND CP Electronics EBDSPIR-DALI2 User manual

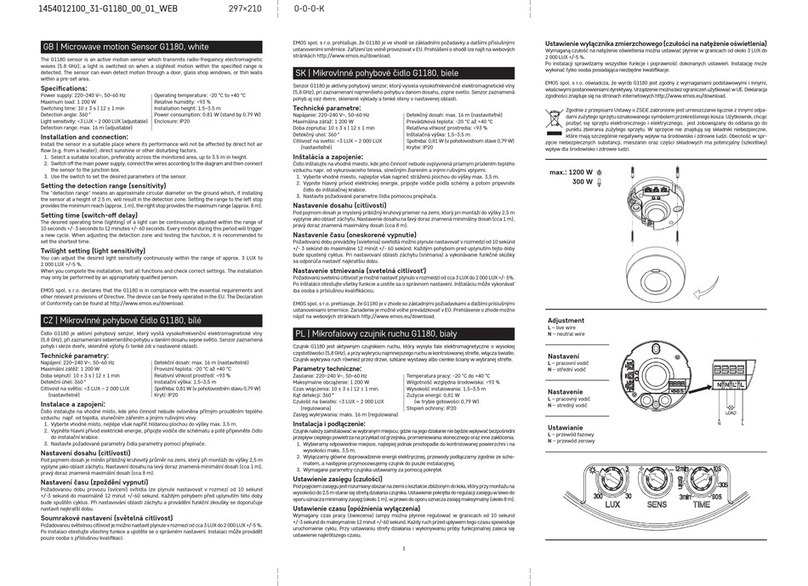
LEGRAND EMOS G1180 User manual

LEGRAND

LEGRAND EMOS G1180 User manual

Popular Security Sensor manuals by other brands

MSA Altair operating manual

MSA

MSA Altair operating manual

elobau 120 2 Series manual

elobau

elobau 120 2 Series manual

Cardin Elettronica MINI CDR Series manual

Cardin Elettronica

Cardin Elettronica MINI CDR Series manual

PIKO 56542 quick start guide

PIKO

PIKO 56542 quick start guide

Net Safety UV/IRS-A user manual

Net Safety

Net Safety UV/IRS-A user manual

Visonic NEXT CAM PG2 datasheet

Visonic

Visonic NEXT CAM PG2 datasheet

AiSight Aion Service and installation instructions

AiSight

AiSight Aion Service and installation instructions

C-LOGIC 610-MD instruction manual

C-LOGIC

C-LOGIC 610-MD instruction manual

HTC HP-500 quick start guide

HTC

HTC HP-500 quick start guide

Amcrest SmartHome AL-KIT1-PP quick start guide

Amcrest

Amcrest SmartHome AL-KIT1-PP quick start guide

Feig Electronic VEK MNE1 manual

Feig Electronic

Feig Electronic VEK MNE1 manual

Takex Quad PB-IN-50HF instruction manual

Takex

Takex Quad PB-IN-50HF instruction manual

RUBEZH HD29 Operation manual

RUBEZH

RUBEZH HD29 Operation manual

Datalogic SG2 BASE Series instruction manual

Datalogic

Datalogic SG2 BASE Series instruction manual

NOMA 052-7801-8 instruction manual

NOMA

NOMA 052-7801-8 instruction manual

BTI Multi-Detektor Original instructions

BTI

BTI Multi-Detektor Original instructions

DAITEM 191-21X user guide

DAITEM

DAITEM 191-21X user guide

Parker icountPD user manual

Parker

Parker icountPD user manual

manuals.online logo
manuals.online logoBrands
  • About & Mission
  • Contact us
  • Privacy Policy
  • Terms and Conditions

Copyright 2025 Manuals.Online. All Rights Reserved.