• Zones de couverture
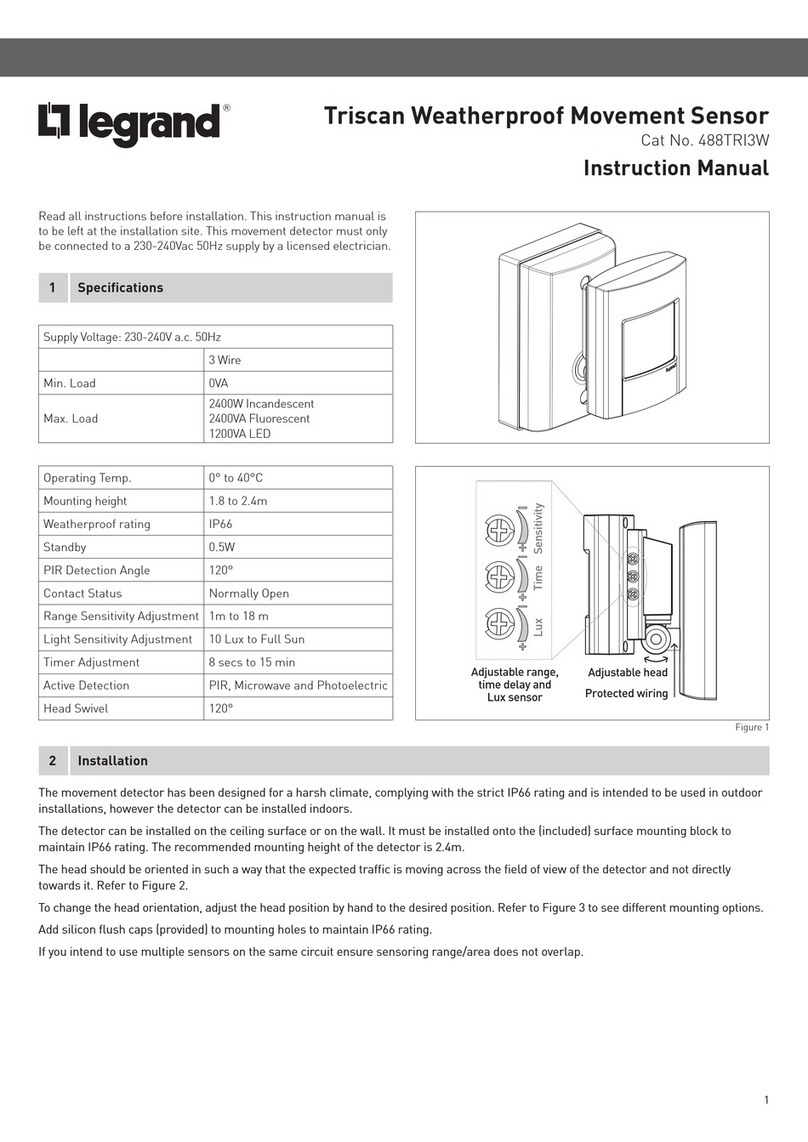
• Protected areas
• Zone di copertura
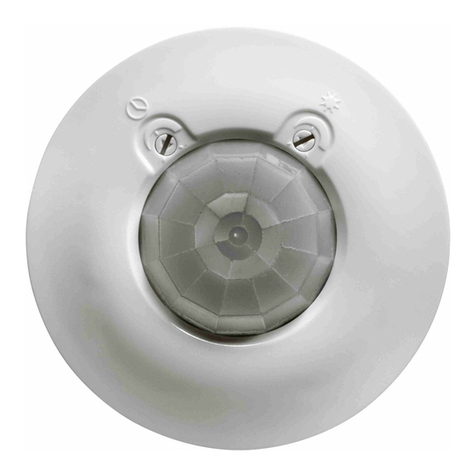
• Présentation
• Presentation
• Presentazione
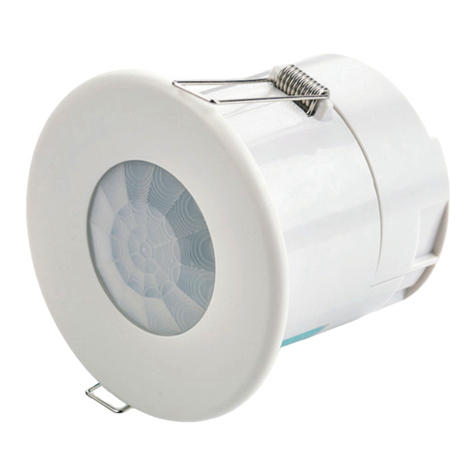
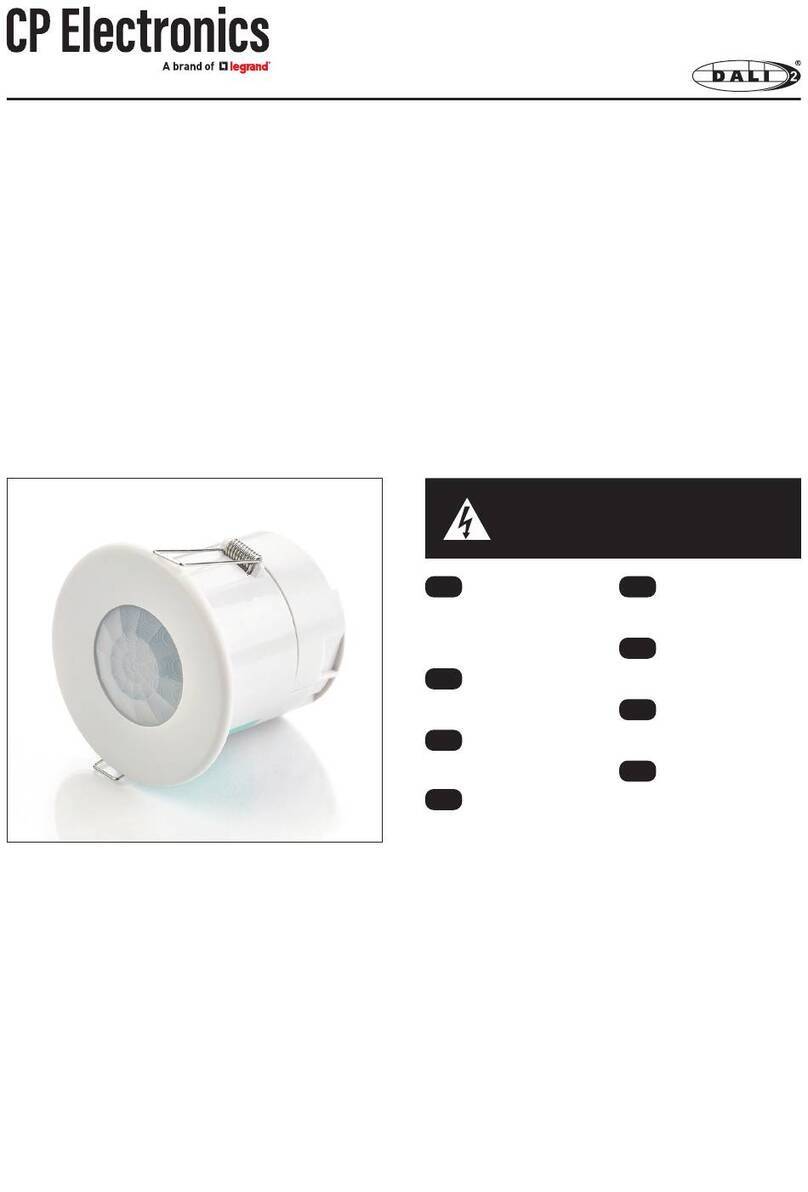
• Détecteur infrarouge plafond • Rilevatore a infrarossi a sotto
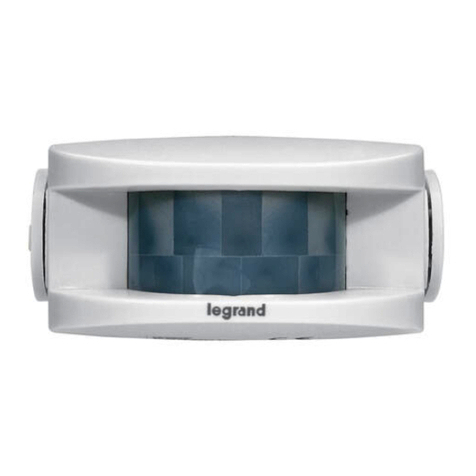
• Infrared ceiling detector Cat. No.
0 431 45
LE03020AB
• Recommandations
Positionner le détecteur de façon à ce que l'intrus
coupe les faisceaux.
Installer le détecteur entre 2,40 m et 3,60 m de
hauteur.
Ne pas installer le détecteur en face d'une fenêtre,
un radiateur ou un climatiseur.
Éviter la lumière du soleil, directe ou par
réexion.
S'assurer qu'aucun obstacle n'obstrue la zone de
couverture.
Ne pas xer le détecteur sur une structure
instable.
Installation d'un système neuf : se reporter au
guide d'installation et d'utilisation de l'alarme
intrusion laire (réf. 0 432 03 / 05 / 07).
Installation d'un système existant : vérier qu'il
n'y a pas de dépassement de consommation de
la conguration maximale gérée par la centrale
en se reportant au chapitre "PRÉSENTATION DES
APPAREILS" du guide d'installation et d'utilisation
de l'alarme laire (réf. 0 432 03 / 05 / 07).
Compléter le tableau permettant de
préparer le chantier en se reportant au
chapitre "PRÉPARATION DU CHANTIER" du guide
d'installation et d'utilisation de l'alarme laire
(réf. 0 432 03 / 05 / 07).
Mise hors tension du système : se reporter au
chapitre "MODE DE MAINTENANCE" du guide
d'installation et d'utilisation de l'alarme laire
(réf. 0 432 03 / 05 / 07)
Mise sous tension et tests de l'installation : se
reporter au guide d'installation et d'utilisation de
l'alarme laire (réf. 0 432 03 / 05 / 07).
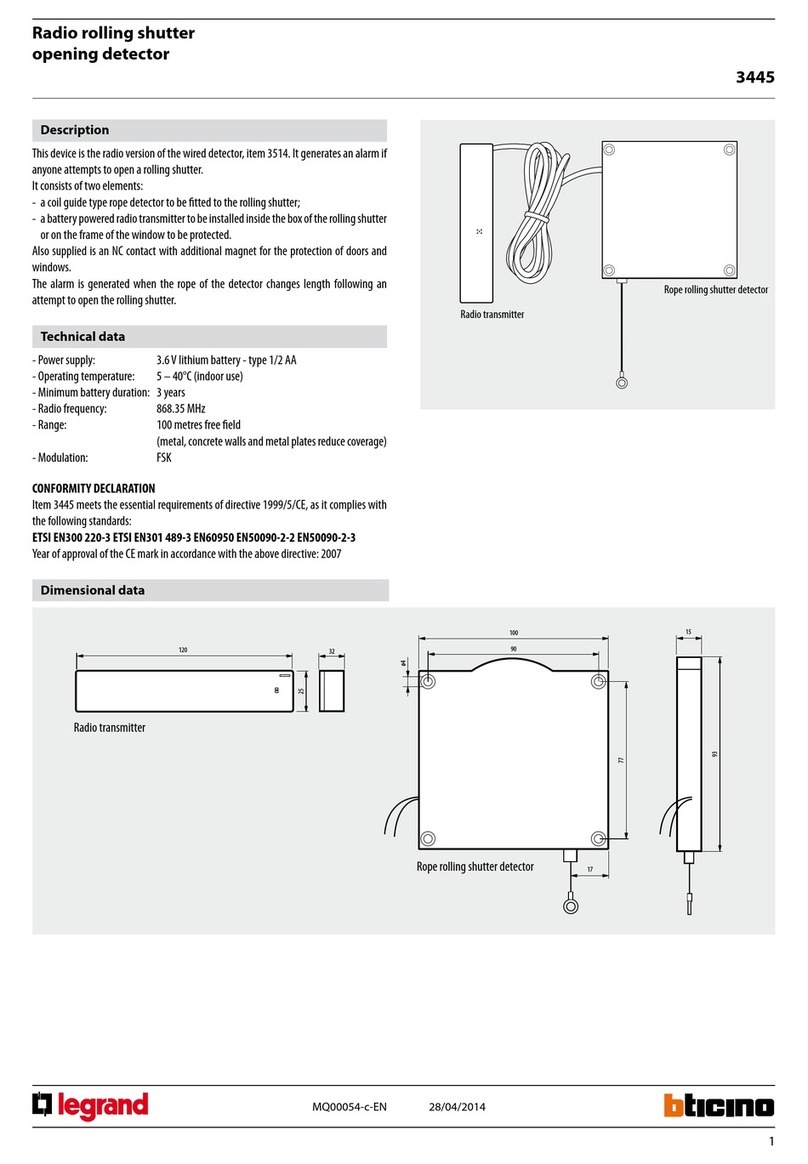
• Recommendations
Position the detector so that any advancing
intruder intersects the beams.
Install the detector between 2.40 m and 3.60 m
above the ground.
Do not install the detector opposite a window,
radiator or an air-conditioning unit.
Avoid sunlight, either direct or reected.
Make sure that there are no obstacles within the
protected zone.
Never mount the detector on an unstable structure.
Installation of a new system: please refer to
the wired intruder alarm installation and
operation manual (Cat. No. 0 432 03 / 05 / 07).
Installation of an existing system: make sure
that the power consumption by the maximum
conguration managed by the control panel is
not exceeded by referring to the "PRESENTATION
OF THE EQUIPMENT" section in the wired alarm
installation and operation manual
(Cat. No. 0 432 03 / 05 / 07).
Complete the table which helps you to prepare
the site by referring to the "SITE PREPARATION"
section in the wired alarm installation and
operation manual (Cat. No. 0 432 03 / 05 / 07).
Disconnecting the power supply to the system:
please refer to "MAINTENANCE MODE" section
in the wired alarm installation and operation
manual (Cat. No. 0 432 03 / 05 / 07)
Connecting the power supply and installation
tests: please refer to the wired alarm installation
and operation manual (Cat. No. 0 432 03 / 05 / 07).
• Raccomandazioni
Posizionare il rilevatore in modo che l'intruso
interrompa i fasci.
Installare il rivelatore tra 2,40 m e 3,60 m di altezza.
Non installare il rilevatore davanti a una nestra,
un radiatore o un condizionatore.
Evitare la luce del sole, diretta o riessa.
Vericare che nessun ostacolo ostruisca la zona di
copertura.
Non ssare il rilevatore su una struttura instabile.
Installazione di un sistema nuovo: fare riferi
mento alla alla guida per l'installazione e l'uso
dell'allarme antintrusione lare
(rif. 0 432 03 / 05 / 07).
Installazione di un sistema esistente: Vericare
di non superare la congurazione massima gestita
dalla centrale facendo riferimento al capitolo
"PRESENTAZIONE DEGLI APPARECCHI" nella guida
per l'installazione e l'uso dell'allarme lare
(rif. 0 432 03 / 05 / 07)
Completare la tabella che consente di preparare
il cantiere facendo riferimento al capitolo
"PREPARAZIONE DDEL CANTIERE" della guida per
l'installazione e l'uso dell'allarme lare
(rif. 0432 03 / 05 / 07).
Spegnimento del sistema: fare riferimento alla
capitolo "MODALITÀ DI MANUTENZIONE" della
guida per l'installazione e l'uso dell'allarme lare
(rif. 0 432 03 / 05 / 07)
Accensione e test di installazione: fare
riferimento alla guida per l'installazione e l'uso
dell'allarme lare (rif. 0 432 03 / 05 / 07).
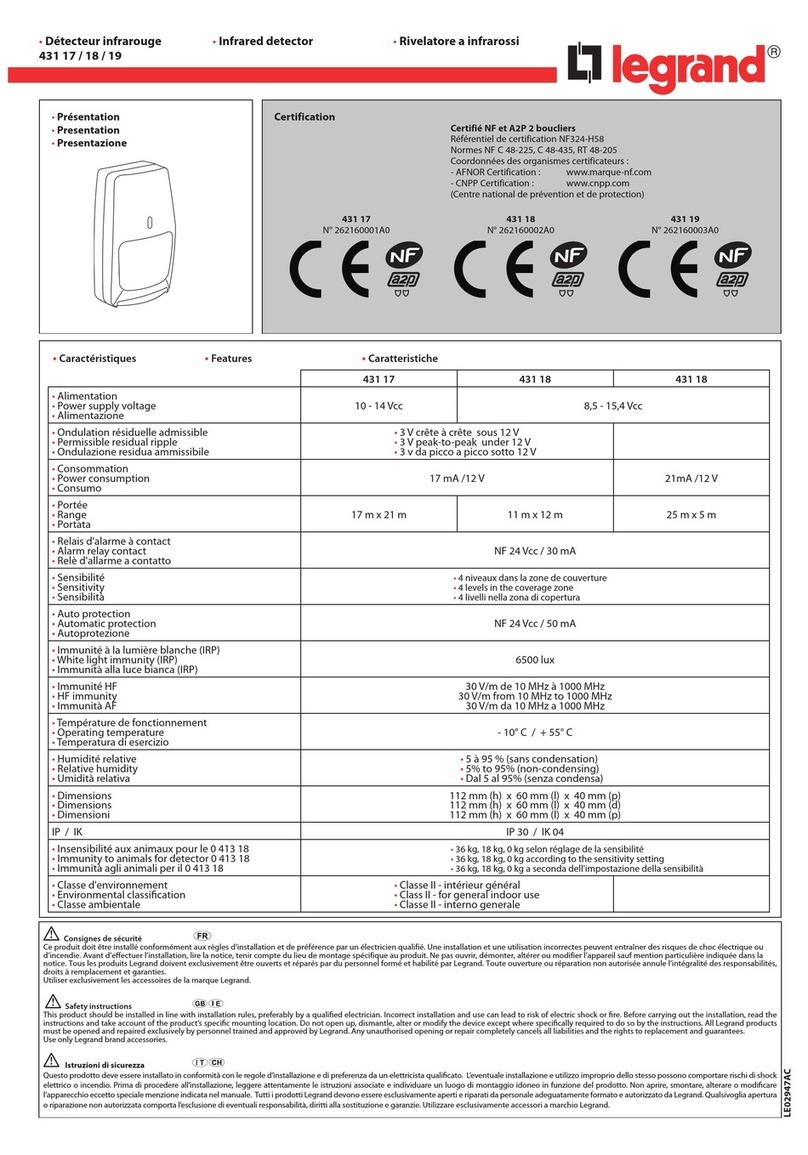
• Caractéristiques • Features • Caratteristiche
• Alimentation
• Power supply voltage
• Alimentazione 12 Vcc • Vitesse de détection
• Detection speed
• Velocità di rilevamento 0,3 m / 1,5 m/sec.
• Consommation
• Power consumption
• Consumo 17 mA /12 Vcc • Température de fonctionnement
• Operating temperature
• Temperatura di esercizio 20° C / +50° C
• Portée
• Range
• Portata ≤ 12 m Ø • Humidité relative
• Relative humidity
• Umidità relativa 95% max
• Relais d’alarme à contact
• Alarm relay contact
• Relè d'allarme a contatto
NF 28 Vcc
200 mA
• Dimensions
• Dimensions
• Dimensioni
Ø : 120 mm
h : 37 mm
• Zones de détections
• Detection zones
• Zone di rilevamento 62 IP / IK IP 40 IK 04
• Sensibilité
• Sensitivity
• Sensibilità 1,6° C / 0,6 m/sec.
• Vue de dessus
• View from above
• Vista dall'alto • Hauteur installation
• Installation height
• Altezza di installazione
2,4 m 3 m 3,6 m
• Portée (diamètre)
• Range (diameter)
• Portata (diametro)
8 m 10 m 12 m
• Aire de détection maximum
• Maximum detection area
• Intervallo massimo di rilevazione
• Vue de coté
• Side view
• Vista laterale 0,60
1,20
Ø 12 m
2,4 m
3 m
0 m
3,6 m
0 m2 m4 m6 m2m4m6m
Vue de dessus
Vue de coté
Ø 12 m
0
0
2,40
3
3,60
6 4 2 6420
(m) 3,60
(m)
Consignes de sécurité
Ce produit doit être installé conformément aux règles d’installation et de préférence
par un électricien qualié. Une installation et une utilisation incorrectes peuvent
entraîner des risques de choc électrique ou d’incendie. Avant d’eectuer l’installation,
lire la notice, tenir compte du lieu de montage spécique au produit.
Ne pas ouvrir, démonter, altérer ou modier l’appareil sauf mention particulière
indiquée dans la notice. Tous les produits Legrand doivent exclusivement être
ouverts et réparés par du personnel formé et habilité par Legrand. Toute ouverture
ou réparation non autorisée annule l’intégralité des responsabilités, droits à
remplacement et garanties.
Utiliser exclusivement les accessoires de la marque Legrand.
Safety instructions
This product should be installed in compliance with installation rules, preferably by
a qualied electrician. Incorrect installation and use can lead to risk of electric shock
or re.
Before carrying out the installation, read the instructions and take account of the
product’s specic mounting location.
Do not open up, dismantle, alter or modify the device except where specically
required to do so by the instructions. All Legrand products must be opened and
repaired exclusively by personnel trained and approved by Legrand. Any unauthorised
opening or repair completely cancels all liabilities and the rights to replacement and
guarantees.
Use only Legrand brand accessories.
Istruzioni di sicurezza
Questo prodotto deve essere installato in conformità con le regole d’installazione e di
preferenza da un elettricista qualicato. L’eventuale installazione e utilizzo improprio
dello stesso possono comportare rischi di shock elettrico o incendio. Prima di
procedere all’installazione, leggere attentamente le istruzioni associate e individuare
un luogo di montaggio idoneo in funzione del prodotto.
Non aprire, smontare, alterare o modicare l’apparecchio eccetto speciale menzione
indicata nel manuale. Tutti i prodotti Legrand devono essere esclusivamente
aperti e riparati da personale adeguatamente formato e autorizzato da Legrand.
Qualsivoglia apertura o riparazione non autorizzata comporta l’esclusione di eventuali
responsabilità, diritti alla sostituzione e garanzie.
Utilizzare esclusivamente accessori a marchio Legrand.
