3
Leica CM3050S
Note
The information, numerical data, notes and value judgments contained in this Instructions for Use
represent the current state of scientific knowledge and state-of-the-art technology as we understand it
following thorough investigation in this field.
We are under no obligation to update the present Instructions for Use periodically and on an ongoing
basis according to the latest technical developments, nor to provide our customers with additional
copies, updates etc. of this Instructions for Use.
To the extent permitted in accordance with the national legal system as applicable in each individual
case, we shall not be held liable for erroneous statements, drawings, technical illustrations etc.
contained in this Instructions for Use. In particular, no liability whatsoever is accepted for any financial
loss or consequential damage caused by or related to compliance with statements or other information
in this Instructions for Use.
Statements, drawings, illustrations and other information regarding the contents or technical details of
the present Instructions for Use are not to be considered warranted characteristics of our products.
These are determined only by the contract provisions agreed between ourselves and our customers.
Leica reserves the right to change technical specifications as well as manufacturing processes without
prior notice. Only in this way is it possible to continuously improve the technology and manufacturing
techniques used in our products.
This document is protected under copyright laws. All copyrights to this documentation are held by Leica
Biosystems Nussloch GmbH.
Any reproduction of text and illustrations (or of any parts thereof) by means of print, photocopy,
microfiche, web cam or other methods – including any electronic systems and media – requires express
prior permission in writing by Leica Biosystems Nussloch GmbH.
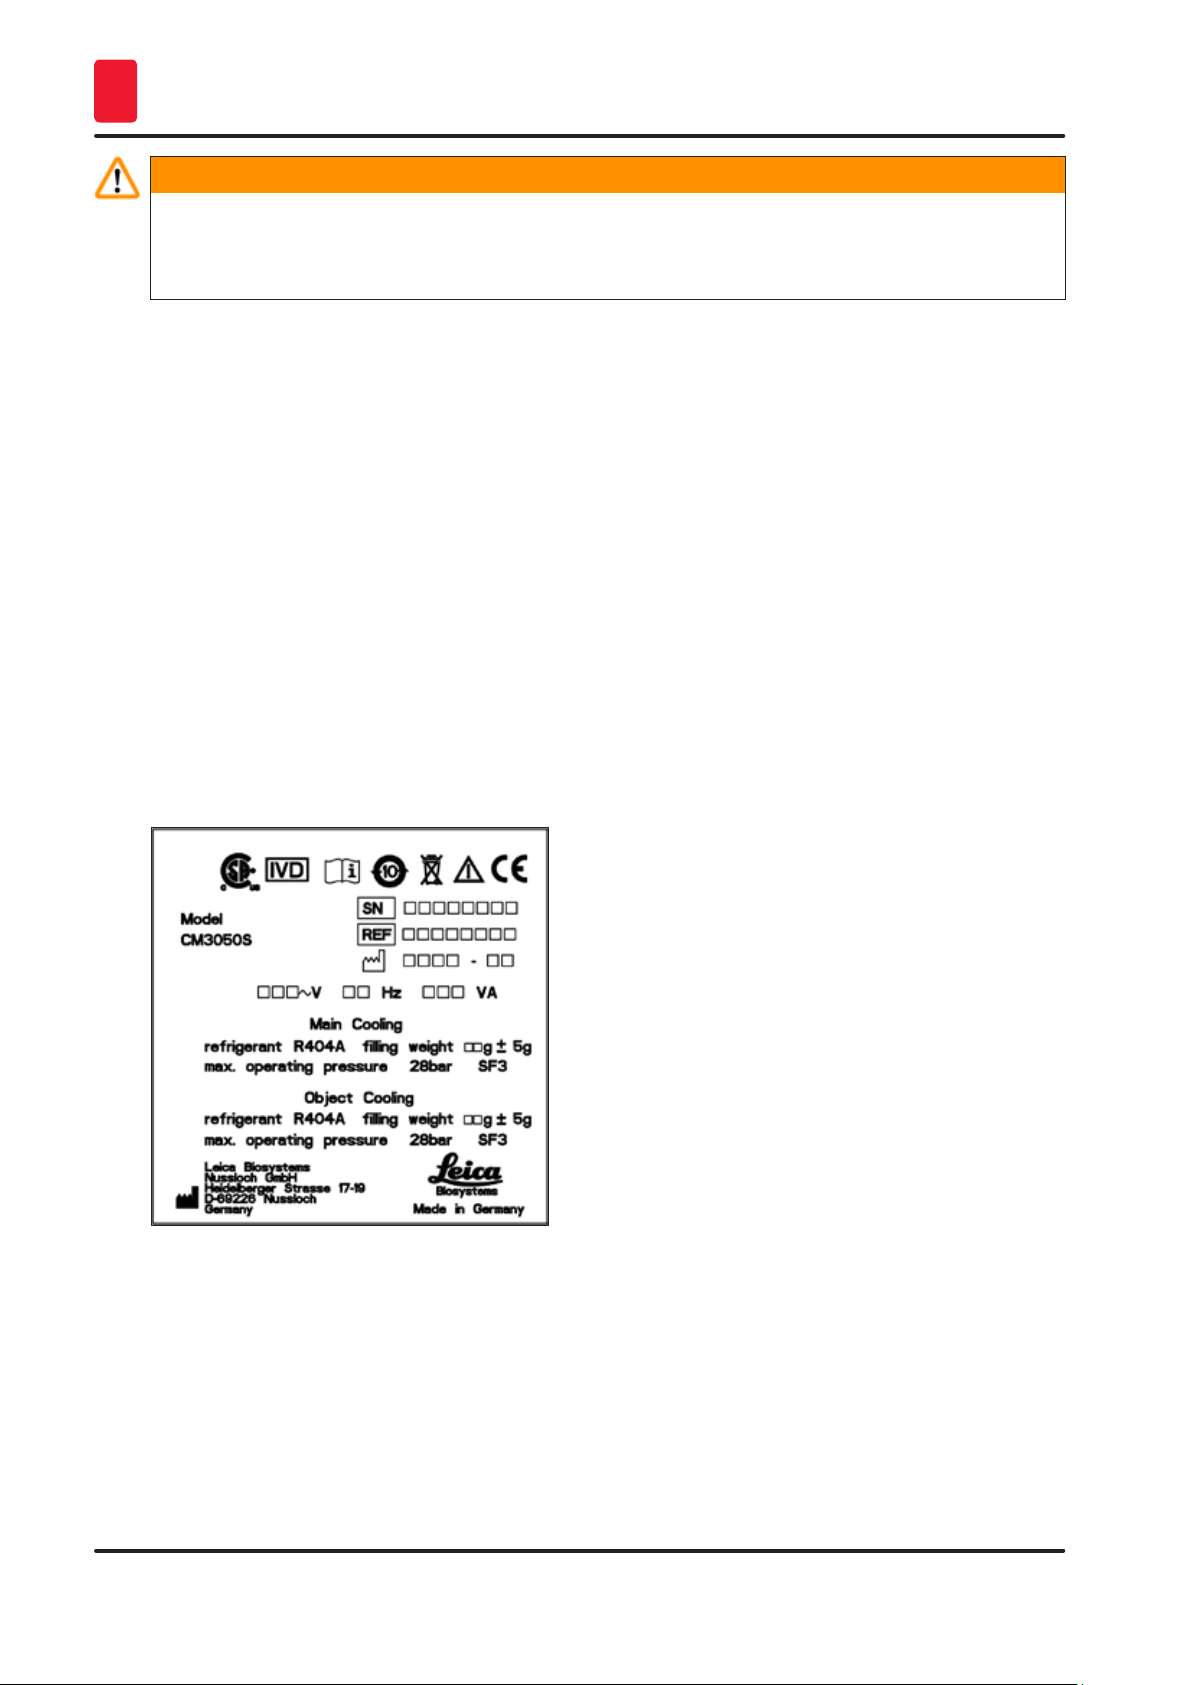
For the instrument serial number and year of manufacture, please refer to the nameplate on the back of
the instrument.
The information, numerical data, notes and value judgments contained in this Instructions for Use
represent the current state of scientific knowledge and state-of-the-art technology as we understand it
following thorough investigation in this field.
We are under no obligation to update the present Instructions for Use periodically and on an ongoing
basis according to the latest technical developments, nor to provide our customers with additional
copies, updates etc. of this Instructions for Use.
To the extent permitted in accordance with the national legal system as applicable in each individual
case, we shall not be held liable for erroneous statements, drawings, technical illustrations etc.
contained in this Instructions for Use. In particular, no liability whatsoever is accepted for any financial
loss or consequential damage caused by or related to compliance with statements or other information
in this Instructions for Use.
Statements, drawings, illustrations and other information regarding the contents or technical details of
the present Instructions for Use are not to be considered warranted characteristics of our products.
These are determined only by the contract provisions agreed between ourselves and our customers.
Leica reserves the right to change technical specifications as well as manufacturing processes without
prior notice. Only in this way is it possible to continuously improve the technology and manufacturing
techniques used in our products.
This document is protected under copyright laws. All copyrights to this documentation are held by Leica
Biosystems Nussloch GmbH.
Any reproduction of text and illustrations (or of any parts thereof) by means of print, photocopy,
microfiche, web cam or other methods – including any electronic systems and media – requires express
prior permission in writing by Leica Biosystems Nussloch GmbH.
For the instrument serial number and year of manufacture, please refer to the nameplate on the back of
the instrument.
Leica Biosystems Nussloch GmbH
Heidelberger Str. 17 - 19
69226 Nussloch
Germany
Tel.: +49 - (0) 6224 - 143 0
Fax: +49 - (0) 6224 - 143 268
Web: www.LeicaBiosystems.com