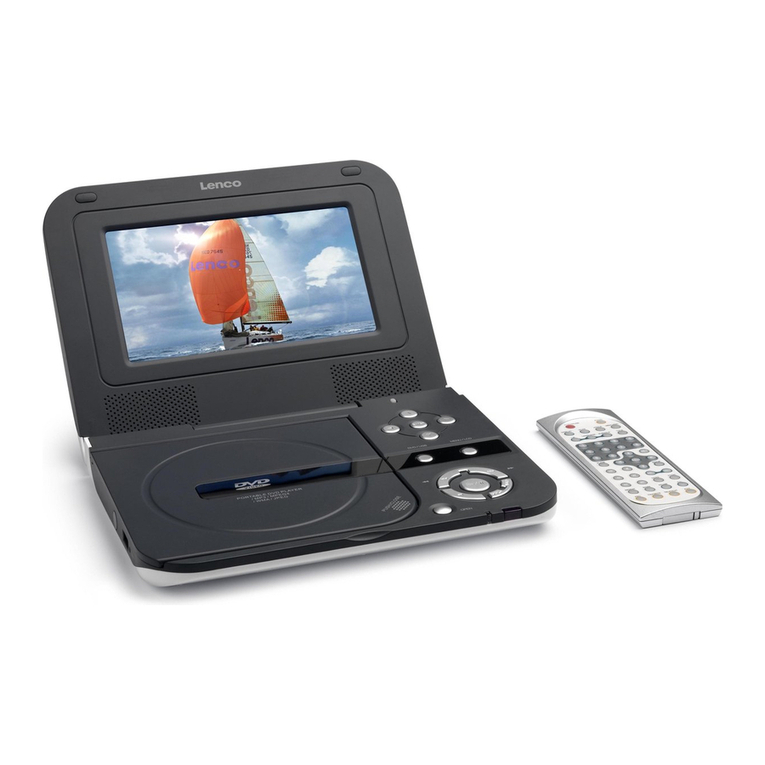
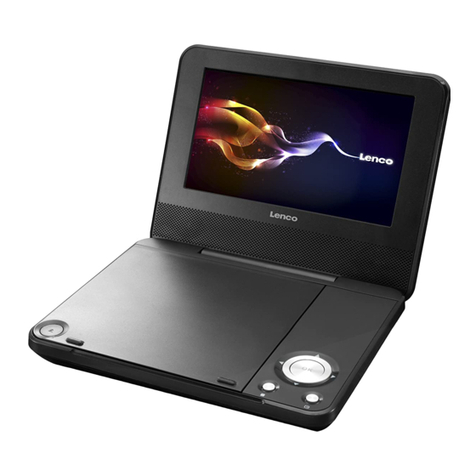
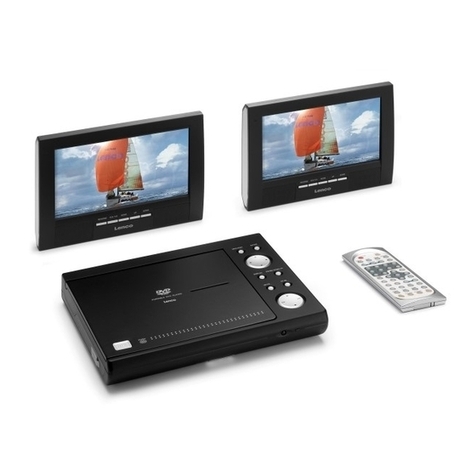
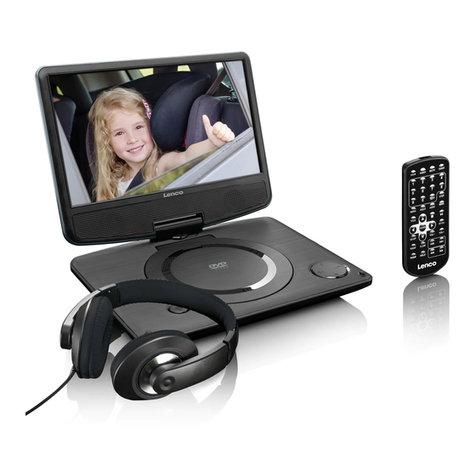
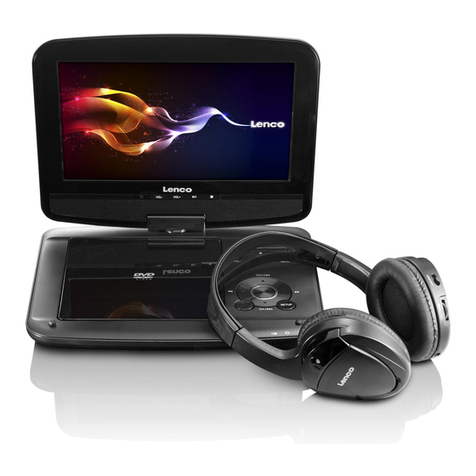
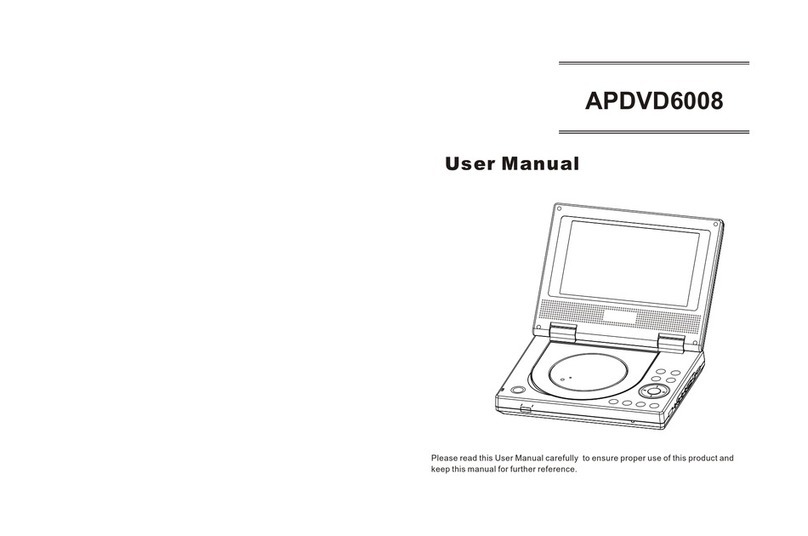
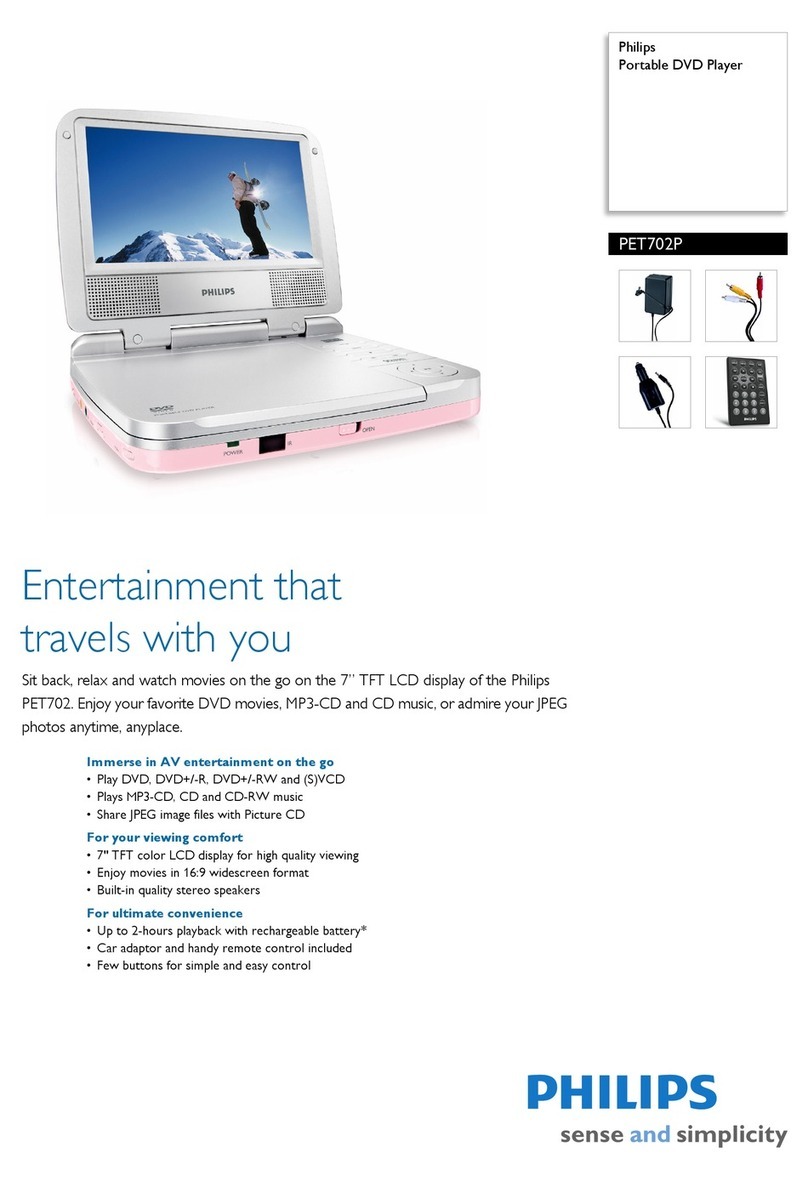
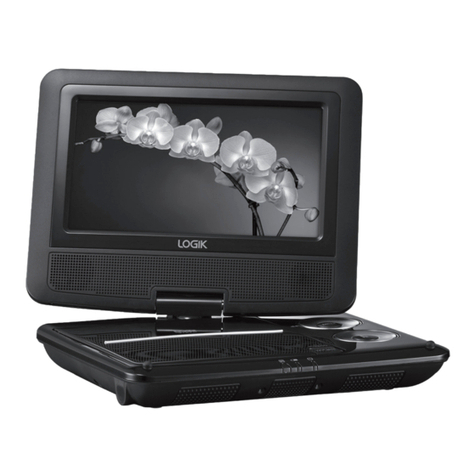
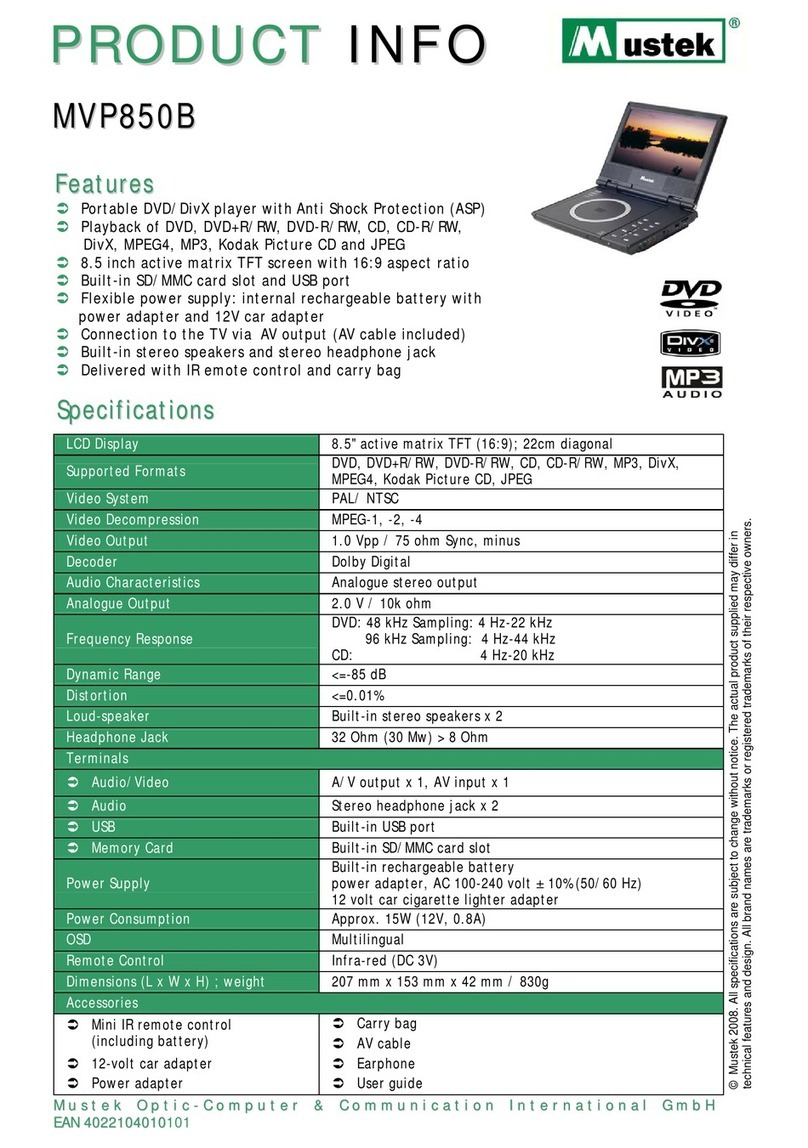
LENCO DVP-754 User manual

754
Model: DVP-
USER MANUAL PORTABLE DVD
HANDLEIDING DRAAGBARE DVD-SPELER
BEDIENUNGSANLEITUNG TRAGBARER DVD-PLAYER
MODE D’EMPLOI LECTEUR DVD PORTABLE
MANUAL DEL USUARIO DVD PORTÁTIL

Index
English-----------------------------------------------------------------------------------03
Nederlands-----------------------------------------------------------------------------17
Deutsch--------------------------------------------------------------------------------- 31
Français--------------------------------------------------------------------------------46
Español--------------------------------------------------------------------------------- 60
Version: 1.0

English
1. Safety Instructions
‐Before using this product, read and follow all warnings and instructions.
‐This device is not intended for use by people (including children) with physical, sensory or mental
disabilities, or a lack of experience and knowledge, unless they're under supervision or have
received instructions about the correct use of the device by the person who is responsible for their
safety;
‐This product is intended for household use only and not for commercial or industrial use.
‐Do not expose to dripping or splashing.
‐No naked flame sources, such as lighted candles, should be placed on or near the product.
‐Ventilation should not be impeded by covering ventilation openings with items such as newspapers,
table cloths, curtains and the like.
‐Make sure the unit is adjusted to a stable position. Damage caused by using this product in an
unstable position or by failure to follow any other warning or precaution contained within this user
manual will not be covered by warranty.
‐Do not place objects filled with liquids, such as vases on or near the product.
‐Do not use or store this product in a place where it is subject to direct sunlight, heat, excessive dust
or vibration.
‐Do not keep or store this product in wet conditions for a long period.
‐Do not clean this product with water or other liquids.
‐Do not block or cover the slots and holes in the product.
‐Do not push foreign objects into the slots or holes in the product.
‐Do not attempt to open this product yourself. There are no user serviceable parts inside.
‐Do not allow children access to plastic bags.
Warning
‐Never remove the casing of this device.
‐Never place this device on other electrical equipment.
Notice
●If at any time in the future you should need to dispose of this product please note that: All batteries
and accumulators need to be removed from this product (Removal of Waste Batteries and
Accumulators).
●Always bring your product to a professional to remove the built-in battery.
‐This device is not intended for use by people (including children) with physical, sensory or mental
disabilities, or a lack of experience and knowledge, unless they're under supervision or have
received instructions about the correct use of the device by the person who is responsible for their
safety.
‐This product is intended for household use only and not for commercial or industrial use.
‐Make sure the unit is adjusted to a stable position. Damage caused by using this product in an
unstable position or by failure to follow any other warning or precaution contained within this user
manual will not be covered by warranty.
3
‐Never remove the casing of this apparatus.
‐Never place this apparatus on other electrical equipment.
‐Do not use or store this product in a place where it is subject to direct sunlight, heat, excessive dust
or vibration.
‐Do not clean this product with water or other liquids.
‐Do not block or cover the slots and holes in the product.
‐Do not push foreign objects into the slots or holes in the product.
‐Do not allow children access to plastic bags.
‐Please check that the voltage on the type plate of your appliance corresponds with your house
electricity supply (type plate is located on the back of the unit).
‐Protect the power cord from being walked on or pinched, particularly at plugs, convenience
receptacles, and the point where they exit from the apparatus.
‐Only use attachments/accessories specified by the manufacturer.
‐Refer all servicing to qualified service personnel. Servicing is required when the apparatus has been
damaged in any way, such as the power supply cord or the plug, when liquid has been spilled or
objects have fallen into the apparatus, when the apparatus has been exposed to rain or moisture,
does not operate normally, or has been dropped.
‐Do not use a damaged power cord or plug or a loose outlet. Doing so may result in fire or electric
shock.
WARNING:
Prolonged exposure to loud sounds from personal music players may lead to temporary or
permanent hearing loss.
Power supply adaptor (For EU only)
Manufacturer: Shenzhen Mass Power Electronics Limited
Model number: SEF0900100E1BA/PEF0900100VE
Only use the power supply listed in the user instructions
4
WARNING
Do not ingest the battery, Chemical Burn Hazard
(The remote control supplied with) This product contains a
coin/button cell battery. If the coin/button cell battery is
swallowed, it can cause severe internal burns in just 2 hours and can lead to death.
Keep new and used batteries away from children.
If the battery compartment does not close securely, stop using
the product and keep it away from children.
If you think batteries might have been swallowed or placed inside
any part of the body, seek immediate medical attention.
To prevent possible hearing damage, do not listen at high volume levels for long periods.

2. Identification of Controls
Main Unit
1. ▲/ Up/Prev
▼/ Down/Next
◄/VOL-Left/VOL-
►/VOL+ Right/VOL+
2. PLAY/PAUSE
3. SETUP
4. SOURCE
5. USB
6. Earphone Socket
7. AV OUT
8. ON/OFF
9. DC IN 9-12V
5
10. Battery Charging Indicator
Illuminates green flashing when the battery is charging.
Illuminates green when the battery is fully charged.
11. Power Indicator
Illuminates red when the unit is switched on.
Battery Charging
Connect the DVD player to the supplied power adaptor, the LED indicator will
be Green Flashing when the battery is charging and will turn into green when
the battery is fully charged.

2. Identification of Controls
Remote control unit
1. SOURCE
DVD/USB.
2. MUTE
Disable Audio output.
3. 0-9 NUMBER BUTTON
Selects numbered items in a menu.
4. DISPLAY
To display the playtime and status information.
5. 10+ BUTTON
In order to select a track 10, for CD, press 10+ button first, then press 0 button; for DVD, press 10+
button, for DVD, select track greater than 10. For example, track 12, first press 10+, highlight bar appear
and further press 10+ and press number 2 button; select track 23, press 10+ button 3 times and press
number 3 button.
6. MENU/PBC
Return to DVD root menu (DVD).
PBC on/off switch (VCD).
7. AUDIO
DVD: Press AUDIO repeatedly during playback to hear a different audio language or audio track, if
6

available.
CD/VCD: Press AUDIO repeatedly during playback to hear a different audio channel (Left, Right, Mix,
Stereo).
8. PLAY/PAUSE
Press PLAY/PAUSE once to pause playback, pressing PLAY/PAUSE second time will resume the
playback.
9. STOP
When this button is pressed once, the unit records the stopped point, from where playback will resume if
PLAY ( ) is pressed after wards. But if STOP button is pressed again instead of PLAY ( ) button,
there will be no resume function.
10. MODE
Set LCD parameter (adjust brightness, contrast, and saturation).
11. VOL+
23. VOL-
Adjust volume.
12. Forward Skip
Go to next chapter/track.
For MP3, if want to go to desire track, need to press number button on R/C or /button to highlight
the track and then press "ENTER" button to play the desire track.
13. Reverse Skip
Go to previous chapter/track to the beginning.
For MP3, if want to go to desire track, need to press number button on R/C or /button to highlight
the track and then press "ENTER" button to play the desire track.
14. BUTTON
Press BUTTON allow skipping ahead at 5-level speed (X2 -> X4 -> X8 -> X16 -> X32 -> PLAY);
press PLAY button return to normal playback.
7

2. Identification of Controls
Remote control unit
15. BUTTON
Press BUTTON allow skipping back at 5-level speed (X2 -> X4 -> X8 -> X16 -> X32 -> PLAY),
press PLAY button return to normal playback.
16. STEP
Step the motion in DVD mode.
17. SEARCH
Go to time point, title or chapter you want in DVD Mode.
18. SUBTITLE
Press SUBTITLE repeatedly during playback to hear a different subtitle languages.
19. ANGLE
DVD: Press ANGLE will change the view angle, on DVDs that support this feature.
20. TITLE
Return to DVD title menu
21. ENTER
Confirms menu selection.
22. SETUP
Accesses or removes setup menu.
24. REPEAT
Press REPEAT during playback to select a desired repeat mode.
DVD: you can play select repeat chapter/title/off.
CD/VCD: you can select repeat single/all/off.
MP3: you can select repeat single/folder/off and random.
25. SLOW
Press SLOW button repeatedly to enter slow playback, and cycle between different speeds. The speeds
are 1/2, 1/4, 1/8, 1/16, and normal.
26. PROGRAM
DVD/VCD: The program function enables you to store your favorite tracks from the disc. Press
PROGRAM button; then PROGRAM MENU will appear on screen, now you can use the number key to
direct input the titles, chapters or tracks number and select PLAY option. To resume normal playback,
press PROGRAM and select clear program option on the program menu, press PROGRAM again to exit
program menu.
8

MP3: Press PROGRAM button, it will go back to the file list.
Press PROGRAM button again, it will go back to the MP3 folder.
27. ZOOM
DVD/VCD: Use ZOOM to enlarge or shrink the video image.
1. Press ZOOM during playback or still playback to activate the Zoom function. The square frame
appears briefly in the right bottom of the picture.
2. Each press of the ZOOM button changes the TV screen in the following sequence:
2X size 3X size 4X size 1/2 size 1/3 size 1/4size normal size
JPEG: Use ZOOM to enlarge or shrink the picture.
1. Press 'ZOOM'.
2. Used " " to enlarge, or " " to shorten the picture.
Use the button to move through the zoomed picture.
9

3. SETUP Menu Setting
General Setup Page
Press SETUP button to get to the setup menu. Use direction buttons to select the preferred
item. After finishing settings, press SETUP again to normal display.
The following menu items can be changed:
GENERAL: selects the GENERAL PAGE menu.
AUDIO: selects the AUDIO PAGE menu.
VIDEO: selects the VIDEO PAGE menu.
PREFERENCE: selects the PREFERENCE PAGE menu.
General Setup Page
TV DISPLAY: selects the aspect ratio of the playback picture.
4:3 PANSCAN:if you have a normal TV and want both sides of the picture to be trimmed or formatted to
fit your TV screen.
4:3 LETTERBOX: if you have a normal TV. In this case, a wide picture with black bands on the upper
and lower portions of the TV screen will be displayed.
16:9: wide screen display.
TFT DISPLAY: Select the TFT display to 16:9 or 4:3.
Angle Mark
Displays current angle setting information on the right hand corner of the TFT screen if available on the
disc.
OSD Language
You can select your own preferred language settings.
10

Closed Captions
Closed captions are data that are hidden in the video signal of some discs. Before you select this
function, please ensure that the disc contains closed captions information and your TV set also has this
function.
Screen Saver
This function is used to turn the screen saver on or off
Auto Standby
This function is used to select auto standby settings after 3 or 4 hours.
3 HOURS: the unit will turn to standby mode after 3 hours if there is no interaction from user within this
period of time.
4 HOURS: the unit will turn to standby mode after 4 hours if there is no interaction from user within this
period of time.
OFF: the auto standby function is disabled, and the unit will stay in the "on" mode even if there's no
interaction from user.
Audio Setup Page
Audio Setup Page
11

3. SETUP Menu Setting
Audio Setup Page
Downmix
This option allows you to set the stereo analog output of your DVD Player.
LT/RT: Select this option if your DVD Player is connected to a Dolby Pro Logic decoder.
Stereo: Select this option when the output delivers sound from only the two front speakers.
Dolby digital
The options included in Dolby Digital Setup are: 'Dual Mono' and 'Dynamic'.
Dual Mono
Stereo: Left mono sound will send output signals to Left speaker and Right mono sound will send output
signals to Right speaker.
L-Mono:Left mono sound will send output signals to Left speaker and Right speaker.
R-Mono: Right mono sound will send output signals to Left speaker and Right speaker.
Mix-Mono: Left and Right mixed mono sound will send output signals to Left and Right speakers.
Dynamic
Dynamic range compression.
Video Setup Page
Video Setup Page
Brightness, Contrast, Hue, Saturation: setting the video quality.
12

Preference Page
Preference Page
TV Type
Selecting the color system that corresponds to your TV when AV outputs. This DVD Player is compatible
with both NTSC and PAL.
13
3. SETUP Menu Setting
Preference Page
PAL - Select this if the connected TV is PAL system. It will change the video signal of a NTSC disc and
output in PAL format.
NTSC - Select this if the connected TV is NTSC system. It will change the video signal of a PAL disc and
output in NTSC format.
Auto: Chang the video signal output automatic according to the playing disk format.
Audio:Selects a language for audio (if available).
Subtitle:Selects a language for subtitle (if available).
Disc Menu: Selects a language for disc menu (if available).
Default: Back to the factory setting.
4. Parameters and specifications
Technical parameters
Item Standard requirement
Power requirements : AC 100-240 V, 50/60 Hz
Power consumption : <10W
Operating humidity : 5% to 90%
Output
VIDEO OUT : 1 Vp-p (75Ω)
AUDIO OUT : 1.2 Vrms (1 KHz, 0dB)
Audio : Speaker: 1Wx2, Headphones output
System
Laser : Semiconductor laser, wavelength 650 nm
Signal system : NTSC/PAL
Frequency response : 20 Hz to 20 kHz (1 dB)
Signal-to-noise ratio : More than 80 dB (ANALOG OUT connectors only)
Dynamic range : More than 85 dB (DVD/CD)
Note: Design and specifications are subject to change prior notice.
14

5. Battery Parameters
Battery Specifications:
Output: 7.4V
Charge/Discharge Time:
Standard charge time: 3h ~ 4h
Storage and work circumstances:
1. Storage circumstances Temperature Humidity
6 months -20°C ~ +45°C 65 ± 20%
1 week -20°C ~ +65°C 65 ± 20%
2.Work circumstances Temperature Humidity
Standard charge 0°C ~ +45°C 65 ± 20%
Standard discharge -20°C ~ +65°C 65 ± 20%
15

6. Guarantee
Lenco offers service and warranty in accordance with the European law, which means that in case of
repairs (both during and after the warranty period) you should contact your local dealer.
Important note: It is not possible to send products that need repairs to Lenco directly.
Important note: If this unit is opened or accessed by a non-official service center in any way, the warranty
expires.
This device is not suitable for professional use. In case of professional use, all warranty obligations of
the manufacturer will be voided.
7. Disclaimer
Updates to Firmware and/or hardware components are made regularly. Therefore some of the
instruction, specifications and pictures in this documentation may differ slightly from your particular
situation. All items described in this guide for illustration purposes only and may not apply to particular
situation. No legal right or entitlements may be obtained from the description made in this manual.
8. Disposal of the Old Device
This symbol indicates that the relevant electrical product or battery should not be disposed of
as general household waste in Europe. To ensure the correct waste treatment of the product
and battery, please dispose them in accordance to any applicable local laws of requirement
for disposal of electrical equipment or batteries. In so doing, you will help to conserve natural
resources and improve standards of environmental protection in treatment and disposal of
electrical waste (Waste Electrical and Electronic Equipment Directive).
9. CE Marking
Products with the CE marking comply with the EMC Directive (2004/108/EC) and the Low
Voltage Directive (2006/95/EC) issued by the Commission of the European Community.
Hereby, Lenco Benelux BV; Thermiekstraat la, 6361 HB Nuth, The Netherlands, declares that this
product is in compliance with the essential requirements and other relevant provisions of Directive
1999/5/EC.
The declaration of conformity may be consulted via techdoc@lenco.com
10.Service
For more information and helpdesk support, please visit www.lenco.com
Lenco Benelux BV; Thermiekstraat la, 6361 HB, The Netherlands.
16

Dutch
1. Veiligheidsinstructies
‐Lees voor het gebruik van dit product alle waarschuwingen en instructies en volg ze op.
‐Dit apparaat is niet bestemd voor gebruik door mensen (inclusief kinderen) met fysieke, zintuiglijke
of geestelijke gebreken of gebrek aan kennis en ervaring, tenzij zij onder toezicht staan of instructies
hebben over het juiste gebruik van het apparaat hebben gekregen van de persoon die
verantwoordelijk is voor hun veiligheid;
‐Dit product is alleen voor huishoudelijk gebruik bedoeld en niet voor commercieel of industrieel
gebruik.
‐Stel het niet bloot aan druppels of spatwater.
‐Er mogen geen bronnen van open vuur, zoals brandende kaarsen, op of in de buurt van het toestel
worden geplaatst.
‐De ventilatie mag niet worden belemmerd door het bedekken van de ventilatie-openingen door
bijvoorbeeld kranten, tafelkleden, gordijnen en dergelijke.
‐Verzeker u ervan dat het apparaat in een stabiele positie staat opgesteld. Schade, veroorzaakt door
het gebruik van dit product in een onstabiele positie, of door het niet naleven van waarschuwingen of
voorzorgsmaatregelen genoemd in deze handleiding, valt niet onder de garantie.
‐Plaats geen voorwerpen gevuld met vloeistoffen, zoals vazen, op of bij het product.
‐Dit product niet gebruiken of opslaan op plaatsen waar het wordt blootgesteld aan direct zonlicht,
hitte, buitensporig veel stof of trillingen.
‐Houd of bewaar dit product niet gedurende langere tijd onder vochtige omstandigheden.
‐Reinig dit product niet met water of andere vloeistoffen.
‐Bedek of blokkeer de gleuven en de gaten in het product niet.
‐Stop geen vreemde voorwerpen in de gleuven of gaten van het product.
‐Probeer dit product niet zelf te openen. Er zitten geen door de gebruiker te onderhouden onderdelen
in.
‐Geef kinderen geen gelegenheid in aanraking met plastic zakken te komen.
Waarschuwing
‐Verwijder nooit de behuizing van dit apparaat.
‐Plaats dit apparaat nooit op andere elektrische apparatuur.
Let op
●Als het in de toekomst nodig is om dit product af te voeren, let dan op het volgende: Alle batterijen en
accu's dienen uit het product te worden verwijderd (verwijdering van afval batterijen en accu's).
●Breng het apparaat altijd naar een vakman om de geïntegreerde batterij te laten verwijderen.
‐Dit apparaat is niet bestemd voor gebruik door mensen (inclusief kinderen) met fysieke, zintuiglijke
of geestelijke gebreken of gebrek aan kennis en ervaring, tenzij zij onder toezicht staan of instructies
hebben over het juiste gebruik van het apparaat hebben gekregen van de persoon die
verantwoordelijk is voor hun veiligheid.
‐Dit product is alleen voor huishoudelijk gebruik bedoeld en niet voor commercieel of industrieel
gebruik.
17

‐Verzeker u ervan dat het apparaat in een stabiele positie staat opgesteld. Schade, veroorzaakt door
het gebruik van dit product in een onstabiele positie, of door het niet naleven van waarschuwingen of
voorzorgsmaatregelen genoemd in deze handleiding, valt niet onder de garantie.
‐Verwijder nooit de behuizing van dit apparaat.
‐Plaats dit apparaat nooit op andere elektrische apparatuur.
‐Dit product niet gebruiken of opslaan op plaatsen waar het wordt blootgesteld aan direct zonlicht,
hitte, buitensporig veel stof of trillingen.
‐Reinig dit product niet met water of andere vloeistoffen.
‐Bedek of blokkeer de gleuven en de gaten in het product niet.
‐Stop geen vreemde voorwerpen in de gleuven of gaten van het product.
‐Geef kinderen geen gelegenheid in aanraking met plastic zakken te komen.
‐Controleer of de spanning op het specificatieplaatje van uw apparaat overeenkomt met het lichtnet in
uw huis (specificatieplaatje is te vinden op de achterzijde van het apparaat).
‐Zorg ervoor dat niemand op de voedingskabel kan gaan staan of dat de kabel kan worden ingedrukt,
voornamelijk bij stekkers, stopcontacten en het punt waar kabels uit het apparaat komen.
‐Gebruik uitsluitend uitbreidingen/accessoirs gespecificeerd door de fabrikant.
‐Laat alle reparaties over aan gekwalificeerd onderhoudspersoneel. Onderhoud is vereist als het
toestel hoe dan ook is beschadigd, zoals bijvoorbeeld het netsnoer of de stekker, wanneer er
vloeistof of een voorwerp in het apparaat is terechtgekomen, wanneer het apparaat is blootgesteld
aan regen of vocht, als het niet normaal werkt of is gevallen.
‐Gebruik nooit een beschadigde voedingskabel of stekker of een los stopcontact. Dit vormt namelijk
een risico op brand of elektrische schokken.
WAARSCHUWING:
Langdurige blootstelling aan luid geluid van persoonlijke muziekspelers kan leiden
tot tijdelijke of permanente gehoorbeschadiging.
Voedingsadapter (alleen voor EU)
Fabrikant: Shenzhen Mass Power Electronics Limited
Modelnummer: SEF0900100E1BA/PEF0900100VE
Gebruik uitsluitend het voedingsapparaat dat in de gebruiksaanwijzing staat vermeld
18
ACHTUNG
Nehmen Sie niemals die Batterie ein, Verätzungen wären die Folge
(mitgelieferte Fernbedienung) Dieses Produkt enthält eine
Knopfzelle. Wenn die Knopfzellenbatterie verschluckt wird, kann
dies innerhalb von 2 Stunden zu schweren inneren Verätzungen und Tod führen.
Neue und gebrauchte Batterien von Kindern fernhalten.
Wenn das Batteriefach nicht sicher schließt, dieses Produkt
nicht weiter verwenden und von Kindern fernhalten.
Wenn Sie vermuten, dass Batterien verschluckt oder eine
Körperöffnung eingeführt wurden, suchen Sie umgehend ärztliche Hilfe.
Hören Sie nicht für längere Zeit mit einem hohen
Lautstärkepegel, um dauerhaften Hörschäden vorzubeugen.

2. Identificatie van bedieningselementen
Hoofdeenheid
1. ▲/ Omhoog/Vorige
▼/ Omlaag/Volgende
◄/VOL-Links/VOL-
►/VOL+ Rechts/VOL+
2. AFSPELEN/PAUZE
3. SETUP
4. SOURCE
5. USB
6. Hoofdtelefoonuitgang
7. AV UIT
8. ON/OFF
9. DC IN 9-12V
19
10. Batterieladungsanzeige
Blinkt grün, während die Batterie aufgeladen wird.
Leuchtet grün, wenn die Batterie vollständig aufgeladen ist.
11. Betriebsanzeige
Leuchtet rot, wenn das Gerät eingeschaltet ist.
Batterie aufladen
Verbinden Sie den DVD-Player mit dem mitgelieferten Netzteil. Die
LED-Anzeige blinkt grün, während die Batterie aufgeladen wird und wird
konstant grün leuchten, wenn die Batterie vollständig aufgeladen ist.

2. Identificatie van bedieningselementen
Afstandsbediening
1. SOURCE
DVD/USB.
2. MUTE
Uitschakelen audio-uitgang.
3. NUMERIEKE TOETSEN 0-9
Voor het selecteren van genummerde onderdelen in een menu.
4. DISPLAY
Voor het weergeven van de speelduur en de statusinformatie.
5. 10+ TOETS
Om op een CD de 10e track te selecteren, druk eerst op 10+ en druk vervolgens op de knop 0. Druk
voor een DVD op de 10+ knop, selecteer voor DVD de track groter dan 10. Bijvoorbeeld nummer 12.
Druk eerst op 10+ knop, dan verschijnt de opgelichte balk. Druk vervolgens op 10+ en druk op de 2-toets.
Om track 23 te selecteren: druk 3 keer op de 10+ toets en druk daarna op de 3-toets.
6. MENU/PBC
Terugkeren naar het DVD-hoofdmenu (DVD).
PBC aan/uitschakelaar (VCD).
7. AUDIO
DVD: Druk tijdens het afspelen herhaaldelijk op AUDIO om, indien beschikbaar, de verschillende talen
20
Table of contents
Languages:
Other LENCO Portable DVD Player manuals

LENCO
LENCO MES-402 User manual

LENCO
LENCO MES-219 MPEG4 - User manual

LENCO
LENCO DVP-1039 User manual

LENCO
LENCO DVP-937 User manual

LENCO
LENCO DTVR-700 User manual

LENCO
LENCO MES-404 User manual

LENCO
LENCO DVP-737 User manual

LENCO
LENCO DV-9831 User manual

LENCO
LENCO SNOOPY DVP-7 User manual

LENCO
LENCO DVR-70 User manual

LENCO
LENCO DVP-736 User manual

LENCO
LENCO DVP-1063 User manual

LENCO
LENCO TDV1001BK User manual

LENCO
LENCO DVP-747 User manual

LENCO
LENCO MES-415 User manual

LENCO
LENCO TDV-1000BK User manual

LENCO
LENCO DVP-79 User manual

LENCO
LENCO DVD-2051 User manual

LENCO
LENCO DVP-840 User manual

LENCO
LENCO DVP-706 User manual