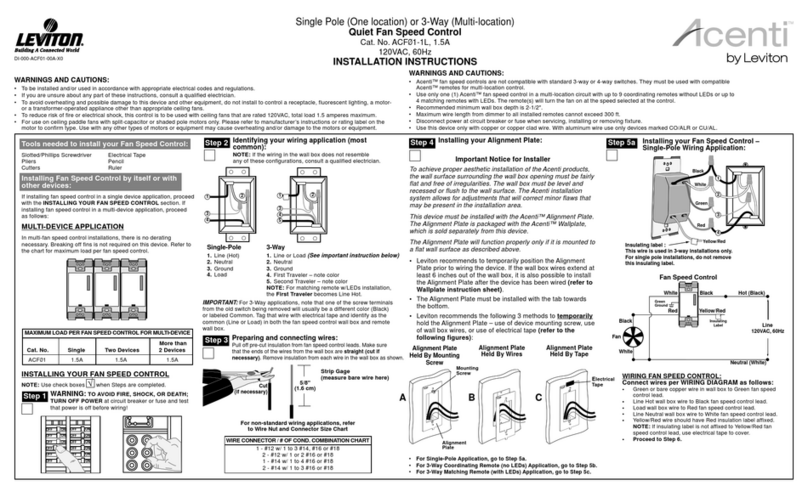
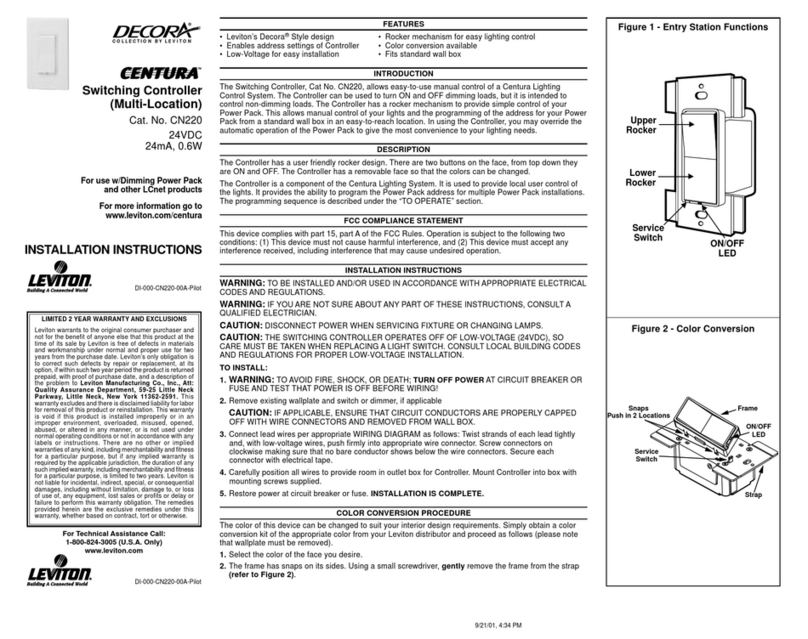
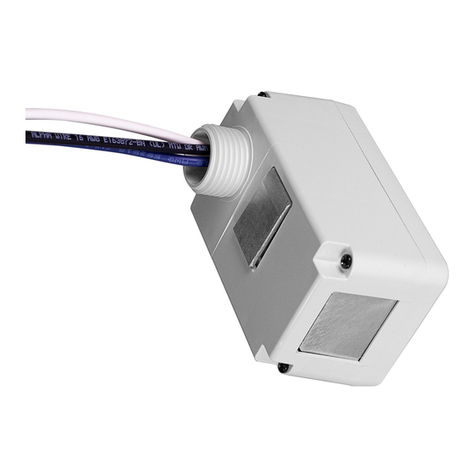
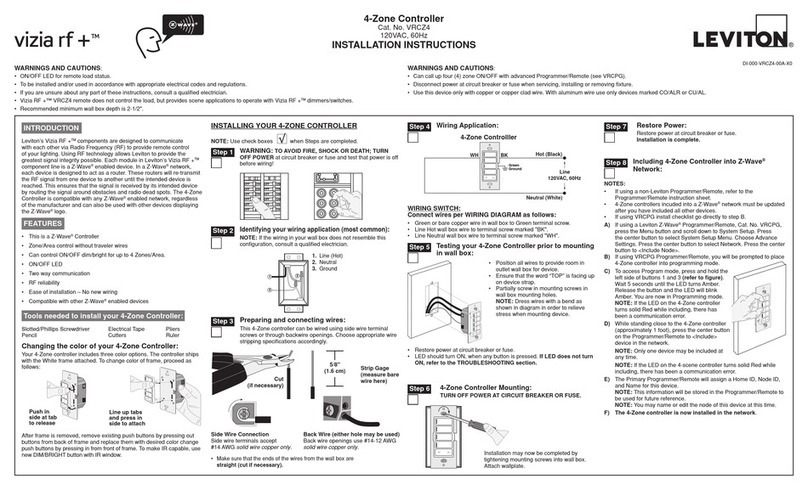
manuals.online logo
Brands
  1. Home
  2. •
  3. Brands
  4. •
  5. Leviton
  6. •
  7. Controllers
  8. •
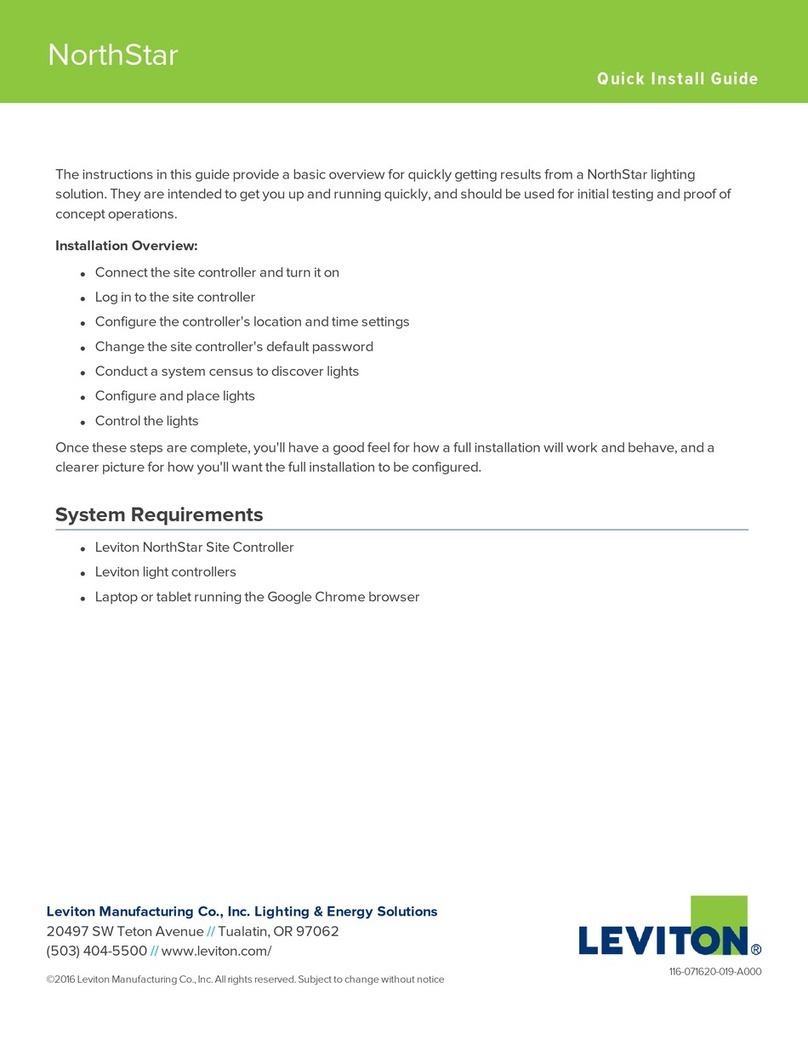
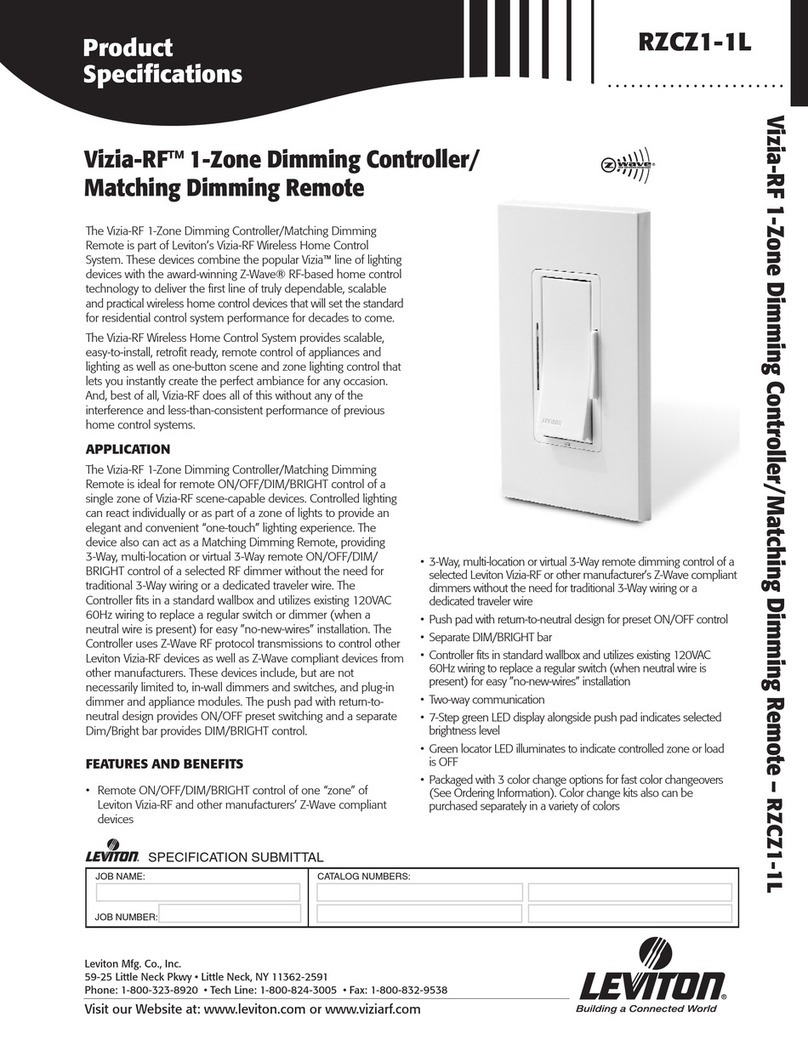
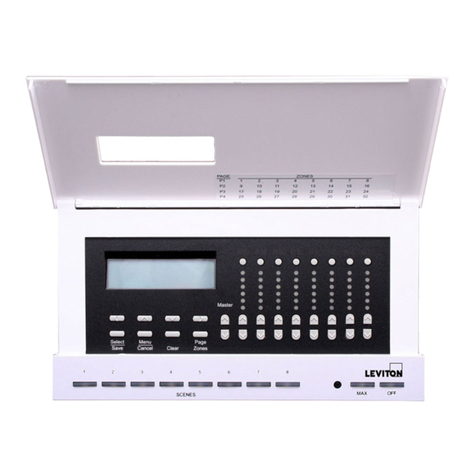
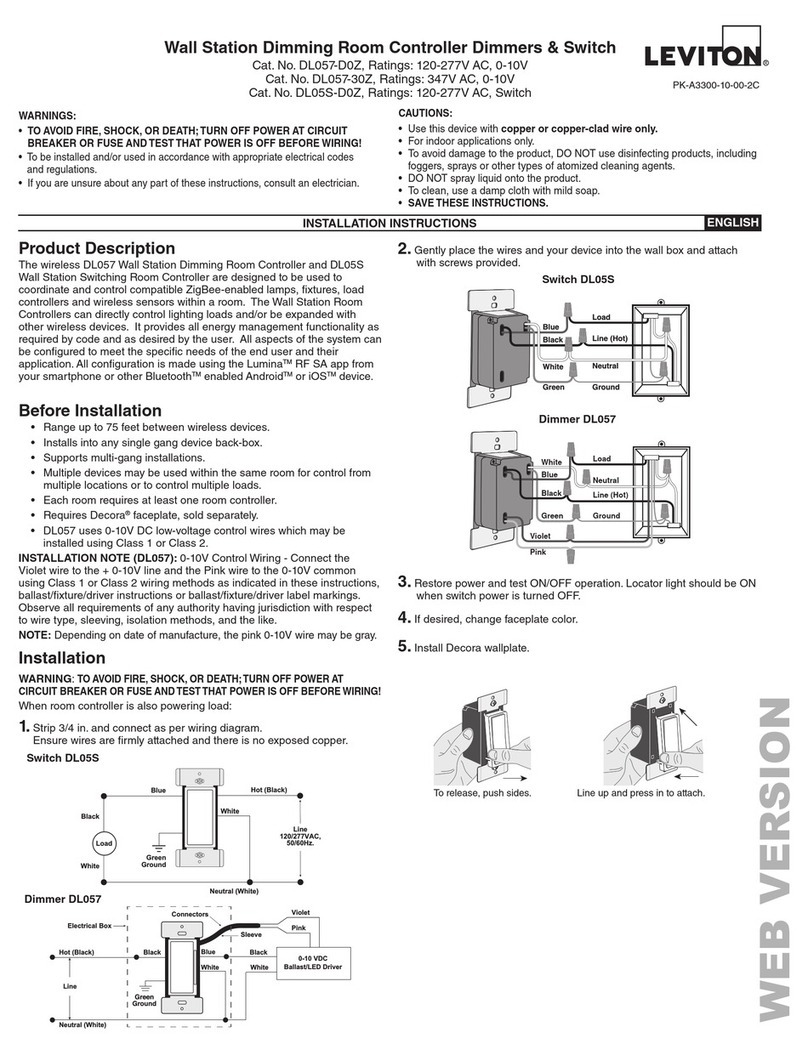
  9. Leviton miniZ mZb00-102 User manual

Leviton miniZ mZb00-102 User manual

1
miniZ
Quick Start Guide
Congratulations on purchasing the miniZ Daylight
Harvesting Controller. The miniZ is designed to be
easy to install and configure with a few simple steps.
Simplest Install Steps:
1. Physically install unit and any peripherals
2. Terminate power & control wiring
3. Enable AutoCal & Auto Burn-In
4. Power up system
5. Installation & configuration complete!
Supplement this guide with the full installation manual
provided for more advanced applications.
Control Input: US Models 120VAC& 277VAC terminals, Canadian Models 120VAC & 347VAC terminals
Neutral
Circuit 1 Line
Circuit 1 Load
AutoCal – enable
automatic self-calibration
Configuration Jumpers
Switch Inputs
+ Momentary
+ Maintained
+ Supports SPDT Center Off Switches
+Annunciator/Pilot Light Support
Photocell Input
Supplies +24vdc
Expects +0-10vdc return
Occupancy Sensor Input
Supplies +24vdc
Expects +24vdc return
Emergency Input
Also can be configured
as Occupancy Sensor disable
Photocell Disable
Temporarily disables
daylight harvesting mode
Time Clock
Turns off lights
when input receives +24VDC
Load Shed
Lights dim
to shed level when
input receives +24
Daylight Harvesting
Target – Manual
Adjustment
HVAC and/or
Emergency Output
Relays*
Zone 1 Output (0-10V)*
Circuit 2 Line
Circuit 2 Load
Zone 2 Output (0-10V)*
Zone 3 Output (0-10V)*
1/2" nipple for convenient
connection to junction box
*Varies depending on model
Low Voltage Terminal & Configuration Board
Step 1:
Remove the manual and the miniZ product from the box.
2
3
3
miniZ All Models Quick Configuration Guide
REFER TO MANUAL FOR ADVANCED SETUP AND OPERATION
4
4
Step 2:
Refer to the Quick Connection Guides found on pages 11-15 of this
guide to connect the line voltage and low voltage circuits. Select the
diagram based on the model you have purchased.
Note: The dimming models have the 0-10V control output wires leaving the
miniZ controller through the same nipple as the supply and load circuit wires.
They are color coded to different zones as indicated in the manual.
For two zone applications:
•Zone 1 should be connected to the luminaires closest to the daylit area such
as the windows or skylights. This is generally accepted to be approximately
12’ to 15’ from the daylight source.
•Zone 2 should be connected to the luminaires in the next area beyond 15’ to
approximately 25’ from the daylight source.
For three zone applications:
•Zone 1 should be connected to the luminaires closest to the daylight area
such as the windows or skylights. This is generally accepted to be
approximately 8’ to 10’ from the daylight source.
•Zone 2 should be connected to the luminaires in the next area beyond 10’ to
approximately 15’ from the daylight source.
•Zone 3 should be connected to the luminaires beyond the 15’ area.
55
5
Zone #1 receives most effect from daylight
Zone #2 receives moderate effect from daylight
Photocell
Wall Mount
Occupancy
Sensor
miniZ
Windows along exterior wall
120/277v
Zone #3 receives least effect from daylight
S
Typical Classroom
3-Zone miniZ
Application
6
6
Step 3:
Connect the photocell, occupancy sensor (if used), and the wall station
control per the Quick Connect Guides.
Note: The twozone MZD20 can have two separate wall station controls (see
manual) to operate each zone independently in the manual mode only. If only
one wall station control is used, jumper the two switch input terminals to
control both zones.
Step 4:
Turn the power on to the circuit. The luminaires will come on.
77
7
3-zone miniZ Application
2000
2000
ZD31
ZB5
MZ
MZ-2
MZ-1
MZ-3
Fixture Types
105W 0-10V Flourescent
8
miniZ Application
ZD22
ZB5
MZ
MZ-2
MZ-1
10001000
To
Distribution
Panel
Fixture Types
135W 0-10V Flourescent
9
ZD22
ZB5 ZB5
MZ
MZ-2
MZ-1
10001000
To
Distribution
Panel
Dual Room miniZ Application
Fixture Types
135W 0-10V Flourescent
10
Step 5:
In a closed loop configuration, move the Auto-Cal switch to the ON
position as shown in the manual to activate.
Note: This feature operates the luminaires at full output for a period of 24 hours.
During this time, the miniZ will record the lowest foot-candle reading from the photocell
and record that value as the target illumination. The target illumination is the level that
the miniZ will maintain with the load control output as daylight is available to the
space. The lights will automatically raise or lower (dimmed models) based on how
much daylight is contributing to the overall foot-candle value present to the photocell.
Step 7:
Adjust the proportional dimming output (dimmed models only). The miniZ
has proportional dimming using only one photocell input. Tooptimize the
light level balance in the space, adjustment to the daylight harvesting
threshold trim pots may be necessary.
For a 2 zone application:
•The zone closest to the daylight source (zone 1) should be turned to 10 or full
clockwise. The next zone (zone 2) should be adjusted to 4 on the dial. This will
balance the dimming so that the light level across the space is more uniform.
For a 3 zone application:
•The trim pots should be zone 1 = 10, zone 2 = 7 and zone 3 = 3.
Step 6:
If the fluorescent lamps are new, move the Burn-In switch to the ON
position as shown in the manual to activate the 100 hour Burn-In feature.
This will keep the lamps from dimming until 100 hours of operating time.
After that they will operate in the dimmed mode.
Note: Both the Auto-Cal and the Burn-In can occur at the same time.
miniZ Quick
Configuration Guide
11
REFER TO MANUAL
FOR ADVANCED
SETUP AND
OPERATION
MODELS:
MZB00-102 &
MZB00-C02
12
miniZ Quick
Configuration Guide
REFER TO MANUAL
FOR ADVANCED
SETUP AND
OPERATION
MODELS:
MZB02-102 &
MZB02-C02
REFER TO MANUAL
FOR ADVANCED
SETUP AND
OPERATION
MODELS:
MZD20-102 &
MZD20-C02
13
miniZ Quick Configuration Guide
REFER TO MANUAL
FOR ADVANCED
SETUP AND
OPERATION
MODELS:
MZD22-102 &
MZD22-C02
miniZ Quick
Configuration
Guide
14
REFER TO MANUAL
FOR ADVANCED
SETUP AND
OPERATION
MODELS:
MZD30-102 &
MZD30-C02
miniZ Quick Configuration Guide
15
15
16
Leviton Manufacturing Co., Inc., Lighting Management Systems Division
20497 SW Teton Ave, Tualatin, OR 97062-8812 USA
PO Box 2210, Tualatin, OR 97062 USA
US Customer Service : (800) 736-6682
Fax: (503) 404-5594
US Tech Support: (800) 959-6004
Visit our Website at: http://www.leviton.com/LMS
PK-93452-10-00-0A G-7666/D7 sw

Other manuals for miniZ mZb00-102

1

This manual suits for next models

17

Other Leviton Controllers manuals

Leviton HXC4D-1TW Installation instructions

Leviton

Leviton HXC4D-1TW Installation instructions

Leviton ILLUMATECH IPE04-1L User manual

Leviton

Leviton ILLUMATECH IPE04-1L User manual

Leviton RZCZ1 User manual

Leviton

Leviton RZCZ1 User manual

Leviton Decora NE515 User manual

Leviton

Leviton Decora NE515 User manual

Leviton RTD01-10 User manual

Leviton

Leviton RTD01-10 User manual

Leviton lumina LU20S User manual

Leviton

Leviton lumina LU20S User manual
Leviton NorthStar Site Controller User manual

Leviton

Leviton NorthStar Site Controller User manual

Leviton miniZ mZn20-102 User manual

Leviton

Leviton miniZ mZn20-102 User manual

Leviton D4200 User manual

Leviton

Leviton D4200 User manual

Leviton Decora Smart User manual

Leviton

Leviton Decora Smart User manual

Leviton 73A00-3ZB Mounting instructions

Leviton

Leviton 73A00-3ZB Mounting instructions

Leviton 4200 User manual

Leviton

Leviton 4200 User manual

Leviton RZCS4 User manual

Leviton

Leviton RZCS4 User manual

Leviton Decora Illumatech IPF01-1L User manual

Leviton

Leviton Decora Illumatech IPF01-1L User manual

Leviton DRKDN-U Series User manual

Leviton

Leviton DRKDN-U Series User manual

Leviton LE-RZCZ Installation instructions

Leviton

Leviton LE-RZCZ Installation instructions

Leviton DL057-D0Z User manual

Leviton

Leviton DL057-D0Z User manual

Leviton CD250 User manual

Leviton

Leviton CD250 User manual

Leviton CN200 User manual

Leviton

Leviton CN200 User manual

Leviton MLC16 User manual

Leviton

Leviton MLC16 User manual
Leviton CN221 User manual

Leviton

Leviton CN221 User manual

Leviton DECORA NE515 User manual

Leviton

Leviton DECORA NE515 User manual

Leviton Decora IPHS5 Series User manual

Leviton

Leviton Decora IPHS5 Series User manual

Leviton DECORA SURESLIDE 6627 User manual
Leviton

Leviton DECORA SURESLIDE 6627 User manual

Popular Controllers manuals by other brands

Primex PrimexEVENT Series installation guide

Primex

Primex PrimexEVENT Series installation guide

Honeywell HC900 Installation and user guide

Honeywell

Honeywell HC900 Installation and user guide

OPTO 22 SNAP-PAC-S1 user guide

OPTO 22

OPTO 22 SNAP-PAC-S1 user guide

Emerson PCM-22 Operator's manual

Emerson

Emerson PCM-22 Operator's manual

Eurotherm SSD Drives 635 Interface manual

Eurotherm

Eurotherm SSD Drives 635 Interface manual

PTC Sigma Tile V5 Guide

PTC

PTC Sigma Tile V5 Guide

Fireye MicroM Series manual

Fireye

Fireye MicroM Series manual

Eltek Smartpack S user guide

Eltek

Eltek Smartpack S user guide

BEKA BA454D manual

BEKA

BEKA BA454D manual

Emerson Y696 installation guide

Emerson

Emerson Y696 installation guide

SMSC LAN9512 datasheet

SMSC

SMSC LAN9512 datasheet

AAT KZC-800-U installation manual

AAT

AAT KZC-800-U installation manual

AGS Merlin 1000S+i User & installation manual

AGS

AGS Merlin 1000S+i User & installation manual

Mitsubishi Electric -MR-CV user manual

Mitsubishi Electric

Mitsubishi Electric -MR-CV user manual

Geco GH10TA user manual

Geco

Geco GH10TA user manual

RLE Technologies SeaHawk LD5200 user guide

RLE Technologies

RLE Technologies SeaHawk LD5200 user guide

CYBELEC DNC 60 PS user guide

CYBELEC

CYBELEC DNC 60 PS user guide

Evco EV3H94 instruction sheet

Evco

Evco EV3H94 instruction sheet

manuals.online logo
manuals.online logoBrands
  • About & Mission
  • Contact us
  • Privacy Policy
  • Terms and Conditions

Copyright 2025 Manuals.Online. All Rights Reserved.