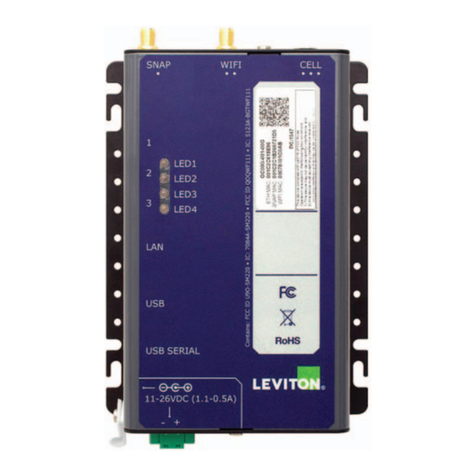
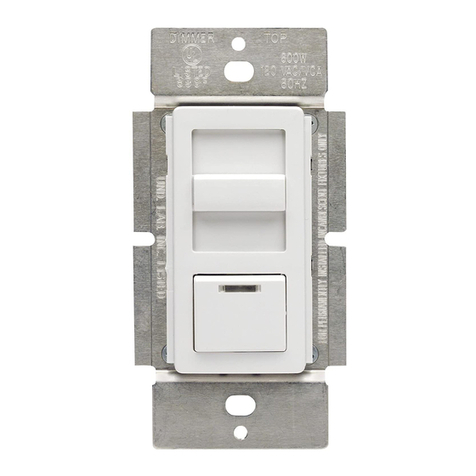
Leviton 4200 User manual
Other Leviton Controllers manuals
Leviton
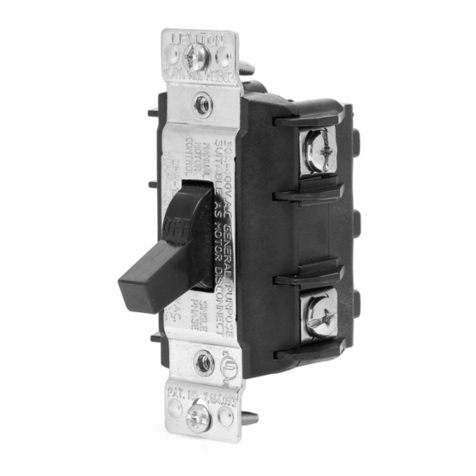
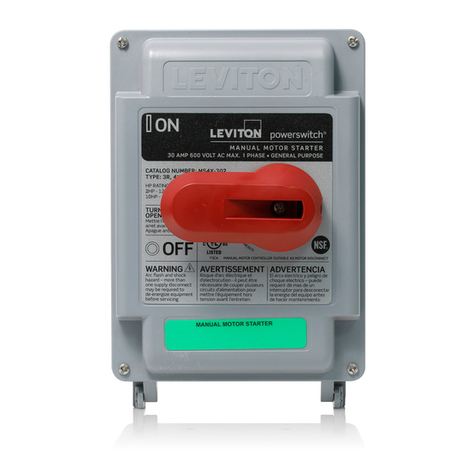
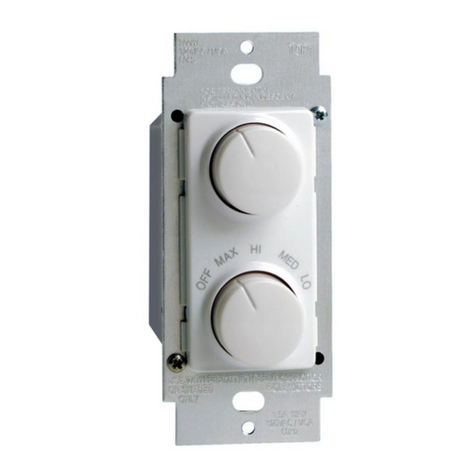
Leviton PowerSwitch MS4X-302 User manual
Leviton
Leviton RTD01-10 User manual
Leviton
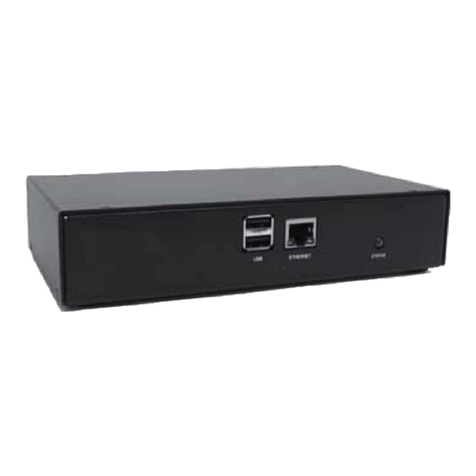
Leviton Decora HCC2D User manual
Leviton
Leviton Bitwise BWBC2 User manual
Leviton
Leviton D8000 User manual
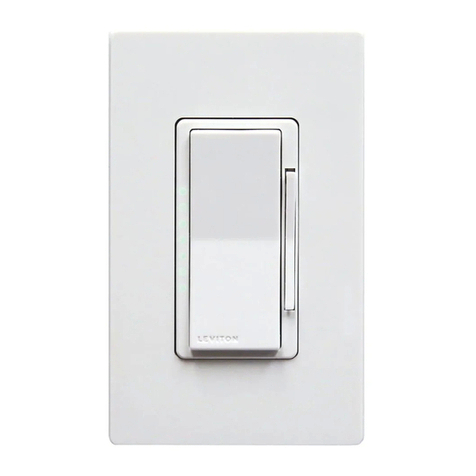
Leviton
Leviton Decora Smart User manual
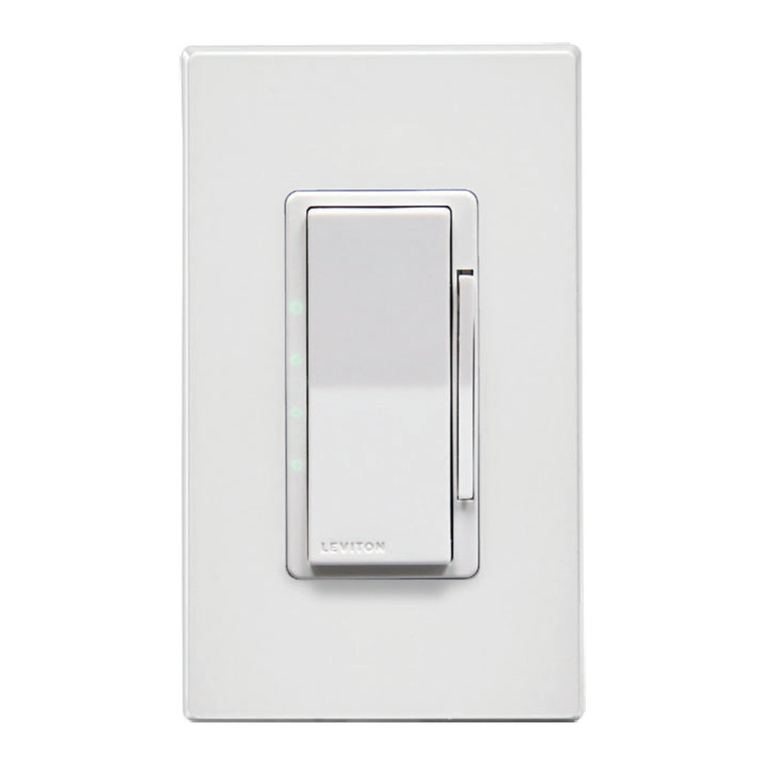
Leviton
Leviton decora smart D24SF User manual
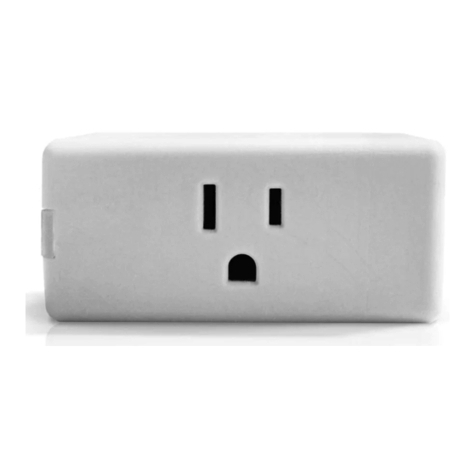
Leviton
Leviton Decora Smart DW15P User manual
Leviton
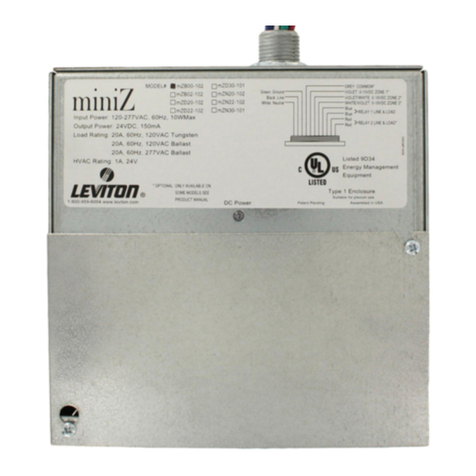
Leviton miniZ mZn20-102 User manual
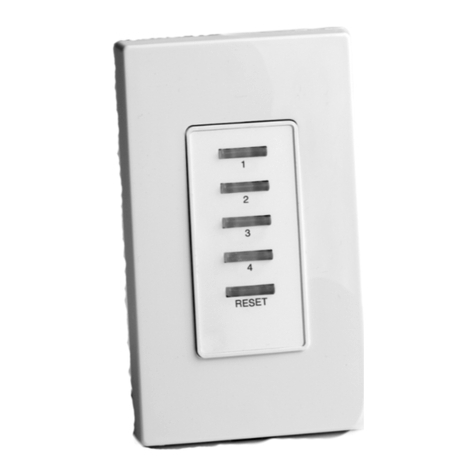
Leviton
Leviton DECORA NE515 User manual
Leviton
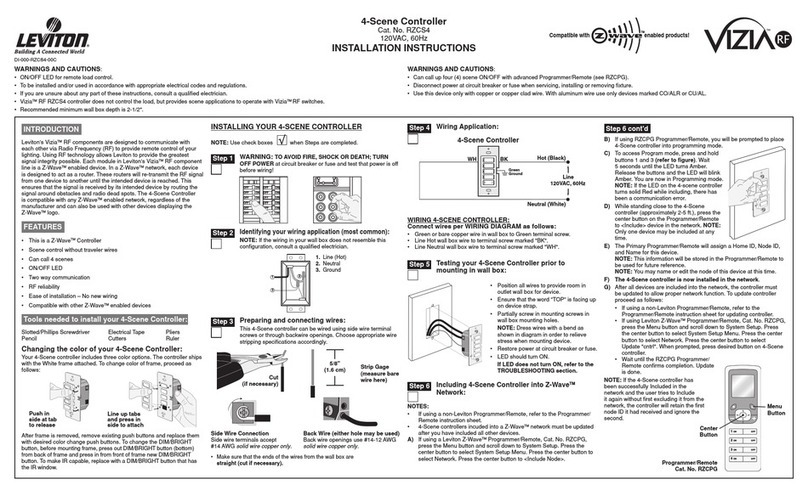
Leviton RZCS4 User manual

Leviton
Leviton CN200 User manual
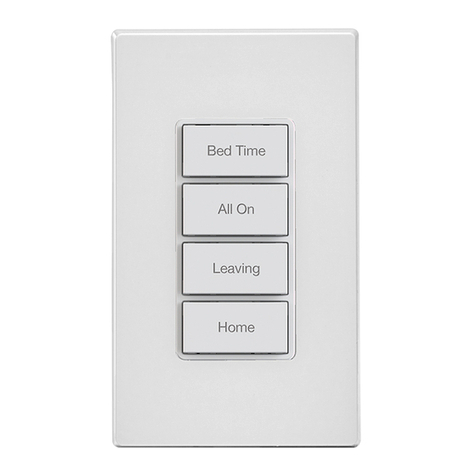
Leviton
Leviton Decora Smart DW4BC User manual
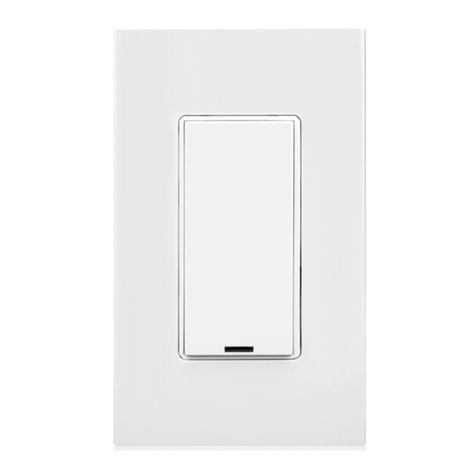
Leviton
Leviton Intellect ZLDNK User manual
Leviton
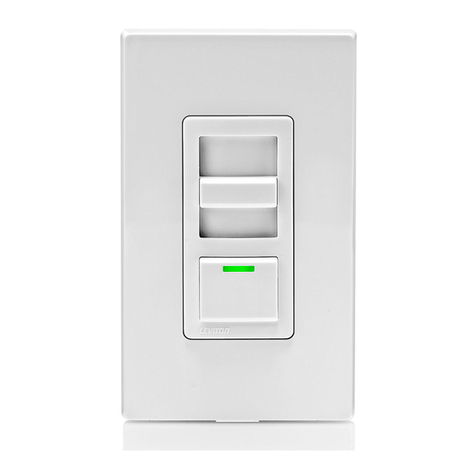
Leviton Decora Illumatech IPF05-1L User manual
Leviton
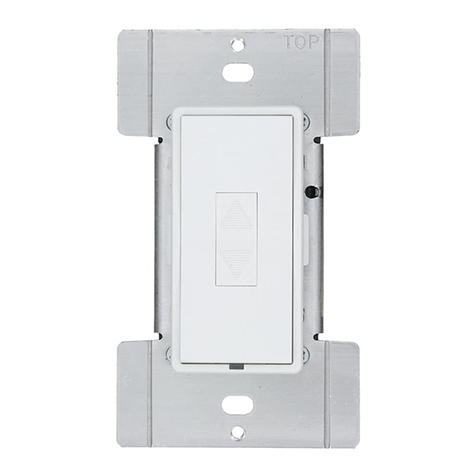
Leviton HXC10 User manual
Leviton
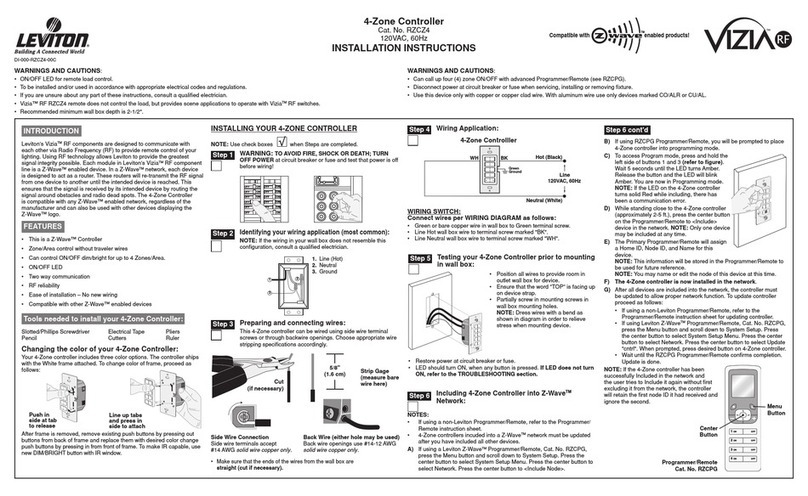
Leviton RZCZ4 User manual
Leviton
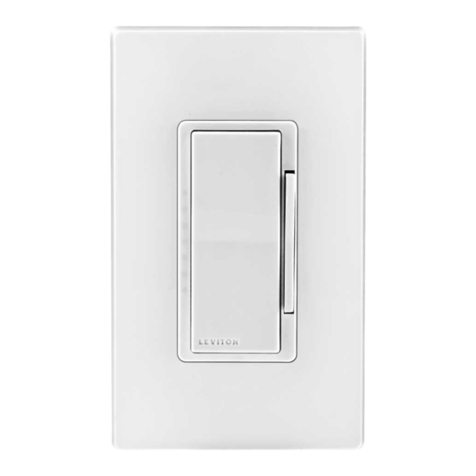
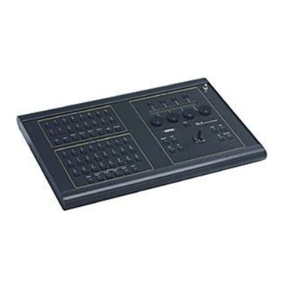
Leviton intellect ZL057-D0Z User manual
Leviton
Leviton MLC16 User manual
Leviton
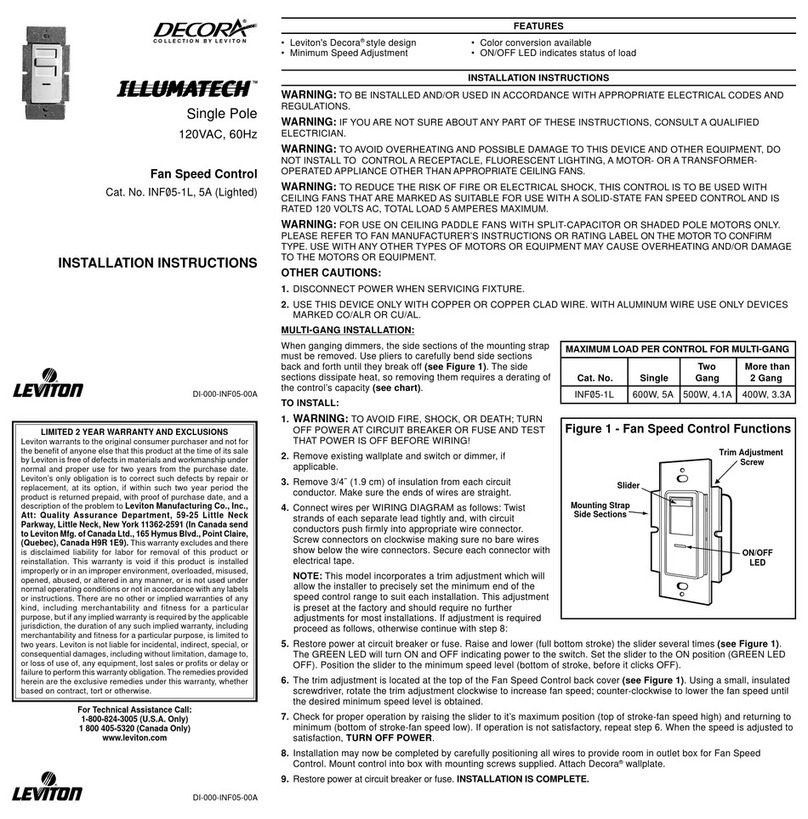
Leviton ILLUMATECH INF05-1L User manual
Popular Controllers manuals by other brands

Digiplex
Digiplex DGP-848 Programming guide

YASKAWA
YASKAWA SGM series user manual

Sinope
Sinope Calypso RM3500ZB installation guide

Isimet
Isimet DLA Series Style 2 Installation, Operations, Start-up and Maintenance Instructions

LSIS
LSIS sv-ip5a user manual

Airflow
Airflow Uno hab Installation and operating instructions
